This is a great healthy snack. It’s sugar free, egg free, and dairy free. Read on…
Two of our family are taking a break from sugar at the moment, and another can’t do dairy and eggs. This means it’s time to develop a new recipe, and Fall is a great time of year to try this one.
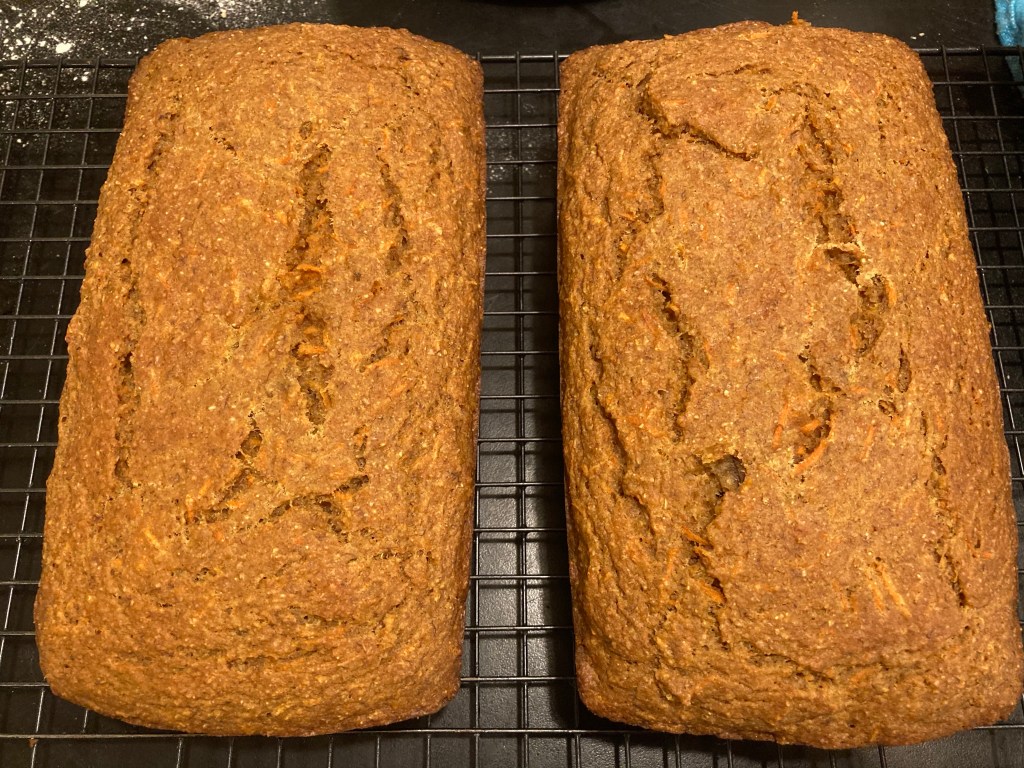
Carrot Spice Bread:
Makes 2 loaves.
2 cups all purpose flour
2 cups whole wheat, spelt, or your flour choice
1 tsp salt
2 tsp baking soda
1 tsp cinnamon
1/4 tsp cloves
2 cups finely shredded carrot
2 ripe bananas, mashed
2 cups orange juice
1/3 cup oil
Mix all dry ingredients. Mix all wet ingredients in a separate bowl. Add the wet to the dry. Mix well. Pour into greased bread pan. Bake at 350 for 50-55 minutes or until the center tests clean.
Cool on wire racks.
* Note: You could also make this in cake form if desired. Just cook in two greased and floured cake pans instead. I also sometimes make it in a 9×12 casserole as well. And if you aren’t avoiding caloric sweeteners all together like we are, add 1/4 cup of honey or maple syrup to make it that much better.
This bread is just slightly sweet so it’s a great snack any time.
And stayed tuned for the sourdough version in a couple of weeks.
I’m drinking tea from my grandmother’s tea cup today and thinking of her. It’s a good reminder to slow down, take a deep breath, and be thankful for the little things. Hoping you all can take a break for tea time today.
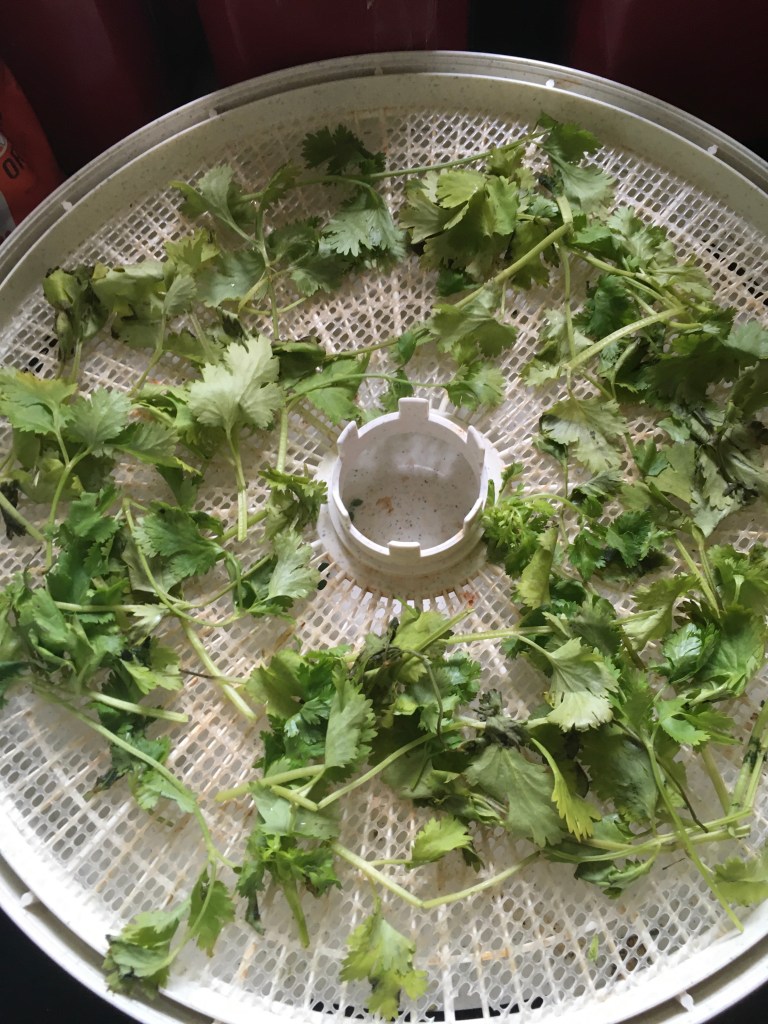
I’ve always enjoyed picking herbs from my garden. But I typically just pick what I need for mmmmm for culinary use. I’ve been harvesting more herbs this to dry and save for medicinal and beauty uses this year.
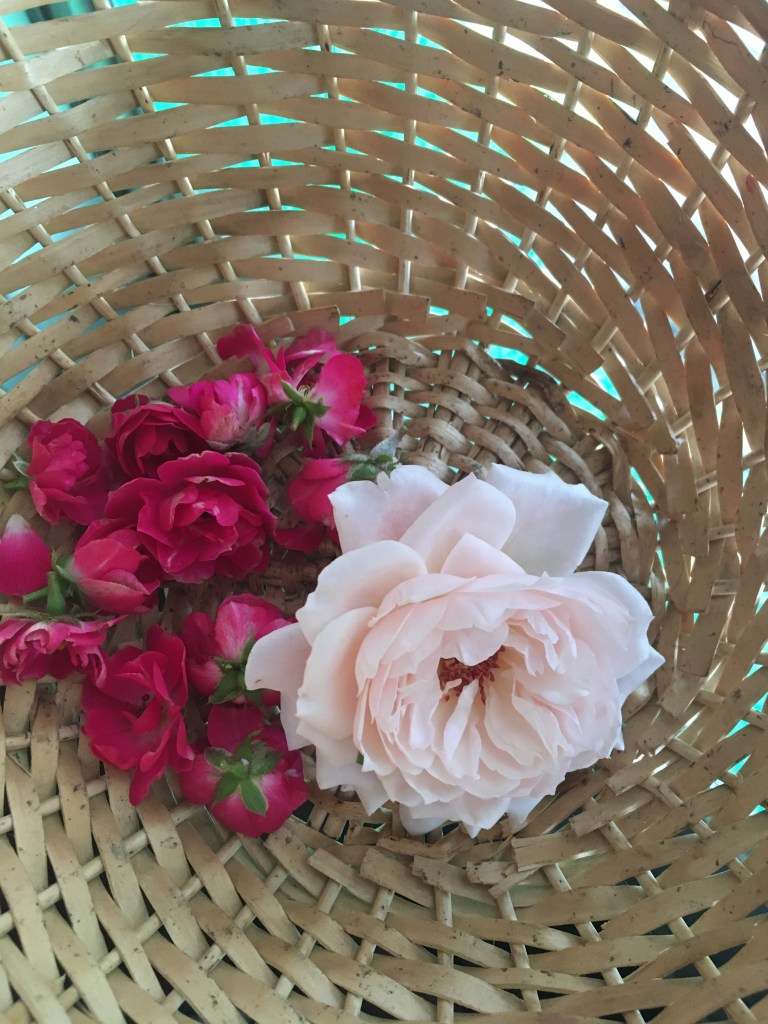
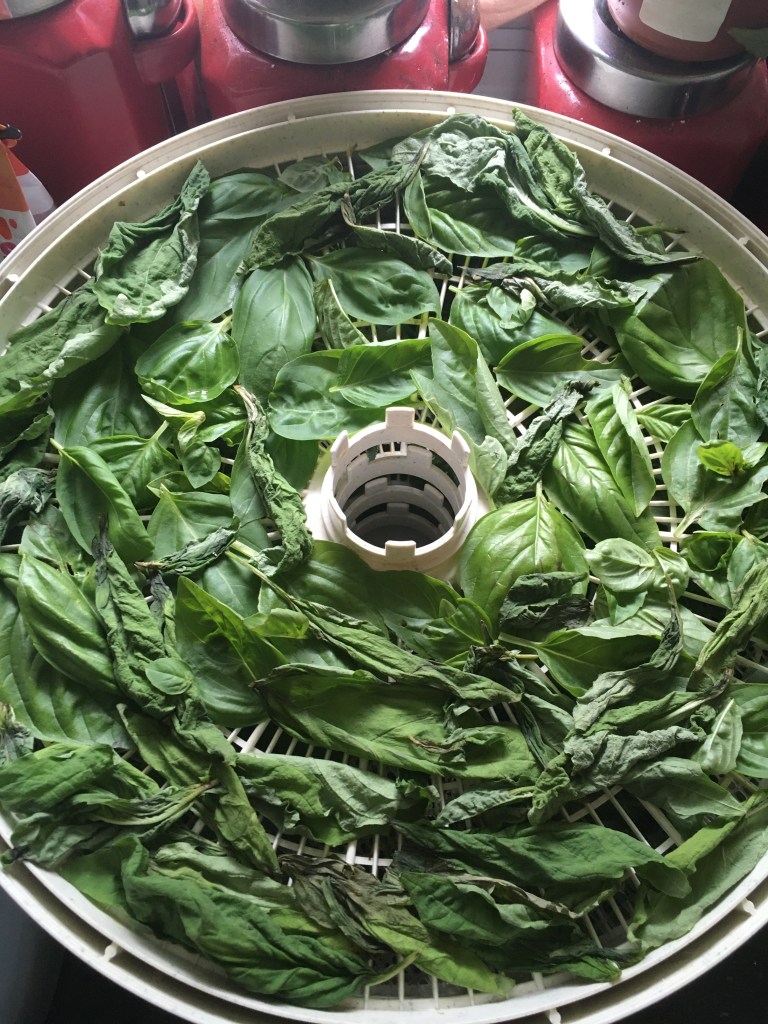
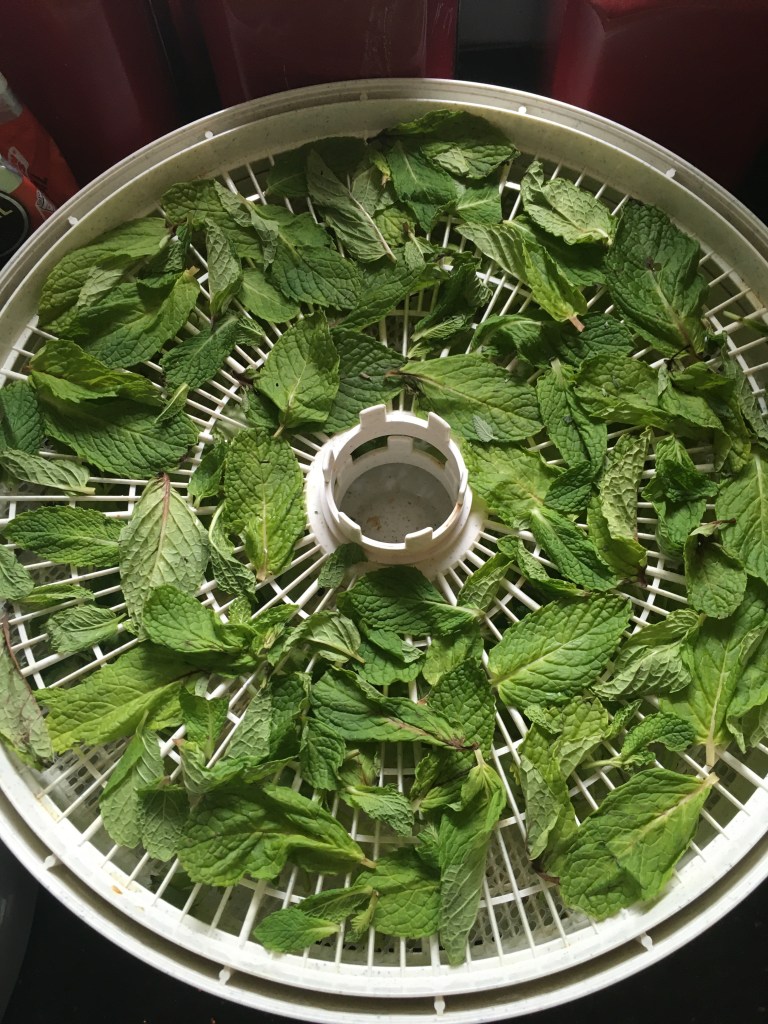
Scroll on to see what’s been in my herb basket this year.
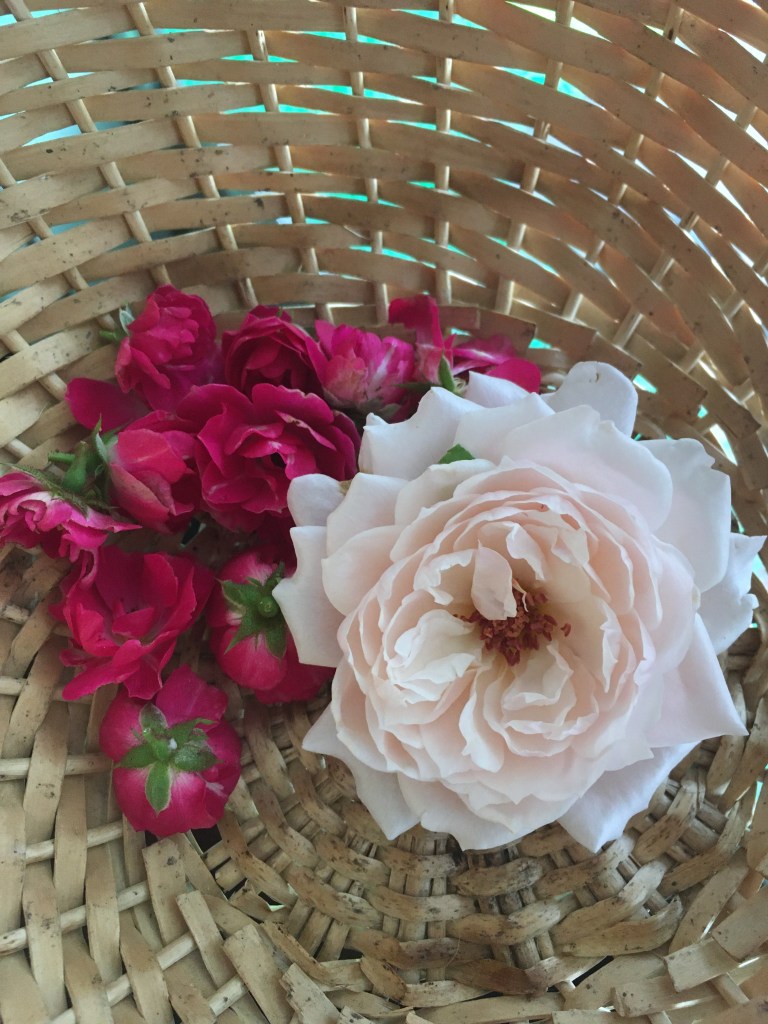
Sage, Calendula, and one big Mullein leaf.Basil!Mint and CatmintSpearmintCilantroRoses!I lay my rose petals between two paper towels to air dry.Pretty little Calendula flowers. I air dry these the same way I do the rose petals.
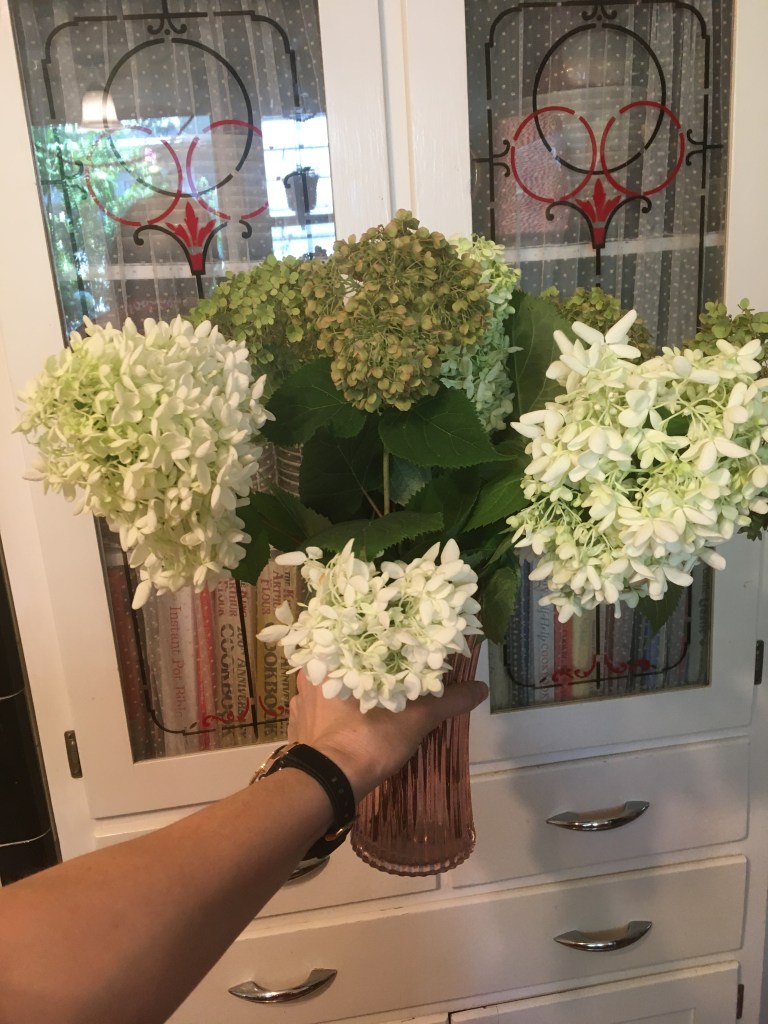
I’ve always had a hard time cutting flowers from my garden. I just never seem to want to ruin their beauty by taking them from their natural state.
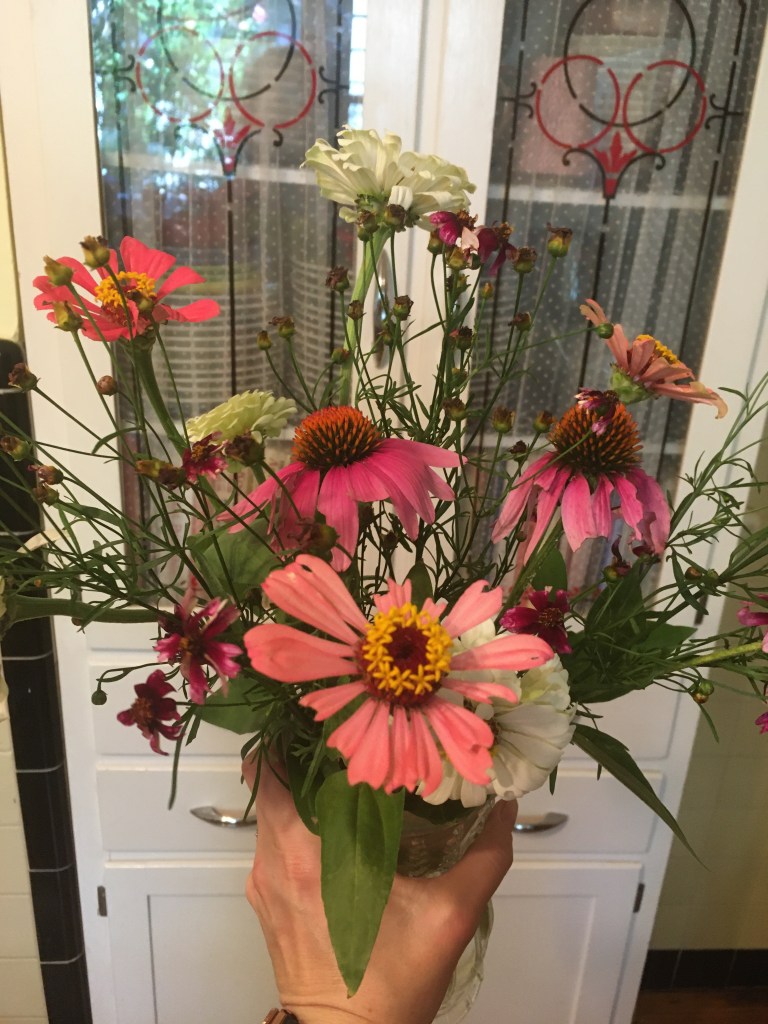
I’ve been experimenting this year though, and I’ve found which flowers last well as a cut flower and which ones don’t. Some, like Zinnias even put on more blooms when you cut them.
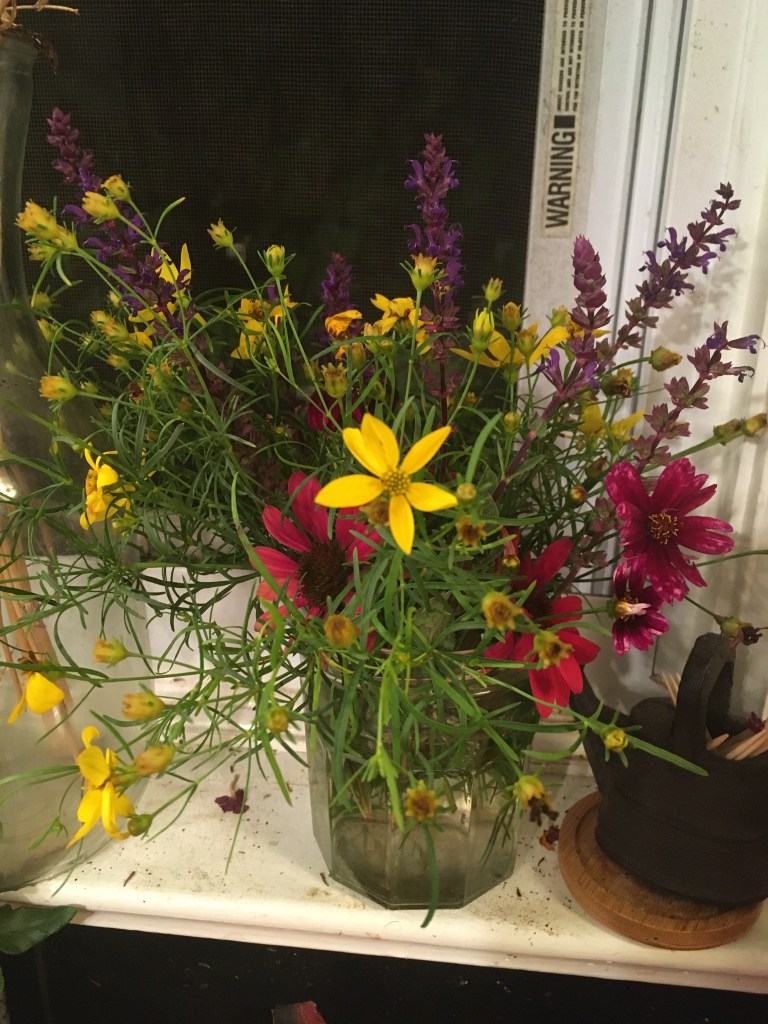
Long-Lasting Cut Flowers: Zinnia, Coreopsis, Salvia, Cosmos. Hydrangeas can be long lasting as well if you wait to cut them when they are beginning to feel papery on the stem.
Flowers that Fade Quickly: Echinacea, Black-Eyed Susan.
We love Trader Joe’s spice grinders. We like the Lemon Pepper, Everyday Seasoning, and Garlic Salt. If you haven’t tried them, you really should.
What what do you do when you find yourself smack-dab in the middle of a pandemic, and you can’t run out and buy more? You get creative and make your own.
Garlic Salt is the seasoning I use the most. It’s basic and I find it to be the most versatile. I use it on the kids chicken strips that they eat every day for lunch, and I REALLY like it on our sourdough crackers. If you want to try to craft your own, save an empty grinder and mix the following together.
Homemade Garlic Salt:
3 tsp parsley flakes
3 tsp dried minced garlic
2 tsp onion flakes
2 tsp salt
If you’re interested in making your own spice blends and seasoning mixes, check out Homesteading Family’s Homestead Kitchen Membership. They recently did Pantry Challenge and have whole workbooks full of DIY baking and spice mixes that you can make yourself for pennies.
You might also be interested in their Home Management class which gives common sense, every day tips and systems for keeping your busy, productive household running smoothly.
I’ve chosen to use lots of reusable cloth products over the years – cloth napkins, cloth diapers, and mama cloth. At the beginning of COVID, I had to come up with a cloth alternative for paper towels when all the regular paper towel were out of stock. I ended up using something I already had. I raided my cloth diaper bins and pulled out our cloth baby wipes. I’m so glad I did. We’ve probably cut our paper towel usage by more than half. I still keep paper towels on hand for extremely greasy or germ-filled cleanups. But for the messy faces and daily spills, these work great for us. Read on….
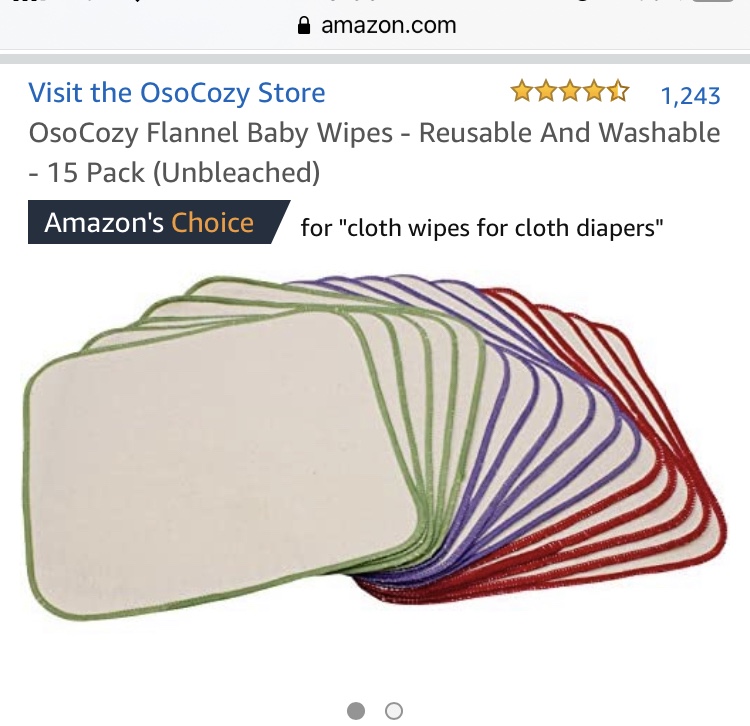
Many companies offer various different reusable paper towels these days to help people reduce their use of disposable paper products. I tried some of them. But, honestly, the flannel baby wipes we used when we did cloth diapers with our kids, are the best washable cloths that I’ve found.
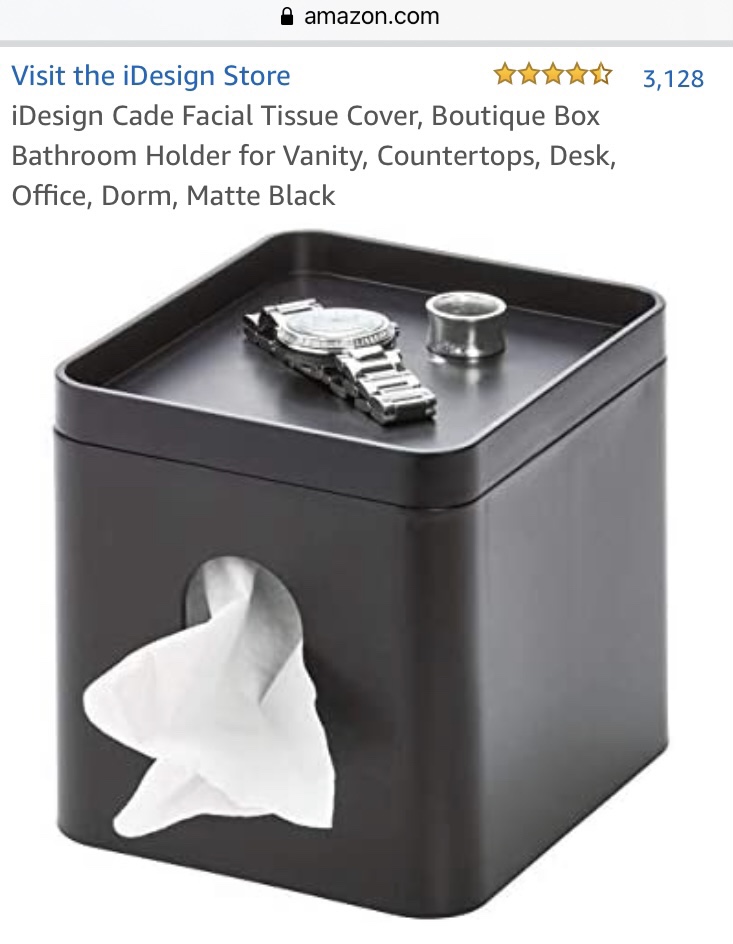
They are small, soft, and absorbent. I keep a tissue box cover full of them on the kitchen counter with them all folded over tissue style so that the kids can pull them out easily. They are just the right size for what the kids need. I keep a bin in the Butler’s Pantry for dirty towels. The kids throw them in there and they get washed with all the kitchen laundry.
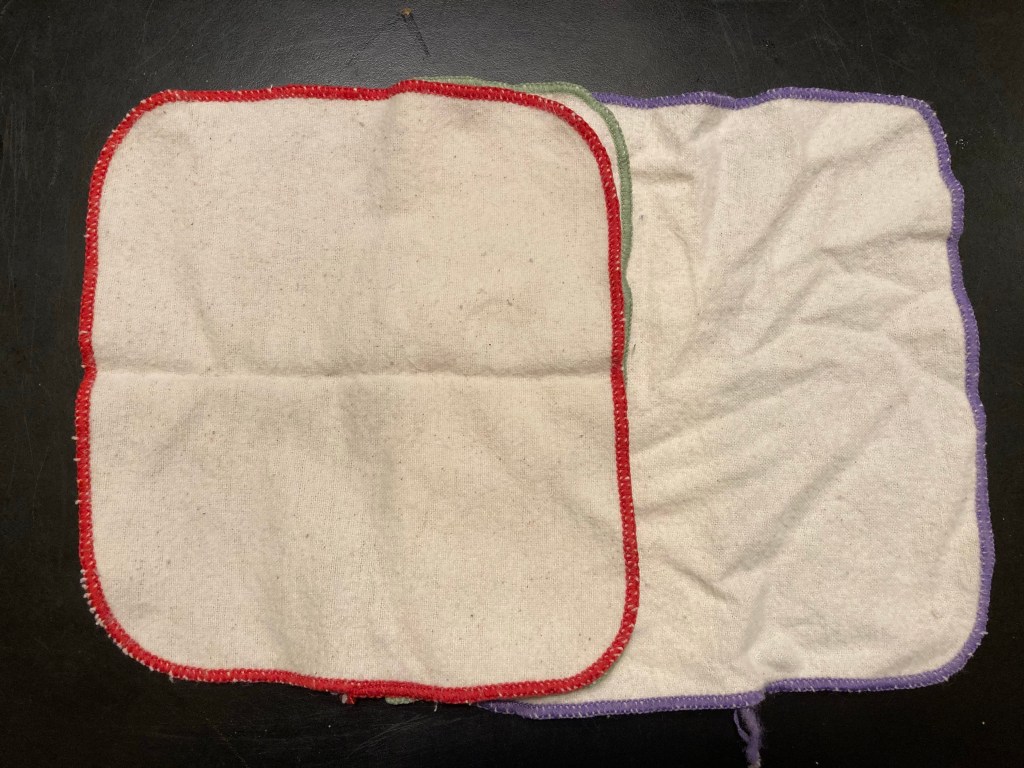
I keep this tissue box cover on my kitchen counter for the kids to grab flannel wipes from when they need to wipe a messy face or clean up a spill. This makes convenient so they reach for the cloth wipes rather than a paper towel.How to fold tissue style. 1) Purple wipe goes down first. 2) Green wipe covers half of purple wipe. 3) Red wipe covers green wipe.4) Fold purple wipe over red and green edges. 5) Repeat process by laying another wipe on top of the purple. 6) Fold the Red over. 7) Go again until all are folded. 8) Place in your tissue box.
I like this Tissue Box Cover best. It works great on the kitchen counter and looks nice. I like that I can set things on top.
You could also easily make reusable wipes for this purpose using an old flannel shirt or pajama pants. I have some saved for just this purpose. I’ll get around to it someday. In the meantime, these work well for me.
Jump in and make your own. It would be a great upcycle project. Break out the scissors and sewing machine, or give some purchased wipes a try.
It certainly has saved us lots of paper towels each week.
* Note: There are no affiliate links in this post.
Do you have organic produce coming in? Fall is upon us. Don’t forget to save seeds from some of your produce for use next year. Squash, and tomatoes are great to save seeds from, and it’s pretty easy.
Here’s how….
Saving Seeds:
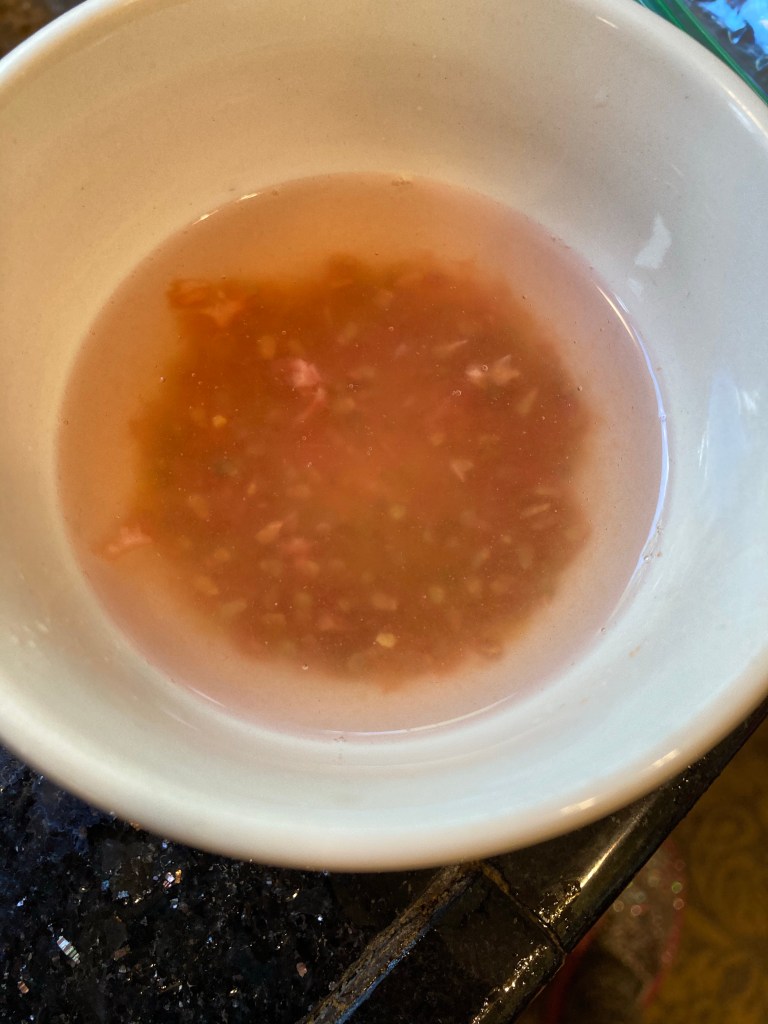
Scrape those seeds off the cutting board as you chop those tomatoes. They all tend to squirt out anyway. Be sure to slice different varieties separately from each other, so as not to mix seeds.
Scrape them all into a bowl and cover with a little bit of water.
Let them soak overnight to help loosen some of the gel around them.
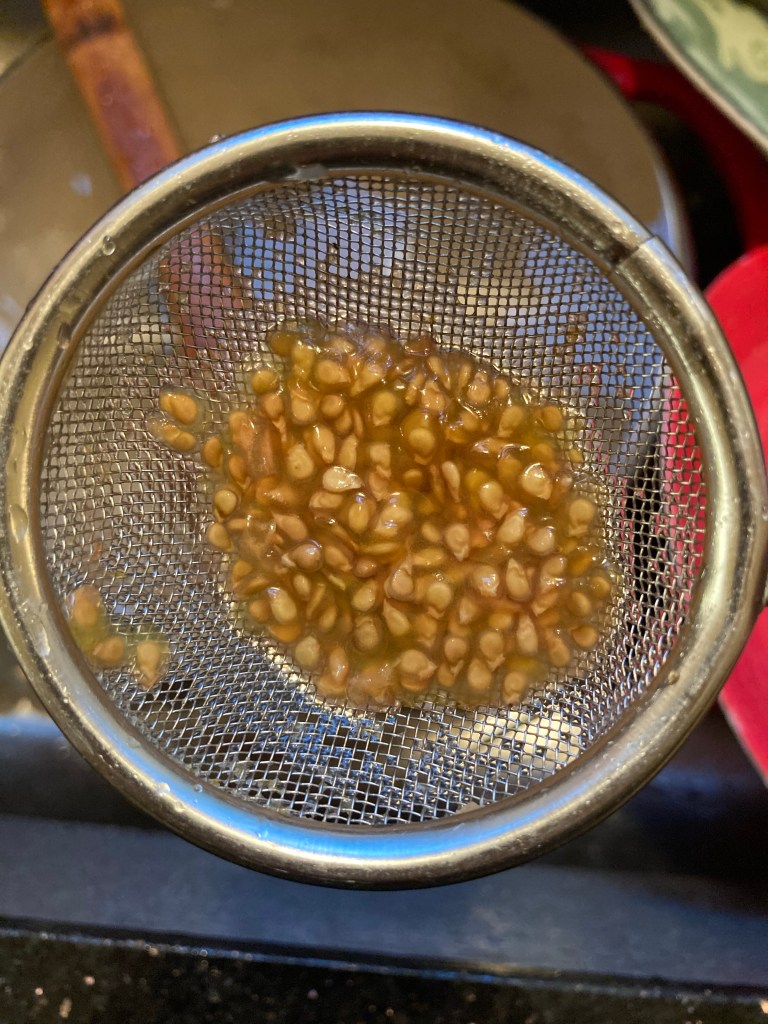
Then rinse well with water straining them through a sieve.
Spread out on the back of a paper plate labeled with the name of the plant. Set it in a warm place to dry.
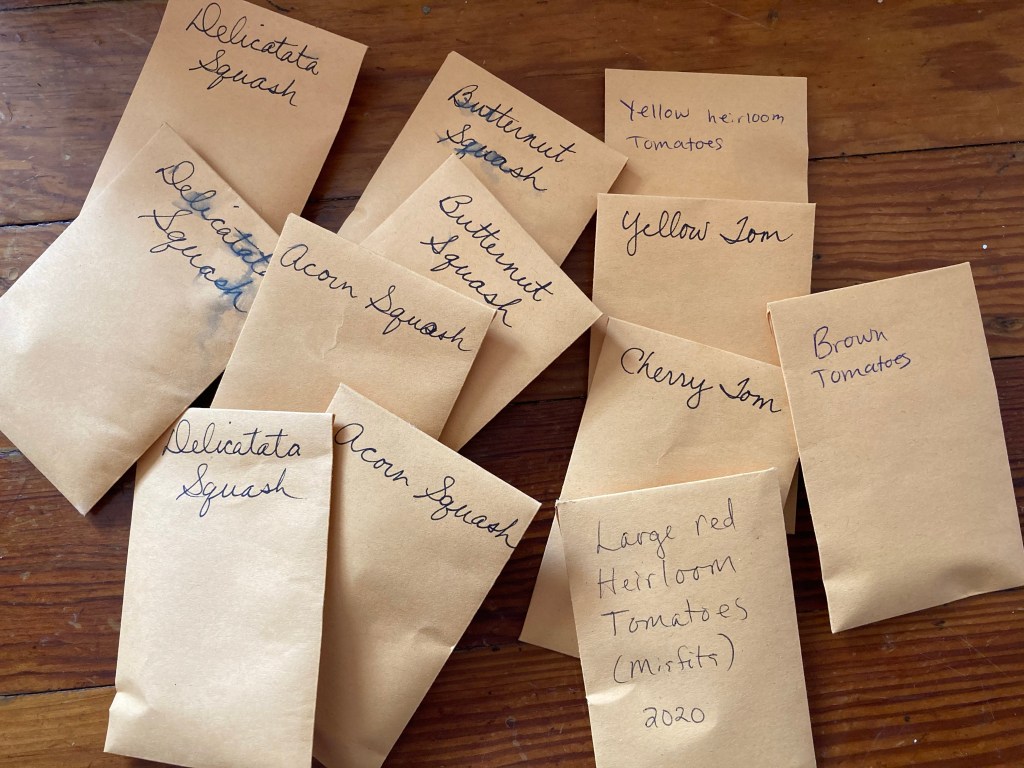
Once dry, store in a labeled (name and year), paper envelope for the next growing season.
Squash is a great plant for saving seeds too. Use the same steps outlined above.
Happy gardening! May your harvest be bountiful! ❤️
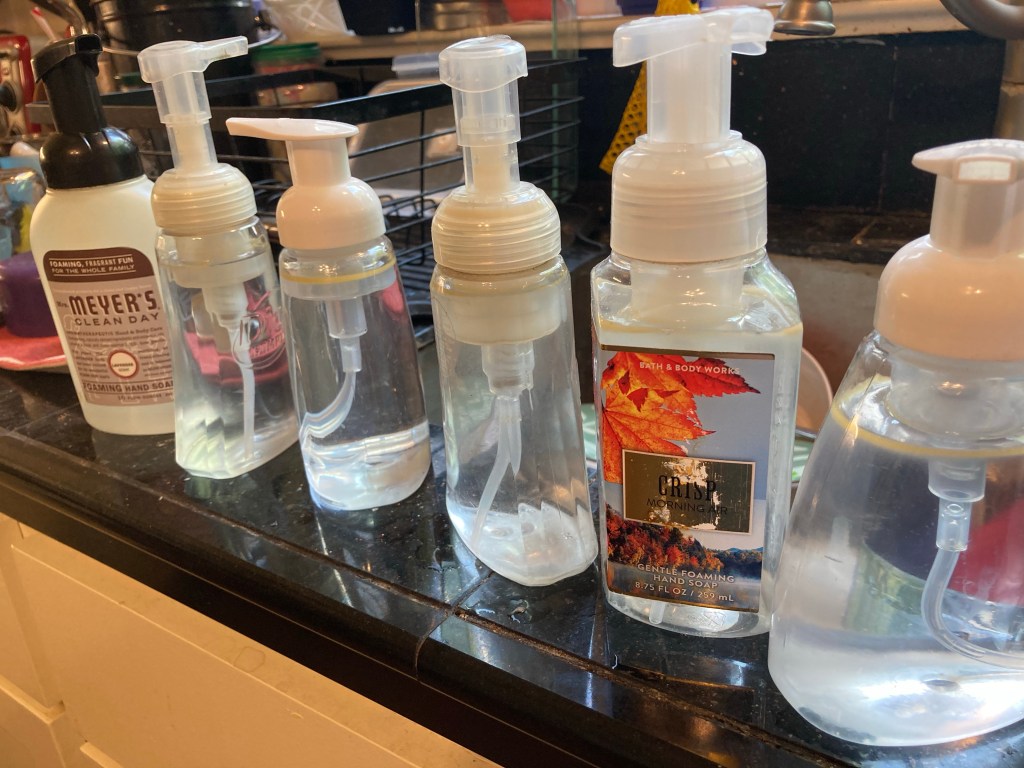
I took this photo 9 years ago when I started reusing my foaming soap bottles and making my own hand soap. I made a batch of 8 bottles today. My ingredients have changed over the years, but the basics are the same.
Your favorite dish soap + your favorite essential oils + water = soap for pennies!
You can see my original post if you visit the Kitchen Sink page.
Lately I’ve also started adding 1 tbls of aloe gel to each bottle which helps keep your hands soft and makes the soap feel silky like the fancy soaps you buy at the mall. I vary the oils I use. Lately it’s Tea Tree and Grapefruit. I also like lemon and lavender, orange and clove (just one drop), geranium and pine. Be creative and experiment with your own favorite scents.
The essential oils you use also add disinfecting properties. Many people think that soap disinfects. This is a misconception. Soap actually does not disinfect inasmuch as it changes the pH of your hands. Soap on it’s own is a solvent. It lifts the dirt, grease, and germs and allows them to be washed away with the water. This is why hand washing is so important for fighting COVID-19. But soap, in and of itself, does not kill germs. If you want to add anti-microbial properties to tour soap, this is where the essential oils come in. Oils like tea tree, clove, and lemon are anti-bacterial, and anti-viral. Grapefruit is anti-microbial. So choose yours oils based on their properties and the smells you like.
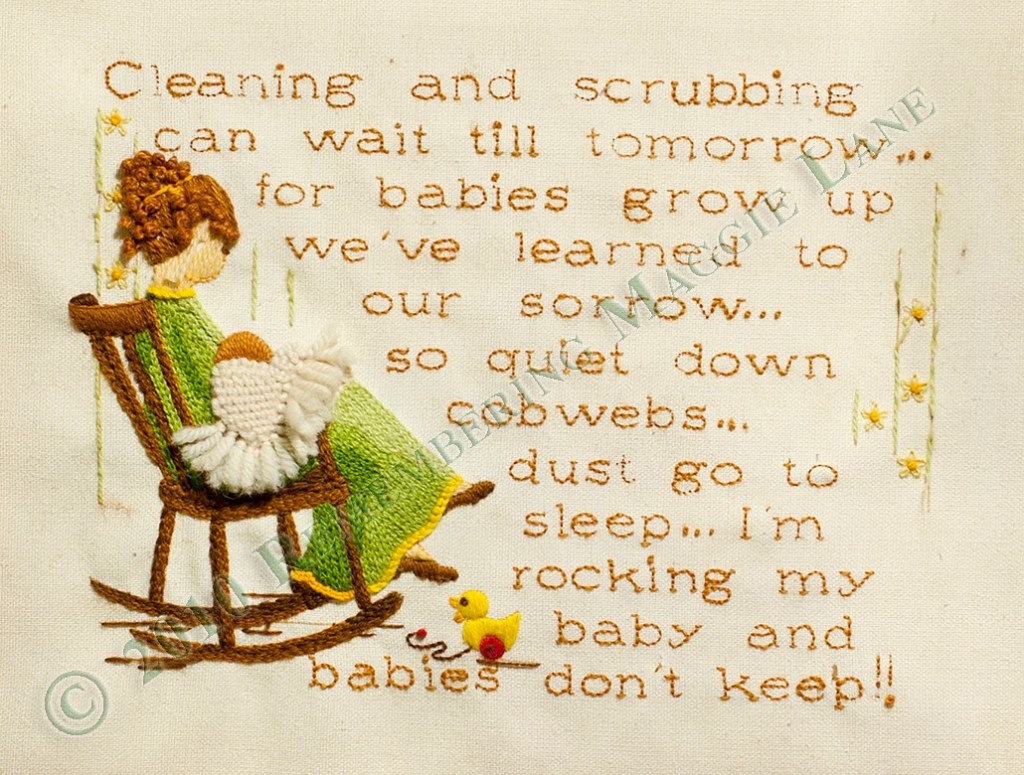
Embroidered by my mom when we were kids, circa 1980.
My mom embroidered this poem when my brothers and I were little.
“Cleaning and scrubbing can wait till tomorrow… for babies grow up we’ve learned to our sorrow. So quiet down cobwebs… dust go to sleep… I’m rocking my baby and babies don’t keep!!”
This is one of the first photos that I posted on my blog on the Baby page 10 years ago. It’s been one of the pages that I have received the most comments on, with many people asking if I know where they can purchase the embroidery pattern.
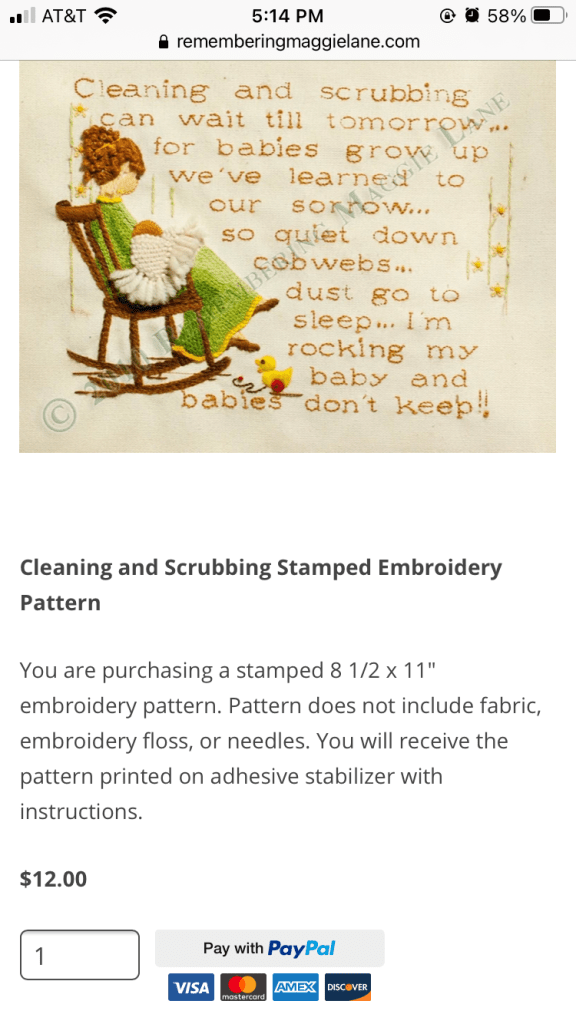
It’s only taken me 10 years, but I’ve finally figured out a way to transfer this pattern to a medium which I can offer for sale.
If you’re interested, head on over to the Babypage for details and purchase information, or click the image below.
If you want to give this recipe a try, follow my basic waffle recipe here, but use half the oil, 3 cups of regular milk rather than the 4 cups of buttermilk (or soured milk), and add 1-2 cups of sourdough starter.
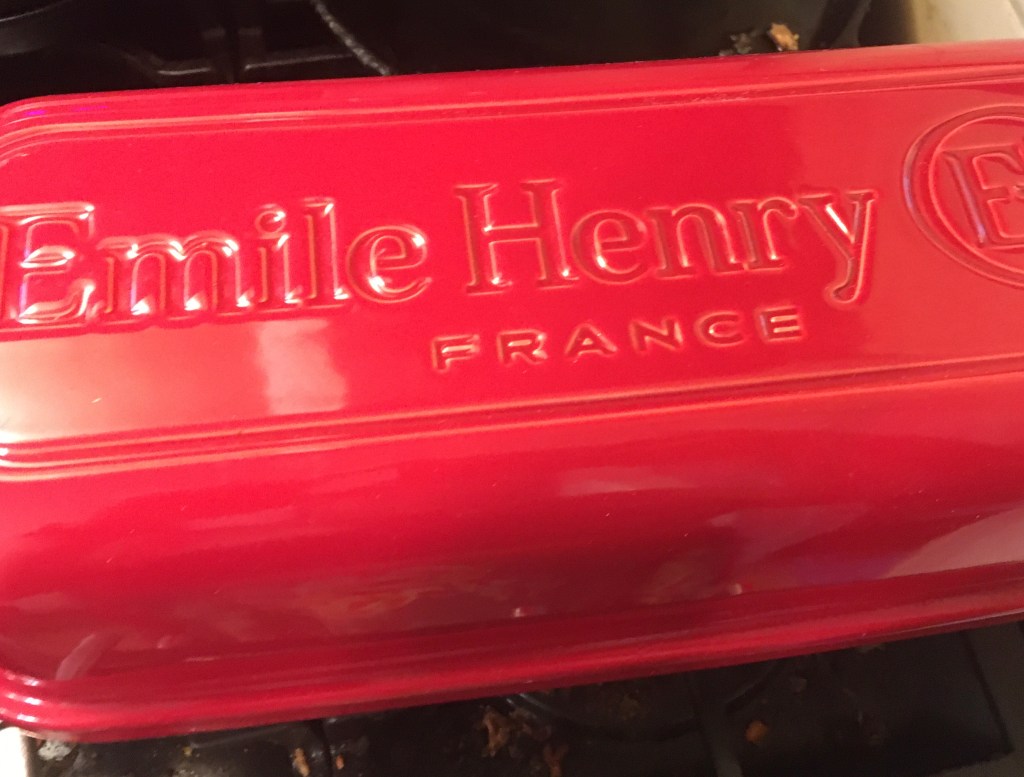
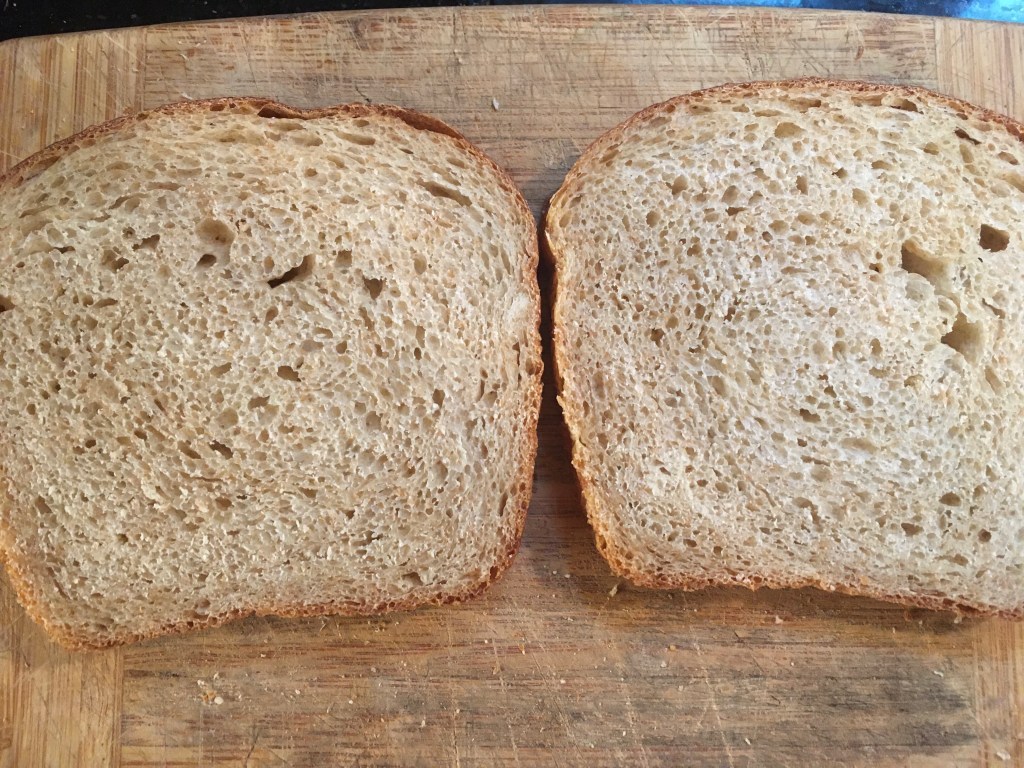
This has become my favorite loaf to make. It’s so big, and tall, and luscious. It’s the perfect loaf for anyone with an Emile Henry Italian loaf baker. Give it a try with the recipe below and let me know how it turns out. Post a picture of your loaf in the comments!
Sourdough Sandwich Loaf Recipe:
Begin with approximately 2 cups of activated sourdough starter. This means that the starter should have been fed within the last 2-3 hours. I don’t specifically measure. I just eyeball it.
Add the following…
1 1/2 tsp salt
2 tbls honey
1 1/2 cups water
Stir all this into the starter.
Activated starter with salt and honey. Water is next.
Next add your flour. If you are using an all purpose starter, add the all purpose flour first. If you have a whole wheat starter or other whole grain add the whole grain flour first. You want to be sure that the flour that your starter is used to being fed is mixed into the starter well before another type of flour is added. So….
2 cups all purpose flour
1 3/4 – 2 1/2 cups whole grain flour
The whole grain flour could be whole wheat, spelt, etc. I use freshly milled flour.
The reason I give a range here on the flour is that this can vary for you depending on how thick/thin you keep your starter. I typically use about 2 cups of whole grain flour.
The other thing to keep in mind is that this is a fairly stiff dough. For those of you used to high hydration loaves, you may feel like you are over flouring here.
After you have mixed in the flour that your starter is typically used to being fed, then mix in the other flour one cup at a time. You need to read your dough after the first cup of flour. You are going for a dough that is fairly stiff and just cleans the side of the bowl.
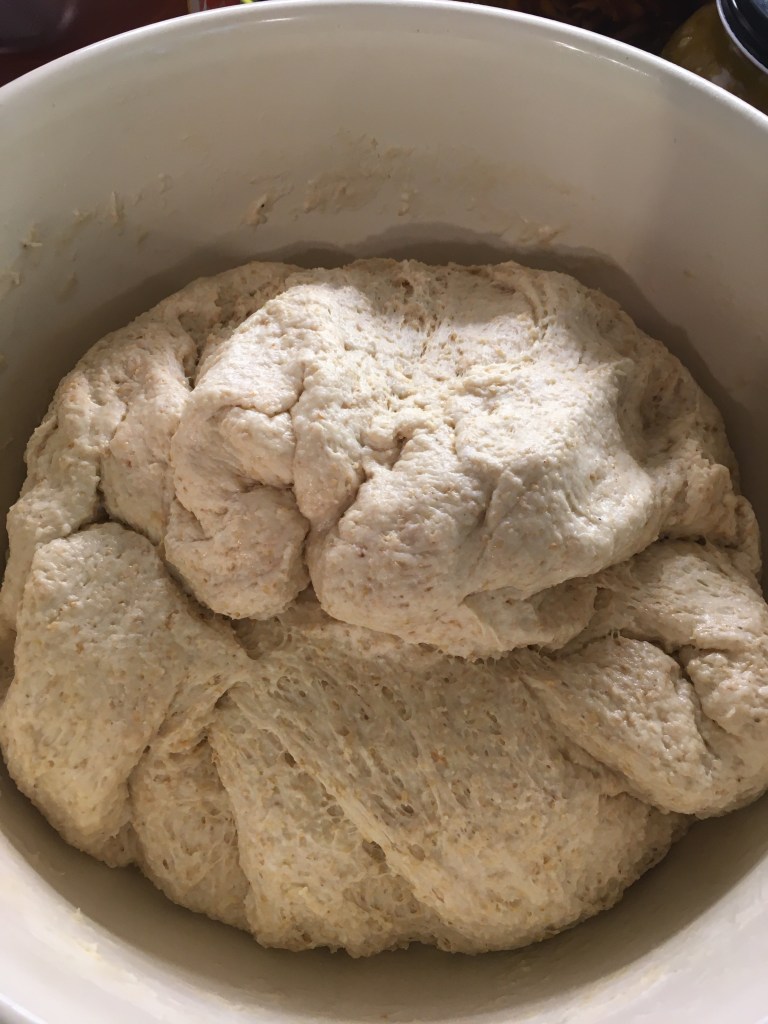
This is after one stretch and fold.
After you think you have added enough flour, covet the bowl with a wet towel and let the dough rest for 30 minutes.
After the first 30 minute rest, you want to perform 4-5 sets of stretch and folds every 20-30 minutes. To execute a stretch and fold, reach under the dough and pull a section of the dough up and fold it toward the center of the dough. Do this all the way around the circumference of the ball of dough. Let the dough rest for at least 20 minutes, and perform another stretch and fold until you have done it 4-5 times.
Now give the dough a final 20 minute rest and while you prepare your loaf pan.
I use an Emile Henry Italian Baker (affiliate link). As you can see, this is an extra-large loaf pan. You could use an oval Dutch oven to make this loaf, or divide the dough into two regular sized loaf pans. You could also cut the recipe in half if you only want to make one loaf in a regular sized loaf pan.
If using loaf pans, butter or grease your pans well.
After the dough has completed its final rest (divide it in half if using two loaf pans) and then flatten it into a rough rectangle just slightly smaller than the length of your pan. Roll it into a log shape, pinch the seam closed, and place it in the loaf pan for its final rise. If you have the EH Italian baker, cover the dough with the lid while it rises. (Note: if baking in a Dutch oven, let your dough rise in a covered, oblong banneton, and use parchment paper to line your Dutch oven with rather than greasing it.)
A peek at the bread rising. This dough needs to be a little closer to the top before it’s ready.
Let the dough rise until it reaches the top of your loaf pan or banneton.
Once it had risen to the top of the pan, preheat the oven to 400 degrees.
Once the oven is hot, place your loaf pan in the oven and bake covered for 30 minutes. Then remove the cover and bake for 15 more. If baking in regular loaf pans, you can bake uncovered, just watch the loaf for the last 15 minutes to be sure that it is not browning too quickly. If you find it browns too fast, reduce the heat to 350 for the last 15 minutes.
Cool completely on a wire rack and enjoy your beautiful loaf!
Printable Recipe:
2 cups sourdough starter
1/2 tsp salt
2 tbls honey
1 1/2 cups water
2 cups of flour (same as starter)
1 3/4 – 2 cups flour of choice
Mix all ingredients well. Perform 4-5 sets of stretch and folds. Shape and place in loaf pan for second rise. Preheat oven to 400 when bread reaches the top of the pan. Bake for at least 30 minutes or until golden brown.
My Favorite Loaf Pan and Grain Mill:
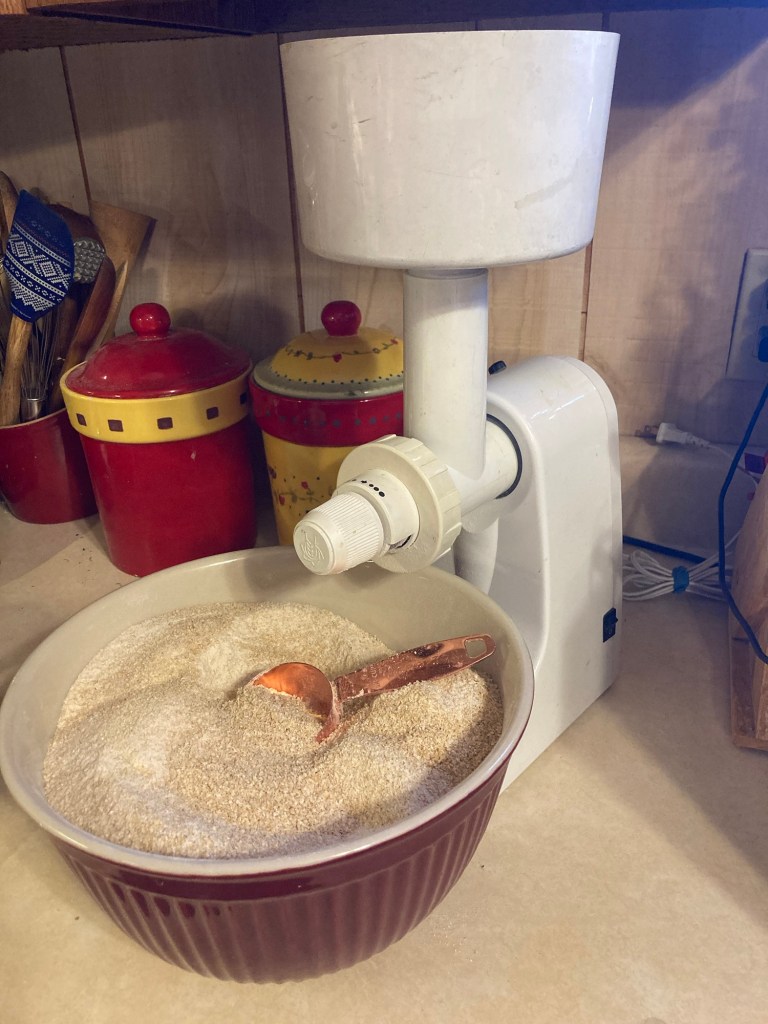
If you are new to sourdough and want to dive into milling your own grains, the Family Grain Mill is my favorite mill. It is a workhorse. Mine is a hand me down from my mom. It is 20 years old and still going strong. You can buy it with a motorized base or a hand crank which is nice if you live in an area prone to power outages. And as far as grain mills go it is one of the most inexpensive on the market. Still an investment but much cheaper than some of the fancier ones. It’s simple, strong, and will last you for decades.
And if you want you want to try the loaf pan I feature here in this recipe – it is worth every penny. The Emile Henry Italian Baker is expensive, and normally I err on the side of economy but I love this pan so much! It’s a pleasure to bake in, perfect if you have a large family, and baking the loaves with a cover really does give them beautiful rise and shape.
Need a Gluten-Free Recipe?
Try my Gluten-Free Seedy Bread. But if you really want more info on baking gluten-free yeast and sourdough bread, or the basics of ancient grains, check out the book I wrote for Homesteading Family called The Art of Gluten-Free Homemade Bread. It’s written specifically for families with multiple food sensitivities like mine. I assumes that you’ll need to tweak the recipes to match your dietary needs and it teaches you how to do it.