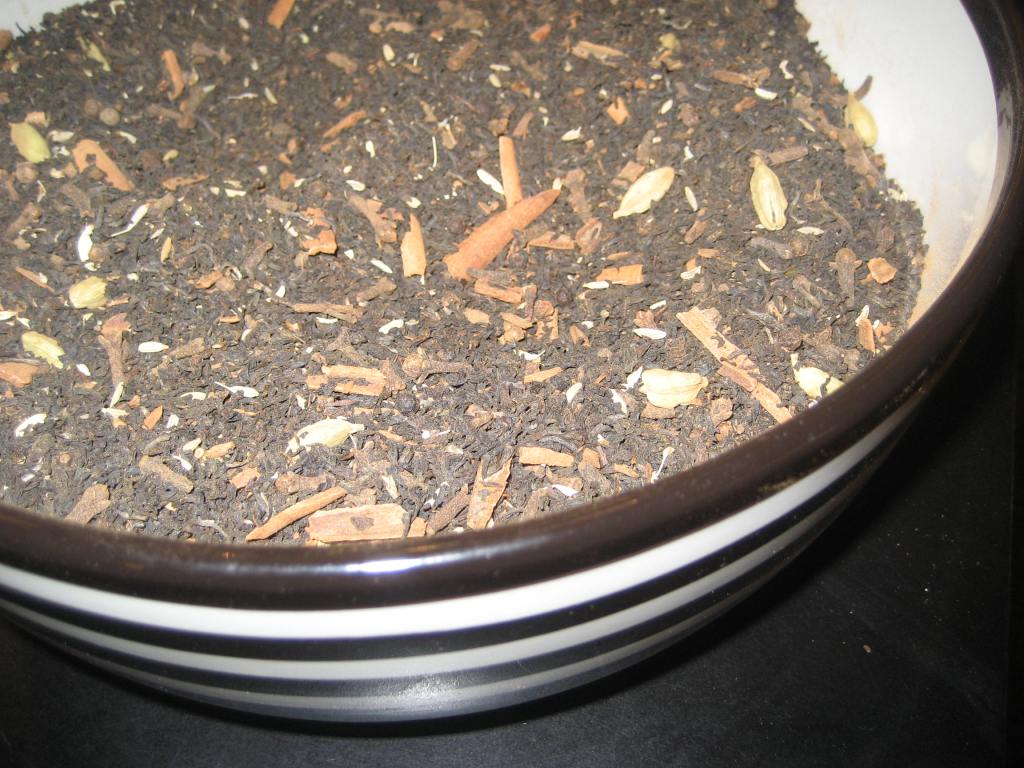
A perfect tea for a chilly fall morning. Mix up a batch, and serve instead of coffee with your Thanksgiving Day desserts. Get the recipe here!

A perfect tea for a chilly fall morning. Mix up a batch, and serve instead of coffee with your Thanksgiving Day desserts. Get the recipe here!

Perfect for breakfast or dessert on Thanksgiving day! Get the recipe here!
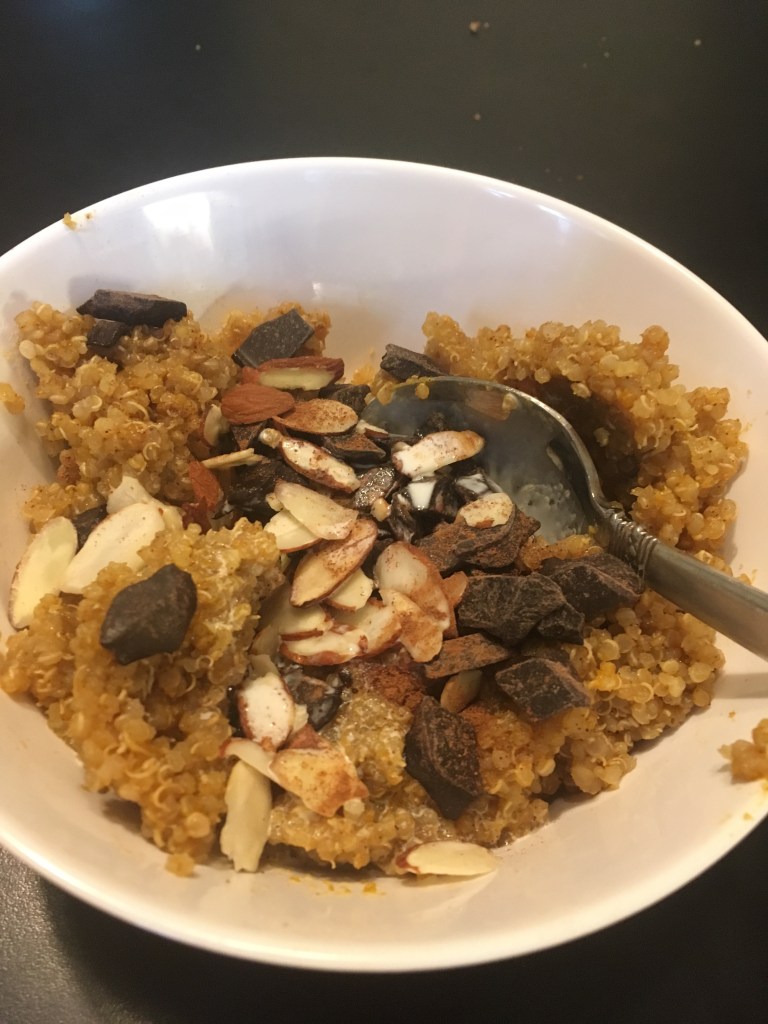
This hot pumpkin quinoa cereal is the perfect fall breakfast! And even better, it’s allergy friendly, and you can make it ahead in the Instant Pot! Perfect for Thanksgiving morning when you need to have an easy make ahead breakfast. Get the recipe here!
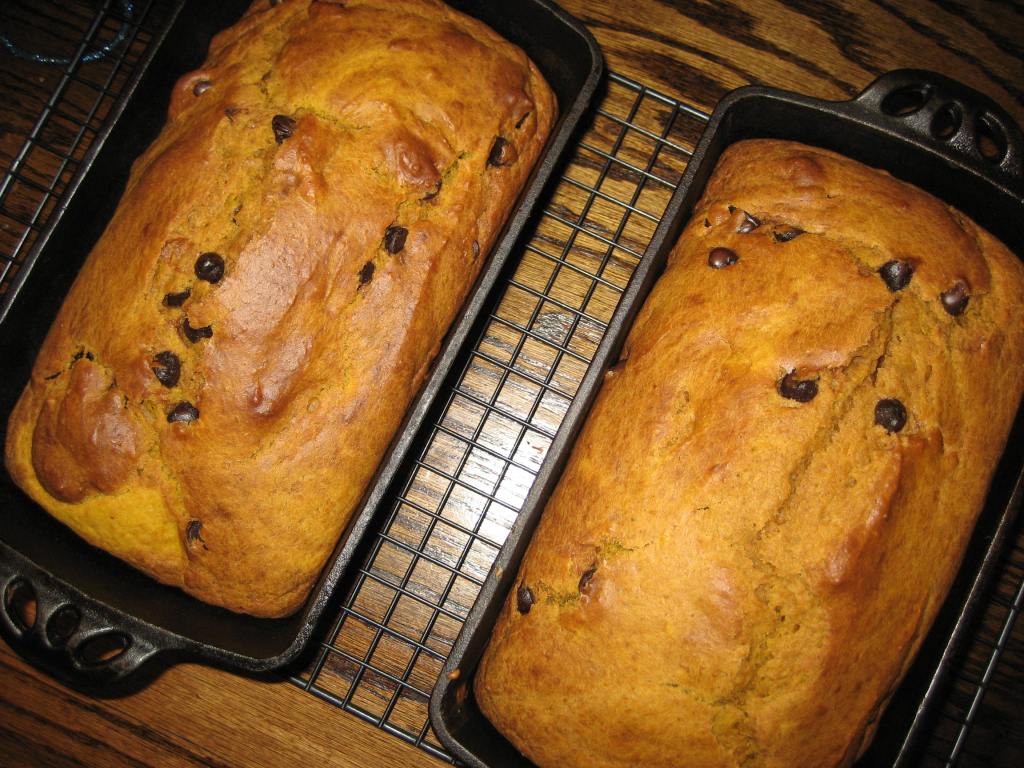
It’s Fall! Time for all things pumpkin. Pumpkin Bread is one of our all time favorites. We’ve been making these loaves for as long as this blog has been around – 10 years and counting.
You can try my regular version on the Family Favorites page.
For the gluten-free version, visit my Allergy Friendly Recipes.
It’s the best!

Pumpkin Banana Muffins:
2 cups all purpose flour
2 cups whole wheat, spelt, flour of choice
1 tsp salt
2 tbls baking powder
1 1/2 tsp cinnamon
1/4 tsp nutmeg
Stir together. Then add…
3 eggs (or 5 yolks)
1/2 tsp vanilla
1/2 cup mild flavored oil
3 very ripe bananas mashed
1 1/2 cups pumpkin purée (or my favorite – roasted butternut squash purée)
2 cups liquid (mix of milk, water, or milk substitute)
Mix until dry ingredients are just incorporated.
Allergy Notes:
If you can have sugar consider adding some mini-chocolate chips to these. Mmm.
And if you need to avoid eggs altogether, consider adding 1 cup sourdough starter to your batter to improve the texture.
Spoon into muffin cups and bake at 400 degrees for 20-24 minutes.
Makes about 3 dozen muffins.
Cool completely and then store in the refrigerator. Best stored in the freezer if not eaten within 3 days.

This homemade salsa is so easy and delicious. It takes 5 minutes to dump it all in the food processor or blender and whip it up. Give it a try.
2 – 16 oz can (or 1 – 32 oz) diced tomatoes (crushes or whole tomatoes work as well)
1 tsp sea salt (1/2 tsp table salt)
1 lime, juiced
1 tbls chili powder
2 tbls garlic powder
1 tbls cumin
1/2 cup onion, chopped
1/4 cup fresh cilantro
Dump it all in and blend it up. Your salsa is done! I have to give credit for this recipe to my mom. She taught me well. This is just too good. I refuse to eat store salsa. There’s no going back after you taste this!

I first posted this recipe on the Family Favorites page 10 years ago and it stands the rest of time. I made it again last week. It’s still a family favorite. 😊
It’s still pretty basic. I fry potatoes, and add some cooked beans and meat to the mix and dinner is done!
I change the ingredients sometimes. Sometimes I do chicken, or ground beef, leftover roast….. I’ll replace the black beans with pinto if that’s what I have. It’s a very flexible recipe.
Sometimes I grate the potatoes and make hash brown patties, rather than the fried potatoes in the original recipe and top them with the bean and meat mixture.
And topped with chopped onions, cilantro and homemade cilantro, it’s especially delicious. ❤️

On my quest to come up with yummy snacks and desserts that fit our current diet, I came up with these and they are yummy!
All my kids, blueberry loves and haters alike enjoyed them and asked for more.
Blueberry, Banana, Carrot Muffins:
2 cups all purpose flour
2 cups whole wheat, spelt, flour of choice
1 tsp salt
2 tbls baking powder
1 tsp stevia or 1 tbls monk fruit (optional if you want it a tad sweeter)
Stir together. Then add…
1/2 cup mild flavored oil
3 very ripe bananas mashed
1 cup finely grated carrot
1 cup blueberries
1 3/4 cups liquid (mix of milk, water, or milk substitute)
Mix until dry ingredients are just incorporated.
Spoon into muffin cups and bake at 400 degrees for 20-24 minutes.
Makes about 2 dozen muffins.
Cool completely and then store in the refrigerator. Best stored in the freezer if not eaten within 3 days.
Enjoy!


This is a great healthy snack. It’s sugar free, egg free, and dairy free. Read on…
Two of our family are taking a break from sugar at the moment, and another can’t do dairy and eggs. This means it’s time to develop a new recipe, and Fall is a great time of year to try this one.
Carrot Spice Bread:
Makes 2 loaves.
2 cups all purpose flour
2 cups whole wheat, spelt, or your flour choice
1 tsp salt
2 tsp baking soda
1 tsp cinnamon
1/4 tsp cloves
2 cups finely shredded carrot
2 ripe bananas, mashed
2 cups orange juice
1/3 cup oil
Mix all dry ingredients. Mix all wet ingredients in a separate bowl. Add the wet to the dry. Mix well. Pour into greased bread pan. Bake at 350 for 50-55 minutes or until the center tests clean.
Cool on wire racks.
* Note: You could also make this in cake form if desired. Just cook in two greased and floured cake pans instead. I also sometimes make it in a 9×12 casserole as well. And if you aren’t avoiding caloric sweeteners all together like we are, add 1/4 cup of honey or maple syrup to make it that much better.
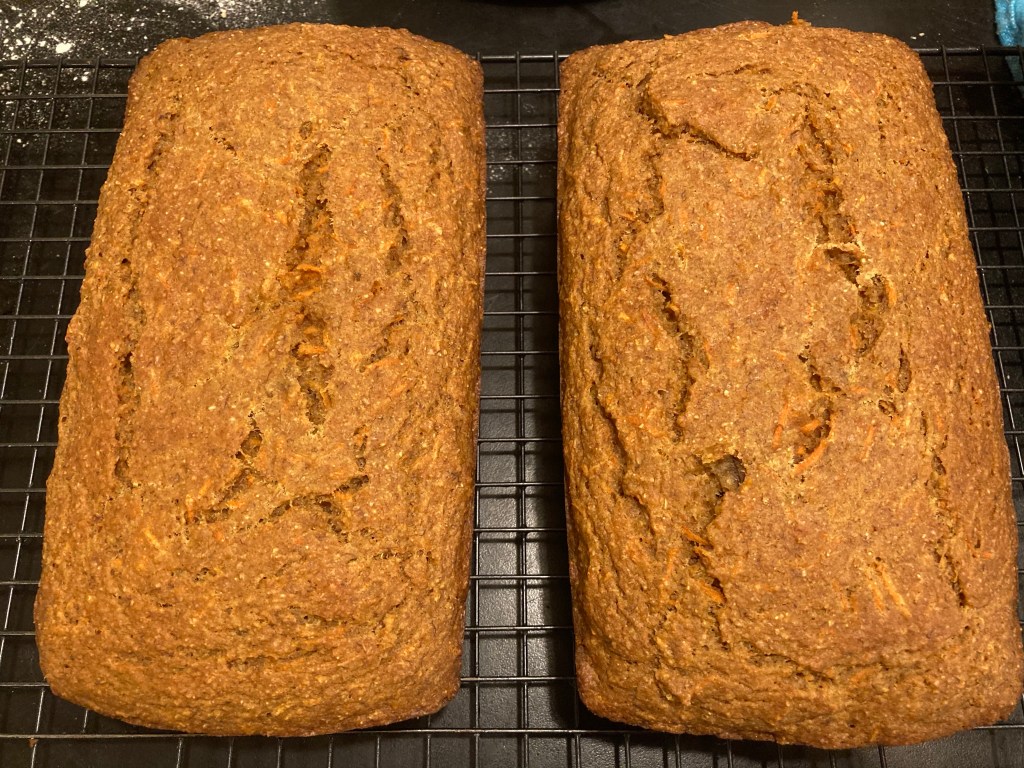
This bread is just slightly sweet so it’s a great snack any time.
And stayed tuned for the sourdough version in a couple of weeks.

We love Trader Joe’s spice grinders. We like the Lemon Pepper, Everyday Seasoning, and Garlic Salt. If you haven’t tried them, you really should.
What what do you do when you find yourself smack-dab in the middle of a pandemic, and you can’t run out and buy more? You get creative and make your own.
Garlic Salt is the seasoning I use the most. It’s basic and I find it to be the most versatile. I use it on the kids chicken strips that they eat every day for lunch, and I REALLY like it on our sourdough crackers. If you want to try to craft your own, save an empty grinder and mix the following together.
Homemade Garlic Salt:
3 tsp parsley flakes
3 tsp dried minced garlic
2 tsp onion flakes
2 tsp salt


If you’re interested in making your own spice blends and seasoning mixes, check out Homesteading Family’s Homestead Kitchen Membership. They recently did Pantry Challenge and have whole workbooks full of DIY baking and spice mixes that you can make yourself for pennies.
You might also be interested in their Home Management class which gives common sense, every day tips and systems for keeping your busy, productive household running smoothly.
Note: This post contains affiliate links.

It’s a tower of waffles. Sourdough this time. Using my favorite cast iron waffle makers.
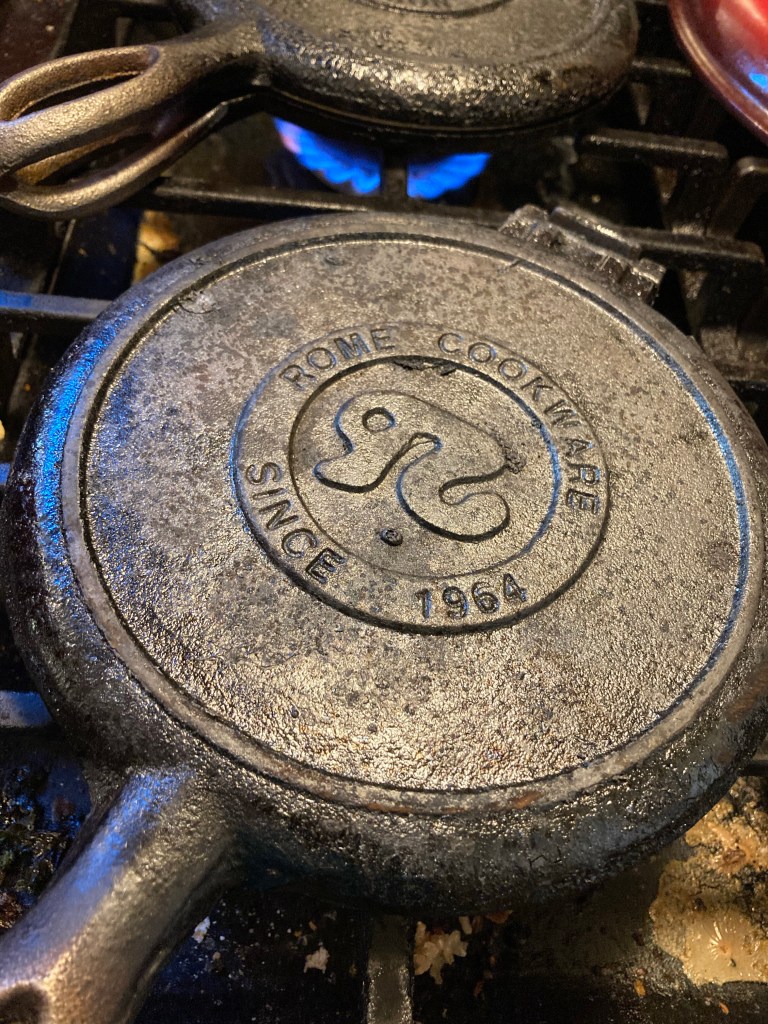
If you want to give this recipe a try, follow my basic waffle recipe here, but use half the oil, 3 cups of regular milk rather than the 4 cups of buttermilk (or soured milk), and add 1-2 cups of sourdough starter.

Happy breakfast!

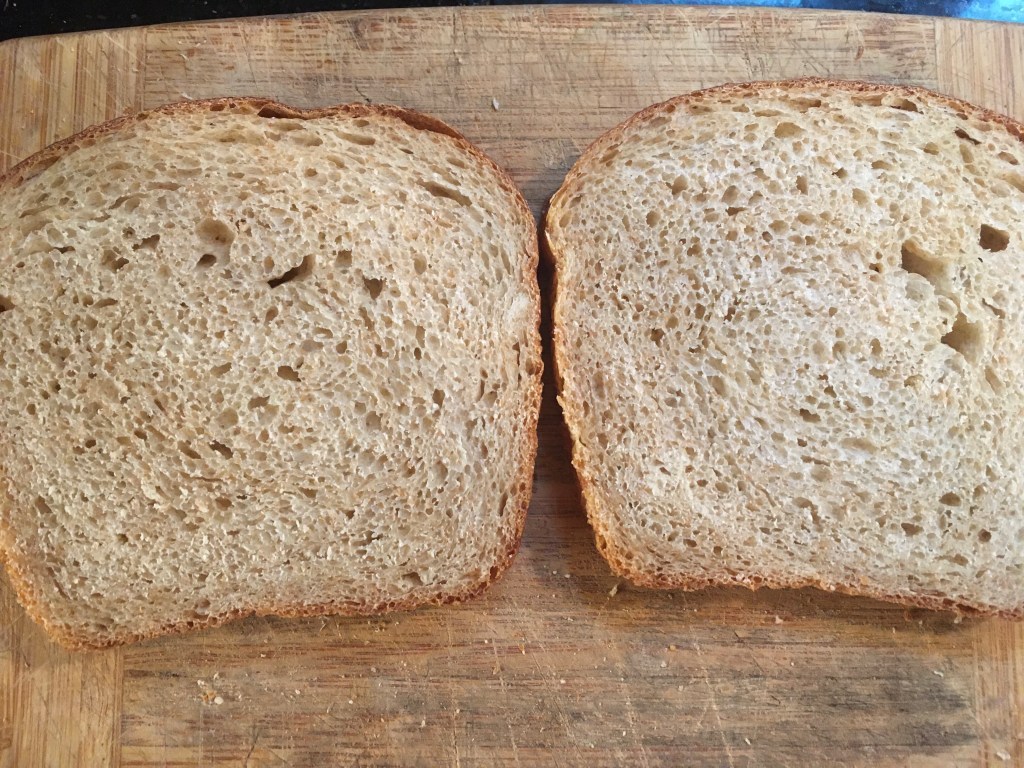
This has become my favorite loaf to make. It’s so big, and tall, and luscious. It’s the perfect loaf for anyone with an Emile Henry Italian loaf baker. Give it a try with the recipe below and let me know how it turns out. Post a picture of your loaf in the comments!
Sourdough Sandwich Loaf Recipe:
Begin with approximately 2 cups of activated sourdough starter. This means that the starter should have been fed within the last 2-3 hours. I don’t specifically measure. I just eyeball it.
Add the following…
1 1/2 tsp salt
2 tbls honey
1 1/2 cups water
Stir all this into the starter.

Next add your flour. If you are using an all purpose starter, add the all purpose flour first. If you have a whole wheat starter or other whole grain add the whole grain flour first. You want to be sure that the flour that your starter is used to being fed is mixed into the starter well before another type of flour is added. So….
2 cups all purpose flour
1 3/4 – 2 1/2 cups whole grain flour
The whole grain flour could be whole wheat, spelt, etc. I use freshly milled flour.
The reason I give a range here on the flour is that this can vary for you depending on how thick/thin you keep your starter. I typically use about 2 cups of whole grain flour.
The other thing to keep in mind is that this is a fairly stiff dough. For those of you used to high hydration loaves, you may feel like you are over flouring here.
After you have mixed in the flour that your starter is typically used to being fed, then mix in the other flour one cup at a time. You need to read your dough after the first cup of flour. You are going for a dough that is fairly stiff and just cleans the side of the bowl.
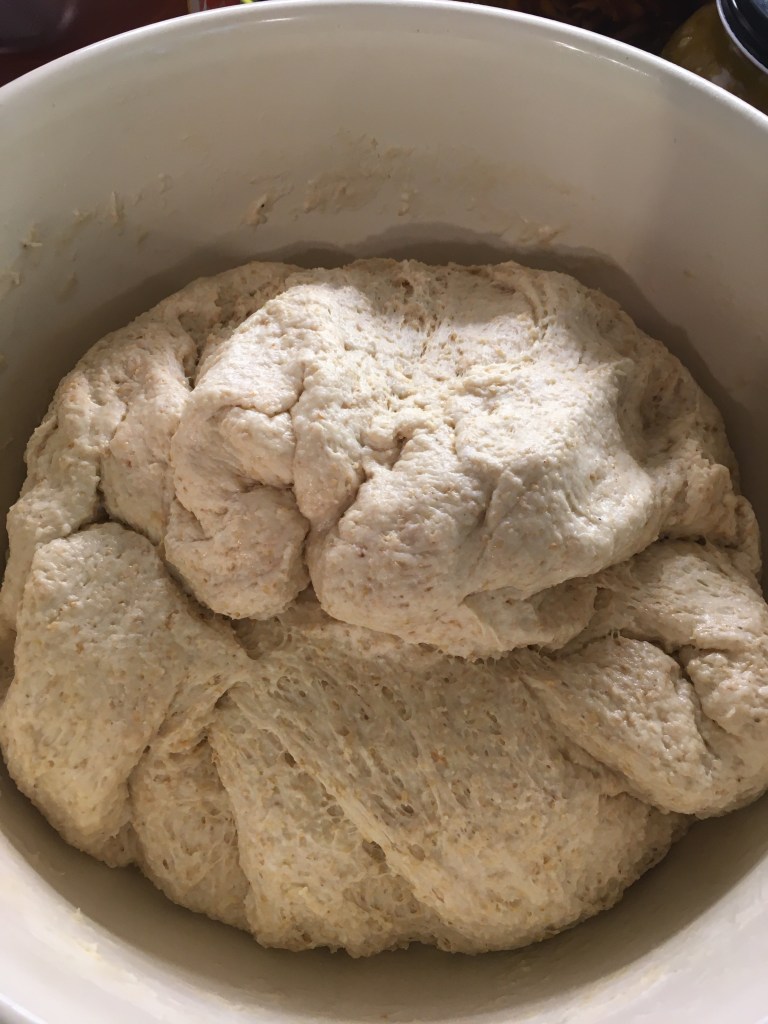
After you think you have added enough flour, covet the bowl with a wet towel and let the dough rest for 30 minutes.
After the first 30 minute rest, you want to perform 4-5 sets of stretch and folds every 20-30 minutes. To execute a stretch and fold, reach under the dough and pull a section of the dough up and fold it toward the center of the dough. Do this all the way around the circumference of the ball of dough. Let the dough rest for at least 20 minutes, and perform another stretch and fold until you have done it 4-5 times.
Now give the dough a final 20 minute rest and while you prepare your loaf pan.


I use an Emile Henry Italian Baker (affiliate link). As you can see, this is an extra-large loaf pan. You could use an oval Dutch oven to make this loaf, or divide the dough into two regular sized loaf pans. You could also cut the recipe in half if you only want to make one loaf in a regular sized loaf pan.
If using loaf pans, butter or grease your pans well.
After the dough has completed its final rest (divide it in half if using two loaf pans) and then flatten it into a rough rectangle just slightly smaller than the length of your pan. Roll it into a log shape, pinch the seam closed, and place it in the loaf pan for its final rise. If you have the EH Italian baker, cover the dough with the lid while it rises. (Note: if baking in a Dutch oven, let your dough rise in a covered, oblong banneton, and use parchment paper to line your Dutch oven with rather than greasing it.)

Let the dough rise until it reaches the top of your loaf pan or banneton.
Once it had risen to the top of the pan, preheat the oven to 400 degrees.
Once the oven is hot, place your loaf pan in the oven and bake covered for 30 minutes. Then remove the cover and bake for 15 more. If baking in regular loaf pans, you can bake uncovered, just watch the loaf for the last 15 minutes to be sure that it is not browning too quickly. If you find it browns too fast, reduce the heat to 350 for the last 15 minutes.

Cool completely on a wire rack and enjoy your beautiful loaf!

Printable Recipe:
2 cups sourdough starter
1/2 tsp salt
2 tbls honey
1 1/2 cups water
2 cups of flour (same as starter)
1 3/4 – 2 cups flour of choice
Mix all ingredients well. Perform 4-5 sets of stretch and folds. Shape and place in loaf pan for second rise. Preheat oven to 400 when bread reaches the top of the pan. Bake for at least 30 minutes or until golden brown.
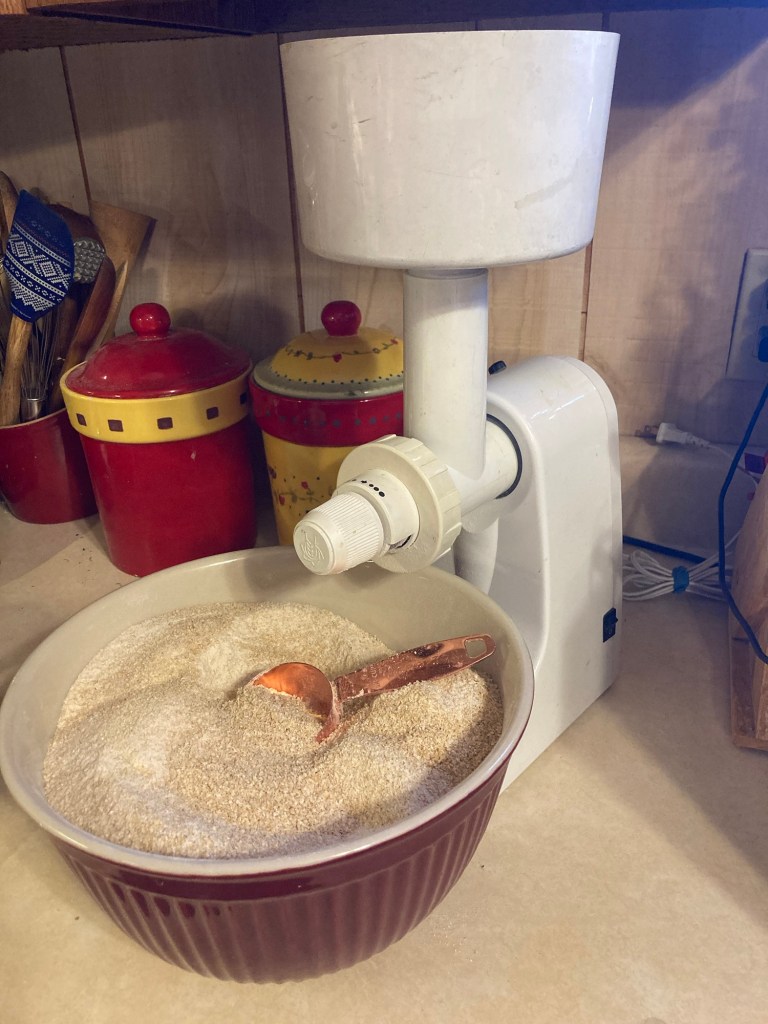
My Favorite Loaf Pan and Grain Mill:
If you are new to sourdough and want to dive into milling your own grains, the Family Grain Mill is my favorite mill. It is a workhorse. Mine is a hand me down from my mom. It is 20 years old and still going strong. You can buy it with a motorized base or a hand crank which is nice if you live in an area prone to power outages. And as far as grain mills go it is one of the most inexpensive on the market. Still an investment but much cheaper than some of the fancier ones. It’s simple, strong, and will last you for decades.
And if you want you want to try the loaf pan I feature here in this recipe – it is worth every penny. The Emile Henry Italian Baker is expensive, and normally I err on the side of economy but I love this pan so much! It’s a pleasure to bake in, perfect if you have a large family, and baking the loaves with a cover really does give them beautiful rise and shape.
Need a Gluten-Free Recipe?
Try my Gluten-Free Seedy Bread. But if you really want more info on baking gluten-free yeast and sourdough bread, or the basics of ancient grains, check out the book I wrote for Homesteading Family called The Art of Gluten-Free Homemade Bread. It’s written specifically for families with multiple food sensitivities like mine. I assumes that you’ll need to tweak the recipes to match your dietary needs and it teaches you how to do it.
This post contains affiliate links.
