So, at 3:30 this afternoon we got home from being out all day and I realized that I had forgotten to thaw out the meat I had planned for dinner. Oops.
Thankfully, we were just returning from Costco so I had some bulk Italian sausage in my cart. Enter my rescue meal plan.
So, I carried all the groceries up 2 flights of steps, quickly put them away, sent the big kids off to “quiet time,” got the baby to sleep and threw dinner together while I could. It turned out quite good and was very easy and quick. 10 minutes of prep, and 40 minutes simmering on the stove and dinner was done. A great one pot meal.
Here’s what I did….
In a large saucepan (I used my 5 quart cast iron Dutch Oven – affiliate link – Disclosures here) add about 2 tbls. of fat (use whatever you have on hand – I use some bacon grease) and measure in 3 cups of brown rice. Saute the rice for about 3-4 minutes until it’s starting to get toasty and all the kernels are coated with oil. Add 7-8 homemade chicken bullion cubes (3-4 if using store bought bullion cubes). Next, use your kitchen shears and remove the casings on 1 pound of sweet Italian sausage cut the sausage up into 1-inch chunks with the shears directly into the pan. Throw in about 2-3 cups of frozen veggies (I used mixed vegetables). Toss in some salt, pepper, garlic powder, onion powder and cajun seasoning if you have it. Pour 8 cups of water over the mix. Stir. Cover the pot with the lid and 40 minutes later you’ll have dinner.
Note: Be sure to turn the heat off while there is still a little liquid left in the pan. Let it sit covered for 10 or 15 minutes and the rice will absorb the rest of the water. This will keep the rice on the bottom of the pan from burning.

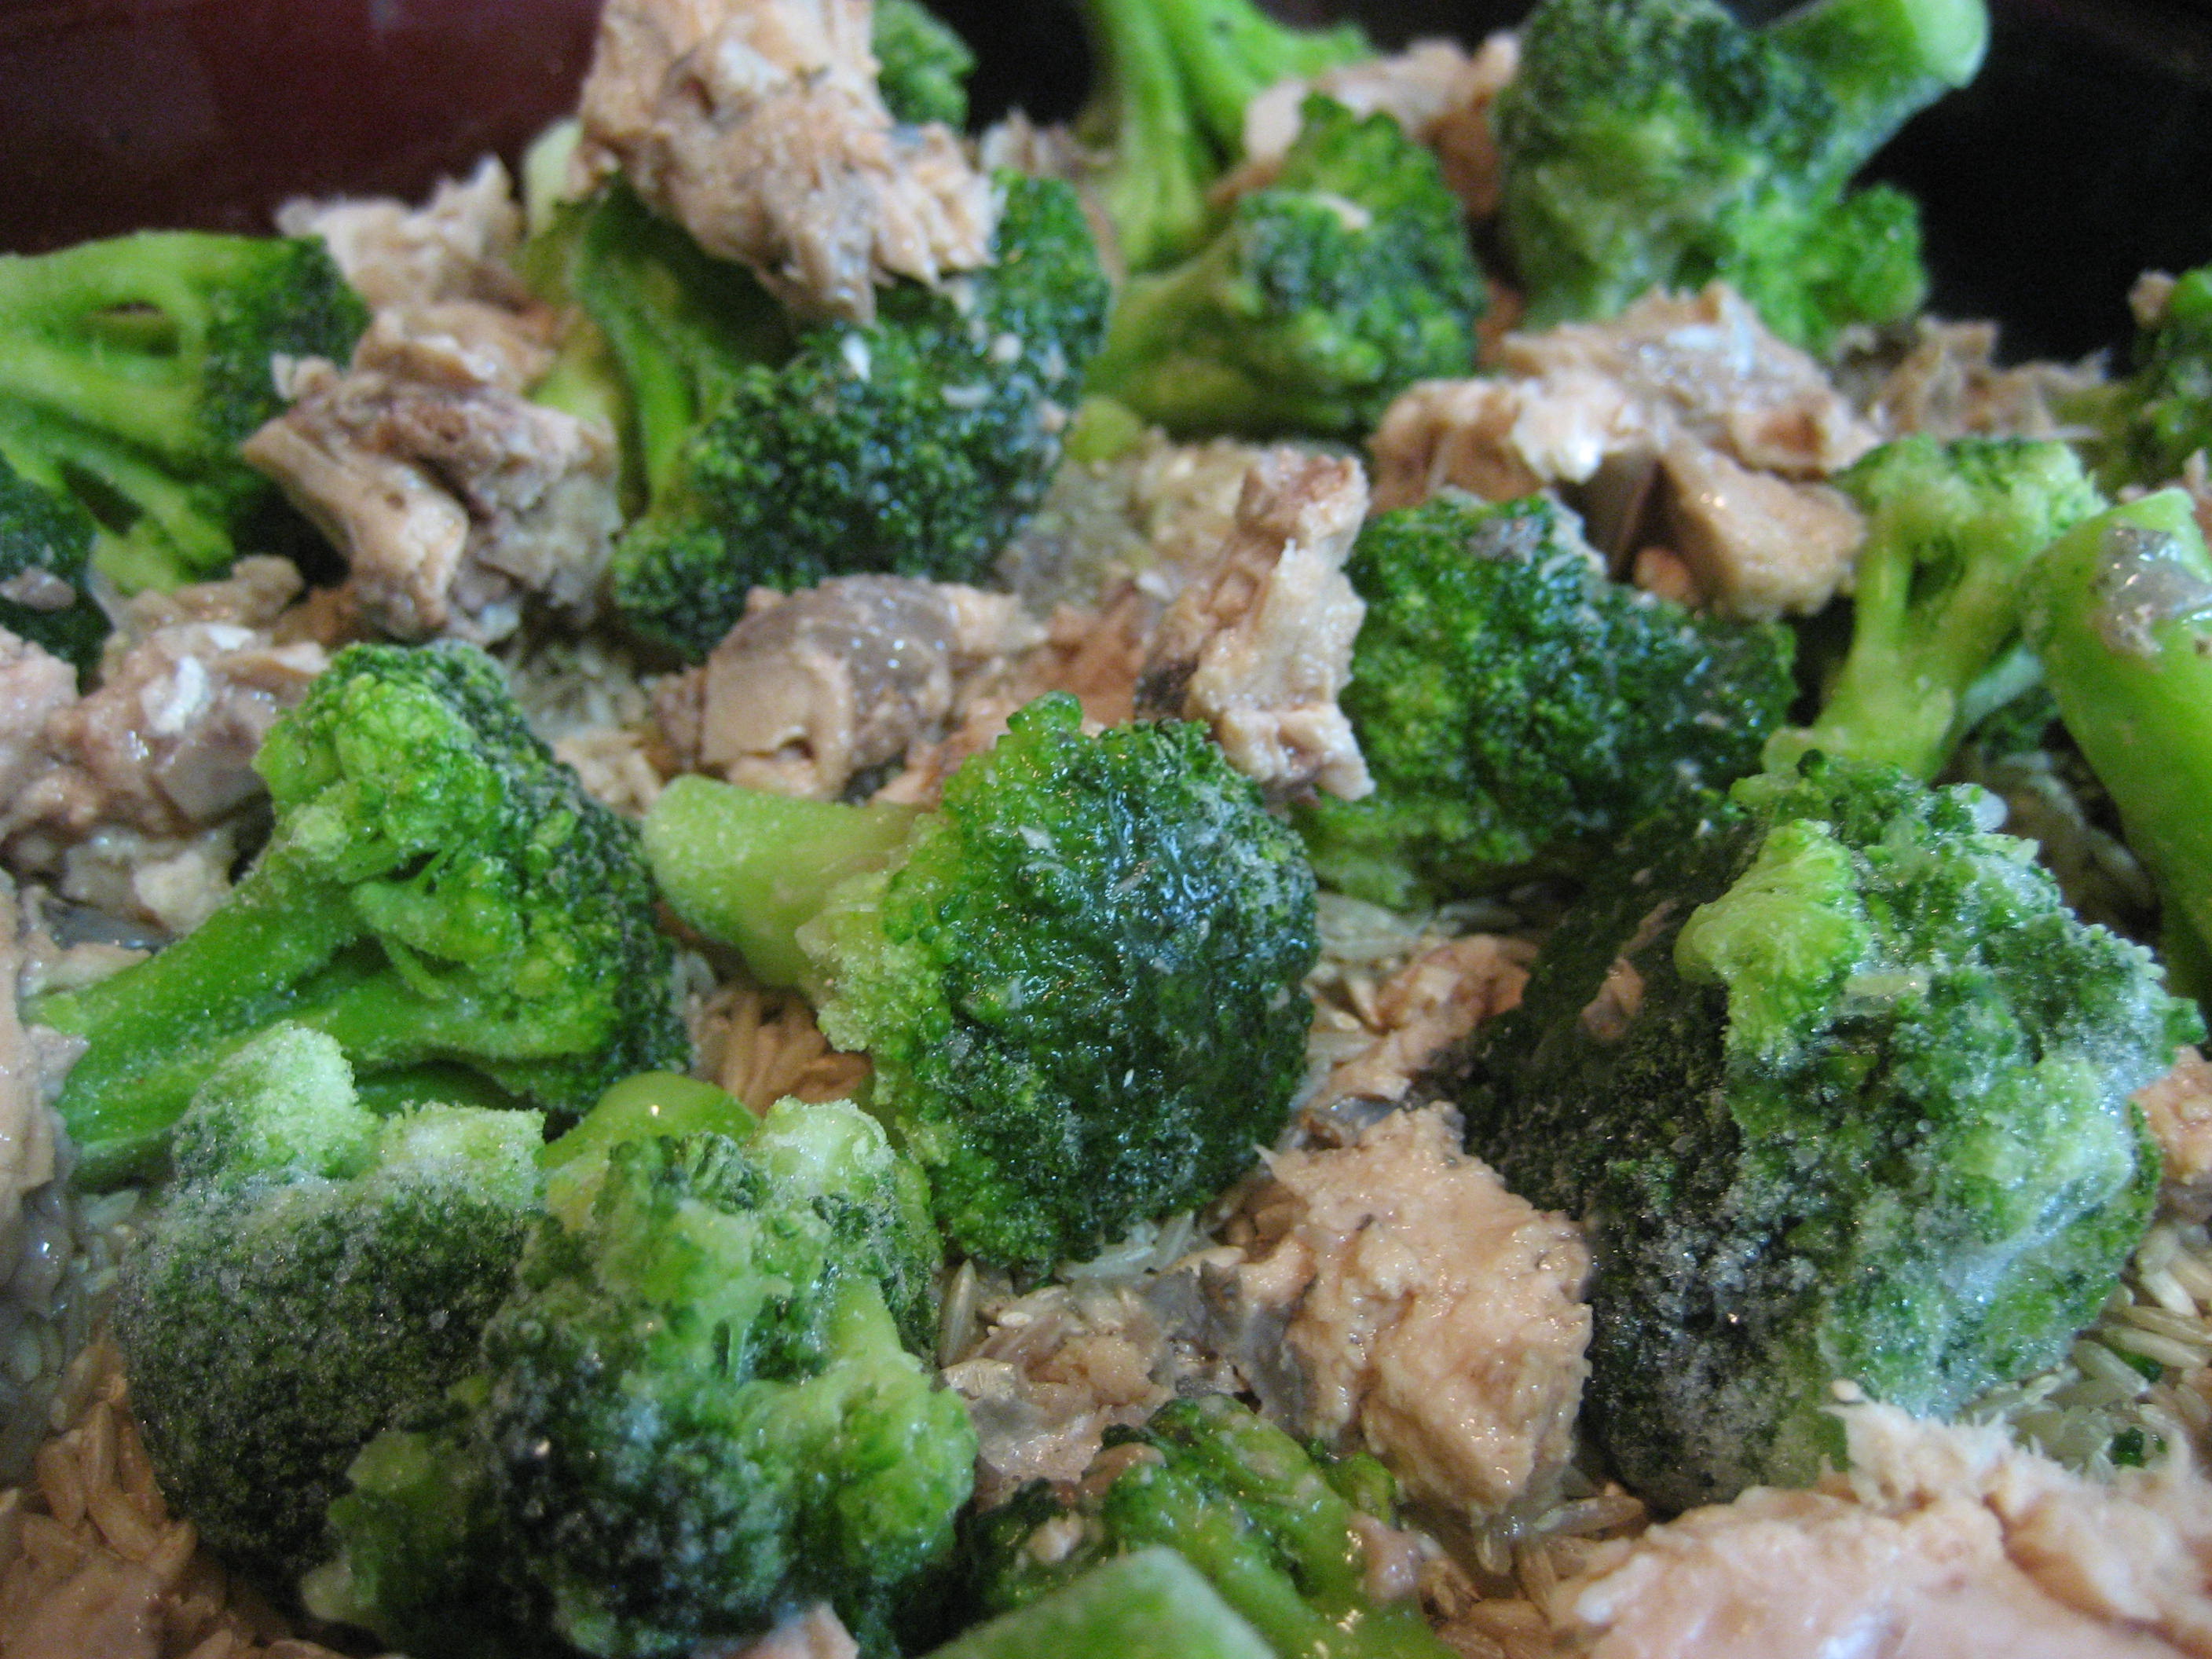
Everything in the pot.

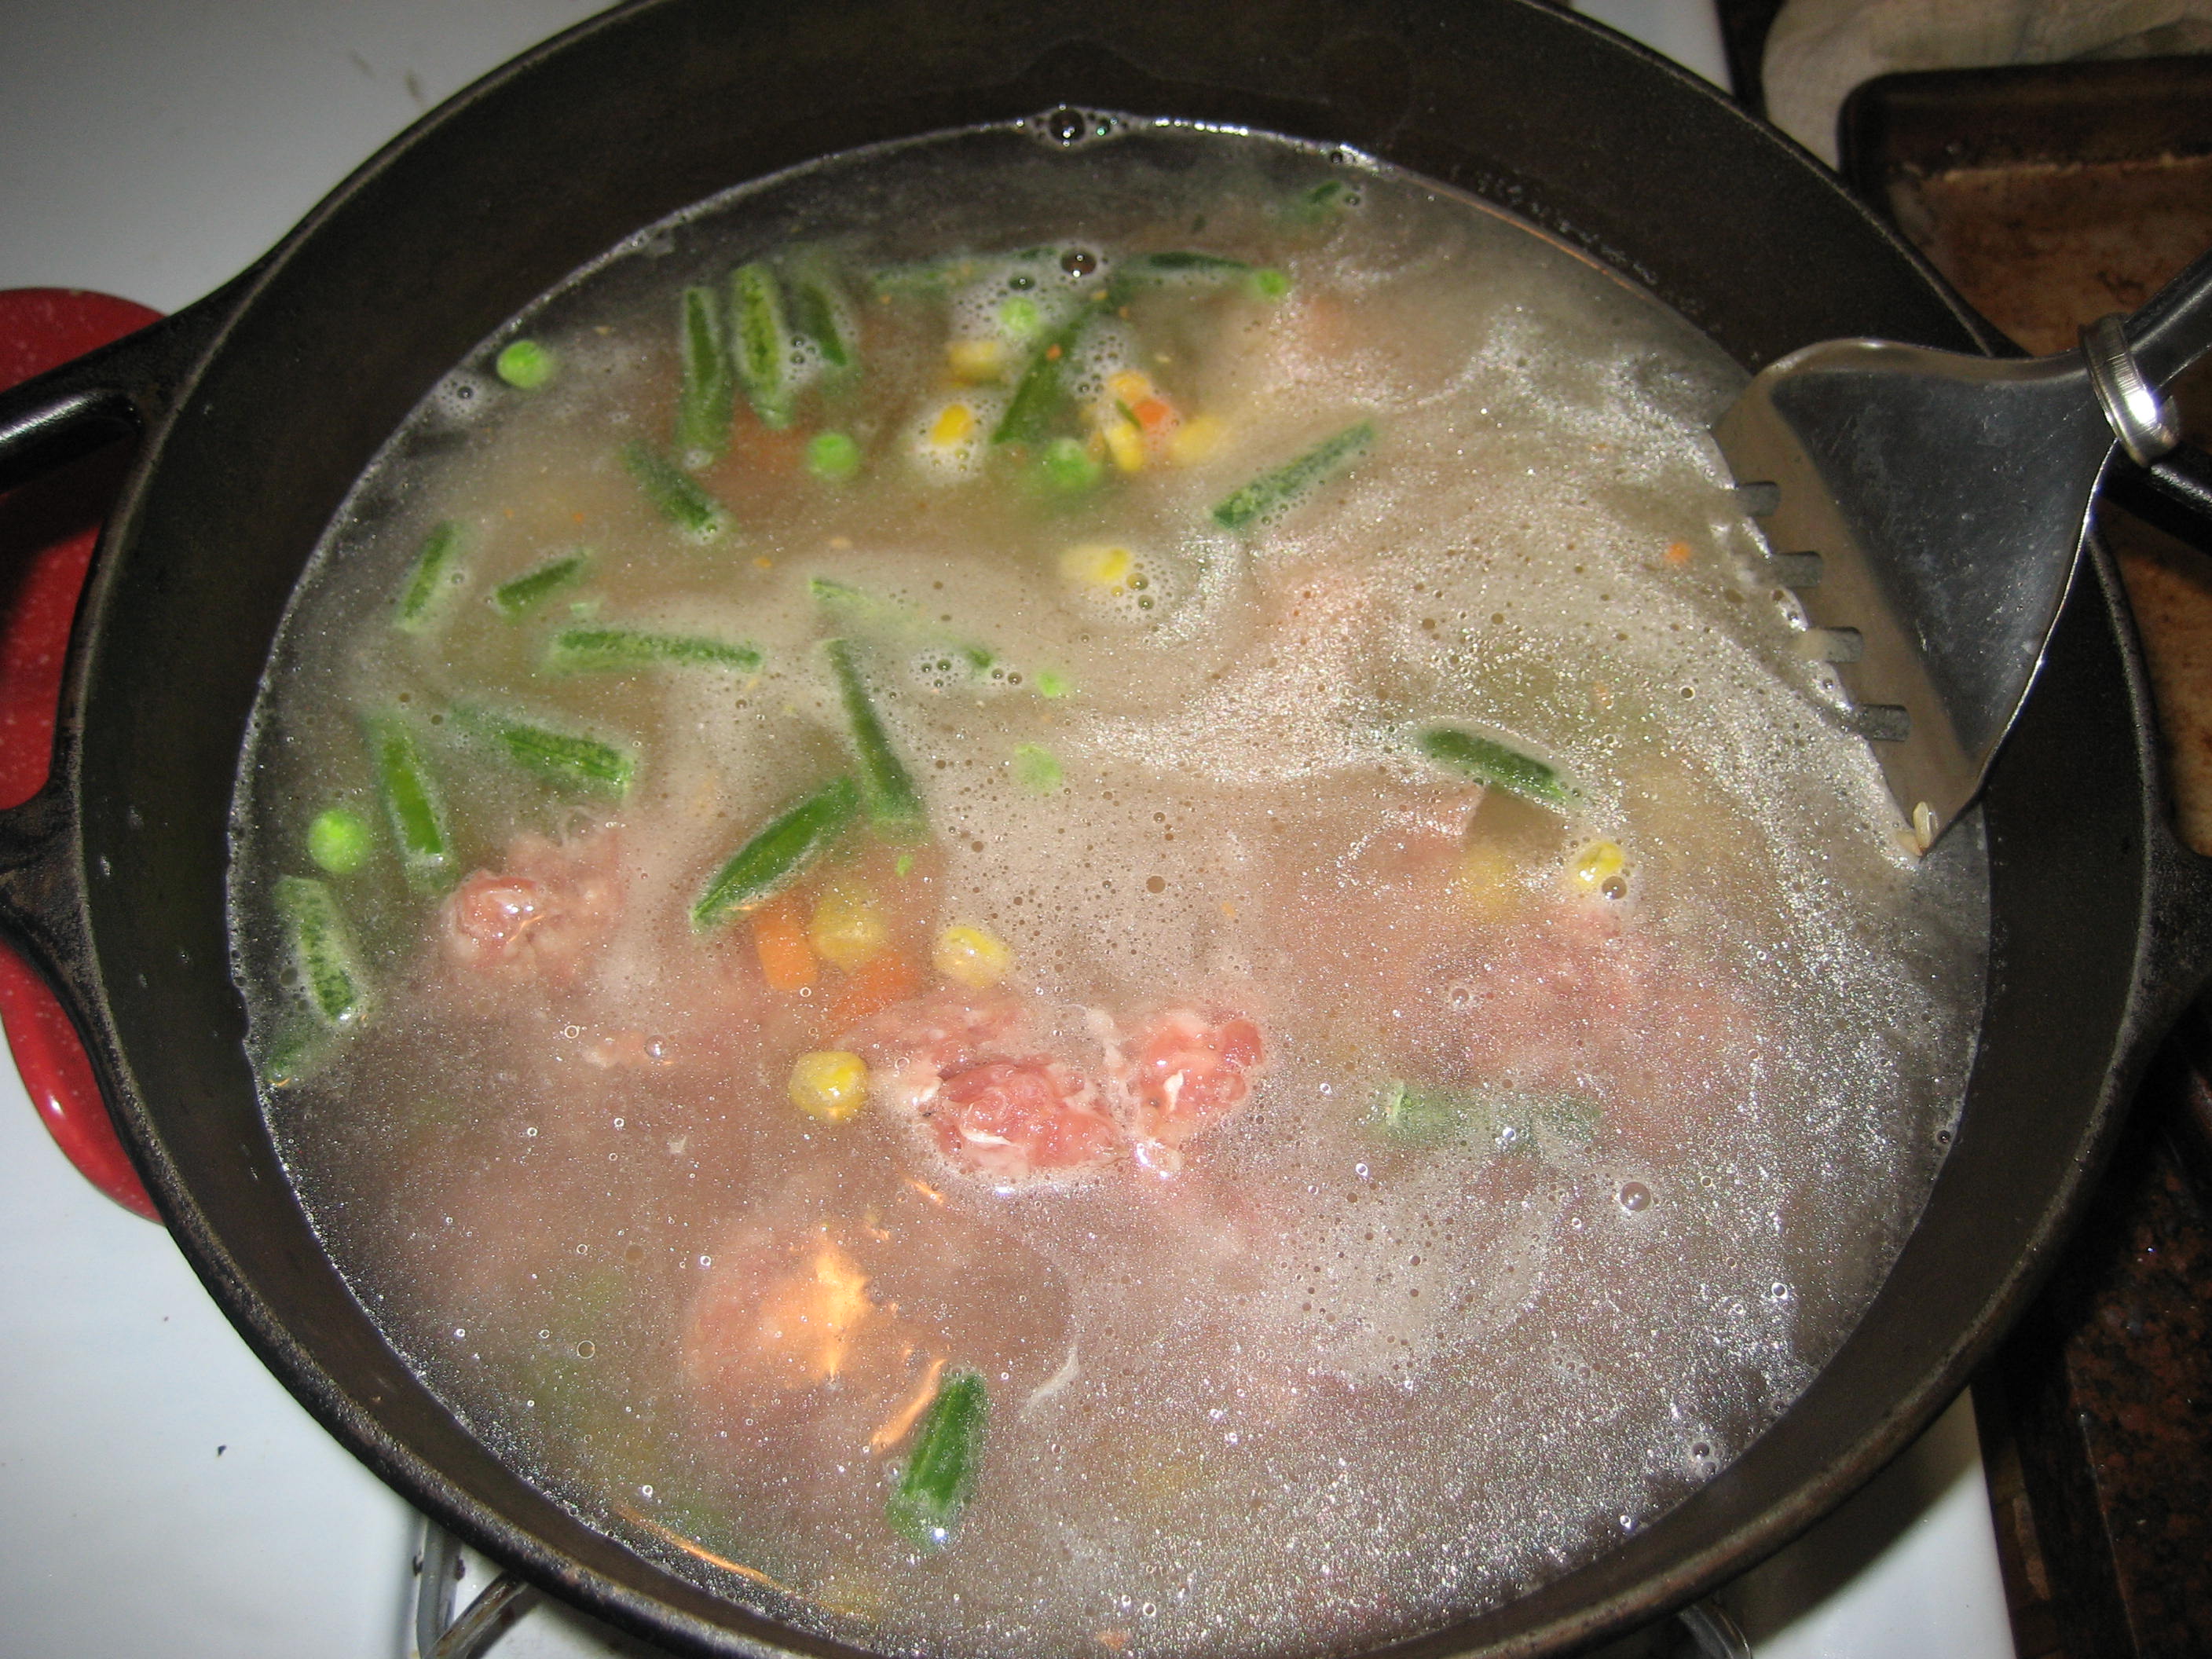
Pour 8 cups of water and simmer for 40 minutes.
All done and delicious.
It was good. We ate it up.
And this could easily be modified to be a crock pot meal by reducing the amount of water by one cup and cooking on low about 6 hours. Happy eating!

 Today the Wall Street Journal tackles this controversial issue. In Saturday’s Review section they address the questionable research that led to decades of experts advising the public not to eat the fats and foods that have long been part of traditional diets. Read their article. Well done WSJ!