Make Ahead Pantry Mixes – Savory Rice Mixes at the Ready

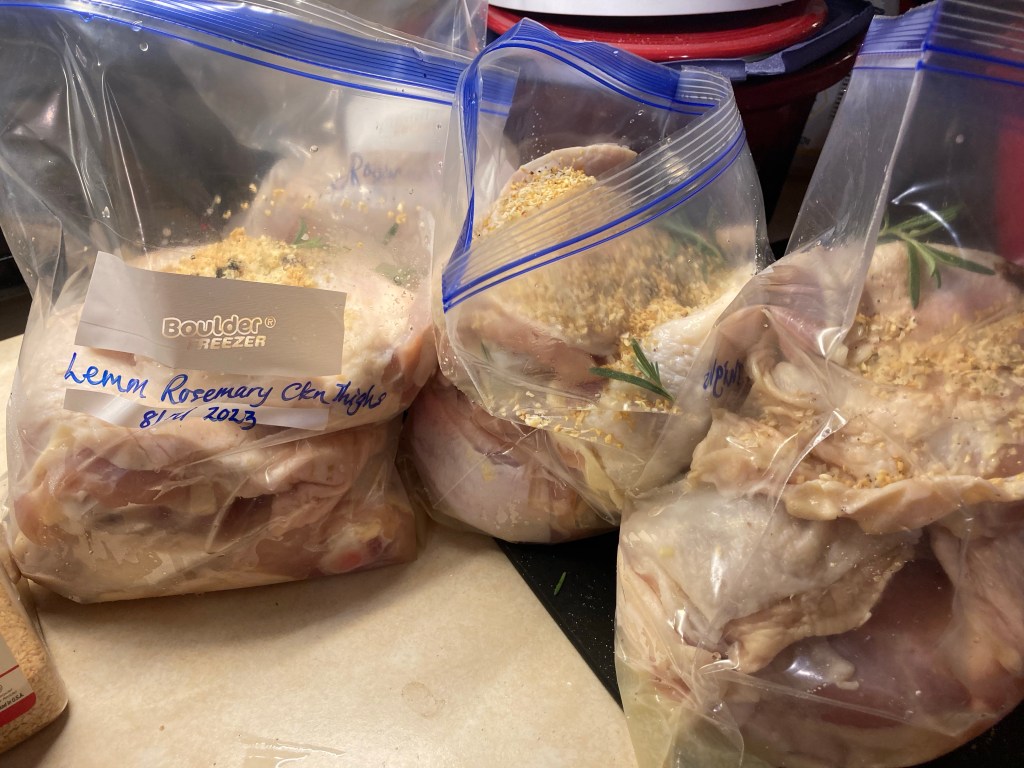
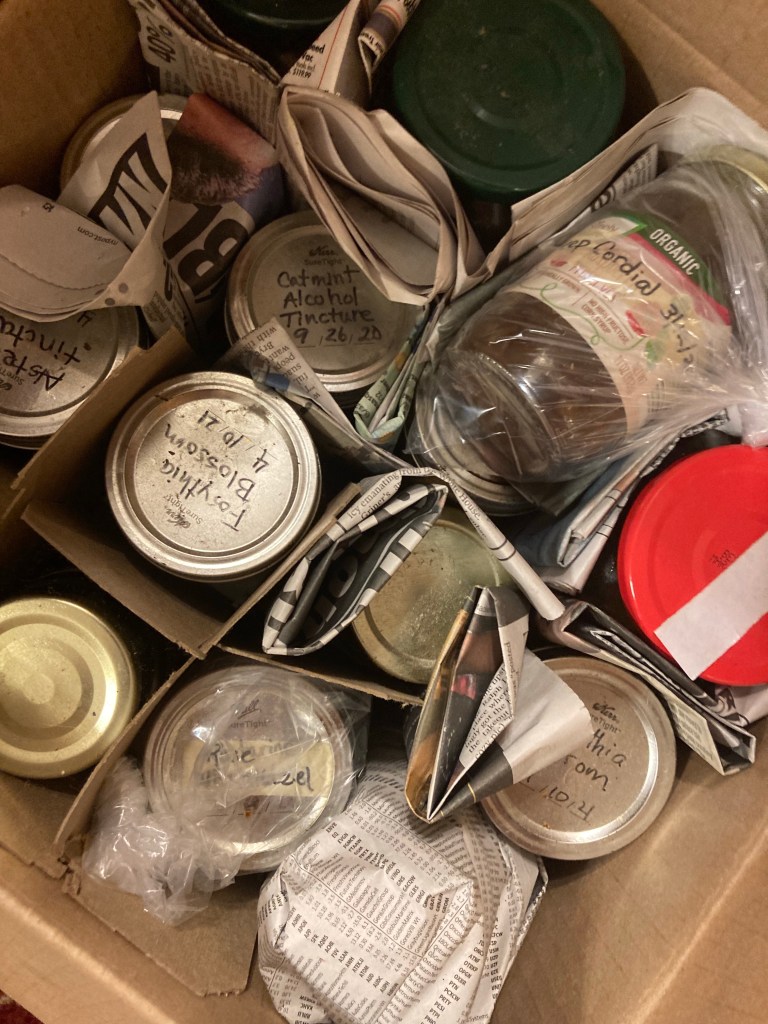
We mixed up a box full of these shelf stable pantry mixes last week to send to an ill family member who we thought might need some convenience meals.

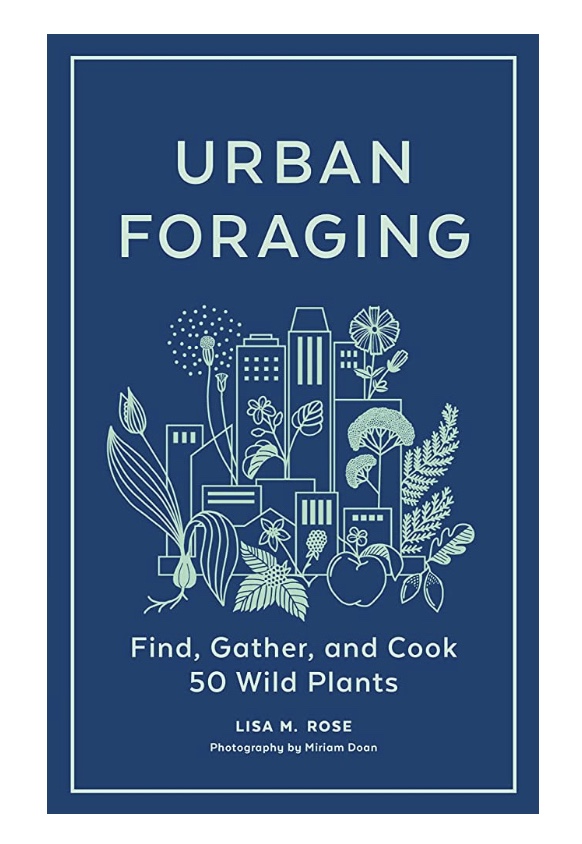
We got the idea from this little book:

Quick Fix Healthy Mix

I saw this book recommended in Homesteading Family’s Homestead Kitchen Community the other day. It’s become a good reference for me as we can’t buy any packaged convenience meals, spice blends, cake mixes, and so on because of all of our unusual allergies and food sensitivities. But this book has been a great help to me because even though I can’t use the recipes included in it, I can take them as a starting off point and modify them to suit our food restrictions.

Here’s the ones we came up with. We decided to try two savory rice mixes, and three sweet ones. Comfort food you know… 😊

This week I’ll give you the instructions for the rice mixes, and next week I’ll share the sweet recipes which will include Cinnamon Coffee Cake, Chocolate Cake, and Banana Bread – all as shelf stable, make ahead desserts!

So, let’s get started!

Make Ahead Savory Rice Mixes:

Orange Rosemary Rice Mix Recipe:

This recipe will fill a regular 24 oz spaghetti sauce jar or quart size canning jar.

2.5 cups uncooked brown rice

1/4 cup dried orange peel

2 tsp dried chives

1 tsp salt

1/2 tsp pepper

1.5 tsp dried rosemary

1 tbsp parsley

1/2 tsp onion flakes

Herb & Spice Rice Mix Recipe:

This recipe will fill a regular 24 oz spaghetti sauce jar or quart size canning jar.

2 1/2 cups uncooked brown rice

2 tsp dry oregano

1/2 tsp dried Basil

1 tsp dried parsley

1 tsp paprika

1 tsp marjoram or thyme

1 tsp salt

1 tsp pepper

1/4 tsp chili powder

1/4 tsp cumin

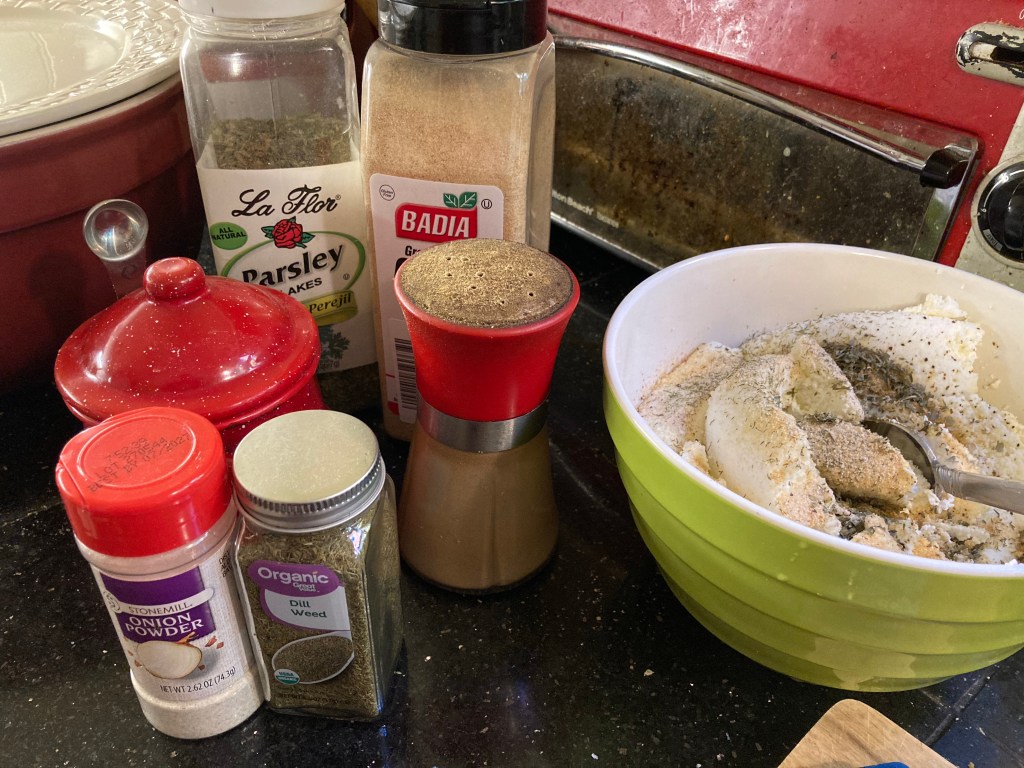
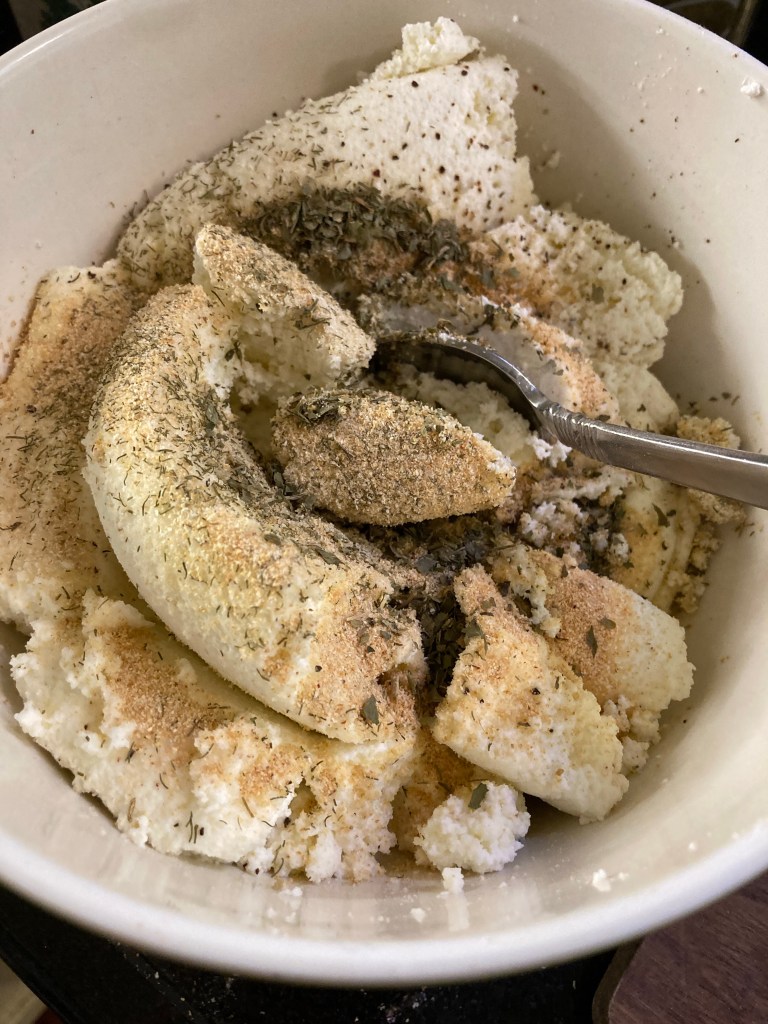
Mixing and Storage Instructions for Rice Mixes:

Mix all the ingredients in a large bowl. Once combined, fill your jar, secure the lid, and label with ingredients and cooking instructions. Shelf life is 6 months it kept cool and dry. See the note at the bottom of this post for how to extend the shelf life for a longer period.

Cooking Instructions for Rice Mixes:

Add 2 cups of water for every cup of rice. Simmer covered for about 20 minutes until all the water is absorbed.

I hope you’ll try some of these recipes. And guess what? If they sound good to you right now, there’s not need to wait for later. Go ahead and mix up a batch of rice to go with dinner and something sweet for dessert.

Pro Tips for Making Your Own Baking Mixes:

Pro Tip #1: Always use dried spices, never fresh as the moisture contained in fresh spices will cause your mixture to mold.

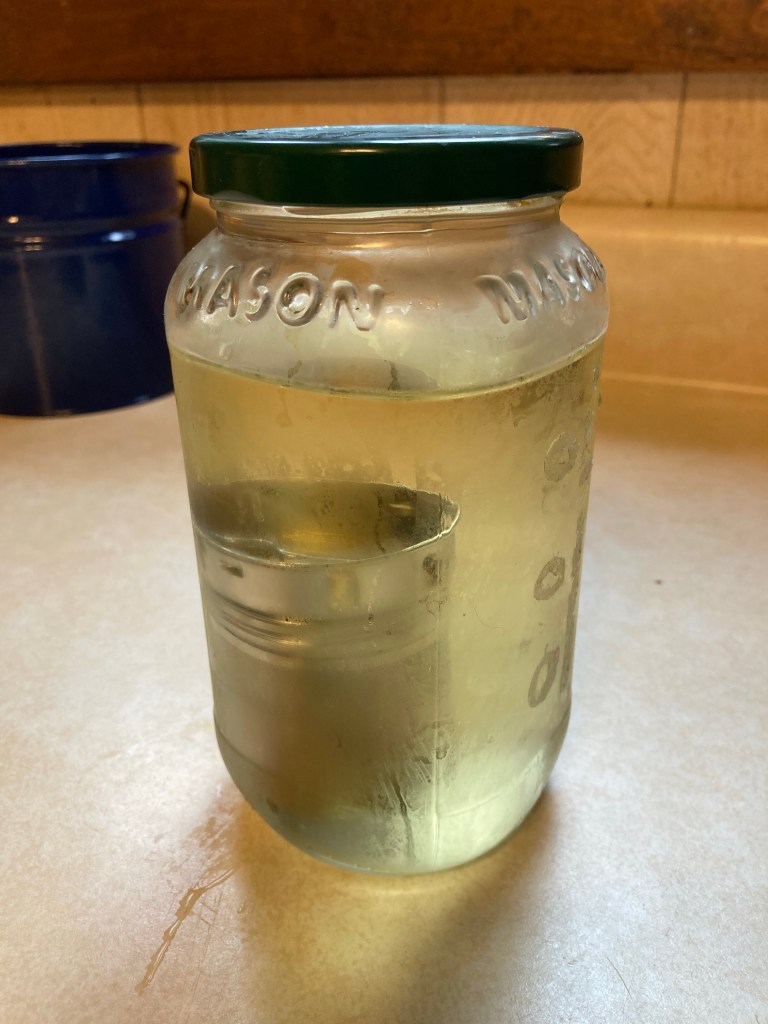
Pro Tip #2: Save your empty spaghetti sauce jars to fill with dry pantry mixes to give away to friends. That way you won’t have to give away your good canning jars.

Pro Tip #3: If using canning jars, use this little hand held vacuums sealer with this handy jar attachment to suck the air out of your jars and really increase the shelf life of the dry mixes that you make.

Preserving 101: Homesteading Family is currently running a Preserving Challenge in their Homestead Kitchen Community. Check it out if you want to learn more about stocking your pantry with shelf stable, natural foods. The challenge includes canning, dehydrating, freezing, fermenting, and freeze drying.

Note: This post contains affiliate links.

Orange Raspberry Infused Water

This blog post on Basil Infused Water by Farmhouse Teas inspired me to try making my own herbal infused water. My body is very sensitive to herbs. Even a small amounts of herbs made into a hot tea can be too strong for me sometimes. So, I decided to try an herbal infused water hoping it would be milder than a hot infusion. I’m also on a very restricted, low-histamine diet right now, so except for a tiny bit of coffee occasionally, the only thing I can drink right now is water. That gets boring, so this also gives me something with a little bit of flavor to drink occasionally.

This is my favorite flavor so far. It’s mild, tasty, and easy to make. All you need is a tea infuser and a glass jar. Or if you want something you can take on the go, you might like this fancy glass water bottle with its own infuser.

Orange Raspberry Infused Water Recipe:

Red Raspberry Leaf loose leaf herb

Fresh or frozen raspberries

Dried orange peel or fresh orange zest (substitute: dried lemon peel or lemon zest)

Glass Jar

3-4 cups of Water

Pinch of salt

This recipe couldn’t be easier. Simply combine 1/2 teaspoon of red raspberry leaf herb, 1-2 crushed raspberries, a small piece of dried orange peel or zest, and pinch of salt in your infuser. Place the infuser in your jar (or water bottle), fill with fresh water and place the jar in the fridge for 12-24 hours. The longer the infusion time, the stronger the infusion.

This jar infused overnight. It’s slightly sweet from the raspberries and just a bit of citrus flavor from the orange peel. The minerals from the herbs plus the pinch of salt makes this a pleasant electrolyte drink.

You can tailor this to your taste and change up the fruit or citrus flavors easily.

Try these other flavor combinations:

Lemon Raspberry

Blackberry Lime

Blueberry Lemon

Strawberry Lemon

Other Herbs that make mineral rich and tasty infusions:

Nettle Leaf

Chamomile

Plantain

Rosemary Lemon Chicken – Make Ahead Freezer Meals

We moved to a new to us house this summer and I’ve been thankful for some ready made crock-pot freezer meals that I’ve had prepared. We ran through most of them a few weeks ago when COVID made its way through our house. So it’s time to restock.

I came up with this recipe for Sunday dinner and the family loved it. The nice thing is that it’s flexible. It can be thawed and grilled, or you can simply throw the whole batch into the crock pot and cook it in low all day. It’s delicious served with brown rice or mashed potatoes.

Rosemary Lemon Chicken Recipe:

5-8 Chicken Thighs (boneless or bone-in) depending size of thighs and size of your family

Small sprig of fresh Rosemary or 1/4 tsp dried rosemary

1/2 tsp salt

1/4 tsp pepper

1 tsp minced garlic

1 tsp onion flakes or 2 rounds sliced onion

1/4 cup lemon juice

2 tbsp blackstrap molasses

Combine all the ingredients in a gallon freezer bag. Freeze for up to 6 months.

On cooking day, either put the contents of the bag in 4 quart crock pot and cook 6-8 hours on low.

Of if you prefer to grill, thaw the bag in the fridge overnight before grilling.

This recipe is most cost effective if you buy family packs of chicken thighs and make up 3-4 bags at a time. Then you’ve got several dinners ready to go when you need them.

Enjoy!

Making the Most of your Herbal Home Remedies

My herb shelf

There’s something satisfying about having all you brews, infusions, and concoctions ready and within arms reach when you need them.

We moved to a new house this summer. I finally got around to opening up my box of herbal remedies this week. I hope to unpack it soon and get it all nicely arranged on the shelves with my other herbs.

I haven’t made anything new this year except a new batch of mullein oil from last year’s leaves. I need to re-establish all my medicinal plants here at the new house so I don’t have much to harvest yet. And there is no mullein growing here if you can believe that. I was so jealous on the way to PA this summer as it was growing all over the roadsides. It was all I could do to keep from asking my husband to pull over so I could jump out of the car to grab some. I’m going to have to plant some I guess.

I also need to pull out my favorite local medical plant ID book and investigate what is actually growing here at the new place. There’s got to be some good stuff in the woods behind our house. So far I’ve found some plantain and yarrow in the front yard, but I haven’t investigated the woods yet. One thing at a time. Trying to get the inside of the house live-able and settled. The outside will have to wait for now.

Do plants have personalities?

Making your own remedies either from herbs you grow and harvest yourself or from dried herbs that you buy requires you to get to know the herbs. I like to think of them as friends who can help me when I’m in a time of need, but first I have to get to know their personality so that I know what they have to offer. Reading and studying about them is helpful, but rather than solely focusing on the medical conditions that an herb may help, I file my herbal friends away in my address book describing their characteristics. This way I get to know the “personality” of the herb.

This is a little address book that I’ve had for years. I use it to make notes on herbs or conditions that I’m reading and researching. Since the address book is organized alphabetically, I use the lines where you would typically write a person’s name and contact information instead to write the name of the herb or condition that I’m researching and then I use the extra lines to make notes of what I’m learning. That way I can always come back and remind myself of information that I may have forgotten when the need arises. I can’t tell you how many times I’ve referred to my little book over the years.

How to Further Your Herbal Studies:

If you’re interested in taking your herbal studies up a notch, consider Homesteading Family’s free herbal trainings. Join in and maybe I’ll see you in class. I’m one of the online moderators for that course and it would be fun to see you over there. 😊

And if you really want to dive deep into herbs I highly recommend the Homegrown School of Herbal Medicine. I’m a student, though albeit progressing slowly, but the school really gives you an excellent foundation into anatomy and physiology of the human body so that you can properly understand how different herbs are going to work on the different systems of the body. And Doc Jones is a funny teacher to boot! 😊

However you choose to study herbs, keep good notes, enjoy what you are learning, get to know herbs as friends, and most importantly use the things you make.

From L to R: Rose Petal Sugar Scrub, Dried Rose Petals, and dried Forsythia blossoms.

Note: This post contains affiliate links.

Why make things from scratch?

Those of you that know me, know that I work hard in my kitchen and work my kitchen hard. I make many things like bread, pasta, broth, ferments, jams, kombucha, and cheese that most people buy at the store. I do this not because I necessarily love the challenge of mastering these skills, but because it means that I can control the ingredients and the quality so that we can eat these foods that we would otherwise have to avoid if store bought were my only option.

I honestly can say that Homesteading Family’s the Art of Homemade Bread Class 🍞and Practical Homemade Dairy 🥛 have been life changing for our family, Caleb and I in particular, in terms of the variety and quality of foods that we can eat.

Consider signing up for Carolyn’s free Dairy training. Carolyn gives lots of great info away in these trainings. It’s always good to have something to listen to while you cook or clean.

And even if you don’t aspire to make cheese there are lots of easy recipes to use with fresh dairy – butter and homemade coffee creamer. Mmmm. 😋 And did you know you can easily make buttermilk, yogurt, sour cream, and ricotta easily with no special equipment? Or you can try your hand making your own cheddar, mozzarella, Parmesan, and more. 🧀

If you’ve read this far, click here to join the fun. the link and check it out.

Other posts you might like:

Easy Homemade Cheese 3 Ways

Homemade Boursin Garlic & Herb Soft Cheese

Wild Milk, Clabber, and Cheese

My Collection of Sourdough Recipes

Lemon Cranberry Relish

Cranberry Orange Scones

Healing Salve

I taught a group of 1st-3rd graders how to make this salve yesterday. If they can do it, you can too.

This takes an otherwise silky, moisturizing salve and bumps it up a notch with the healing powers of calendula and plantain. Both are excellent for your healing everyday cuts, scratches, and scrapes, but I have found calendula to be excellent at healing infected or hard to heal wounds, and plantain to be excellent for eczema that is easily irritated by other oils and lotions.

Healing Salve Recipe:

1 part infused plantain oil

1 part infused calendula oil

2 parts beeswax

1 part cocoa or Shea butter

1/2 part lanolin

5-10 drops of essential oil for scent (optional)

Melt all the ingredients in a double boiler. Pour into a heat proof container. It’s that simple.

When I made it with my group of girls, we did some as chapsticks too, because what little girl doesn’t like her own chapstick. We also poured some in a jar to use as salve.

If you don’t know how to make an infused oil, refer to my post on making your own garlic oil, and simply sub calendula flowers and plantain for the garlic in the instructions.

You can also skip the infused oil and use plain olive or almond oil if you prefer to have the moisturizing properties for everyday use without the healing powers of calendula and plantain.

Want to take your knowledge of herbs and home remedies up a notch?

Check out Homesteading Family’s Free herbal trainings.

Bookshelf: Urban Foraging

One of the authors of my favorite regional herbal medicine books (see blog post here) just put out a new book. Look up Urban Foraging by Lisa Rose. It’s in my shopping cart.

I like that the book covers plants that are common to many regions and that it explains basic botany terms, as well as how to identify the plant, the parts used, what it’s culinary uses are as well as medicinal ones, and suggested recipes.

It covers 50 plants including,

apple, artemisia, aspen, autumn olive

blackberry, burdock

catnip, chickweed, chicory, crabapple, currants

dandelion, daylily, dock

elder, field garlic

garlic mustard, ginko, goldenrod, ground ivy

honeysuckle, hyssop

Japanese knotweed

lamb’s quarters, lilac

monarda, mulberry

nettle, oak

pennycress, peppermint, persimmon, pine, plantain, prickly pear, purslane

raspberry, red clover, rose, Russian sage, spearmint, spruce, St. John’s wort, sunchoke, sweet clover

violet, wild carrot, wild grape, wood sorrel, yarrow

The nicest thing about this book, is that you don’t have to live in the wilderness to find these plants; you can find many of them even if you live in the city.

If you want to get your feet wet on making your own medicinal remedies, check out Homesteading Family’s free Herbal Medicine Webinar. Carolyn always gives great information and answers your questions live.

Happy foraging and medicine making. 🌱

Note: This post includes affiliate links.

Coffee Kombucha

Never heard of it? Me either. But it’s a thing.

I just learned about it from Farmhouse Teas Kombucha Mastery Class, and since I am more of a coffee girl, I had to give it a try and mix up a batch.

Don’t get me wrong. I like a good cup of tea, and I love making my own tea blends with black tea and herbs. And my husband and I are faithful kombucha drinkers, but this peaked my interest. I didn’t even know coffee kombucha was a thing.

But it’s so easy to try. Just mix up some sweet coffee and add some starter tea and let it sit for about 5 days checking it often. It will brew faster than coffee becomes coffee is more acidic. So keep an eye on it and taste it to determine when it is ready. I’m grateful to have the Kombucha Mastery course to guide me along with this advanced brewing technique.

I can’t wait to try it. I’ll come back in five days and keep you posted as to how I like it. 😊

Note: This post contains affiliate links.

Homemade Sour Cream

Did you know that you can make your own sour cream at home?

All you need is two ingredients – heavy cream (any kind is fine, but the less additives the better) and buttermilk with live active cultures.

In a clean, dry jar, pour 1 cup of fresh heavy cream from a newly opened carton and add 1 tablespoon of buttermilk. Put on the lid and shake vigorously. Let the jar sit on the counter undisturbed for 6 hours or overnight until the whole mixture thickens and sets.

The key success with this recipe is to use fresh buttermilk with live cultures AND to use heavy cream from a carton that has just been opened. If the carton has been previously opened, you will need to pasteurize your heavy cream to 165 degrees F and then let it cool to room temperature before adding your buttermilk. If you add the buttermilk to the cream while it is hot it will kill the cultures and you won’t end up with anything but a tangy heavy cream and you’ll be back where you started.

If you have access to raw milk you can also use a culture from some of your milk that has clabbered to make some wild sour cream. Simply follow the instructions above replacing the buttermilk with clabber. It works quite well and some people, like my son, tolerate the wild culture better than the cultures in the buttermilk. You can use the cream that you have skimmed from your fresh milk, or cream from the store, and both work fine to make this sour cream at home.

Once the cream has set, store in the refrigerator and use within two weeks.

You can also keep your culture going perpetually if you make a new batch within 7-10 days of culturing the last batch. And if you need extra, just double or triple the recipe. It works great!

Want to learn to make cheese at home?

Consider Homesteading Family’s Free Dairy Training. I love their Practical Homemade Dairy Masterclass. That’s where I learned to make cheese. I’ve made many delicious cheeses using my wild clabber culture and store bought milk. Happy dairy making!

Stay tuned for an allergy friend recipe for homemade, sugar and vinegar free ranch dressing….

Note: This post contains affiliate links.

Homemade Boursin Garlic & Herb Soft Cheese

You can make this in a matter minutes, the ingredients will cost 1/4 of the price, and you’ll end up with 4x the cheese.

First begin by making this Soft Cheese recipe. It couldn’t be easier.

Homemade Boursin Garlic & Herb Cheese:

For 1 gallon of milk, stir in the following:

1/4 tsp salt

1/4 tsp black pepper

1 1/2 tsp granulated garlic

3/4 tsp onion powder

2 tsp dried parsley

Adjust the seasonings to your own tastes. I have also tried this recipe with dill for a little added punch and it’s got a little flare reminiscent of Ranch dressing.

Refrigerate this cheese and consume within 7-10 days.

Make ahead Pumpkin Spice Quinoa Porridge – an easy and allergy friendly breakfast!

I have made this in a couple of years, but it’s been one of those weeks and I need something easy for breakfast in the morning. Try this easy make ahead breakfast. You can set it up the night before and it’s ready and hot when you wake up. Get the recipe here!

DIY Spice Blends – Garlic Salt

Garlic Salt is the seasoning I use the most. It’s basic and I find it to be the most versatile. I use it on the kids chicken strips that they eat every day for lunch, and I REALLY like it on our sourdough crackers. If you want to try to craft your own, save an empty grinder and mix the following together.

Homemade Garlic Salt:

3 tsp parsley flakes

3 tsp dried minced garlic

2 tsp onion flakes

2 tsp salt

And if you’re interested in making your own spice blends and seasoning mixes, check out Homesteading Family’s Homestead Kitchen Membership (affiliate link). They have a full Pantry Challenge going on right now with a whole workbook full of DIY baking and spice mixes that you can make yourself for pennies.