We’ve been playing with sourdough at my house lately. If you’d like to learn how to make your own, I highly recommend The Art of Homemade Bread Class (affiliate link) taught by Carolyn Thomas at Homesteading Family. She has a whole section on sourdough that is excellent. She breaks it down into simple steps that so that the follow through is easy.
My daughter even decided to do sourdough as her science experiment this year. We have had 10 different starters growing at our house. Which means we have been baking A LOT!
Here is my latest favorite.
Apple Cinnamon Sourdough Batter Bread:
Add 3 approximately 2.5-3 cups of immature (or mature) starter to your mixing bowl. Add 1/2 cup sugar, 1 tsp salt, and about 1/2 cup flour. Stir to combine. Let this mixture sit and bubble while you butter your casserole and chop your apples.
Generously butter a glass casserole dish and set aside. Peel and chop 3 apples. Pour the chopped apples into the bowl with the batter, and add 1 tsp of cinnamon, dash of cloves, 2 tsp baking soda, 1/4 cup cream, 1/4 cup mild tasting oil, 1/4 cup brown sugar. Stir to combine. Then add flour 1/4 cup at a time until your batter is stiff like a cold buttercream frosting. It may not take much flour if your starter is thick. I added less than 1 cup to mine. Once you have achieved the right texture, pour into your prepared baking dish and sprinkle 1/4 cup of brown sugar over the top. Cover and let it rise for 30 minutes. Then back at 400 for 40-45 minutes.

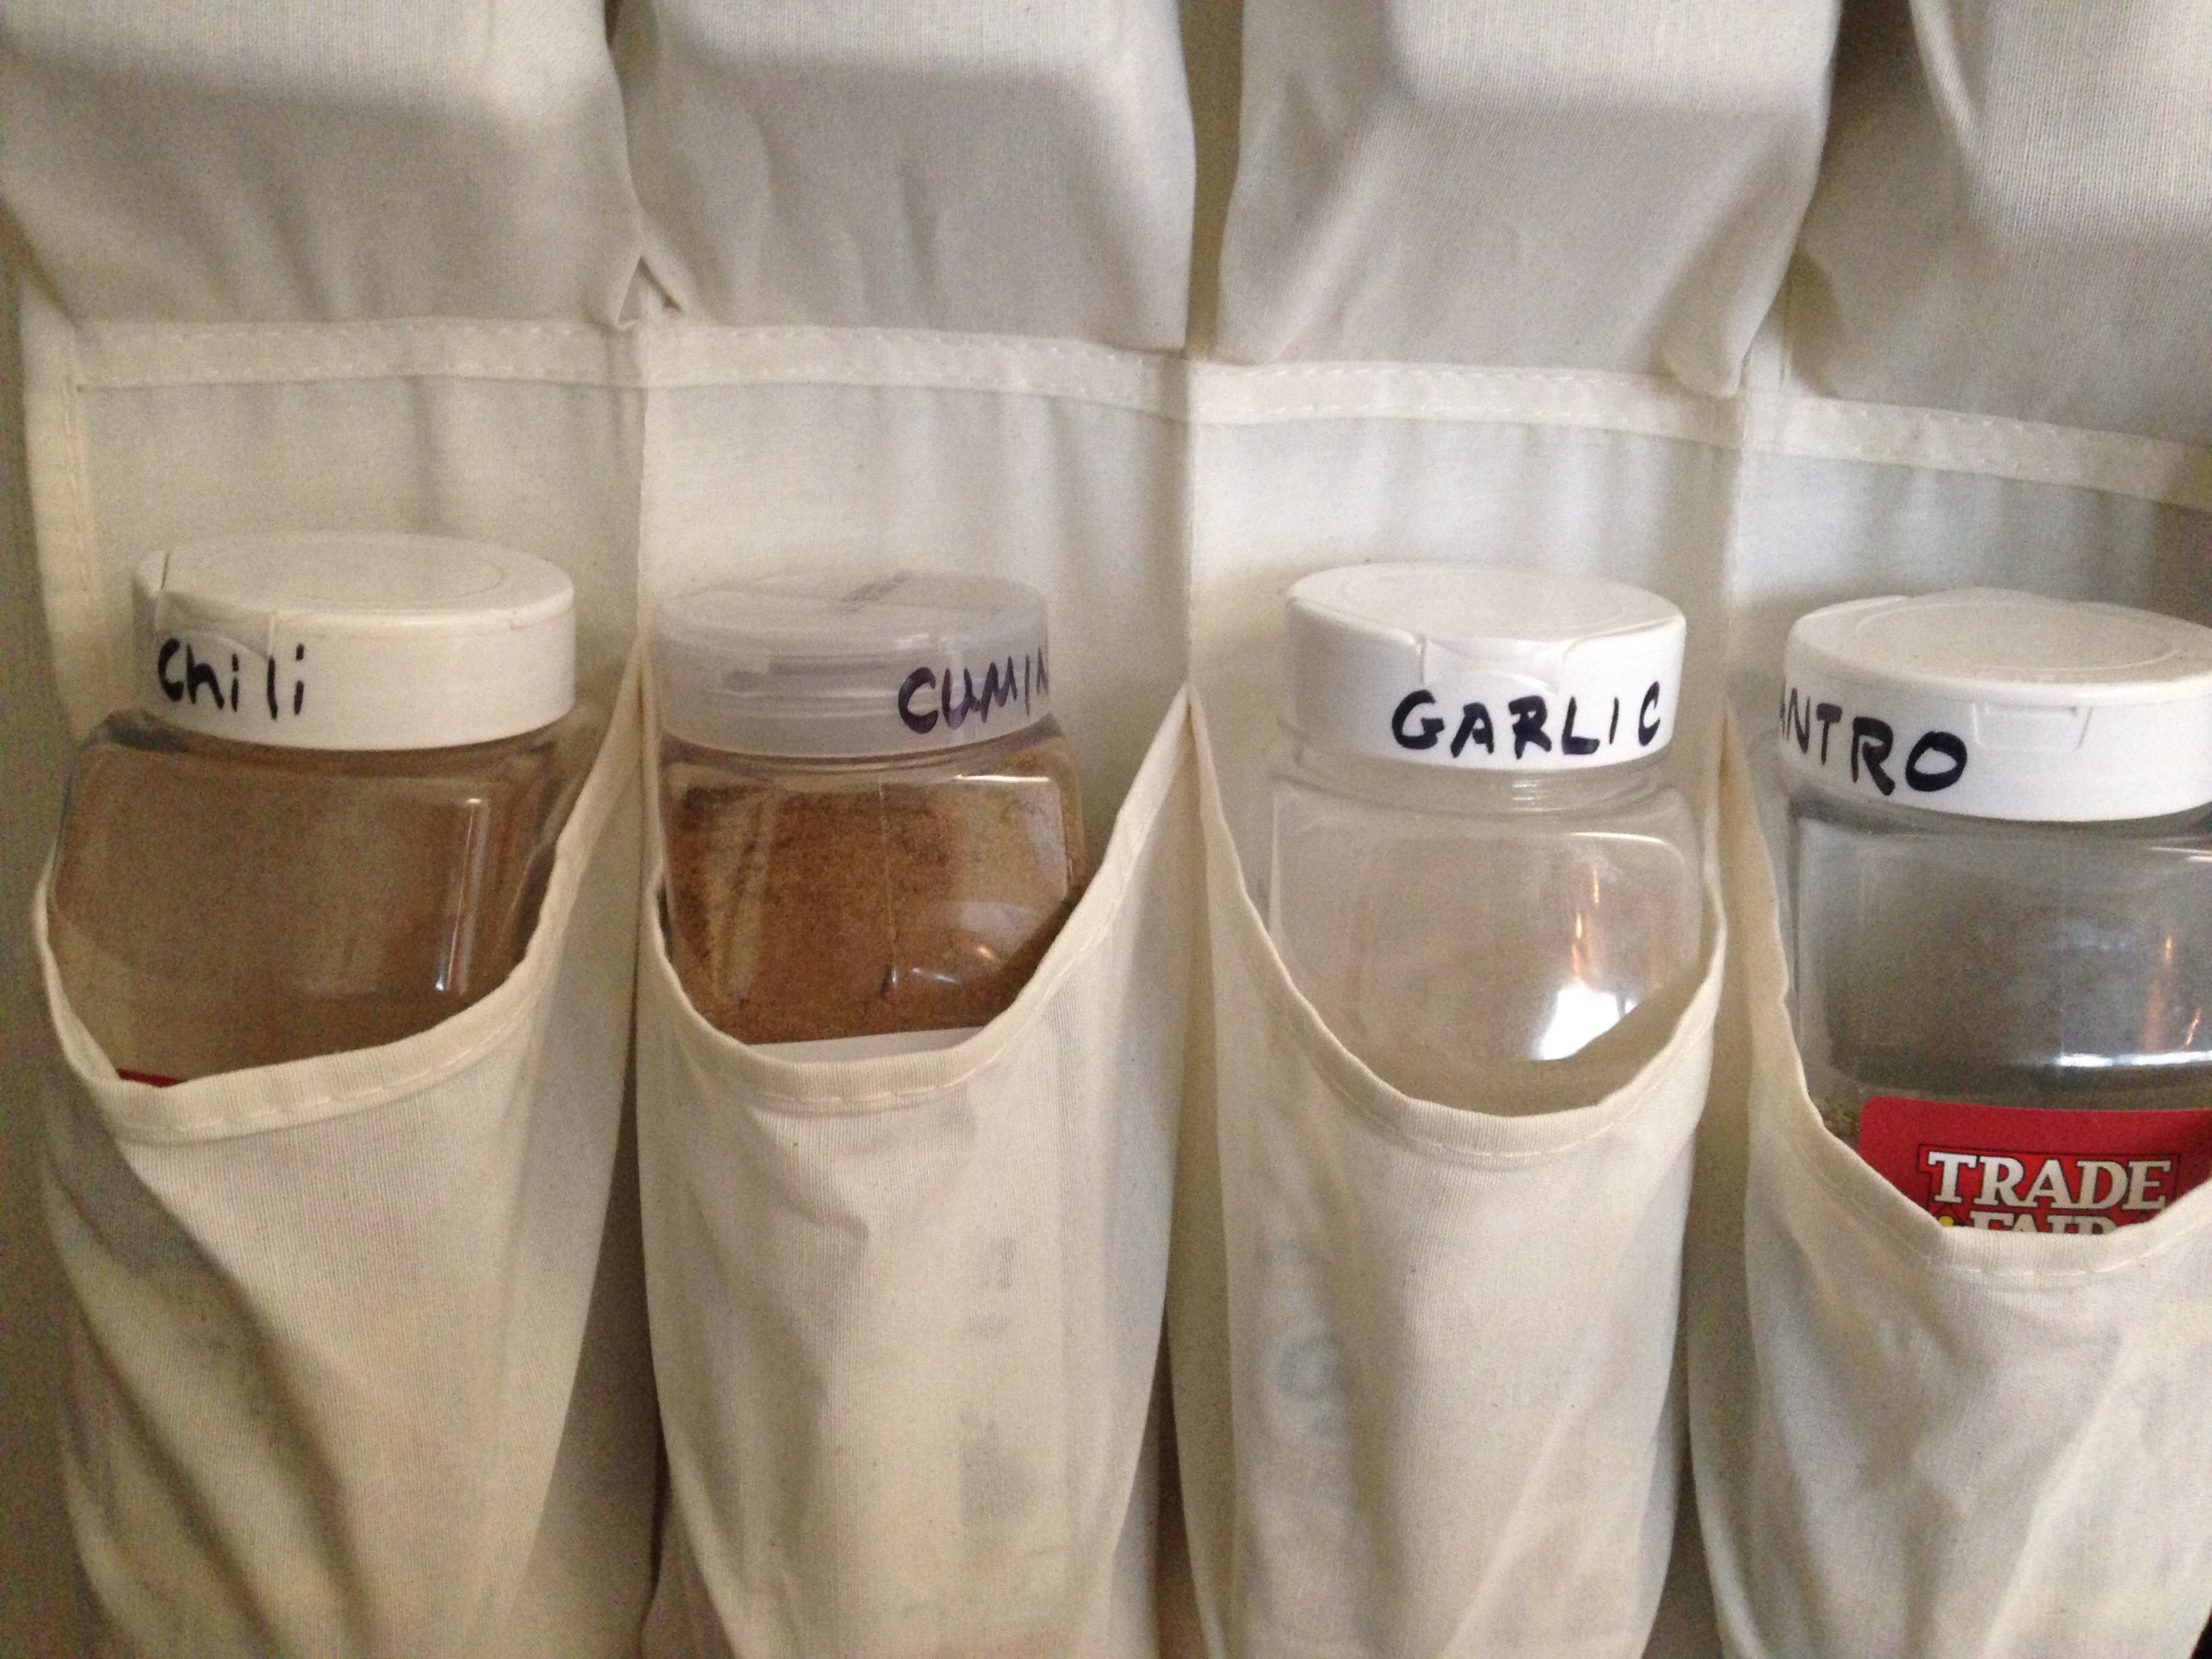
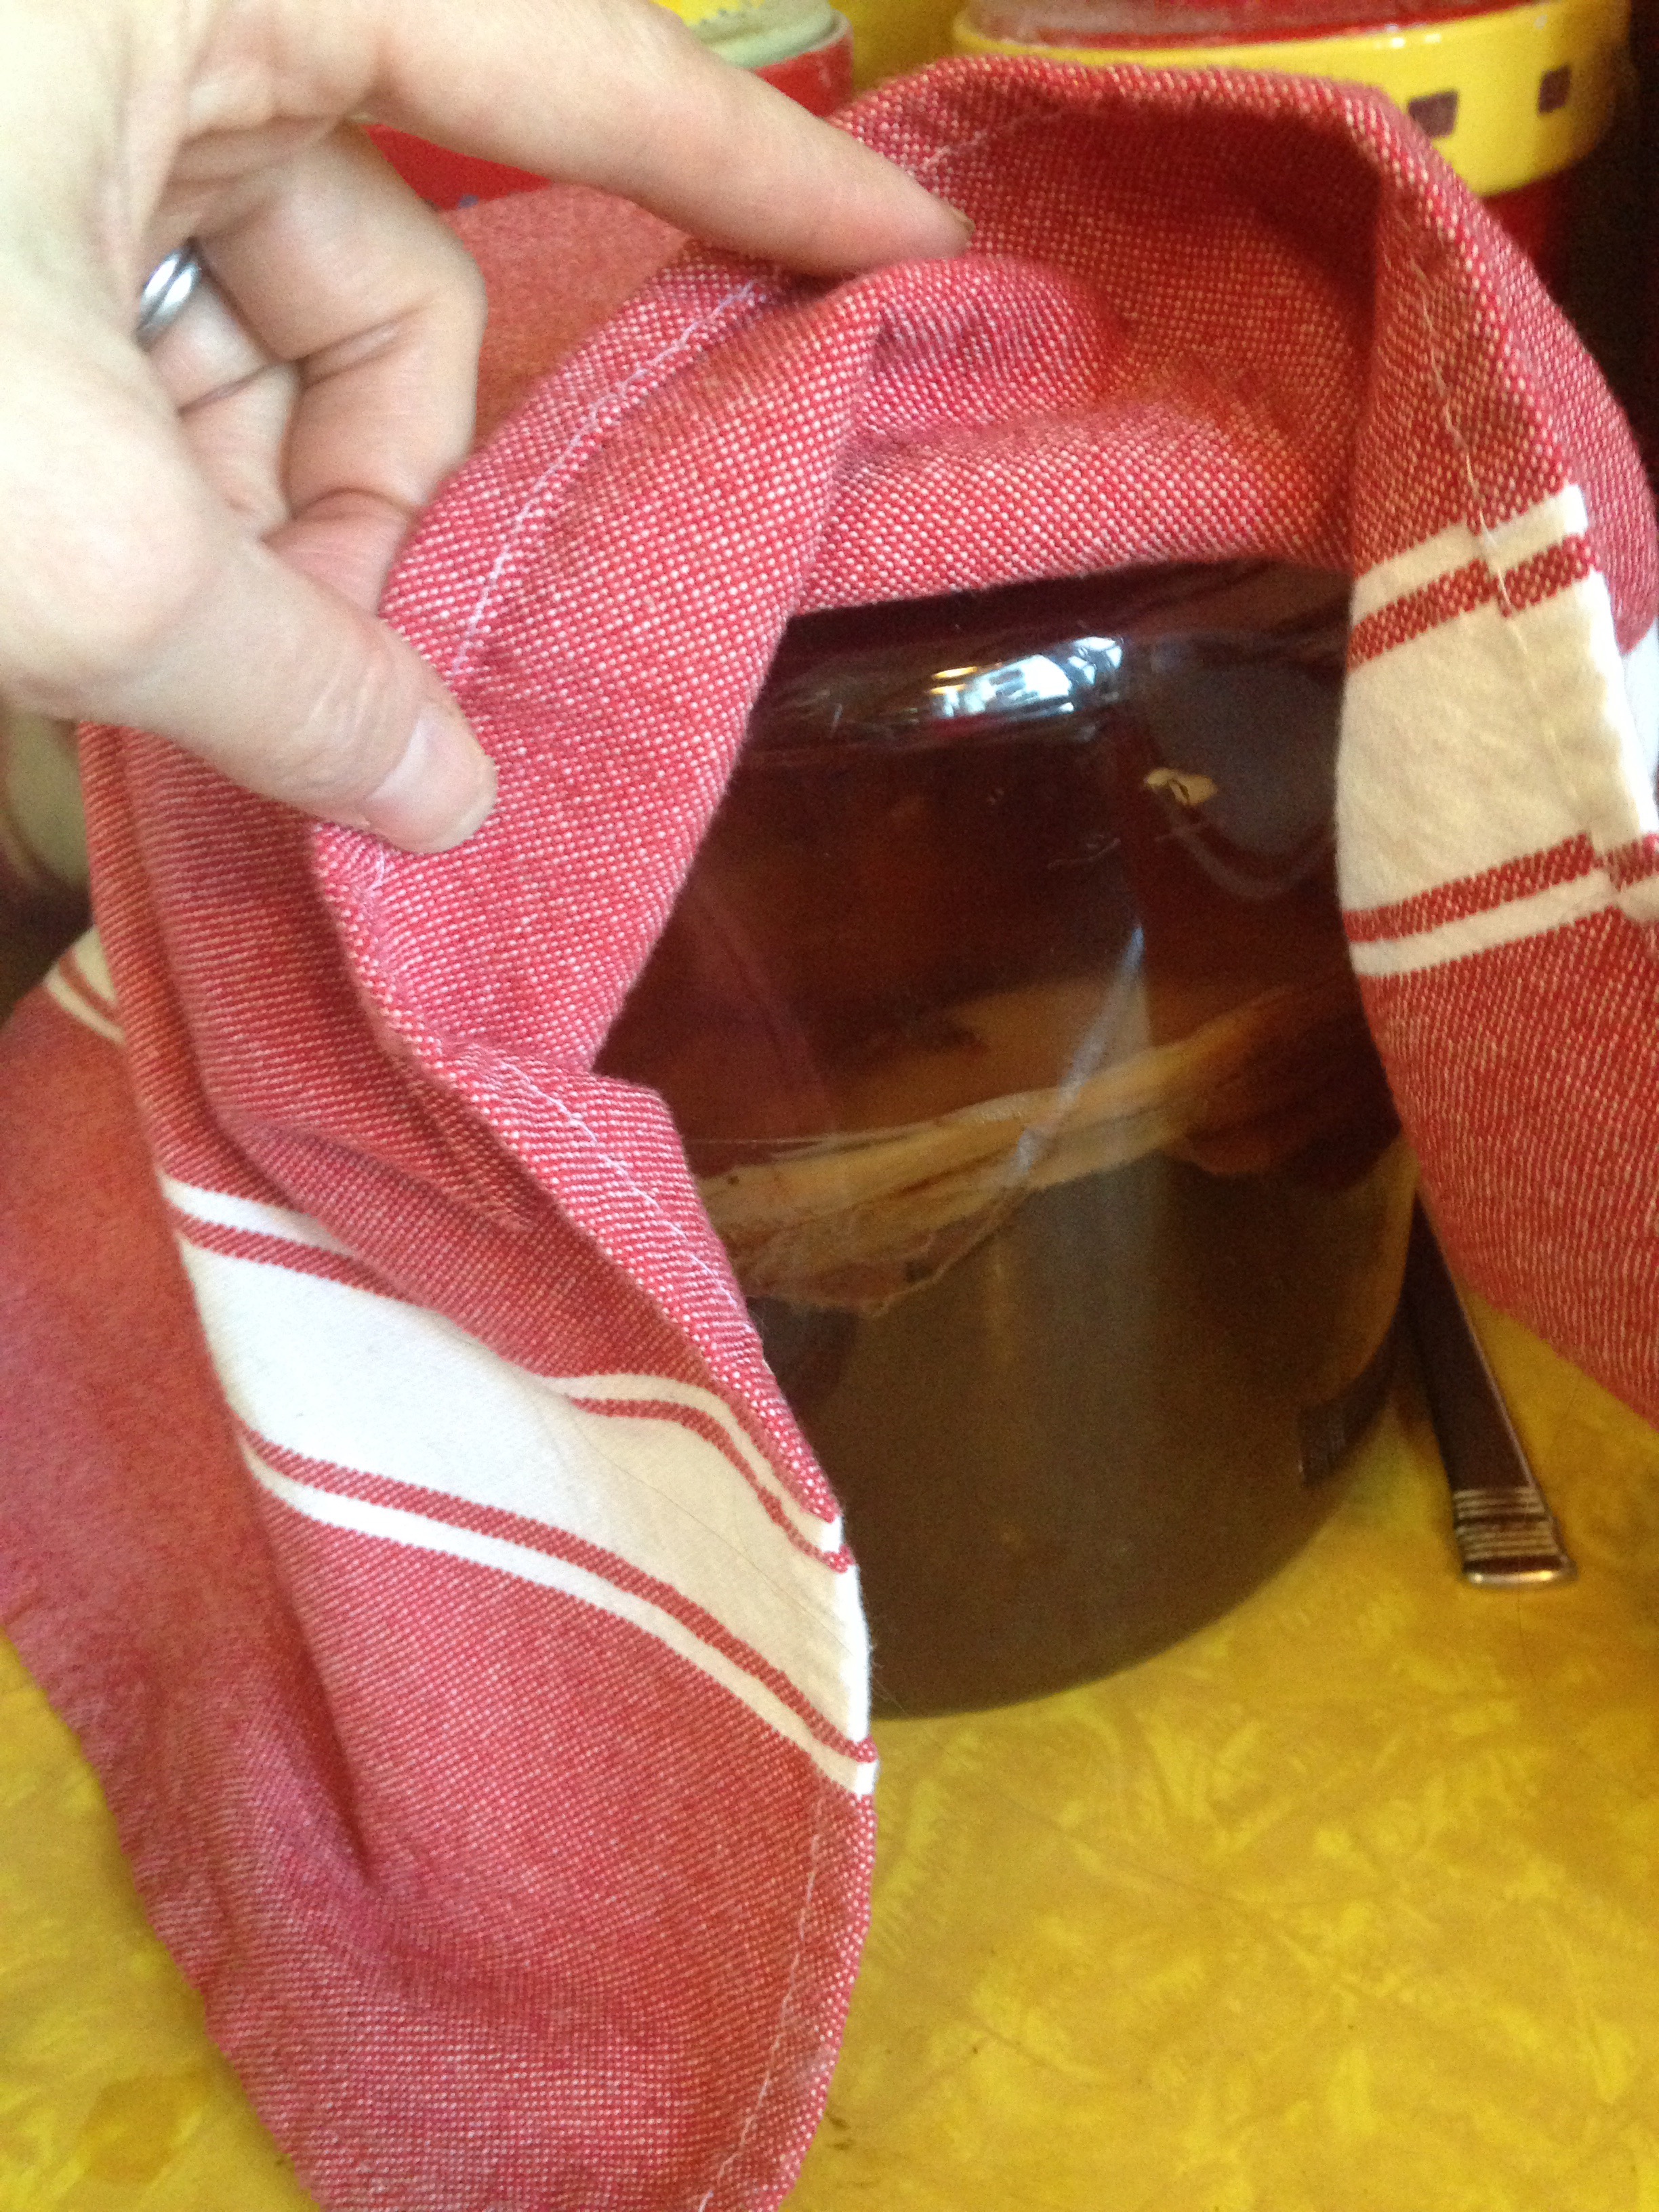
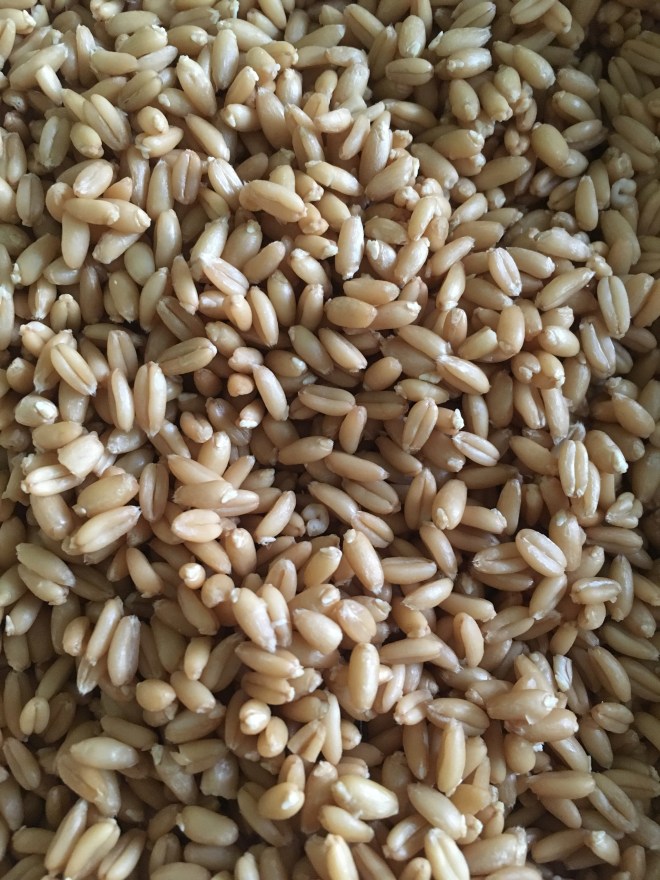
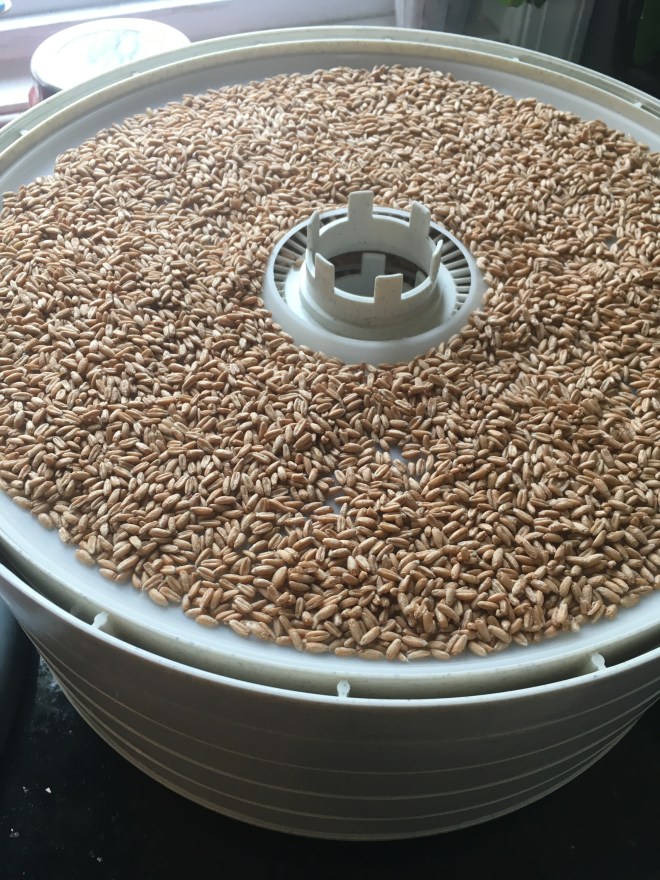
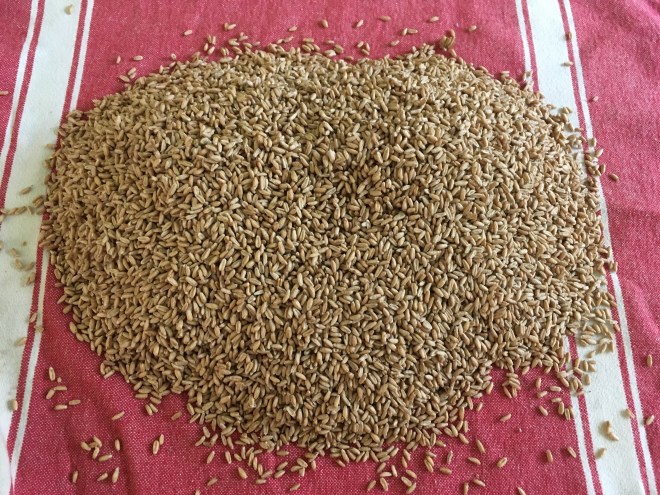
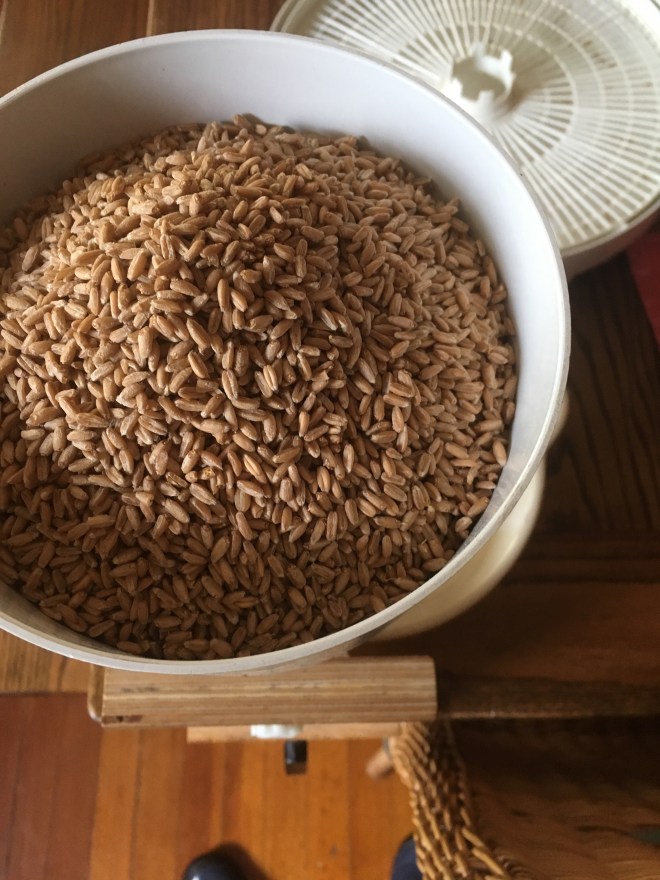
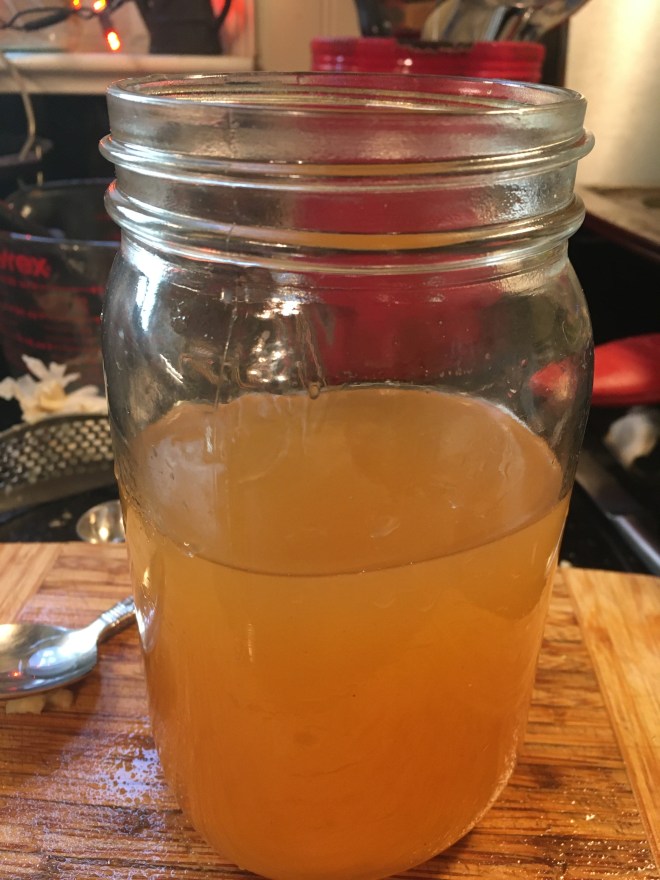
About 3 cups of immature spelt starter.
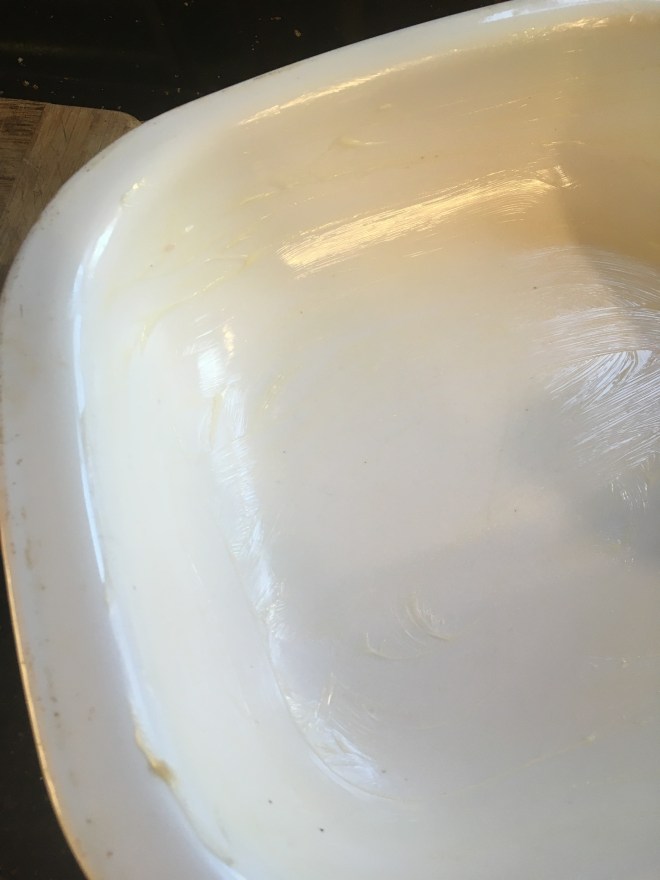
Buttered casserole.

3 Opal apples. Use a sweet apple like Fuji, Gala or Braeburn, rather than tart.
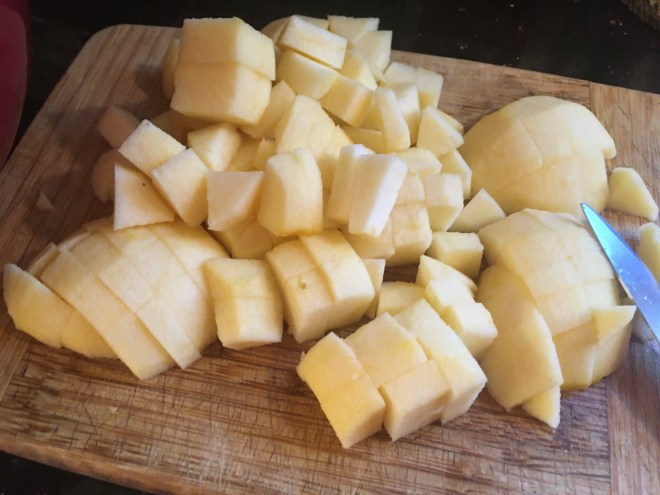
Peeled and chopped.
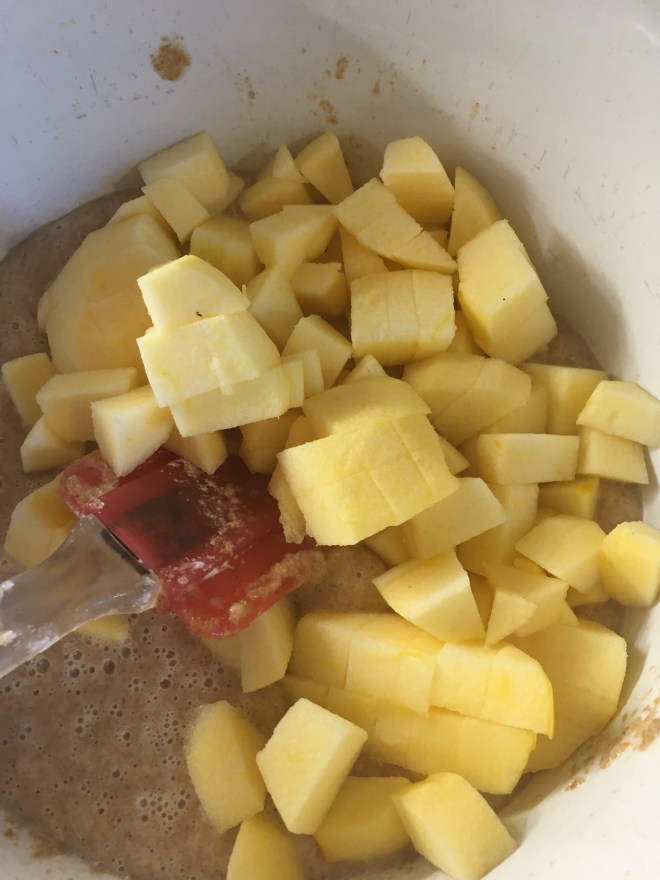
Add to batter.

Add the remaining ingredients and mix. Be prepared. The baking soda will make the mixture foam and bubble.
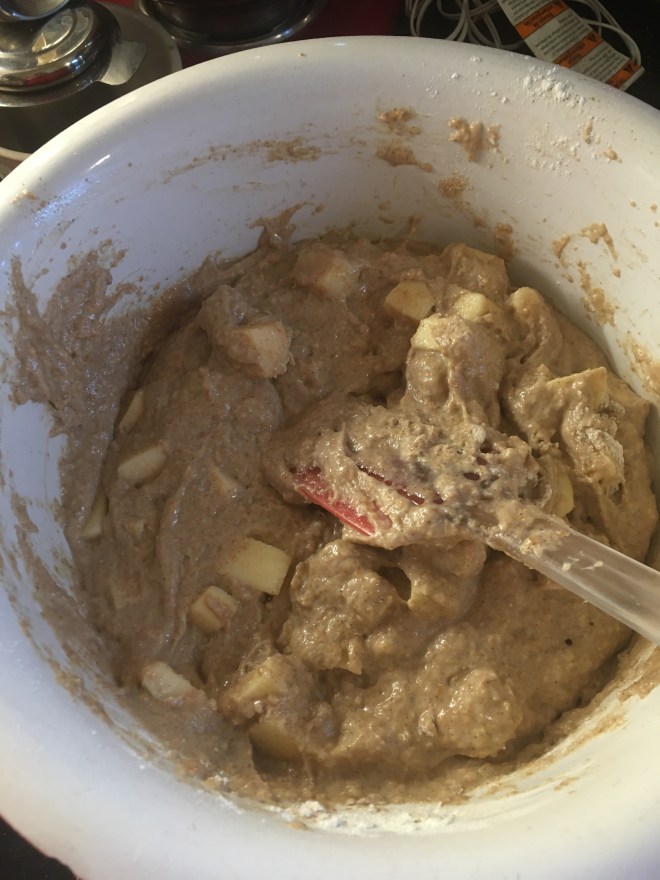
All combined.

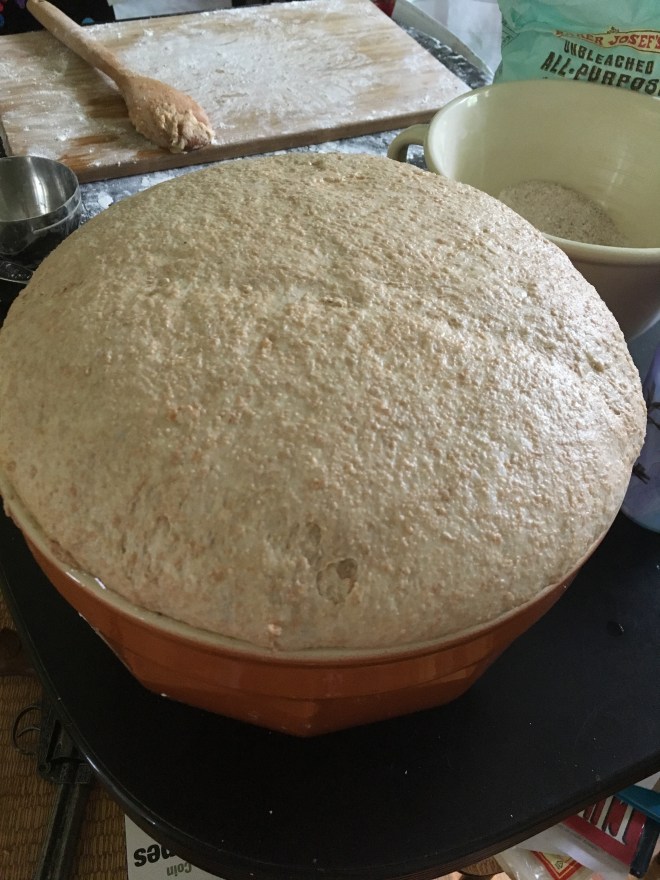
Poured into pan, covered and set to rise for 30 minutes.
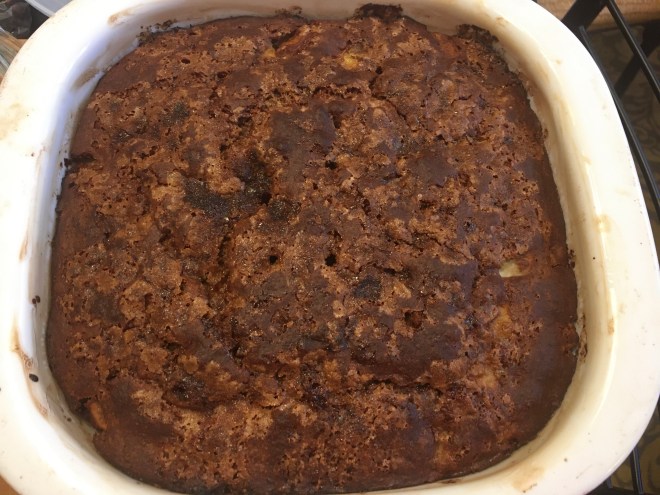
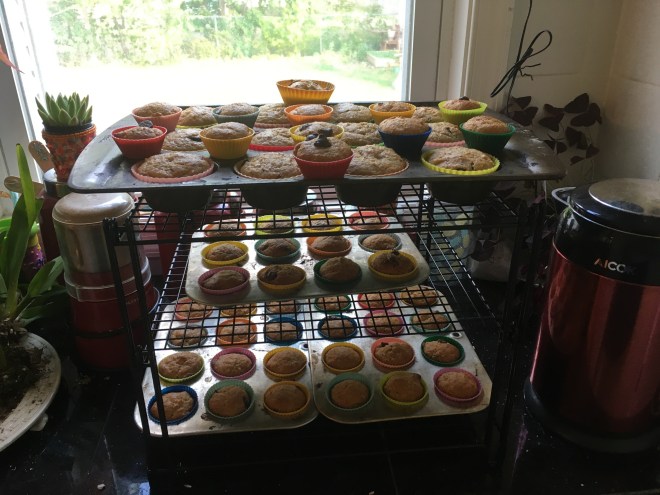
Fresh out of the oven.
How to make batter bread with a mature starter:
You can also use a mature starter to bake batter bread with just a few modifications. Take 1 cup of your mature starter and add 1 cup of warm water, 1/2 cup sugar, 1 tsp of salt, 1/2 cup flour. Let this mixture sit and activate for 2-2.5 hours. While it sits peel and chop the apples. Add the apple, cinnamon, cloves, oil, and 1 tsp baking soda to the batter mixture. Stir and add flour until the dough is a stiff batter. Sprinkle brown sugar on top and let it rise 2-3 hours. Bake 400 for 40 minutes or until the dough temperature is 190 degrees.
August 29, 2020
Edited to add that this also comes out great in a loaf pan. I like to make it in loaves when I want to have extra to freeze.


 I have a page in the “

 I decided to take the advice of my friend Carolyn Thomas at


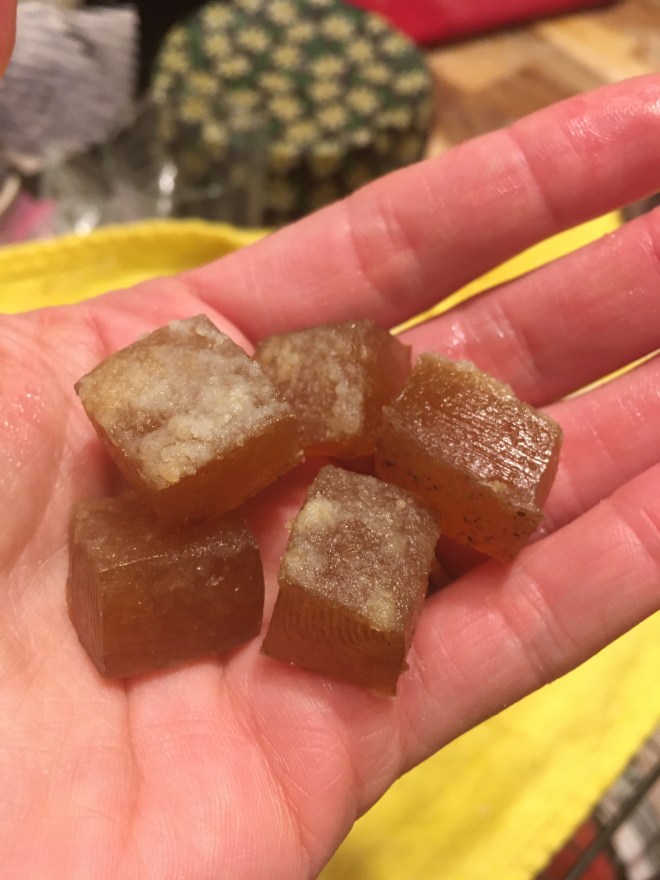
 I posted about these originally in 2014.
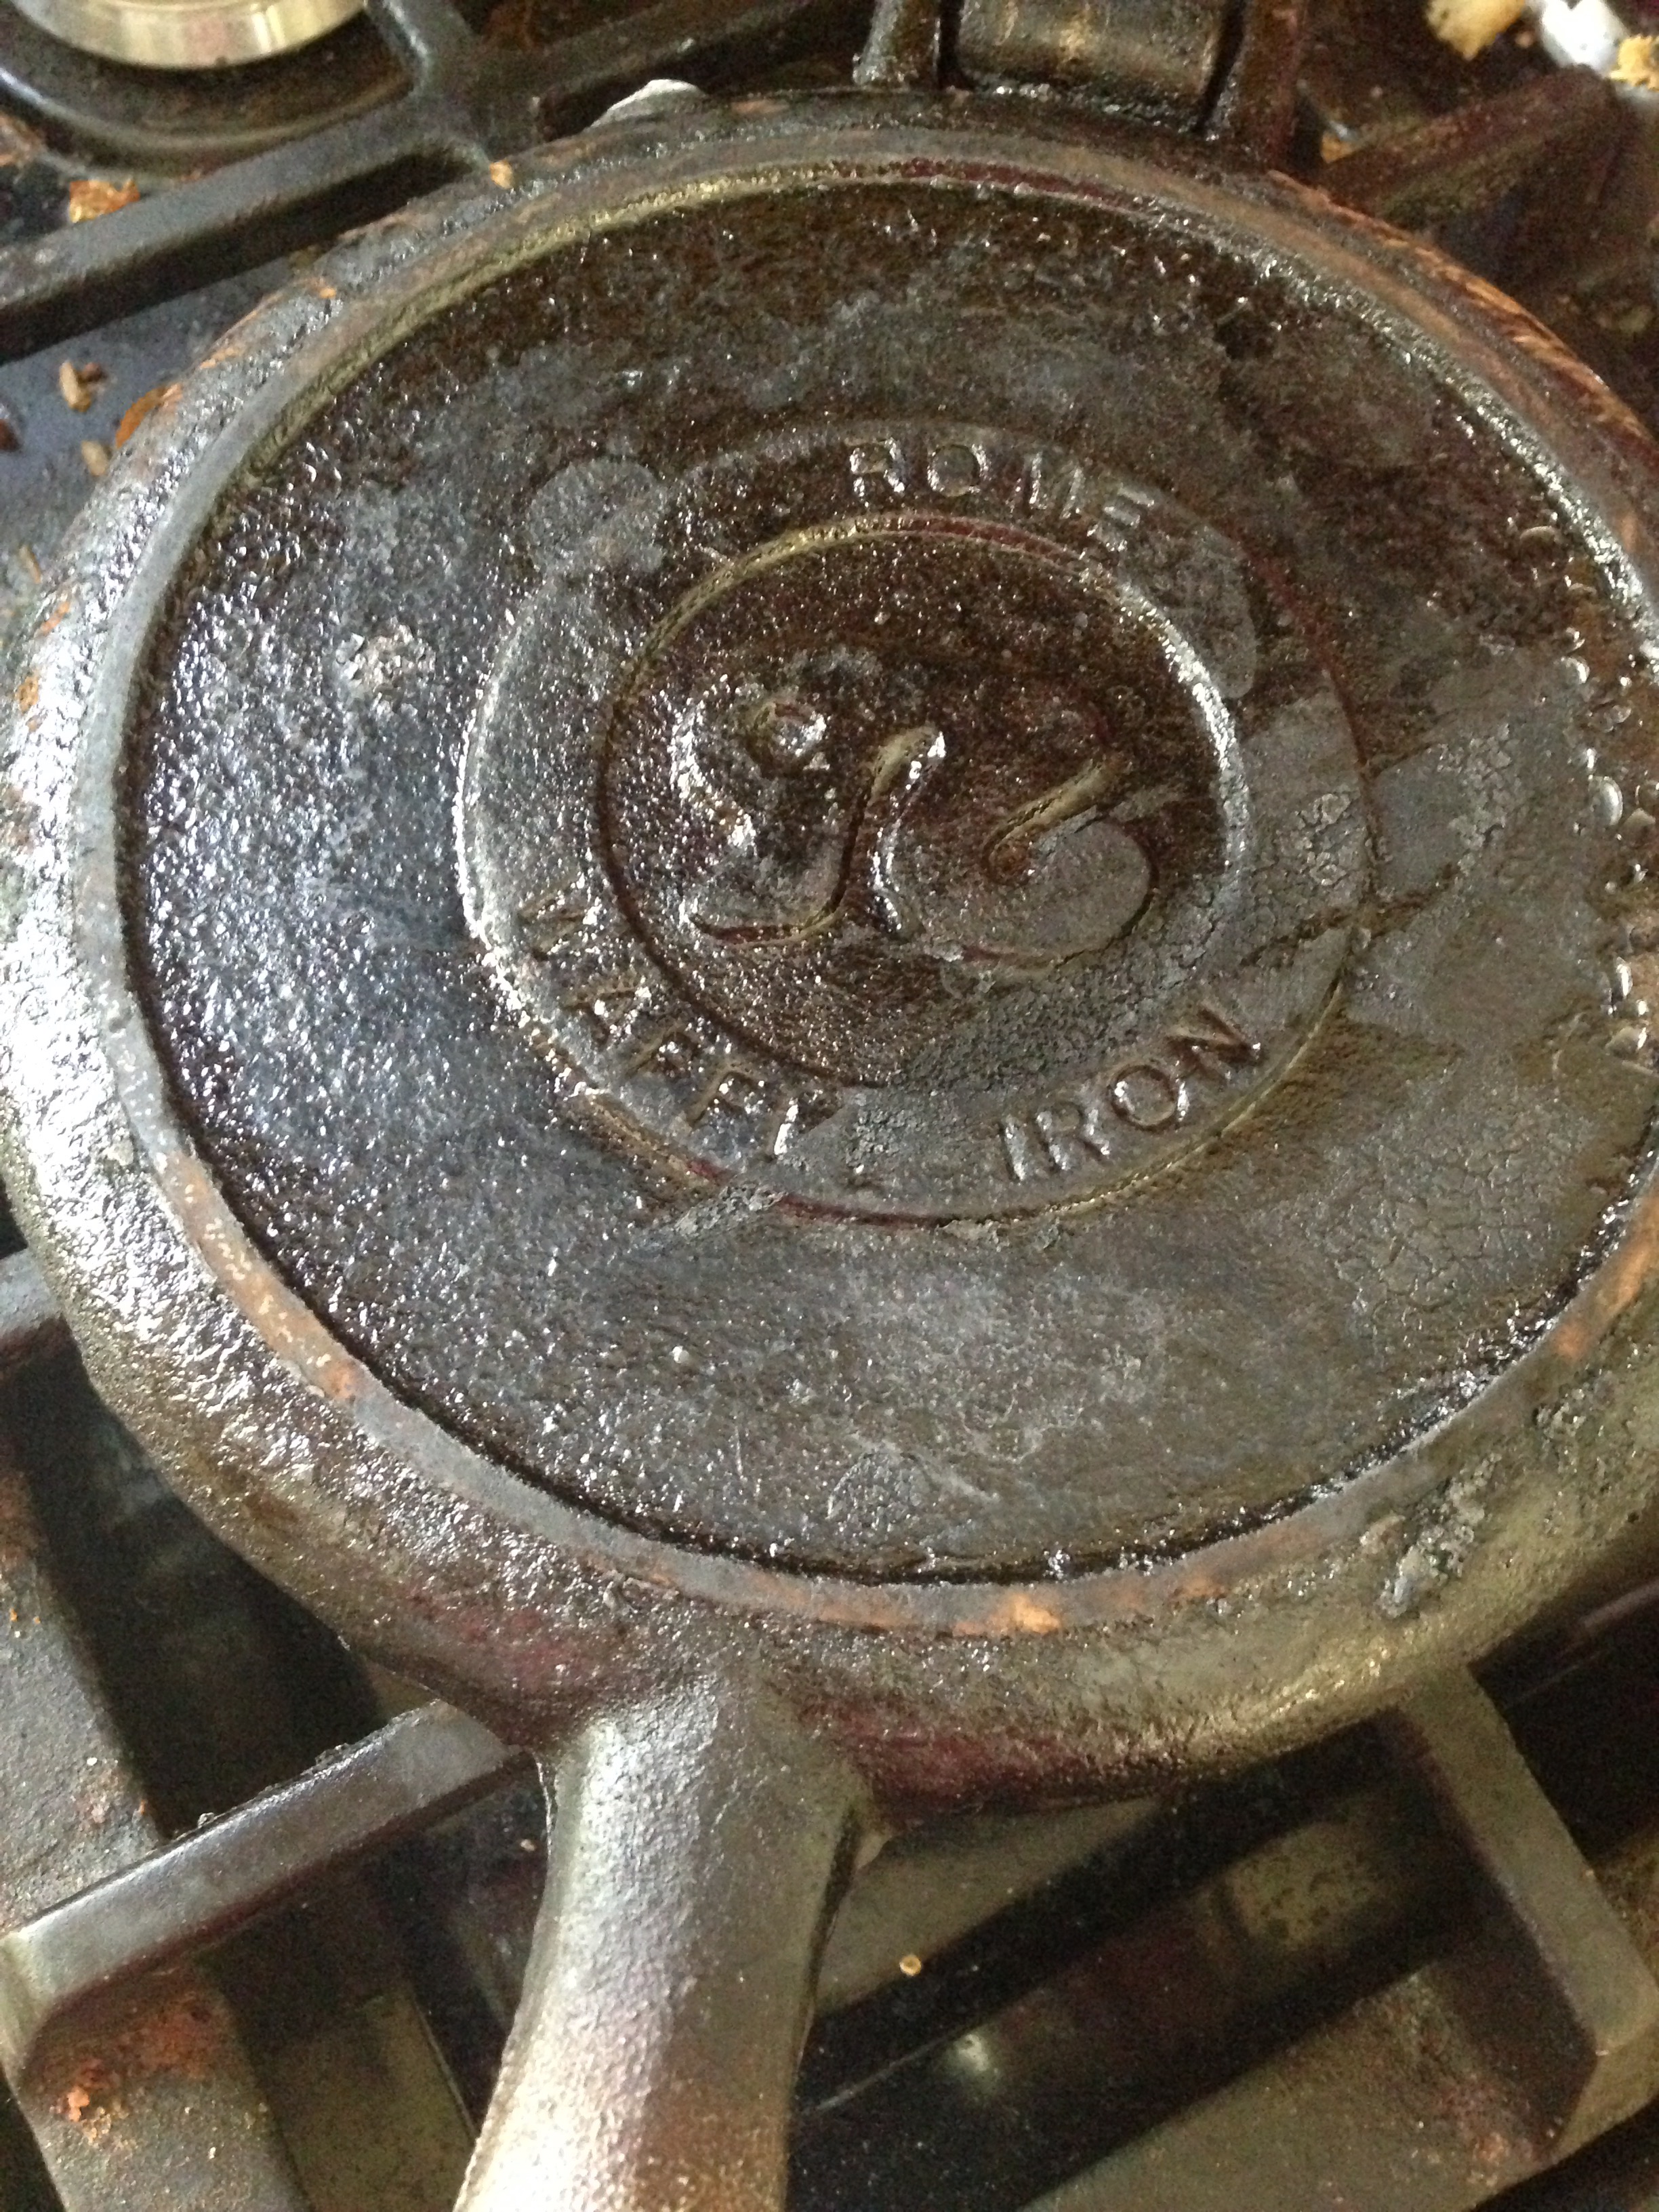
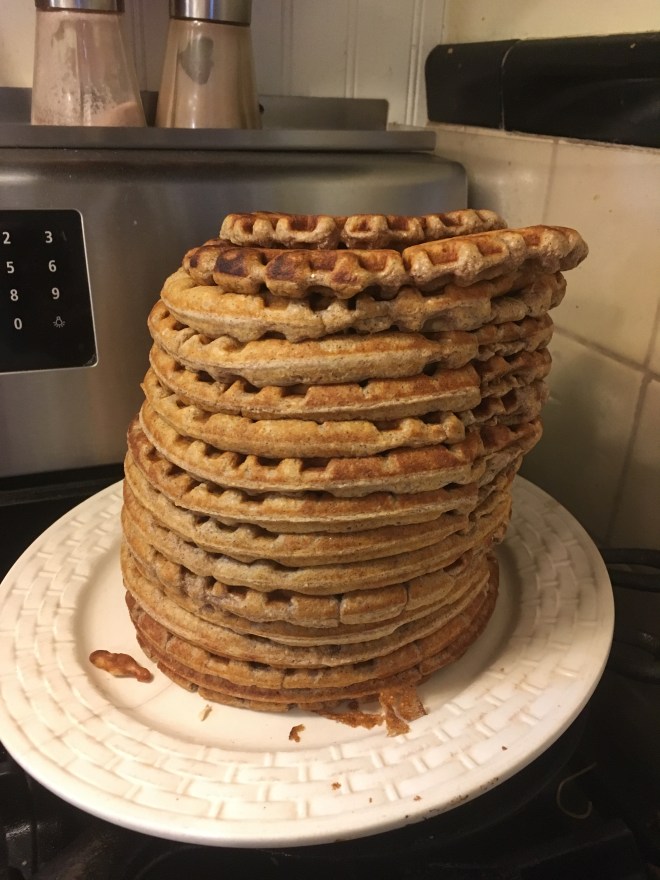
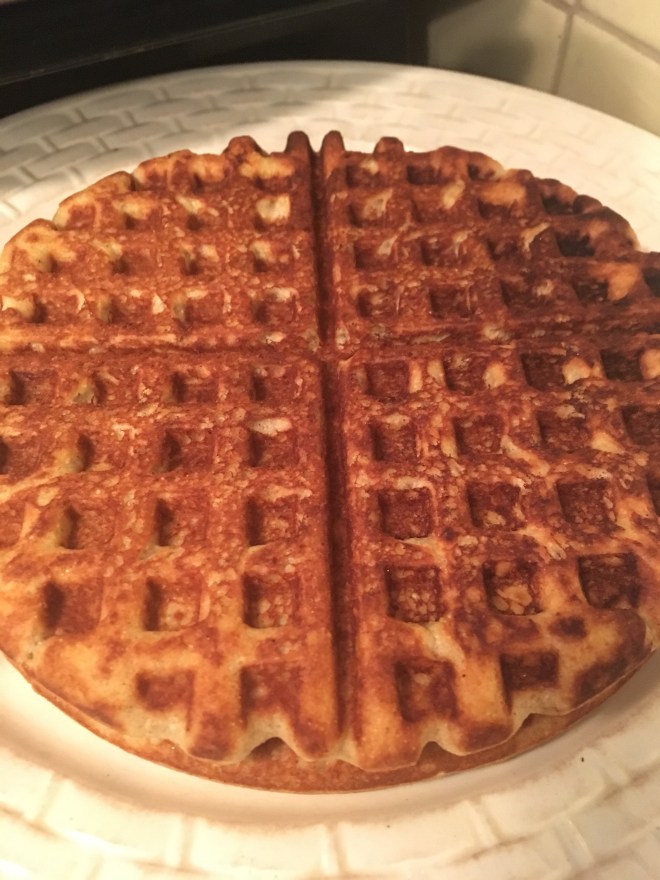 We eat waffles for breakfast every morning. Why you ask? Because when members of your family are allergic to oats, eggs, and pork you’re pretty limited on your breakfast food. This is something that I can make that everyone can eat. So, I make a HUGE batch every Saturday to last us the week. If you want a week’s worth of waffles, try this recipe.