Add this to brighten your day. Tasty, chewy, and sweet, with just a bit of lemony tang.
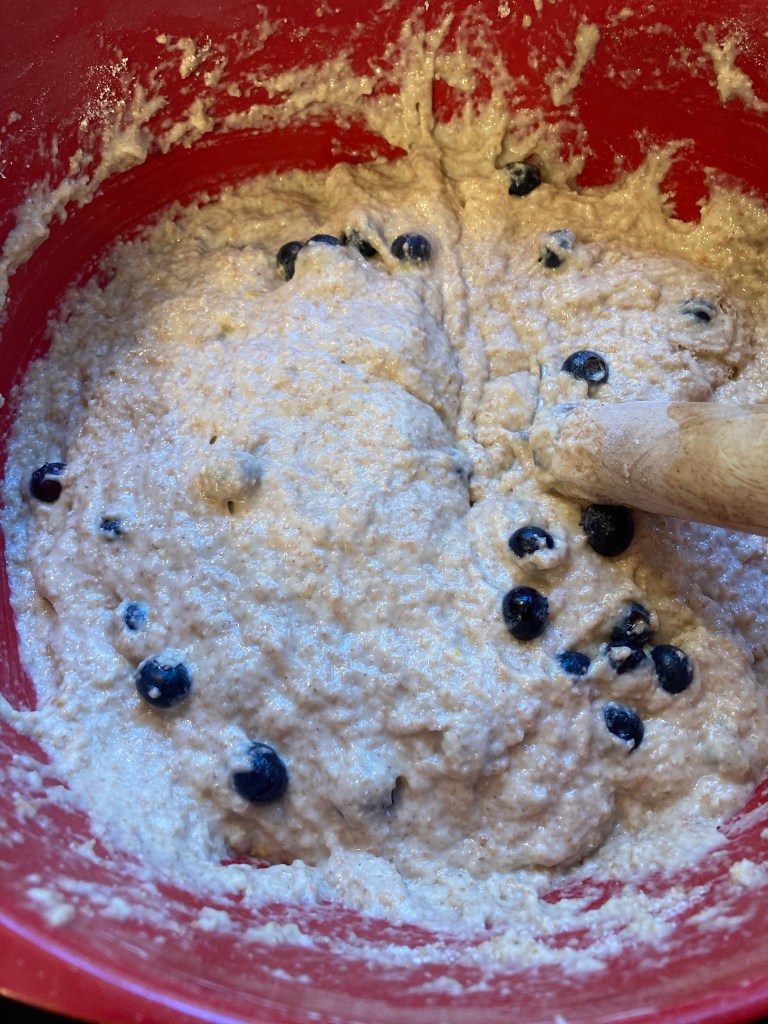
Lemon Blueberry Batter Bread:
3 cups sourdough starter
1 tsp salt
1 cup water
1 cup honey (or 3/4 cup brown sugar)
1/3 cup oil
1/2 tsp vanilla
Mix these ingredients together. Add the following….
1 cup all purpose flour
2 tsp baking soda
1 – 6oz container of blueberries
Zest of 1 lemon
Any whole grain flour of your choice 1/2 cup at a time until the dough is the texture of a soft cream cheese or buttercream frosting.
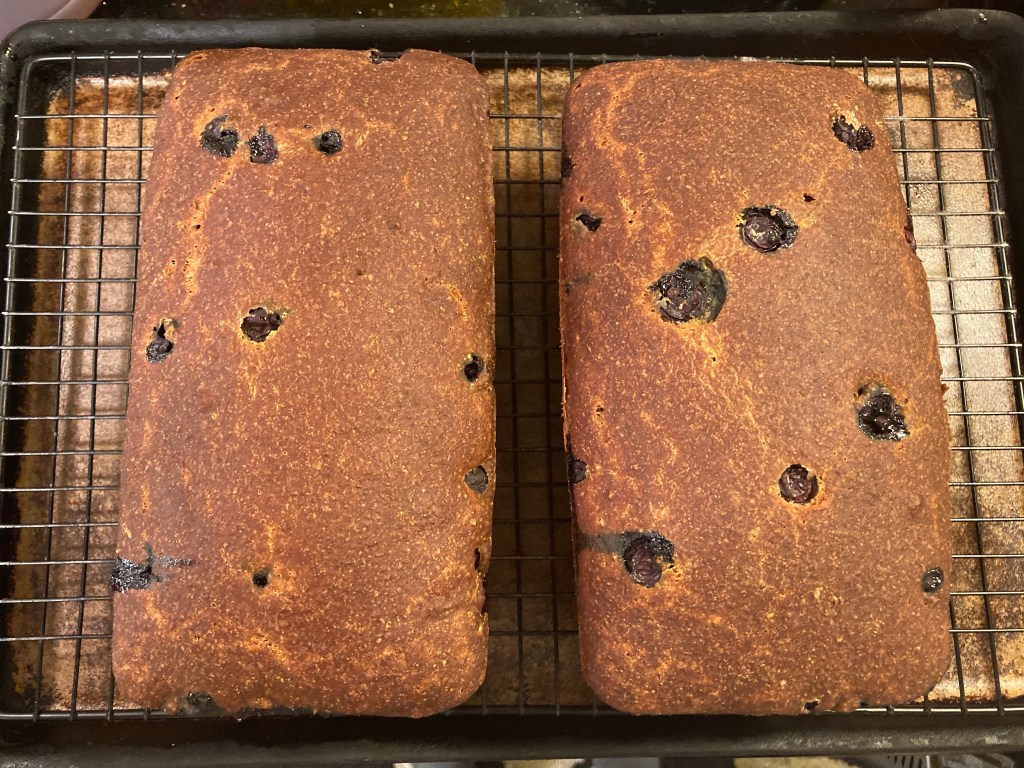
Pour into two greased loaf pans (or you can use liners and make muffins instead). Cover with a damp towel and let it rise until the dough reaches the top of the pan.
If you use honey, bake at 350 degrees for 35-40 to avoid them browning too quickly like the loaves below. If you use sugar, bake at 375 degrees for 35-45 minutes. Check for doneness using a cake tester. It should come out clean, or the interior temperature should register 200 degrees on an instant read thermometer.
Slather with butter and enjoy!
And if you want to learn more, check out Homesteading Family’s the Art of Homemade Bread course. It will teach you all you need to know about making healthy bread at home.
Are you ready for the easiest recipe you’ll make this week?
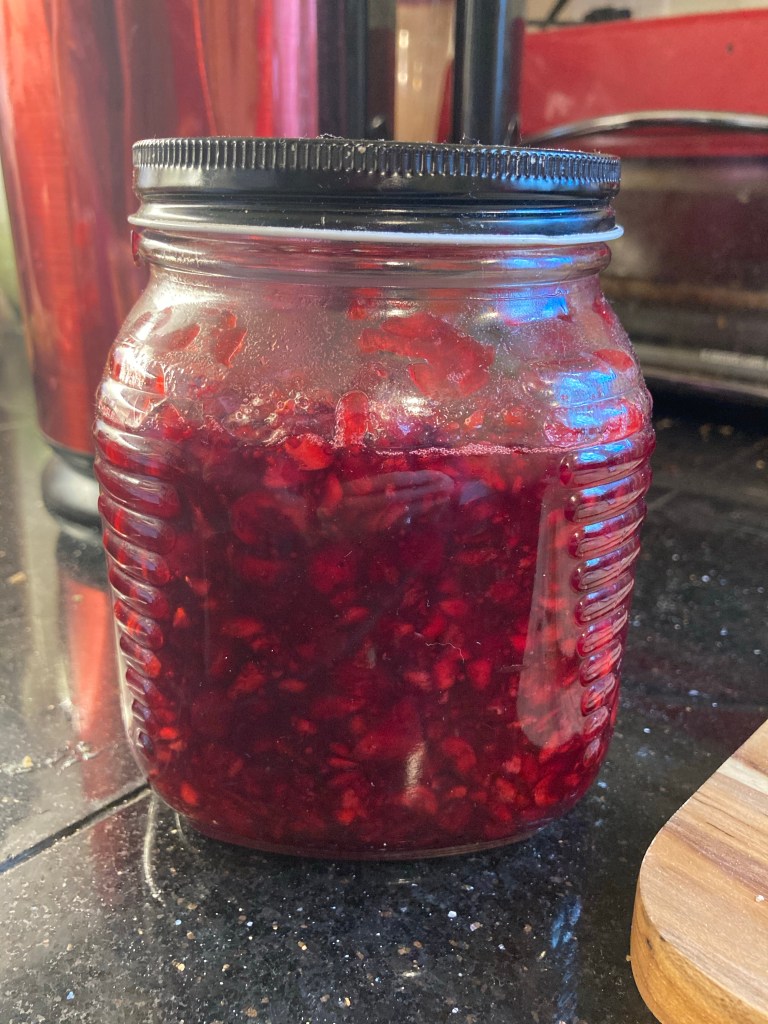
I’ve become addicted to this lemon cranberry honey. It’s sooooo good!
Here’s what you need:
1 package whole fresh cranberries
1/2 chopped lemon peel
Honey
Simply chop the cranberries in your food processor (or leave them whole if you want), cut up your lemon peel into little pieces or chunks, put in a jar, and cover with honey to 1” above the fruit level. That’s it!
You’ve now made fermented cranberry lemon honey. Just swirl the cranberries around 2-3 times per day or whenever you pass by the jar to keep them well coated as submerged. After a couple of days you’ll notice that the honey becomes more liquid as the fruit release their juices into it. You can begin eating it at any point, but the flavor is best after a week or more of fermentation time.
So, what’s actually happening here? The anti-microbial properties of the honey are acting as a preservative for the fruit long enough for the liquid to be released into the honey which then allows the honey to ferment. After fully fermented, which takes about 2 weeks (more like 4 weeks if you use whole cranberries) the this will last indefinitely in the fridge. If kept at room temperature it will continue to ferment and eventually turn to alcohol if left out long enough. I keep mine out on the counter, but it never lasts long enough to bother putting it in the fridge. We eat it up.
And feel free to play with flavors. I’ve also tried adding orange and cinnamon, but the lemon is my favorite.
This recipe makes a great jam substitute if you are trying to avoid sugar. I also use it in baking to make flavored biscotti or scones, or even as a flavoring or sweetener in my morning tea.
Just in time for Christmas and all your holiday celebrations. Give some delicious loaves as a gift. Visit the Bread Box Cottage Bakery page for pricing and availability.
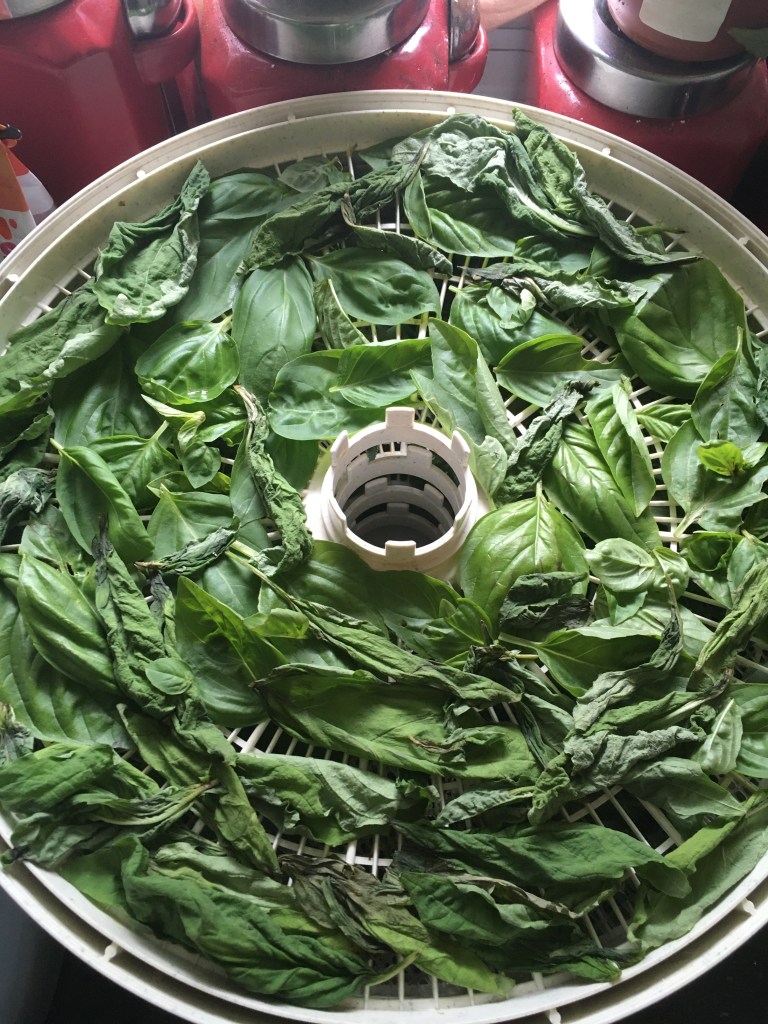
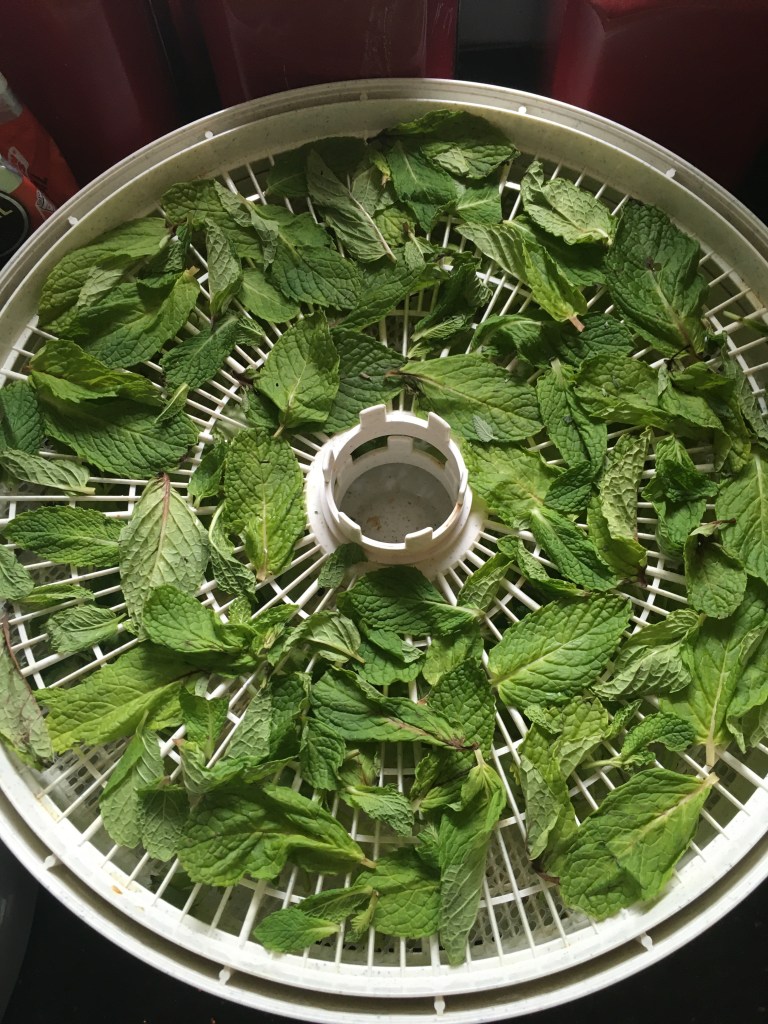
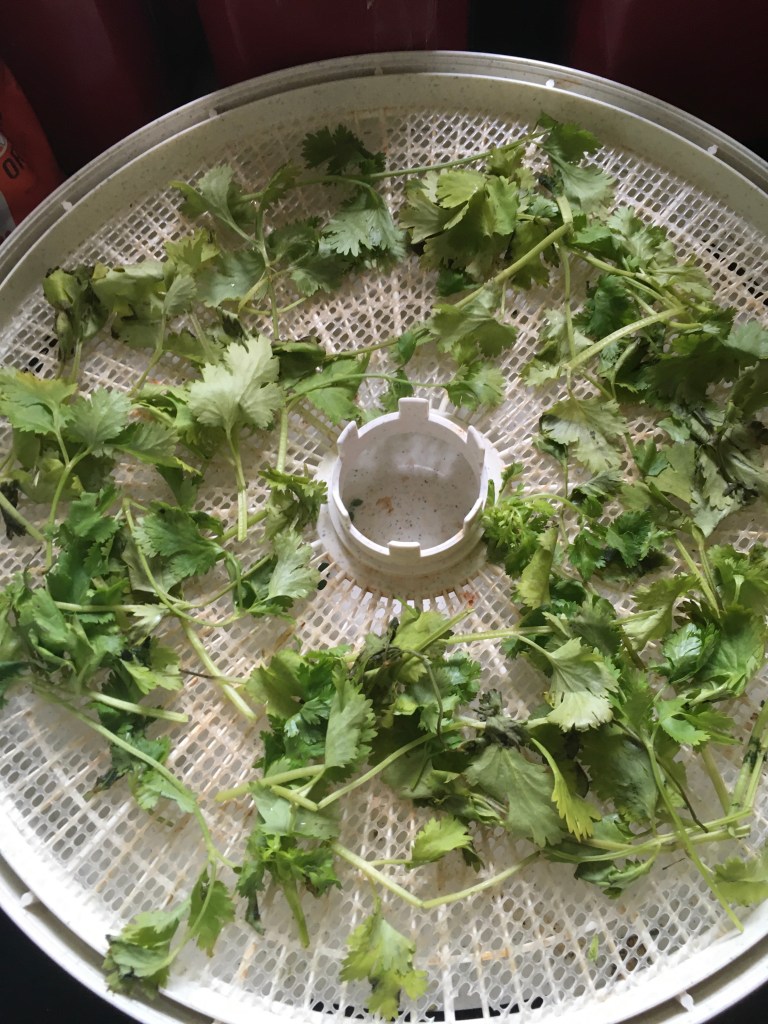
I’ve always enjoyed picking herbs from my garden. But I typically just pick what I need for mmmmm for culinary use. I’ve been harvesting more herbs this to dry and save for medicinal and beauty uses this year.
Scroll on to see what’s been in my herb basket this year.
Sage, Calendula, and one big Mullein leaf.Basil!Mint and CatmintSpearmintCilantroRoses!I lay my rose petals between two paper towels to air dry.Pretty little Calendula flowers. I air dry these the same way I do the rose petals.
We love Trader Joe’s spice grinders. We like the Lemon Pepper, Everyday Seasoning, and Garlic Salt. If you haven’t tried them, you really should.
What what do you do when you find yourself smack-dab in the middle of a pandemic, and you can’t run out and buy more? You get creative and make your own.
Garlic Salt is the seasoning I use the most. It’s basic and I find it to be the most versatile. I use it on the kids chicken strips that they eat every day for lunch, and I REALLY like it on our sourdough crackers. If you want to try to craft your own, save an empty grinder and mix the following together.
Homemade Garlic Salt:
3 tsp parsley flakes
3 tsp dried minced garlic
2 tsp onion flakes
2 tsp salt
If you’re interested in making your own spice blends and seasoning mixes, check out Homesteading Family’s Homestead Kitchen Membership. They recently did Pantry Challenge and have whole workbooks full of DIY baking and spice mixes that you can make yourself for pennies.
You might also be interested in their Home Management class which gives common sense, every day tips and systems for keeping your busy, productive household running smoothly.
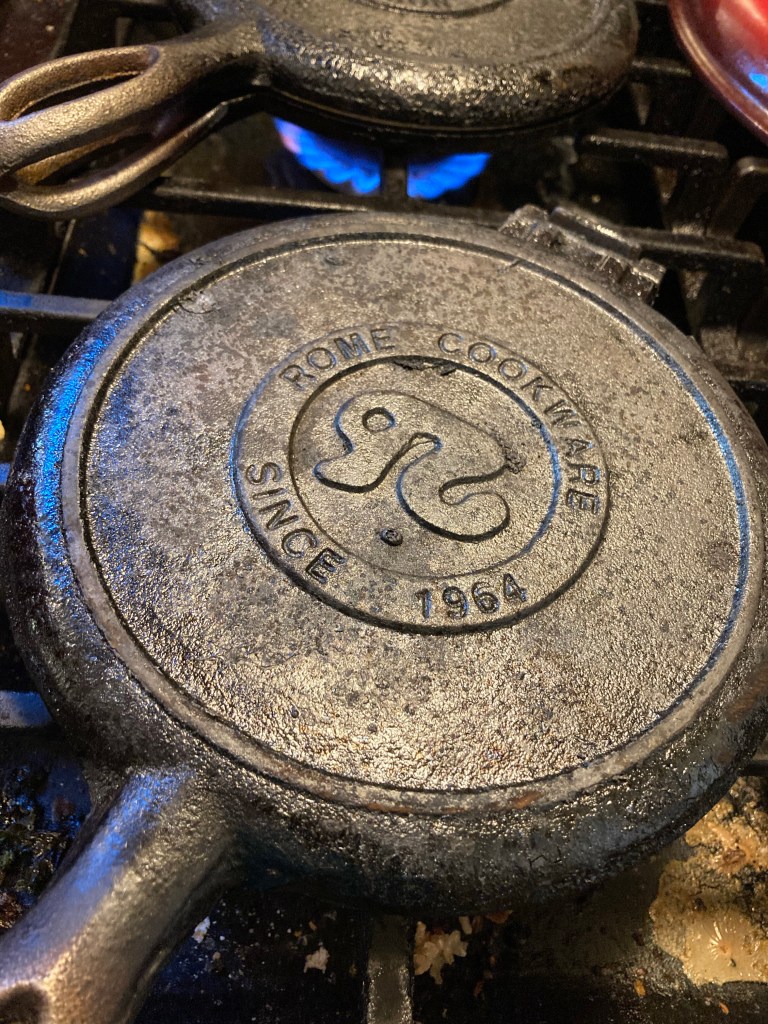
If you want to give this recipe a try, follow my basic waffle recipe here, but use half the oil, 3 cups of regular milk rather than the 4 cups of buttermilk (or soured milk), and add 1-2 cups of sourdough starter.
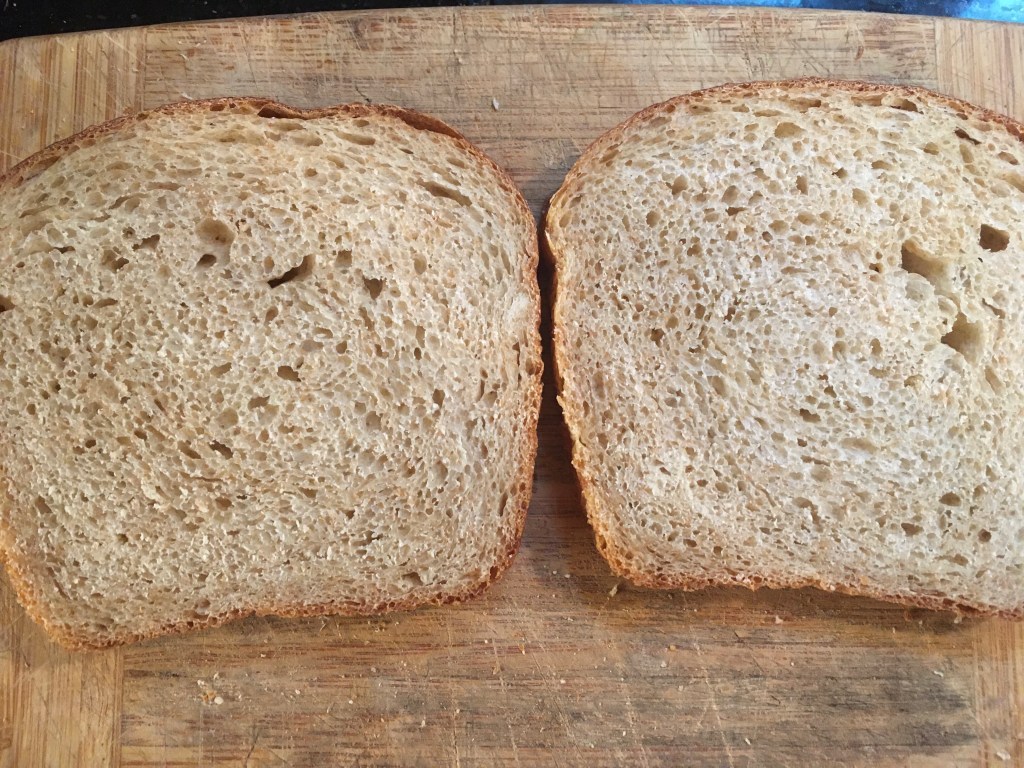
This has become my favorite loaf to make. It’s so big, and tall, and luscious. It’s the perfect loaf for anyone with an Emile Henry Italian loaf baker. Give it a try with the recipe below and let me know how it turns out. Post a picture of your loaf in the comments!
Sourdough Sandwich Loaf Recipe:
Begin with approximately 2 cups of activated sourdough starter. This means that the starter should have been fed within the last 2-3 hours. I don’t specifically measure. I just eyeball it.
Add the following…
1 1/2 tsp salt
2 tbls honey
1 1/2 cups water
Stir all this into the starter.
Activated starter with salt and honey. Water is next.
Next add your flour. If you are using an all purpose starter, add the all purpose flour first. If you have a whole wheat starter or other whole grain add the whole grain flour first. You want to be sure that the flour that your starter is used to being fed is mixed into the starter well before another type of flour is added. So….
2 cups all purpose flour
1 3/4 – 2 1/2 cups whole grain flour
The whole grain flour could be whole wheat, spelt, etc. I use freshly milled flour.
The reason I give a range here on the flour is that this can vary for you depending on how thick/thin you keep your starter. I typically use about 2 cups of whole grain flour.
The other thing to keep in mind is that this is a fairly stiff dough. For those of you used to high hydration loaves, you may feel like you are over flouring here.
After you have mixed in the flour that your starter is typically used to being fed, then mix in the other flour one cup at a time. You need to read your dough after the first cup of flour. You are going for a dough that is fairly stiff and just cleans the side of the bowl.
This is after one stretch and fold.
After you think you have added enough flour, covet the bowl with a wet towel and let the dough rest for 30 minutes.
After the first 30 minute rest, you want to perform 4-5 sets of stretch and folds every 20-30 minutes. To execute a stretch and fold, reach under the dough and pull a section of the dough up and fold it toward the center of the dough. Do this all the way around the circumference of the ball of dough. Let the dough rest for at least 20 minutes, and perform another stretch and fold until you have done it 4-5 times.
Now give the dough a final 20 minute rest and while you prepare your loaf pan.
I use an Emile Henry Italian Baker (affiliate link). As you can see, this is an extra-large loaf pan. You could use an oval Dutch oven to make this loaf, or divide the dough into two regular sized loaf pans. You could also cut the recipe in half if you only want to make one loaf in a regular sized loaf pan.
If using loaf pans, butter or grease your pans well.
After the dough has completed its final rest (divide it in half if using two loaf pans) and then flatten it into a rough rectangle just slightly smaller than the length of your pan. Roll it into a log shape, pinch the seam closed, and place it in the loaf pan for its final rise. If you have the EH Italian baker, cover the dough with the lid while it rises. (Note: if baking in a Dutch oven, let your dough rise in a covered, oblong banneton, and use parchment paper to line your Dutch oven with rather than greasing it.)
A peek at the bread rising. This dough needs to be a little closer to the top before it’s ready.
Let the dough rise until it reaches the top of your loaf pan or banneton.
Once it had risen to the top of the pan, preheat the oven to 400 degrees.
Once the oven is hot, place your loaf pan in the oven and bake covered for 30 minutes. Then remove the cover and bake for 15 more. If baking in regular loaf pans, you can bake uncovered, just watch the loaf for the last 15 minutes to be sure that it is not browning too quickly. If you find it browns too fast, reduce the heat to 350 for the last 15 minutes.
Cool completely on a wire rack and enjoy your beautiful loaf!
Printable Recipe:
2 cups sourdough starter
1/2 tsp salt
2 tbls honey
1 1/2 cups water
2 cups of flour (same as starter)
1 3/4 – 2 cups flour of choice
Mix all ingredients well. Perform 4-5 sets of stretch and folds. Shape and place in loaf pan for second rise. Preheat oven to 400 when bread reaches the top of the pan. Bake for at least 30 minutes or until golden brown.
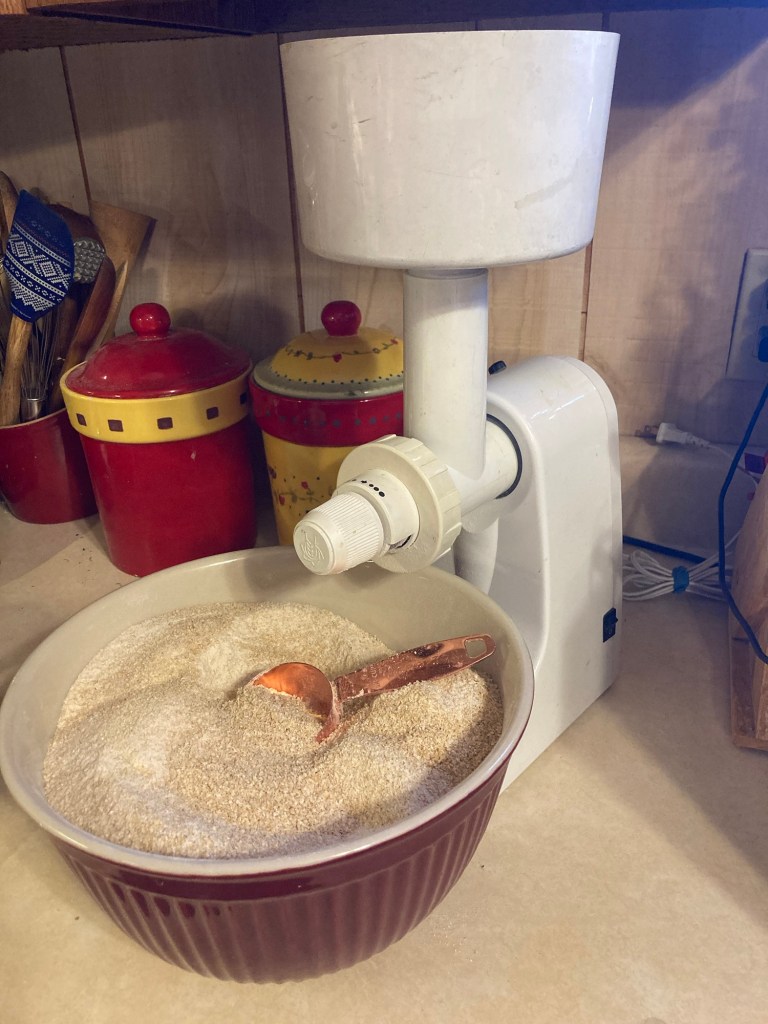
My Favorite Loaf Pan and Grain Mill:
If you are new to sourdough and want to dive into milling your own grains, the Family Grain Mill is my favorite mill. It is a workhorse. Mine is a hand me down from my mom. It is 20 years old and still going strong. You can buy it with a motorized base or a hand crank which is nice if you live in an area prone to power outages. And as far as grain mills go it is one of the most inexpensive on the market. Still an investment but much cheaper than some of the fancier ones. It’s simple, strong, and will last you for decades.
And if you want you want to try the loaf pan I feature here in this recipe – it is worth every penny. The Emile Henry Italian Baker is expensive, and normally I err on the side of economy but I love this pan so much! It’s a pleasure to bake in, perfect if you have a large family, and baking the loaves with a cover really does give them beautiful rise and shape.
Need a Gluten-Free Recipe?
Try my Gluten-Free Seedy Bread. But if you really want more info on baking gluten-free yeast and sourdough bread, or the basics of ancient grains, check out the book I wrote for Homesteading Family called The Art of Gluten-Free Homemade Bread. It’s written specifically for families with multiple food sensitivities like mine. I assumes that you’ll need to tweak the recipes to match your dietary needs and it teaches you how to do it.
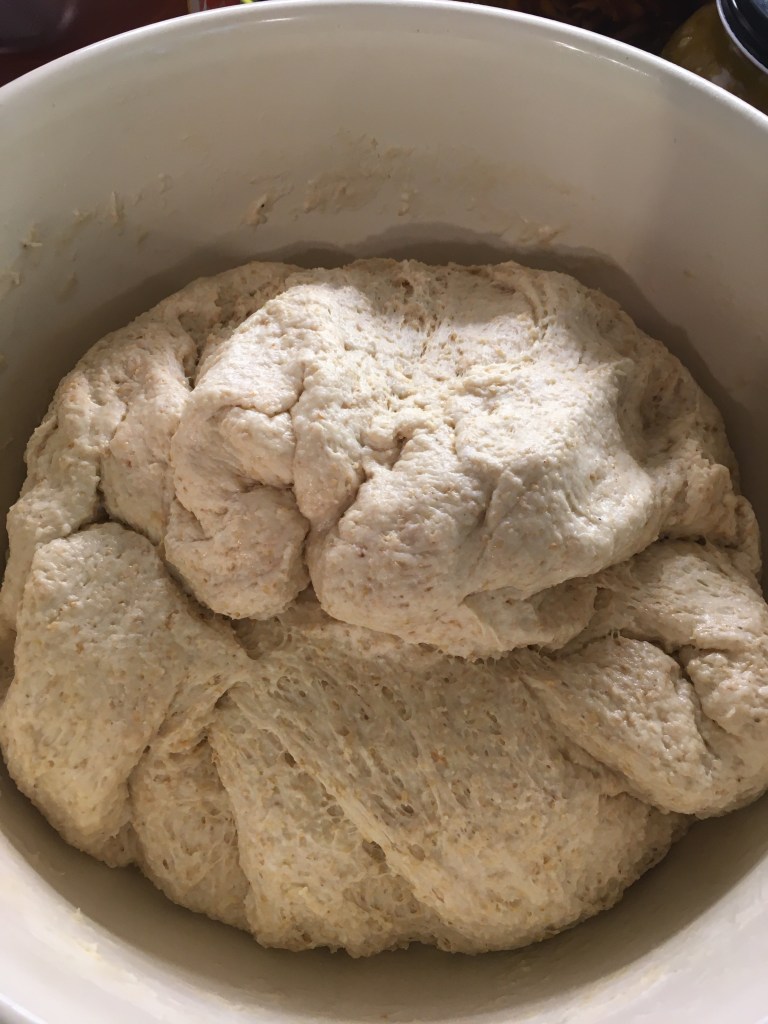
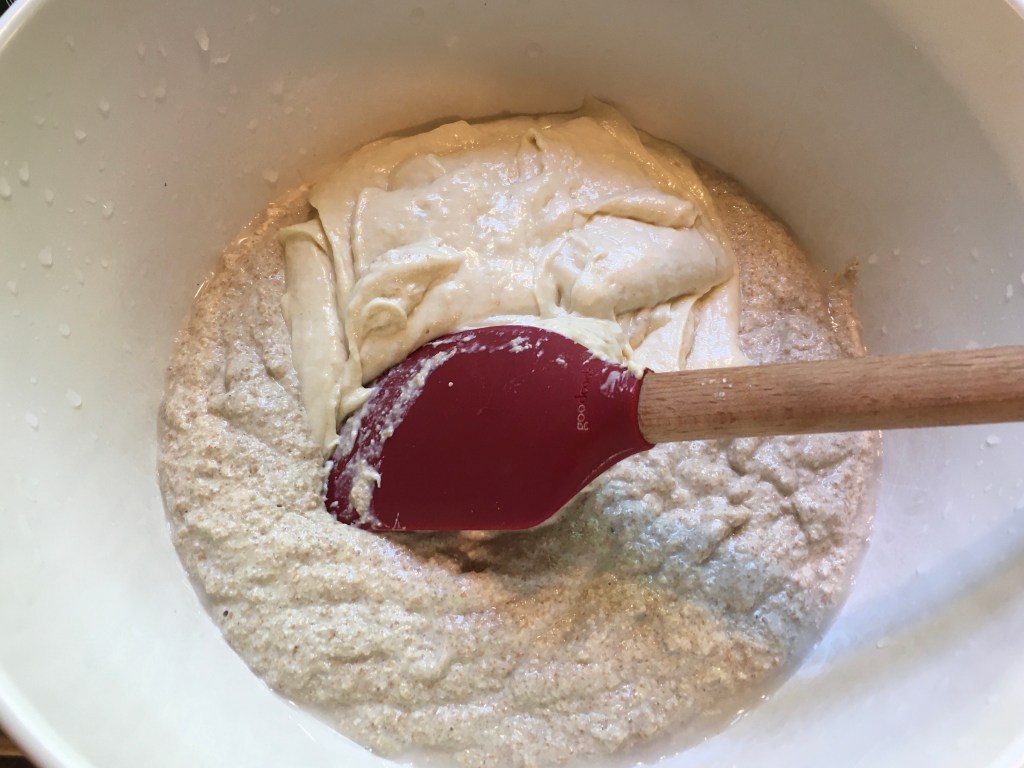
This is about six cups of mixed starters including – quinoa, brown rice, whole wheat, spelt, and all purpose. Use whatever starter that you have.
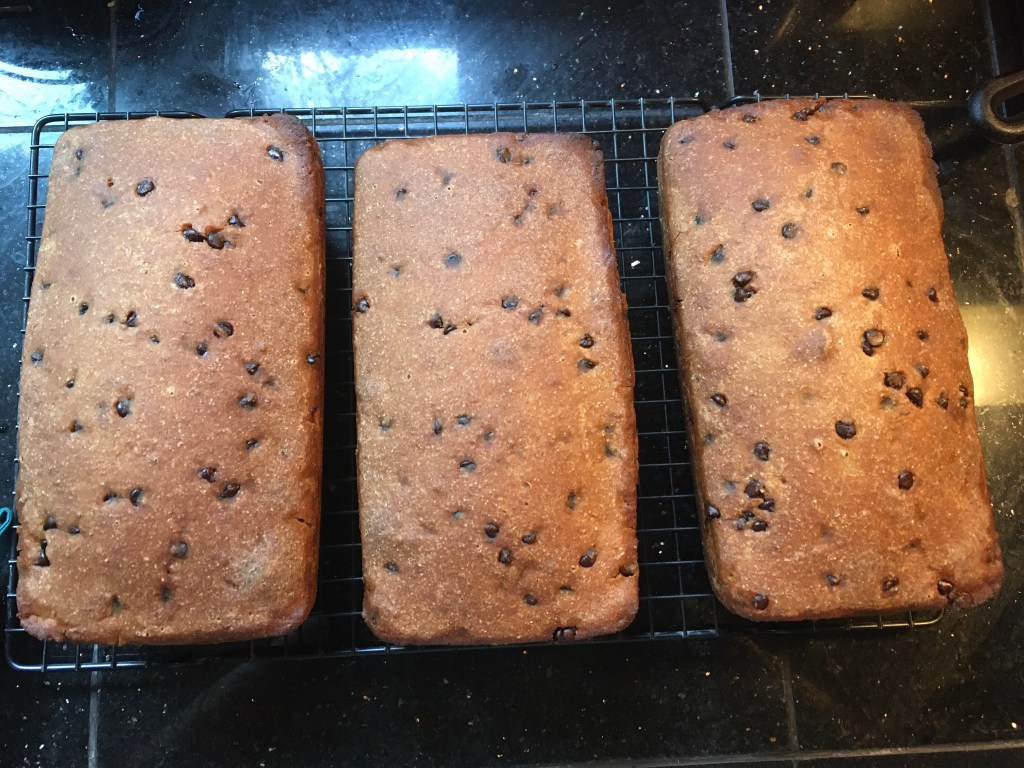
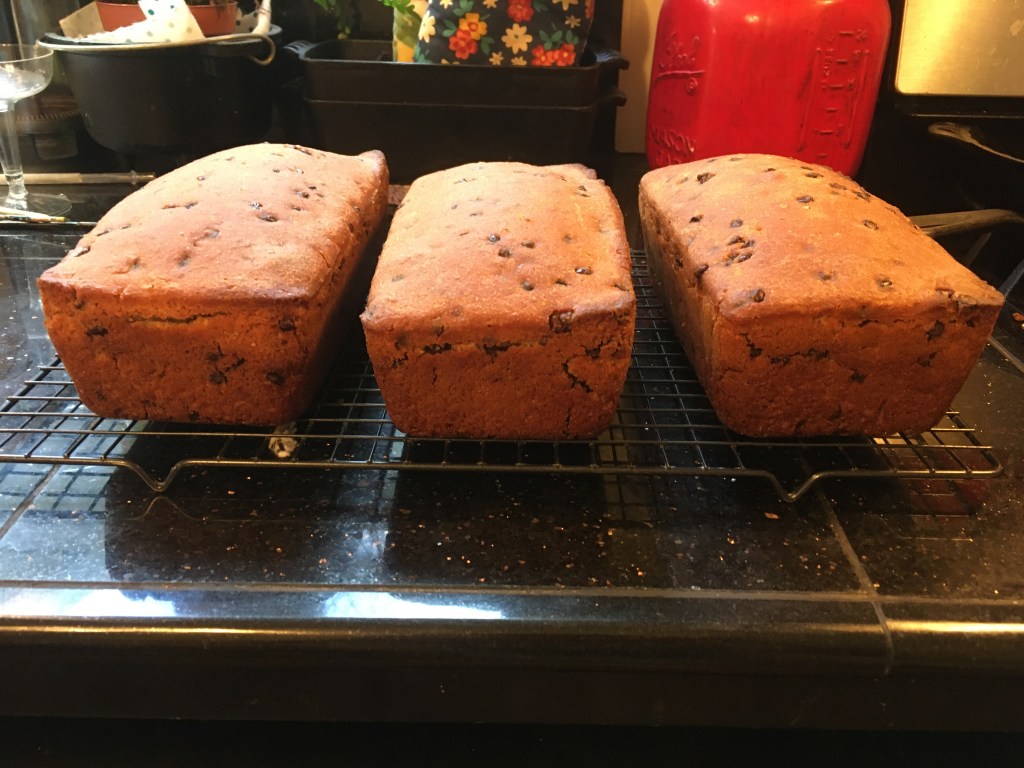
At least six cups to be exact. What should I do with all of it? Invent a new batter bread of course! It uses up a lot of starter and it’s yummy!
The recipe below is for one loaf. You can easily double, triple, or in my case quadruple it depending on how much starter you have to use up.
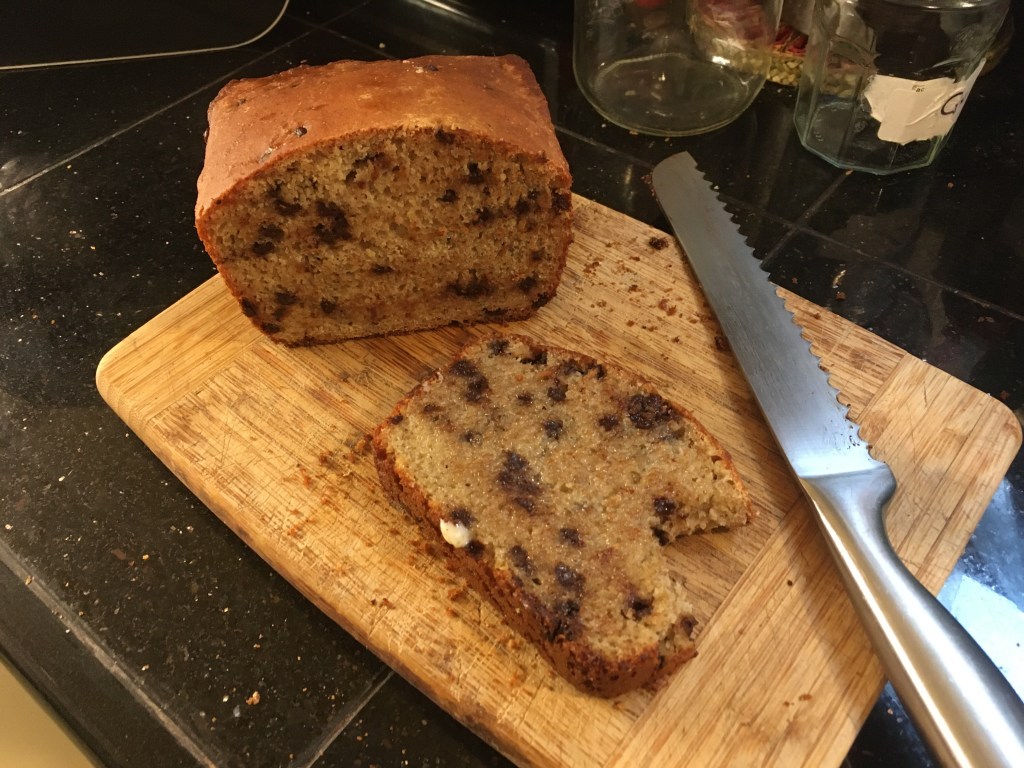
Sourdough Chocolate Chip Batter Bread:
2 cups sourdough starter
1/2 cup water
1/2 tsp salt
1/2 cup sugar
1/2 tsp vanilla
Mix all of the above together until well blended.
Then add…
1/2 cup of flour
1 tsp baking soda
1/2 cup+ chocolate chips
Mix well. Add more flour if needed until the batter resembles the texture of soft cream cheese.
Grease a loaf pan or 8×8 casserole dish, pour in your batter, let it rise 1-2 hours or until your batter is about 1/2 inch from the top of your pan if using a loaf pan, or about 1/2 way up if using an 8×8 pan.
Poured in the loaf pans. Ready to rise.
Bake at 400 for 35 minutes. If using a loaf pan or may need 10 minutes more. To ensure that the bread is done, check the center with a skewer as you would test a cake, or use an instant read thermometer. Internal temp should be between 190-200 degrees.
If the bread is already looking brown at the 35 minute mark, tent with foil and continue baking if more time is needed.
It’s tasty!
And if you want to learn more, check out Homesteading Family’s the Art of Homemade Bread course. It will teach you all you need to know about making healthy bread at home.
This cake is not only cute, but delicious. He certainly brightened up our Easter table. And he’s allergy friendly too. This cake is free of eggs, nuts, and dairy. I made it with sourdough, but if you don’t have a sourdough starter, you can easily make it without. Modifications for the non-sourdough version are written below the picture of the recipe card.
Regular (not sourdough) Bunny Cake:
To make this cake without sourdough, simply omit the sourdough, and 1/2 cup of the sugar. Use 3 full cups of flour and use 2 tsp of baking powder instead of baking soda. Follow the rest of the recipe as written.
This batter bread is delicious, savory, and filling. Trying as a surprise side dish with dinner. It’s great way to use up your extra sourdough starter.
Garlic Herb Batter Bread:
3/4 cup sourdough starter
1 tsp. salt
1 cup water
1 tsp baking soda
1 tbls garlic powder or granulated garlic
1 tbls Italian seasoning
handful of sliced black olives
Add all purpose flour 1/2 cup at a time until the batter resembles a stiff buttercream frosting.
To bake, spray a casserole with oil. Pour in the batter and let it rise in a warm place for 2 hours. Preheat the oven to 400 degrees. Bake for 30 minutes.
Try this with your mature sourdough starter. (Note: If your starter is not mature yet, you can still make this. Double the starter and baking soda and decrease the water half.)
1 cup activated starter (this means starter that has been fed within the past 2 hours)
1 cup water
1/2 cup brown sugar
1/4 cup oil
3 mashed bananas
Mix all these wet ingredients. Then add….
2 tbls cocoa powder
3/4 tsp. salt
1 tsp baking soda
Handful of chocolate chips
Add flour until the dough resembles a stiff buttercream frosting.
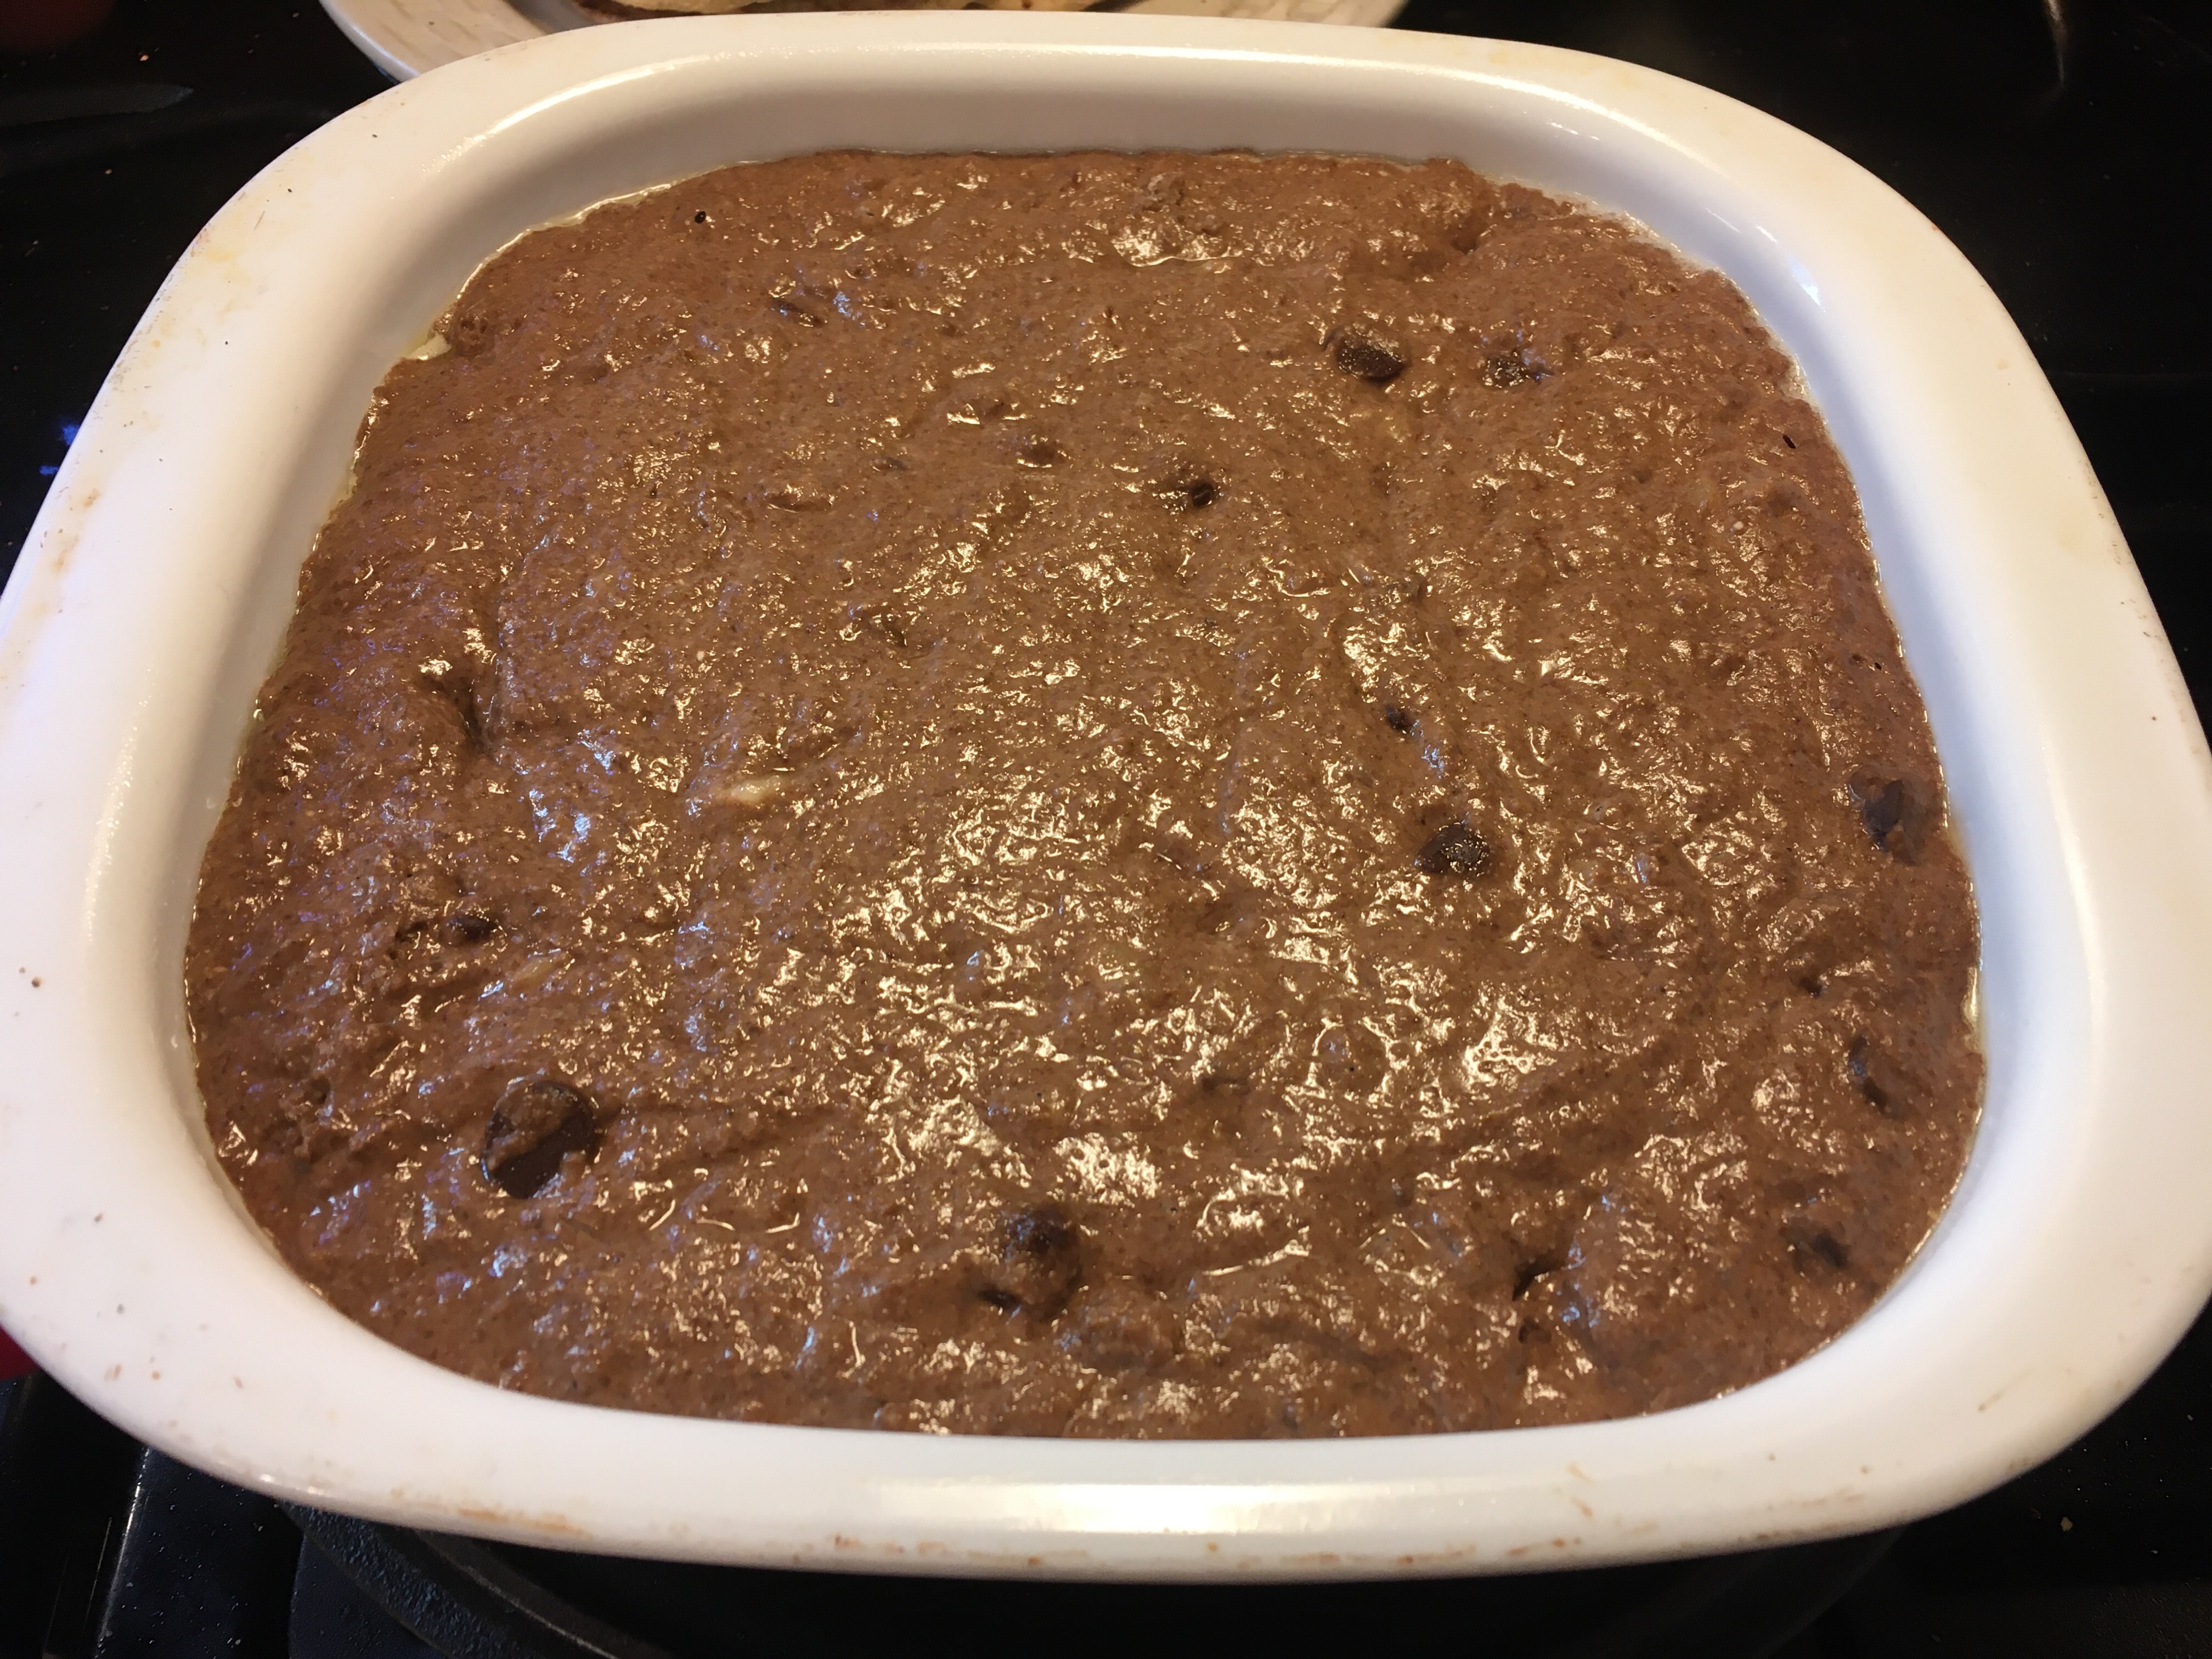
Pour into an oiled or buttered casserole. Let it rise, covered, in a warm place until it reaches the top of the pan, or about 2 hours.
Remove the cover and bake at 400 degrees for 30 minutes, or until a toothpick comes out clean.
Poured into casserole. Ready to rise.
Risen for two hours. Ready for the oven.
And if you want to learn more, check out Homesteading Family’s the Art of Homemade Bread course. It will teach you all you need to know about making healthy bread at home.