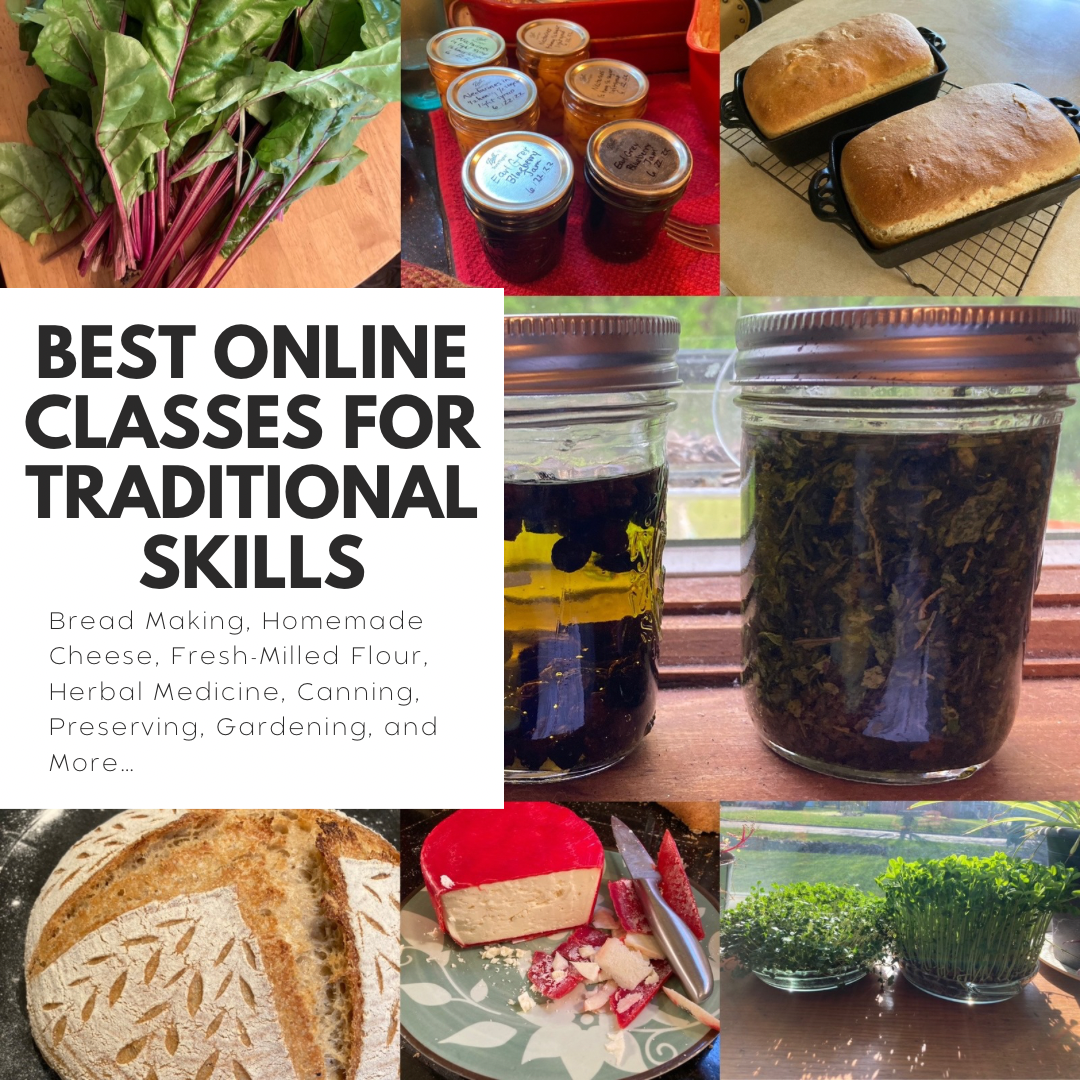
If you’ve followed my blog for any amount of time, you know that I love the classes at Homesteading Family. I’ve learned so much from them – bread making, sourdough, homemade cheese, canning. Their classes on herbal medicine, preserving, and permaculture are a great starting point if you are wanting to learn more about traditional homemade skills. The skills that our grandparents knew are becoming less commonly known, if not forgotten altogether, but they are so much more important to our daily lives as grocery prices soar and uncertainty looms around the corner. Consider these Homesteading Family Classes as a way to take back some of your independence and the skills we have lost.
Read to the end for a special coupon code! Take advantage of this discount code just for Maggie Lane subscribers!
This course covers yeast and sourdough. It is broken down step-by-step so that anyone can do it. If you’ve tried to make bread before and failed, this course is for you. By the end you’ll know just what to do to achieve the perfect loaf every time. What’s the secret? Knowing how to read the dough. The course gives you benchmarks at each step to know when your dough is ready for the next step.
Think you can’t make use of this class because you don’t have a cow? Think again. You can make all the recipes in this course using store-bought milk. Every recipe I’ve made have been made with milk from the store. The course starts out simple and builds your skills so that you can make the simplest fresh cheese all the way up to mozzarella or hard cheeses like cheddar and parmesan. No special equipment needed. You can use the things you already have in your own kitchen.
Want to learn the ins-and-outs of milling your own flour at home. This mini-course is a great companion to the Art of Homemade Bread class and gives you even more tips on using fresh-milled flour at home.
Learn how to safely water bath and pressure can in this masterclass. This comprehensive course gives you step by step instructions in over 70 lessons. You’ll get all your questions answered and learn to can with confidence. This class will remove all the doubt in eating your home-canned food.
If you have your own animals, these two classes will help you know what to do with all those eggs from your chickens and milk from your cow rather than give them to the neighbors. Learn to preserve your eggs like they are fresh for over a year, and find out how to use the good bacteria naturally present in your raw milk to your advantage.
Discover how to grow, harvest, and prepare your own herbal remedies. This beginner course is just what you need if you’ve been wanting to learn how to make your own teas, tinctures, gylcerites, syrups, herbal vinegars, oxymels, and steams, but don’t know where to start.
Learn how to work with nature in this introductory course to growing a productive and sustainable garden. Gain the basic skills you need to maximize your food production and provide your family with good home-grown food.
Gain tips on managing a busy home, homeschool, and homestead. From tips to streamline breakfast to managing your time and finding joy in your day, let this course guide you to peaceful productivity.
This digital and print magazine is a beautiful addition to your coffee table and a valuable resource to your kitchen. The kitchen is truly the hub of the home. Whether your homestead is acres of land or a tiny balcony garden, you can make use of these tips and recipes in any kitchen. Take your cooking from scratch skills up a notch. This will soon become your favorite cookbook!
Want access to all these classes and more?
Homesteading Family offers a monthly or annual membership to their Homestead Kitchen Community. Membership offers you all these classes plus access to members-only content and challenges.
Whether you’re seeking greater self-sufficiency, trying to balance the budget, or simply wanting to experience the joy of making things at home, these online courses offer guidance and experience that makes traditional skills accessible to anyone.
Special BONUS for Maggie Lane readers!
Enter your email below to get the Homesteading Family coupon code.
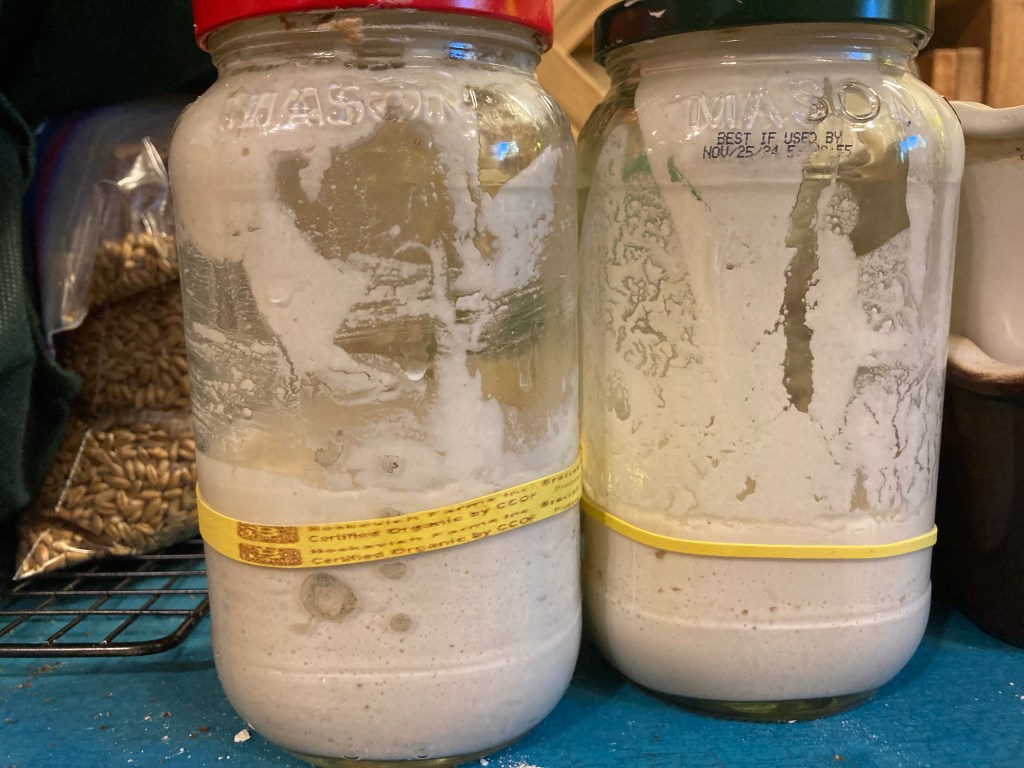
This is my gluten-free sourdough. I used it often this summer until I started to react to sourdough and other fermented foods due to a histamine intolerance. So into the fridge it went. It’s been there since June. Unpacking after our move, painting, refinishing the floors, and getting COVID means that I haven’t baked with it since. I have a friend though that asked me to make her a loaf of gluten-free sourdough bread so I thought, I’ll take this out and it will wake up, and I’ll bake some beautiful bread.
Well, it’s a week later and I still haven’t made that loaf of bread. Why? I’m still waiting for my sourdough starter to wake up! It had been stored in the fridge unfed for about 2.5 months.
But, I’m not worried. Did you know that it can take more than a week to wake up a sourdough starter that has been in cold storage for a long time.
I took this sourdough out on Wednesday. It’s now the following Wednesday and the starter is just now starting to show signs of life. A loaf of bread will be coming soon. Let me tell you how to wake up your sourdough starter after being stored for months in refrigerator.
How to Wake Up a Sourdough Starter from Long-Term Cold Storage:
1. Day 1:Take your sourdough starter out of the fridge and let it warm up on the counter overnight or for 8-12 hours.
2. Day 1, 12 Hour Mark: Feed your starter some flour and water and let it sit for 12 hours. Exact amounts aren’t super important, but over feeding is a concern here. You don’t want to over dilute your starter. My recommendation is to feed your starter about 1/4 of its total volume. So if you have 1 cup of starter, you would feed it approximately 1/4 cup of flour. If you feed it more than that, it would be like feeding someone who had just come out of a coma a five course meal. When sourdough has been hibernating for a long time, you want to gradually introduce food again or you will over dilute it and it and the microbes won’t be able to catch up and consume the food that you give it fast enough.
3. Day 2: Feed your starter again and let it sit for another 12 hours.
4. Day 2, 12 hour mark: Feed your starter a third time and let it sit for another 12 hours.
5. Day 3through Day ?: Now you wait. Let your starter sit. You may stir your starter approximately every 12 hours until you start to see tiny bubbles form. Stirring periodically will prevent mold from forming while you wait for your starter to wake back up and ferment all that flour you just fed it. Once you see bubbles forming, don’t feed or stir the starter. Let it sit until you see some rise. The starter should double or almost double in volume. This may take another 12 hours or more to double once you start seeing bubbles. Once it has risen you can resume regular feedings and your starter is ready to use again.
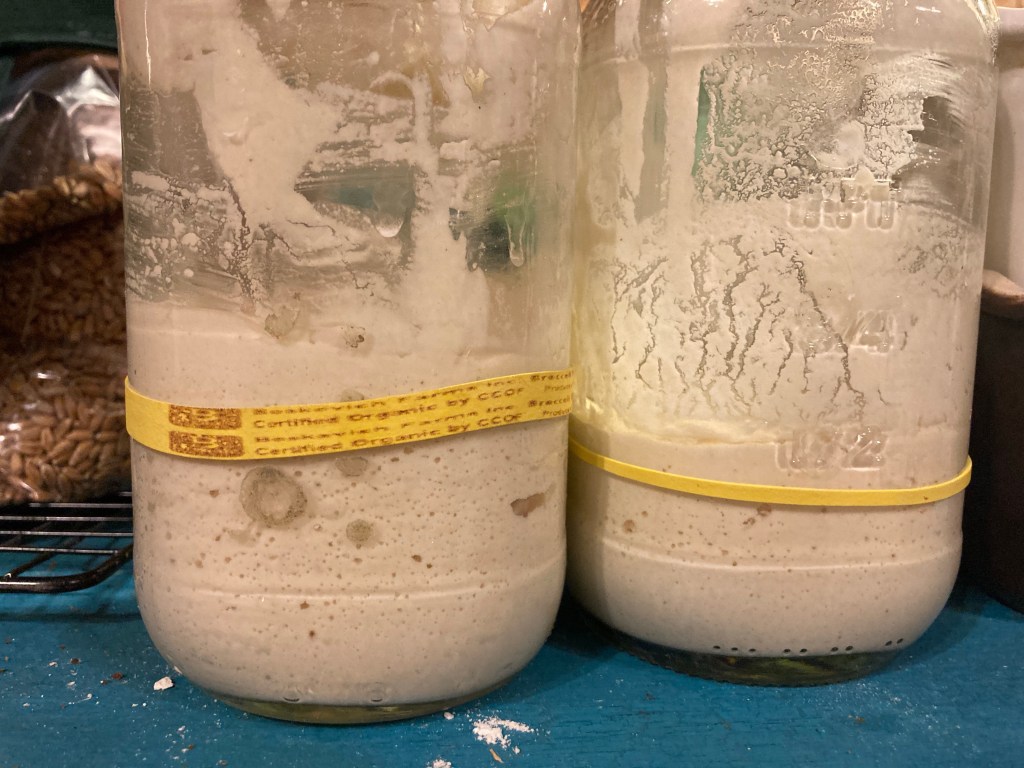
Don’t be surprised if it takes a week or more to wake up your starter. After your three feedings 12 hours apart, just let it sit with occasional stirrings until you start to see bubbles. Once you are seeing some bubbles, don’t touch it. Let it sit until you see some rise. This is my starter one week after taking it out of the fridge. It’s day 8 for me and I’m just now starting to see some activity. See the tiny bubbles in the jar.
This is at the end of the day, about 12 hours after I started seeing some activity on day 8.
So don’t give up on your starter. Just give it time. Almost any starter will wake up again. I’ve known so many people who throw out their mature starter because they think it’s dead. It’s not. It’s just still asleep and hungry. You can nurse it back to being healthy and active again. It just needs some time after that long, cold nap. Even if you take it out and it’s covered with black liquid, it can be revived. That black liquid is called “hooch.” It is alcohol that is given off when the microbes are starving. So, don’t throw it out. It can still be saved.
These steps for waking up your sourdough will work for any sourdough starter made of any type of flour – wheat, spelt, gluten-free, etc. So don’t assume you’ve ruined it by leaving it in the fridge so long. Give these steps a try. It’s definitely worth a try to wake it up rather than starting a new starter from scratch.
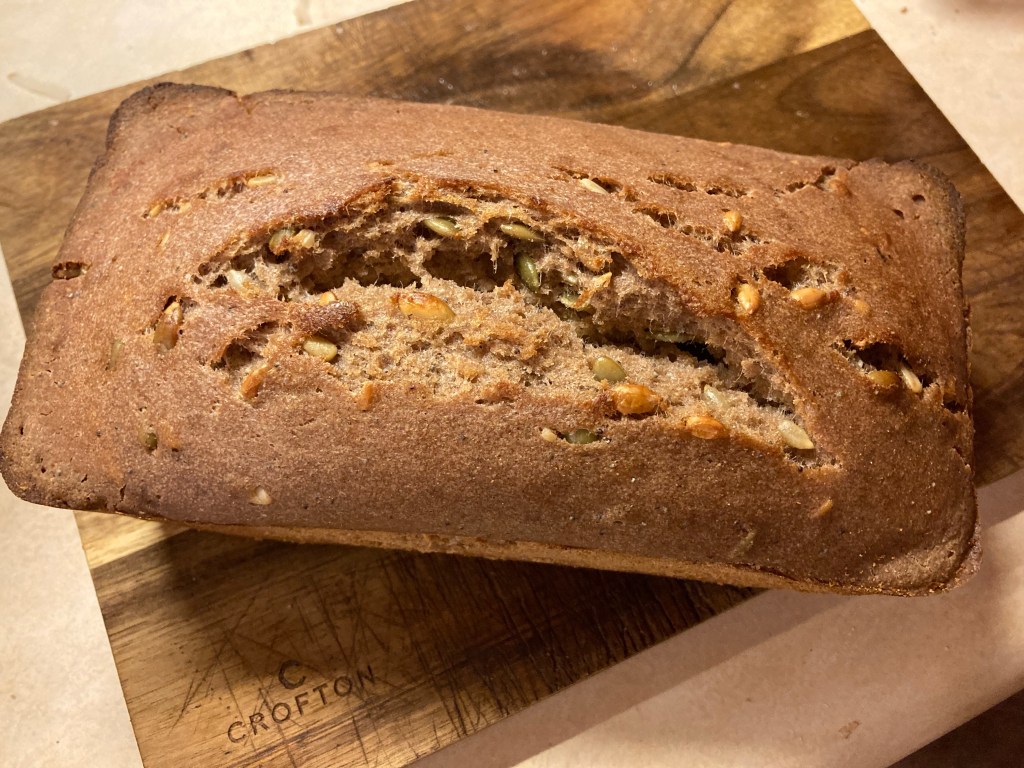
I developed this sourdough bread recipe for a friend who requested a “Seedy Loaf.” I’d never tried this with gluten-free before, but it turned out quite nicely and she requests one every week.
Gluten-Free “Seedy” Loaf Recipe:
Whisk the following in a small mixing bowl:
1 cup of gluten-free sourdough starter
2 tsp salt
2 tbsp oil
2 tbsp honey
2 1/2 tbsp psyllium husk
2 cups water
Whisk together and let the mixture sit for 15 minutes to thicken. While your mixture is resting, collect the rest of your seeds for soaking. In a small bowl measure out…
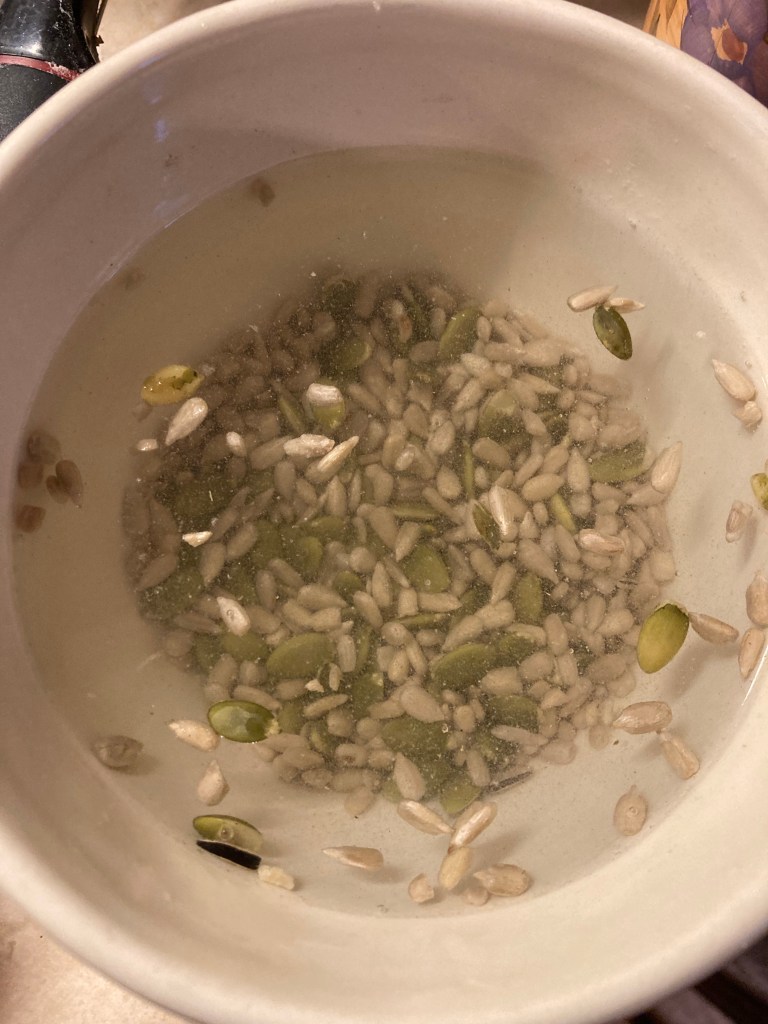
1/3 cup pumpkin seeds
3 tbsp of hulled sunflower seeds
Cover the seeds in the bowl with water and let them soak until just before your bread is ready to go into the oven the next day.
Now back to your mixing bowl. To the liquid mixture add…
1/4 cup quinoa flour
1/3 cup brown rice flour
1/3 cup arrowroot powder (or tapioca starch)
1/3 cup potato starch (or cassava flour)
1/3 cup sorghum flour (or chickpea flour or oat)
1/4 cup millet (or sorghum)
1/4 cup teff (or buckwheat)
1 tsp poppy seeds
Mix together until there are no more lumps. Batter should be the texture of a very thick pancake batter or thick oatmeal. If it is too thin add a little more of one of the flours until the correct texture is achieved.
Cover your bowl with a damp tea towel or lid and refrigerate for 24 hours.
On Bake Day:
Preheat the oven to 450 degrees. Drain the water from your soaked seeds. Remove your bowl from the fridge and add your seeds to the batter. Mix well until they are all distributed. Then pour your batter into a greased loaf pan.
Next, with a rubber spatula, gently press down around all the edges about 1/4” pulling the batter at the top just away from the edge of the pan. This will help with the rise.
Immediately transfer to the hot oven. Bake for 1 hour. Internal temp when done should read 210 degrees on a digital thermometer. If it is not done, bake for 10 more minutes. Cool overnight or for 12 hours before slicing so that the texture of the bread can set.
The Art of Gluten-Free Homemade Bread Book by Homesteading Family:
It’s finally available! I created these recipe for Homesteading Family and the book is available just in time for Christmas. Order your copy from Homesteading Family!
And if you want a wheat based bread class that covers it all – yeast, sourdough, fresh milled flour, sprouting, and ancient grains, check out Homesteading Family’s The Art of Homemade Bread Course. Carolyn taught me how to make bread and sprout my grains. It’s the most comprehensive course I know of.
Want to make bread like this? Check out Homesteading Family’s free bread webinar! Just in time for Thanksgiving too. Carolyn gives away lots of great info. She taught me to make bread and can teach you too! Her classes are the best! And I hear that there may even be talk of the new Gluten-Free book which you can get early access to if you are a member of Homestead Kitchen.
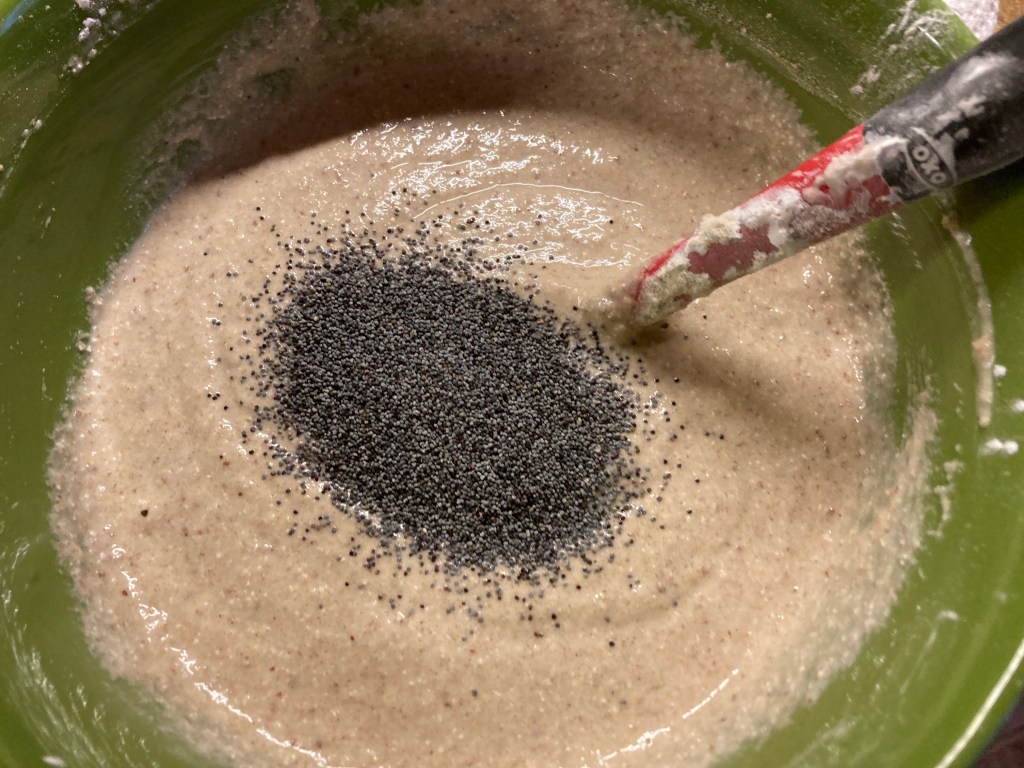
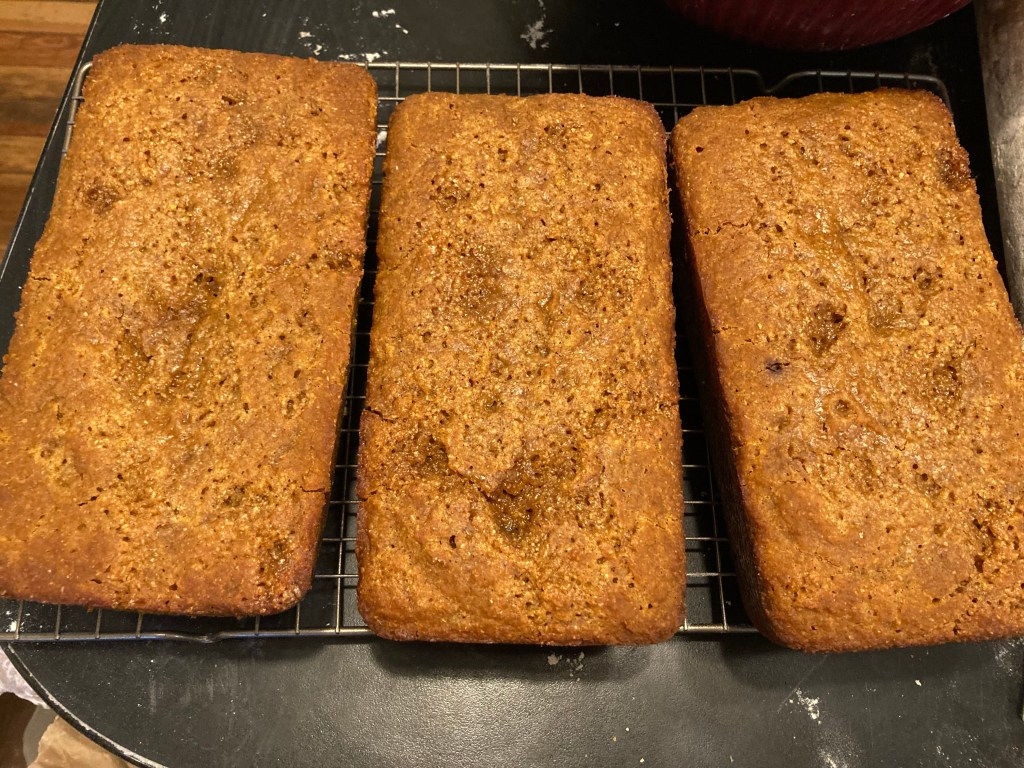
This is the perfect fall recipe. Suggested substitutions are listed in parentheses but you can substitute any flour if a similar type (whole grain for whole grain, starch for starch, legume for legume, nut for nut) with good results. My recommendations are just suggestions. Use the flours that your starter is made from and that you tolerate best.
Gluten-Free Apple Cinnamon Sourdough Batter Bread Recipe:
Mix the following in a bowl:
– 2 cups gluten-free sourdough starter
– 1.5 cups peeled and chopped apples
– 1 tsp of salt
– 1/2 cup oil
– 1.5 tsp of vanilla
– 2/3 cups of honey
– 1 1/4 cups of water
Then add…
– 2 tbsp psyllium husk
– 1/2 cup chickpea flour (or sorghum)
– 1/2 cup almond flour (or other nut flour)
– 1/2 cup brown rice flour (or oat)
– 1/2 cup sweet rice flour (or tapioca)
– 1/2 cup potato starch (or cassava)
– 1.5 tsp cinnamon
– 2 tsp baking soda
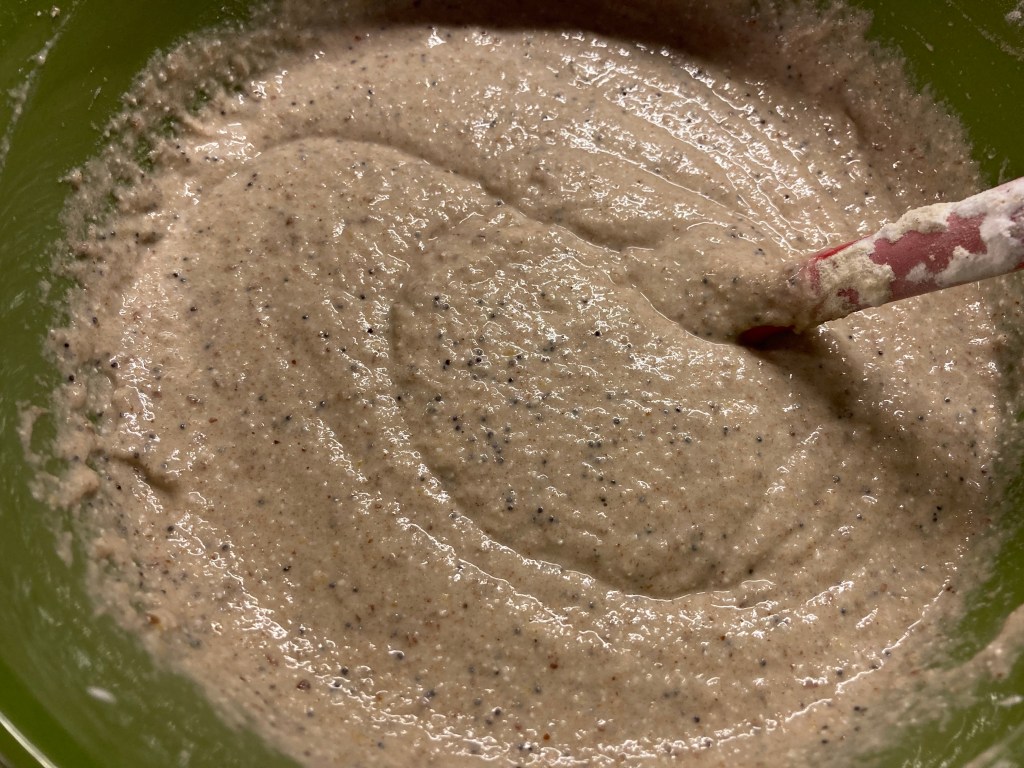
Mix until well combined and let the batter rest for 15 minutes. The texture should be like a thickened pancake batter.
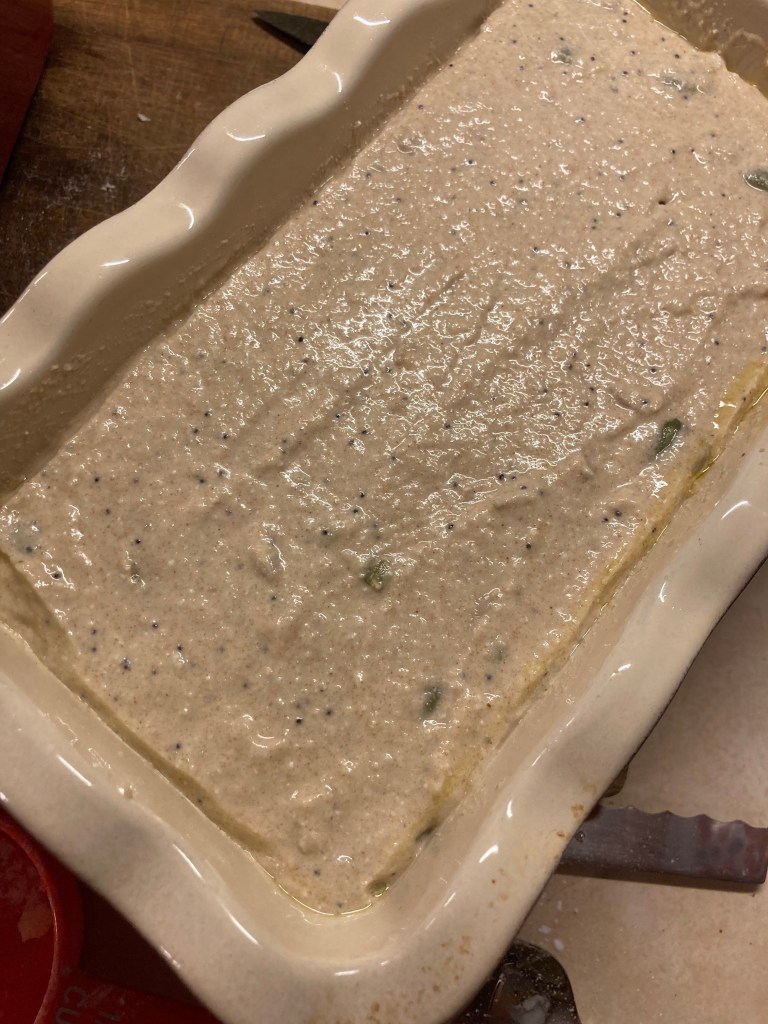
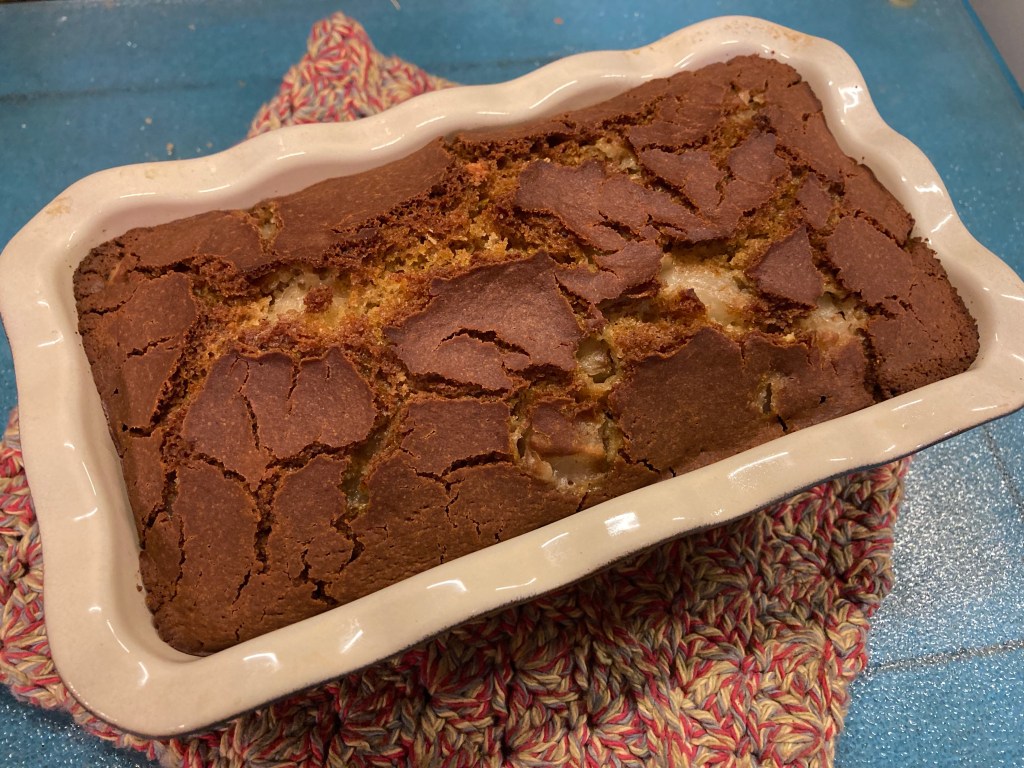
Pour into a greased loaf pan or casserole dish. Bake in a 400 degree oven covered for 40 minutes. A toothpick should not necessarily be clean but should not be wet when tested.
Cool completely before slicing.
Enjoy!
For a complete guide to heathy, gluten-free sourdough, consider joining Homesteading Family’s Homestead Kitchen Membership to get exclusive access to the new book that I have co-written with Carolyn Thomas – The Art of Gluten-Free Homemade Bread. It’s available as an exclusive, early release to Gold level Homestead Kitchen Members. Stay tuned for the print copy of the book which is due out this winter.
These are two gluten-free starters made from brown rice and quinoa. They are just starting to show signs of life. See the tiny bubbles?
I’ve been making sourdough bread for several years. My daughter and I made our first gluten-free sourdough starter in 2020 as part of her science experiment. I’ve since made several different gluten-free sourdough starters. What follows is the technique that I’ve found works the best.
(Note: This technique also works equally well with wheat wheat based, whole grain flours like hard white or red wheat, spelt, rye, khorasan, or einkorn.)
How to make your own Gluten-Free Sourdough Starter from Scratch:
1. Choose your flours: Sourdough always performs best when some of the flour the recipe is the same flour that the sourdough starter is made from. Unlike wheat baking, several different flours are needed in gluten-free baking to replicate the starch, protein, mineral, and vitamin content of the wheat berry in order to achieve the light, moist, nutritious baked goods we all enjoy. For gluten-free baking, this means that it is best to use between two to three different flours, rather than a single one, that you tolerate well when making your sourdough starter. This will ensure that your starter performs well because you will use the same flours in your baking that your starter is built from.
What flour combinations can I use tomake a gluten-free sourdough starter?
Choose 2-3 of the any of following flours to create your sourdough starter from scratch:
– Millet flour – Quinoa flour
– Brown rice flour – Buckwheat flour
– Sorghum flour – Oat flour
– Teff flour
Notice you don’t see any starches or nut flours in this list. I avoid starch based flours when making a sourdough starter as they just don’t have the same microbial content that whole grain gluten-free flours do. As a result using a starch like potato starch, tapioca flour, or arrowroot powder will not contribute much to the microbial makeup of your starter. I avoid nut flours also because of their high oil content. Flours with high oil contents can go rancid quickly, which would not be ideal for a sourdough that you might need to store in the fridge for a while if you come upon a time when you can’t feed or bake with it frequently.
Notice also that I put quinoa in bold. This is because quinoa is a microbial powerhouse! If you’re used to baking with wheat based sourdough you may know that the way to give your sourdough a microbial boost is to give it a feeding or two or rye flour. Well quinoa is the rye of the gluten-free world.
Using quinoa in your gluten-free sourdough will make it super active! In my experiments my quinoa starters matured more quickly (before any of my others) and were more active than any of my other sourdough starters. Quinoa even matures in cold temperatures when others don’t. It’s really quite an amazing, nutritious grain.
Quinoa should definitely be one of the 2-3 flours that you use to build your sourdough starter. It doesn’t take much. Only a teaspoon or less at each feeding.
2. Gather your Equipment :
The tools needed here are simple. All you need is…
– quart size jar
– plastic lid (not metal)
– a rubber band
– stirring implement
– small measuring cups or spoons
3. Mix your Sourdough:
So you’ve decided on the 2 or 3 flours that you plan to use from the discussion above and you’ve got your equipment ready. Let’s get started.
Steps for Mixing and Feeding Your Sourdough:
Gluten-free flours are much more expensive than wheat. Because of this, we are doing to mix in small amounts. This will keep us from wasting any of our flours and ending up with more sourdough starter than we can use.
Day 1: Add 1 tablespoon each of your chosen flours to your quart sized jar. If you have planned to use 2 flours in your starter, feed it 2 tbsp total, one of each. If you chose 3 flours, feed it one tbsp of each flour type, and so on. Don’t forget to put quinoa in the mix if you can. Put a rubber band on the outside of the jar so you can keep an eye on the level of the starter. This will help you gauge the activity of the starter as it starts to get active and rise.
Pro Tip: Use a minimum of two gluten-free flours in your sourdough, but no more than five.
Next, into your quart size jar, add 1/2 tablespoon of water for each of the flours that you used. So if you used two flours, add 1 tablespoon of water. 3 flours – 1.5 tbsp water, 4 flours – 2 tbsp water, and so on.
Stir well and let it sit for 24 hours.
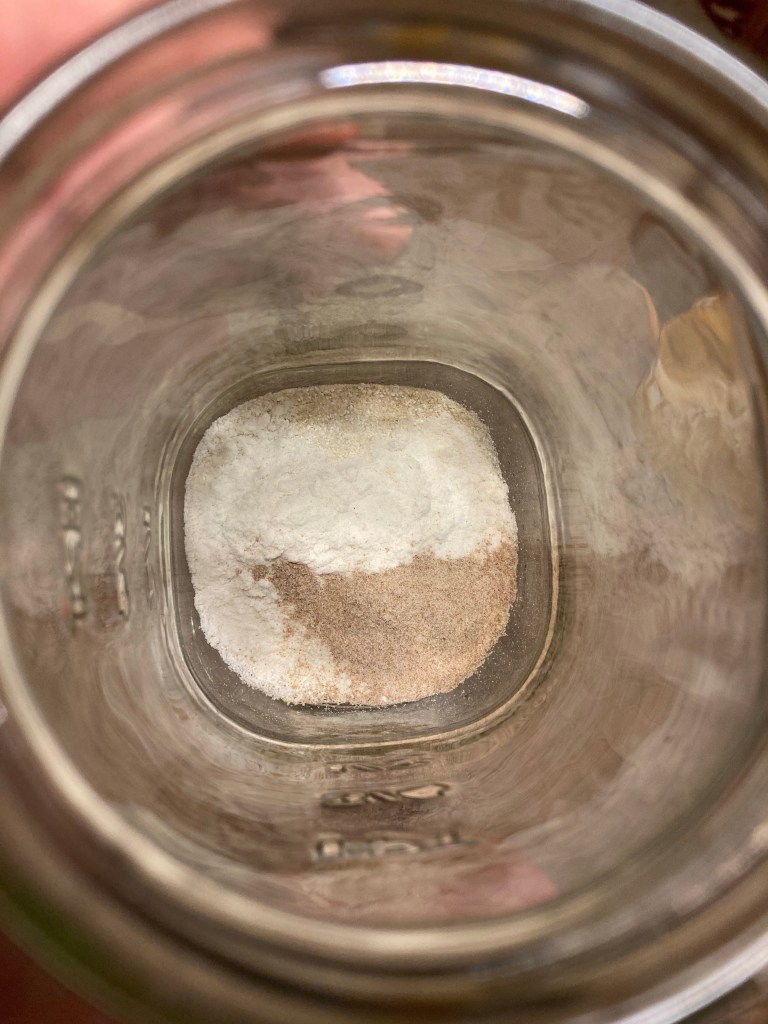
In the starter pictured below, I chose three flours – brown rice, quinoa, and teff flours.
Day 2: Repeat your day 1 feeding of 1 tablespoon each of each of the flours you chose and 1/2 tablespoon of water per flour used. Adjust the rubber band to the level of the starter in the jar after the feeding. Let it sit for another 24 hours.
Pro Tip: Different flours may need more or less water to fully hydrate. If you go to feed your starter on day 2 and it has a lot of liquid on top, then give it a little less water next time. On the other hand, if you go to feed your starter and it thick, dry, and crumbly, give it extra water at that feeding. Did you know that you can choose the texture of your sourdough? I like to keep mine like a thick cake batter, but you can use more water if you prefer a thinner, pancake batter like texture.
Here is a photo of my starter with water added after feeding. It’s still just a tiny amount, and that’s okay. It doesn’t have to be a large amount to ferment and flourish.
Day 3: Feed again as you did on day 1 and 2 and adjust the position of the rubber band, but this time, pop it in the fridge for 2 days for a cold ferment period.
Day 5: Your starter should have been happily sitting in the fridge for you for the past two days. Today, you should take it out, sit it on the counter, and let it warm back up for 24 hours.
Day 6: Feed your starter as before, adjust the rubber band to the level of the starter in the jar, and now let it sit at room temperature and wait. Let the starter sit undisturbed until you start to see bubbles and rise. Once it doubles or nearly doubles, your starter is ready. How fast a sourdough starter develops depends largely on the temperature in your kitchen. You may need to let it sit for 36-48 hours before you see rise.
Here is my starter after taking it from the fridge, feeding it, and letting it sit for 12 hours. Look how active and happy it is!
So with a little care and patience, you can have a robust, active, healthy, happy starter within a week.
Pro Tip: This method works with wheat based flours too. You can have a new wheat, spelt, or rye starter in a week’s time if needed.
How to maintain your gluten-free sourdough starter:
Once your starter is ready and has doubled in your jar, now you want to bake with it. You can try your hand at bread, or simply make some sourdough pancakes or muffins. The more you use your starter the more active it will become. Just remember, don’t use it all. Keep at least 1/2 cup – 1 cup in your jar at all times to continue feeding so that you will always have enough sourdough for your baking needs.
To keep the best and strongest starter, keep it on the counter and feed it twice a day, morning and evening for maintenance, baking something with it several times a week. If you find you need a break from feedings, pop it in the fridge and it will wait for you until you need it again, but it’s best to still feed your starter once a week even while you are keeping it in the fridge to keep it happy and active.
What if I don’t see bubbles?
If you have fed it several times, just let it sit at room temperature until you start to see bubbles. It will ferment if given enough time and your room temperature is warm enough. The ideal temp is between 65 and 75 degrees, but colder is fine too as it will ferment at any temperature above freezing. Just know, the cooler it is, the longer the fermentation will take. If it takes more than 36 hours, it’s not a bad idea to stir your starter every 12 hours without adding any more flour or water until you see tiny bubbles. This just helps prevent anything from getting moldy by keeping the parts that are exposed to air moving around. Once you start to see bubbles, stop stirring and let it sit.
What is my starter develops mold?
If this happens, and it does sometime, throw it out and start again. Now, if you have a mature, active starter and it develops mold, sometimes those can be saved. But in the early days of sourdough development, mold can sometimes happen before the starter is strong, active, and acidic enough to prevent it.
What if my starter smells like alcohol, acetone, kerosene, or vomit?
As unappealing as this is in the beginning, these smells are all a completely normal part of the development of sourdough. Don’t worry, as the starter continues to mature the smell will lessen and gradually progress into just smelling sour as it should. As long as your starter does not smell putrid or spoiled, it is fine to just keep on going.
Share Your Starter Stories:
I’d love to see pictures of your starters. Please share photos or ask questions here in the comments. 😊
All my recipes are available in this comprehensive book that I wrote for Homesteading Family. Get your copy here.
For Further Study:
• If you would like a video based sourdough course I recommend Homesteading Family’s The Art of Homemade Bread Course. Carolyn covers yeast and sourdough breads in step-by-step video lessons. It’s how I learned to make bread and now I’ve advanced to developing my own systems. So, if you are a visual learner, she gives you a daily video of what to do.
• If you are on the fence about the complete bread course, give Carolyn’s FREE bread training a try. She gives away a lot of good, free info that will get you baking good bread right away.
• Already have a sourdough starter? Homesteading Family’s Homestead Kitchen Community has a Sourdough Challenge doing on right now! It’s a great way to jump in to sourdough baking or advance your skills. And if you join you’ll get a sneak peek at the new Art of Gluten-Free Homemade Bread book that will be released this winter.
• If you are fascinated by microbes and all things sourdough take a deep dive into my friend Diana’s book: Olwes Miaken’s Creatures. She is truly a sourdough wizard and can make bring any flour or grain to life! Her book is fascinating and fun! She names all her creations. Check it out to see all that she has made.
• And if you have success with sourdough and want to make it beautiful, check out my book on scoring sourdough. You can buy a copy of the e-book here on my blog, or you canvisitAmazon for a physical copy of Scoring Sourdough Bread.
My wheat sourdough starter (half all purpose and half whole wheat), my delicious fermented cranberry lemon honey, my gluten-free sourdough starter, and my homemade wild sour cream.
My family and I hit the road this summer for a 3,000 mile road trip to visit family, and these little guys came along for the ride.
I packed them carefully in my electric cooler and at each place we stay I’ve been able to bake bread for my family, cranberry lemon scones for the aunts, uncles, and cousins, GF bread for my SIL, and most importantly, I can keep my clabber culture going so that I can make cheese once we get home. It needs to be fed weekly and would have certainly died while we were away if I had left it at home.
Ferments can behave differently during the summer. Changes in temperature, humidity, barometric pressure, elevation, all affect how your cultures perform and you need to know them well enough to adjust your technique accordingly. At the lake where we are at a higher elevation than at home in New York, my sourdough and yeast breads rise faster, and my clabber takes longer to culture because of the cooler temperatures. Each ferment has a personality. You have to get to know it and adjust how you use it accordingly. For example, I have to watch the rise on my breads much more closely and reduce the amount of yeast that I use. I have to allow more time for my clabber to set up for fresh homemade sour cream.
I plan to start some new cheeses when I get home. And you’ll probably see some new fermented vegetables on my counter once I get back to my garden.
What’s bubbling in your kitchen this summer?
Need some ideas for what to ferment first? Or do ferments intimidate you and you don’t know where to start? Homesteading Family has some great courses to get your creative juices flowing and things bubbling in your kitchen. Check out their courses on The Art of Homemade Breadwhich includes sourdough, Fearless Fermenting, and Practical Homemade Dairy (affiliate links).
Mix the above adding flour gradually until the texture of the dough is like a thick cream cheese frosting.
Prepare Topping/Filling:
Combine…
1/2 cup flour
6 tbsp cold butter
1/3 cup brown sugar
1.5 tsp cinnamon
Use a pastry cutter or your fingers to combine the butter, flour, sugar, and cinnamon until the mixture is crumbly or the butter is pea size.
Loosely mix 1/3 of the amount of your filling into your batter. Reserve the rest.
Prepare your pans:
Grease your pan(s) and fill halfway with batter. Sprinkle 1/3 more of the prepared topping/filling on top of the batter. Fill with more batter until the pan(s) are 2/3 full. Sprinkle the remaining 1/3 of the topping on the top and use your fingers to poke some down into the batter like you would if denting focaccia bread.
Rise:
Cover with a lid or a damp tea towel. Let the bread rise for 1-4 hours until 1/2 inch from the top of the pan.
Bake:
Bake covered if you have a lidded pan or baking dish for 20 minutes at 400 degrees, and 20-30 minutes more uncovered at 350 until the internal temp measures 190 degrees.
Cool and enjoy.
Makes 1 large 5×13” Pullman style loaf, or two 9×5” loaf pan loaves.
The Art of Homemade Bread will teach you all you need to know if you want to learn more about making healthy bread at home.
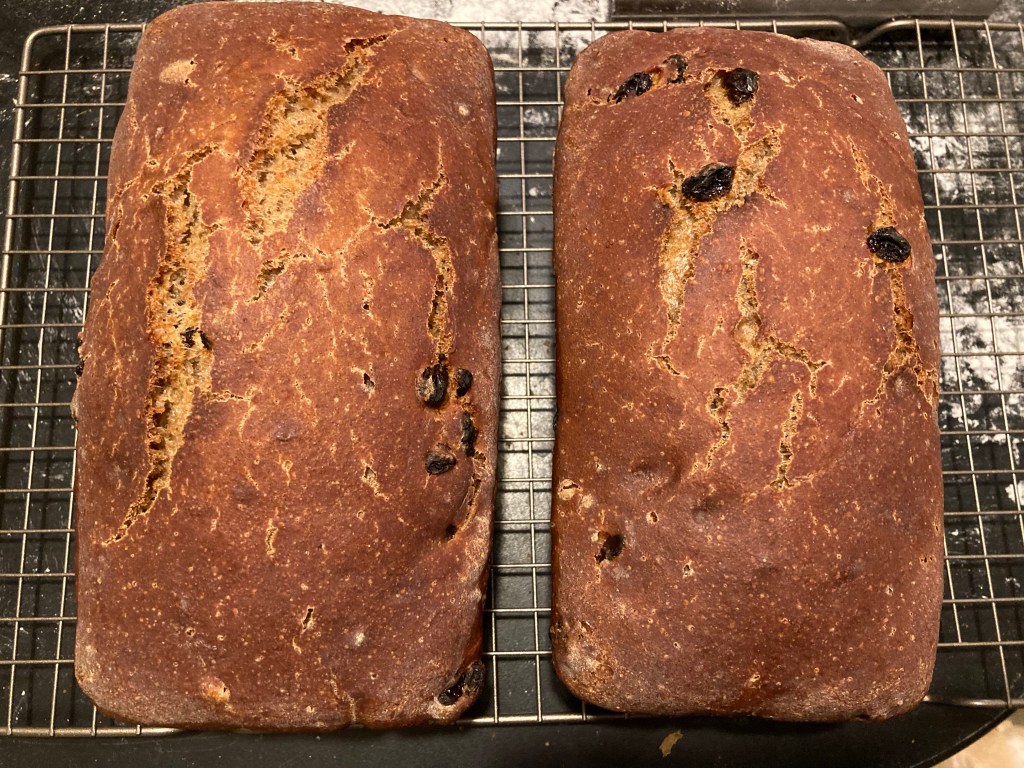
Forgive the misshapen loaf. One spot stuck and a bit a surgery had to be performed in order to remove it from the pan. Thankfully that doesn’t affect the taste. 😊
Banana Blueberry Batter Bread:
3 cups sourdough starter (fed or unfed)
1 1/2 tsp salt
1 tsp vanilla
1/4 cup oil
1/3 cup heavy cream
1 cup water
1/2 cup honey
1/2 cup sugar
3 very ripe, mashed bananas.
Mix all of the above together and then add…
2 cups all purpose flour
1 1/2 tsp baking soda
1 tbsp cinnamon
2 cups fresh or frozen blueberries
1-3 cups whole wheat or whole grain spelt flour. Add 1/2 cup at a time until the batter is about the texture of softened cream cheese.
Pour into greased loaf pans.
Cover and let it rise for about an hour or until it almost reaches the top of the pan.
Bake at 400 degrees for 50-60 minutes. Internal temp should register 190 degrees.
Remove from pans immediately and place on cooling rack to cool. Makes 2 loaves.
Enjoy!
And if you want to learn more, The Art of Homemade Bread will teach you all you need to know about making healthy bread at home.