Did you know that you can make your own baking powder at home? I started making my own last summer when I realized that I was sensitive to the corn starch in store-bought baking powder.
It’s quick and easy and takes literally less than one minute to mix up.
Homemade, Allergy-Friendly Baking Powder
This recipe is written in parts, which means that you can scale it up or down to make as much or as little as you like. I usually use a 1/3 cup or 1/2 cup measuring cup as my part, but use whatever quantity that suits you.
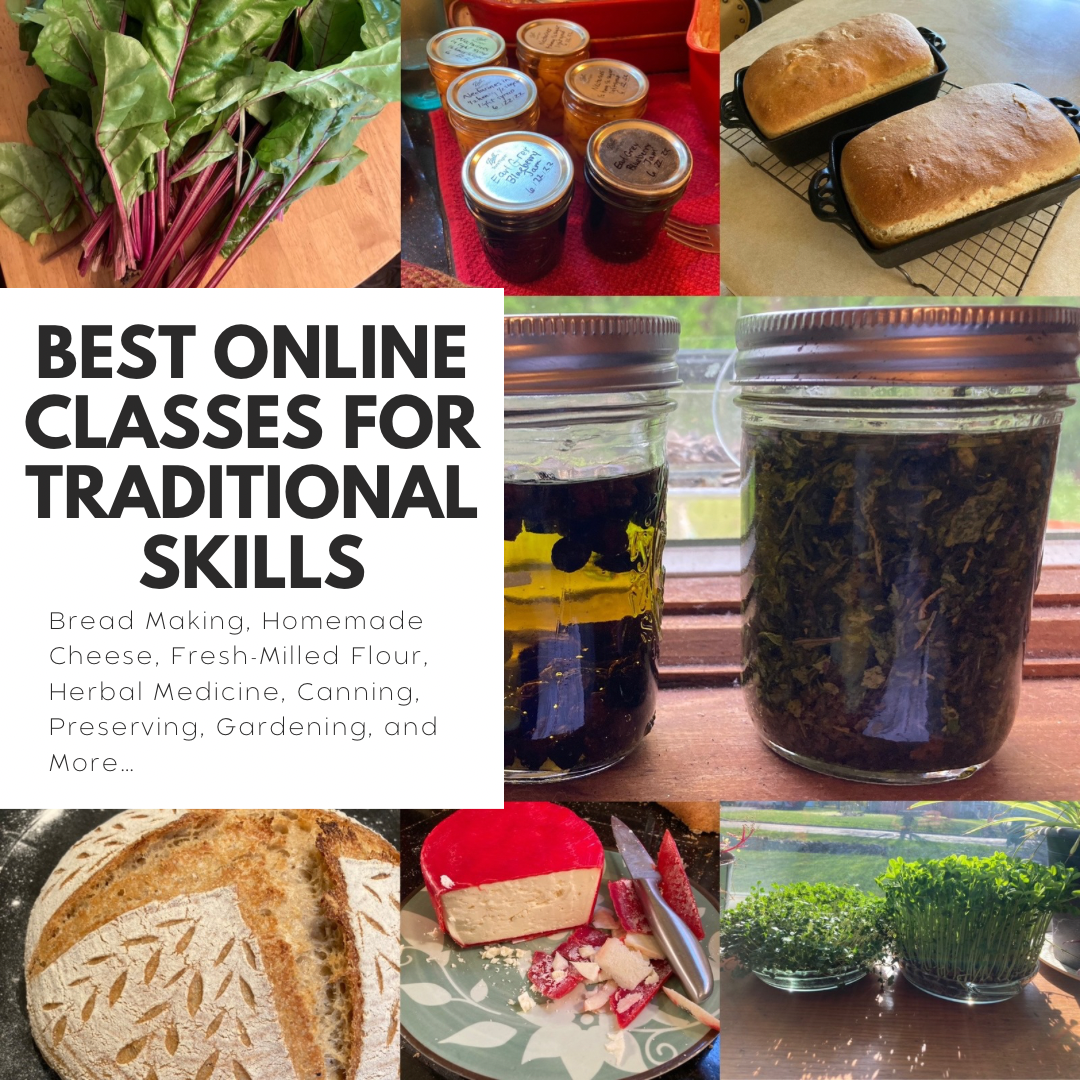
If you’ve followed my blog for any amount of time, you know that I love the classes at Homesteading Family. I’ve learned so much from them – bread making, sourdough, homemade cheese, canning. Their classes on herbal medicine, preserving, and permaculture are a great starting point if you are wanting to learn more about traditional homemade skills. The skills that our grandparents knew are becoming less commonly known, if not forgotten altogether, but they are so much more important to our daily lives as grocery prices soar and uncertainty looms around the corner. Consider these Homesteading Family Classes as a way to take back some of your independence and the skills we have lost.
Read to the end for a special coupon code! Take advantage of this discount code just for Maggie Lane subscribers!
This course covers yeast and sourdough. It is broken down step-by-step so that anyone can do it. If you’ve tried to make bread before and failed, this course is for you. By the end you’ll know just what to do to achieve the perfect loaf every time. What’s the secret? Knowing how to read the dough. The course gives you benchmarks at each step to know when your dough is ready for the next step.
Think you can’t make use of this class because you don’t have a cow? Think again. You can make all the recipes in this course using store-bought milk. Every recipe I’ve made have been made with milk from the store. The course starts out simple and builds your skills so that you can make the simplest fresh cheese all the way up to mozzarella or hard cheeses like cheddar and parmesan. No special equipment needed. You can use the things you already have in your own kitchen.
Want to learn the ins-and-outs of milling your own flour at home. This mini-course is a great companion to the Art of Homemade Bread class and gives you even more tips on using fresh-milled flour at home.
Learn how to safely water bath and pressure can in this masterclass. This comprehensive course gives you step by step instructions in over 70 lessons. You’ll get all your questions answered and learn to can with confidence. This class will remove all the doubt in eating your home-canned food.
If you have your own animals, these two classes will help you know what to do with all those eggs from your chickens and milk from your cow rather than give them to the neighbors. Learn to preserve your eggs like they are fresh for over a year, and find out how to use the good bacteria naturally present in your raw milk to your advantage.
Discover how to grow, harvest, and prepare your own herbal remedies. This beginner course is just what you need if you’ve been wanting to learn how to make your own teas, tinctures, gylcerites, syrups, herbal vinegars, oxymels, and steams, but don’t know where to start.
Learn how to work with nature in this introductory course to growing a productive and sustainable garden. Gain the basic skills you need to maximize your food production and provide your family with good home-grown food.
Gain tips on managing a busy home, homeschool, and homestead. From tips to streamline breakfast to managing your time and finding joy in your day, let this course guide you to peaceful productivity.
This digital and print magazine is a beautiful addition to your coffee table and a valuable resource to your kitchen. The kitchen is truly the hub of the home. Whether your homestead is acres of land or a tiny balcony garden, you can make use of these tips and recipes in any kitchen. Take your cooking from scratch skills up a notch. This will soon become your favorite cookbook!
Want access to all these classes and more?
Homesteading Family offers a monthly or annual membership to their Homestead Kitchen Community. Membership offers you all these classes plus access to members-only content and challenges.
Whether you’re seeking greater self-sufficiency, trying to balance the budget, or simply wanting to experience the joy of making things at home, these online courses offer guidance and experience that makes traditional skills accessible to anyone.
Special BONUS for Maggie Lane readers!
Enter your email below to get the Homesteading Family coupon code.
Tomorrow Homesteading Family is hosting their last webinar of the year. This time it is on Pressure Canning. I don’t remember them ever covering this topic before, so if it’s something you are curious about or have wanted to try, click the link above to sign up!
I saw it recommended in Homesteading Family’s Homestead Kitchen Community. It’s become a good reference because even though I can’t use the recipes included in it because of all our allergies, I can use them as inspiration and modify them to suit our needs.
Do you have a sweet tooth and wish you have a healthier option from store bought cake mixes? Here’s your answer. Below, you’ll find make ahead mixes that will sit on your shelves for months until you need them.
Make Ahead Sweet Tooth Cake and Quick Bread Mixes:
Homemade Chocolate Cake Mix Recipe:
This recipe will fill two regular 24 oz spaghetti sauce jars or quart size canning jars.It yields two 9” cakes.
2 1/2 cups all purpose flour
1 1/2 cups sugar
1/4 cup cocoa powder
1 tsp salt
2 tsp baking powder
Combine all the above in a bowl, transfer to two glass jars, and label with ingredients, what to add on baking day, and baking instructions.
On Baking Day Add…
1 cup of milk
2 eggs
1/3 cup of oil
1 tsp vanilla
Chocolate Cake Baking Instructions:
Grease and flour two cake pans. Bake at 350 for 25 minutes until a toothpick comes out clean.
Cinnamon Coffee Cake Mix Recipe:
1 cup all purpose flour
1 cup whole wheat flour
3/4 tsp salt
1/4 tsp baking soda
1/8 tsp baking powder
2 tbsp sugar
1/4 cup brown sugar
1/2 tsp cinnamon
Combine all the above in a bowl, transfer to a glass jar, label with ingredients, what to add on baking day, and baking instructions.
On Baking Day Add…
3/4 cups milk
1 egg
1 tsp vanilla
1/3 cup oil
1 tbsp vinegar
Coffee Cake Topping:
Store this mixture in a baggie in the mouth of your jars. Pour topping mixture into a bowl and cut in 4 tbsp of butter. Then sprinkle on the top of yourcake just before baking.
1 tsp cinnamon
1/4 cup brown sugar
1/2 cup oatmeal or flakes spelt
1/4 cup all purpose flour
Coffee Cake Baking Instructions:
Bake in greased 9” cake pan, or 8×8” casserole on 350 for 35-40 minutes.
Homemade Banana Bread Baking Mix Recipe:
2 1/2 cups all purpose flour
3/4 cups whole wheat flour
1 1/2 tsp baking powder
1 1/2 tsp baking soda
1/2 cup sugar
1/4 cup brown sugar
1/2 tsp salt
1 tsp cinnamon
Optional: Add 1/4 cup chocolate chips.
Combine all the above in a bowl, transfer to two glass jars, and label with ingredients, what to add on baking day, and baking instructions.
On Baking Day Add…
2 eggs
1/3 cup oil
1-2 ripe bananas
Banana Bread Baking Instructions:
Bake in a greased 8×8” casserole on 325 for 1 hour until a toothpick comes out clean.
Shelf Life of Homemade Baking Mixes:
Shelf life is for all baking mixes is 4-5 months if kept cool and dry. See the note at the bottom of this post for how to extend the shelf life for a longer period.
I hope you’ll try some of these recipes. And guess what? If they sound good to you right now, there’s not need to wait for later. Go ahead and mix up a something sweet right now!
Pro Tips for Making Your Own Baking Mixes:
Pro Tip #1: Always use dried spices, never fresh as the moisture contained in fresh spices will cause your mixture to mold.
Pro Tip #2: Save your empty spaghetti sauce jars to fill with dry pantry mixes to give away to friends. That way you won’t have to give away your good canning jars.
Pro Tip #3: If using canning jars, use this little hand held vacuums sealer with this handy jar attachment to suck the air out of your jars and really increase the shelf life of the dry mixes that you make.
Preserving 101: Homesteading Family is currently running a Preserving Challenge in their Homestead Kitchen Community. Check it out if you want to learn more about stocking your pantry with shelf stable, natural foods. The challenge includes canning, dehydrating, freezing, fermenting, and freeze drying.
I saw this book recommended in Homesteading Family’s Homestead Kitchen Community the other day. It’s become a good reference for me as we can’t buy any packaged convenience meals, spice blends, cake mixes, and so on because of all of our unusual allergies and food sensitivities. But this book has been a great help to me because even though I can’t use the recipes included in it, I can take them as a starting off point and modify them to suit our food restrictions.
Here’s the ones we came up with. We decided to try two savory rice mixes, and three sweet ones. Comfort food you know… 😊
This week I’ll give you the instructions for the rice mixes, and next week I’ll share the sweet recipes which will include Cinnamon Coffee Cake, Chocolate Cake, and Banana Bread – all as shelf stable, make ahead desserts!
So, let’s get started!
Make Ahead Savory Rice Mixes:
Orange Rosemary Rice Mix Recipe:
This recipe will fill a regular 24 oz spaghetti sauce jar or quart size canning jar.
2.5 cups uncooked brown rice
1/4 cup dried orange peel
2 tsp dried chives
1 tsp salt
1/2 tsp pepper
1.5 tsp dried rosemary
1 tbsp parsley
1/2 tsp onion flakes
Herb & Spice Rice Mix Recipe:
This recipe will fill a regular 24 oz spaghetti sauce jar or quart size canning jar.
2 1/2 cups uncooked brown rice
2 tsp dry oregano
1/2 tsp dried Basil
1 tsp dried parsley
1 tsp paprika
1 tsp marjoram or thyme
1 tsp salt
1 tsp pepper
1/4 tsp chili powder
1/4 tsp cumin
Mixing and Storage Instructions for Rice Mixes:
Mix all the ingredients in a large bowl. Once combined, fill your jar, secure the lid, and label with ingredients and cooking instructions. Shelf life is 6 months it kept cool and dry. See the note at the bottom of this post for how to extend the shelf life for a longer period.
Cooking Instructions for Rice Mixes:
Add 2 cups of water for every cup of rice. Simmer covered for about 20 minutes until all the water is absorbed.
I hope you’ll try some of these recipes. And guess what? If they sound good to you right now, there’s not need to wait for later. Go ahead and mix up a batch of rice to go with dinner and something sweet for dessert.
Pro Tips for Making Your Own Baking Mixes:
Pro Tip #1: Always use dried spices, never fresh as the moisture contained in fresh spices will cause your mixture to mold.
Pro Tip #2: Save your empty spaghetti sauce jars to fill with dry pantry mixes to give away to friends. That way you won’t have to give away your good canning jars.
Pro Tip #3: If using canning jars, use this little hand held vacuums sealer with this handy jar attachment to suck the air out of your jars and really increase the shelf life of the dry mixes that you make.
Preserving 101: Homesteading Family is currently running a Preserving Challenge in their Homestead Kitchen Community. Check it out if you want to learn more about stocking your pantry with shelf stable, natural foods. The challenge includes canning, dehydrating, freezing, fermenting, and freeze drying.
Garlic Salt is the seasoning I use the most. It’s basic and I find it to be the most versatile. I use it on the kids chicken strips that they eat every day for lunch, and I REALLY like it on our sourdough crackers. If you want to try to craft your own, save an empty grinder and mix the following together.
Homemade Garlic Salt:
3 tsp parsley flakes
3 tsp dried minced garlic
2 tsp onion flakes
2 tsp salt
And if you’re interested in making your own spice blends and seasoning mixes, check out Homesteading Family’s Homestead Kitchen Membership (affiliate link). They have a full Pantry Challenge going on right now with a whole workbook full of DIY baking and spice mixes that you can make yourself for pennies.
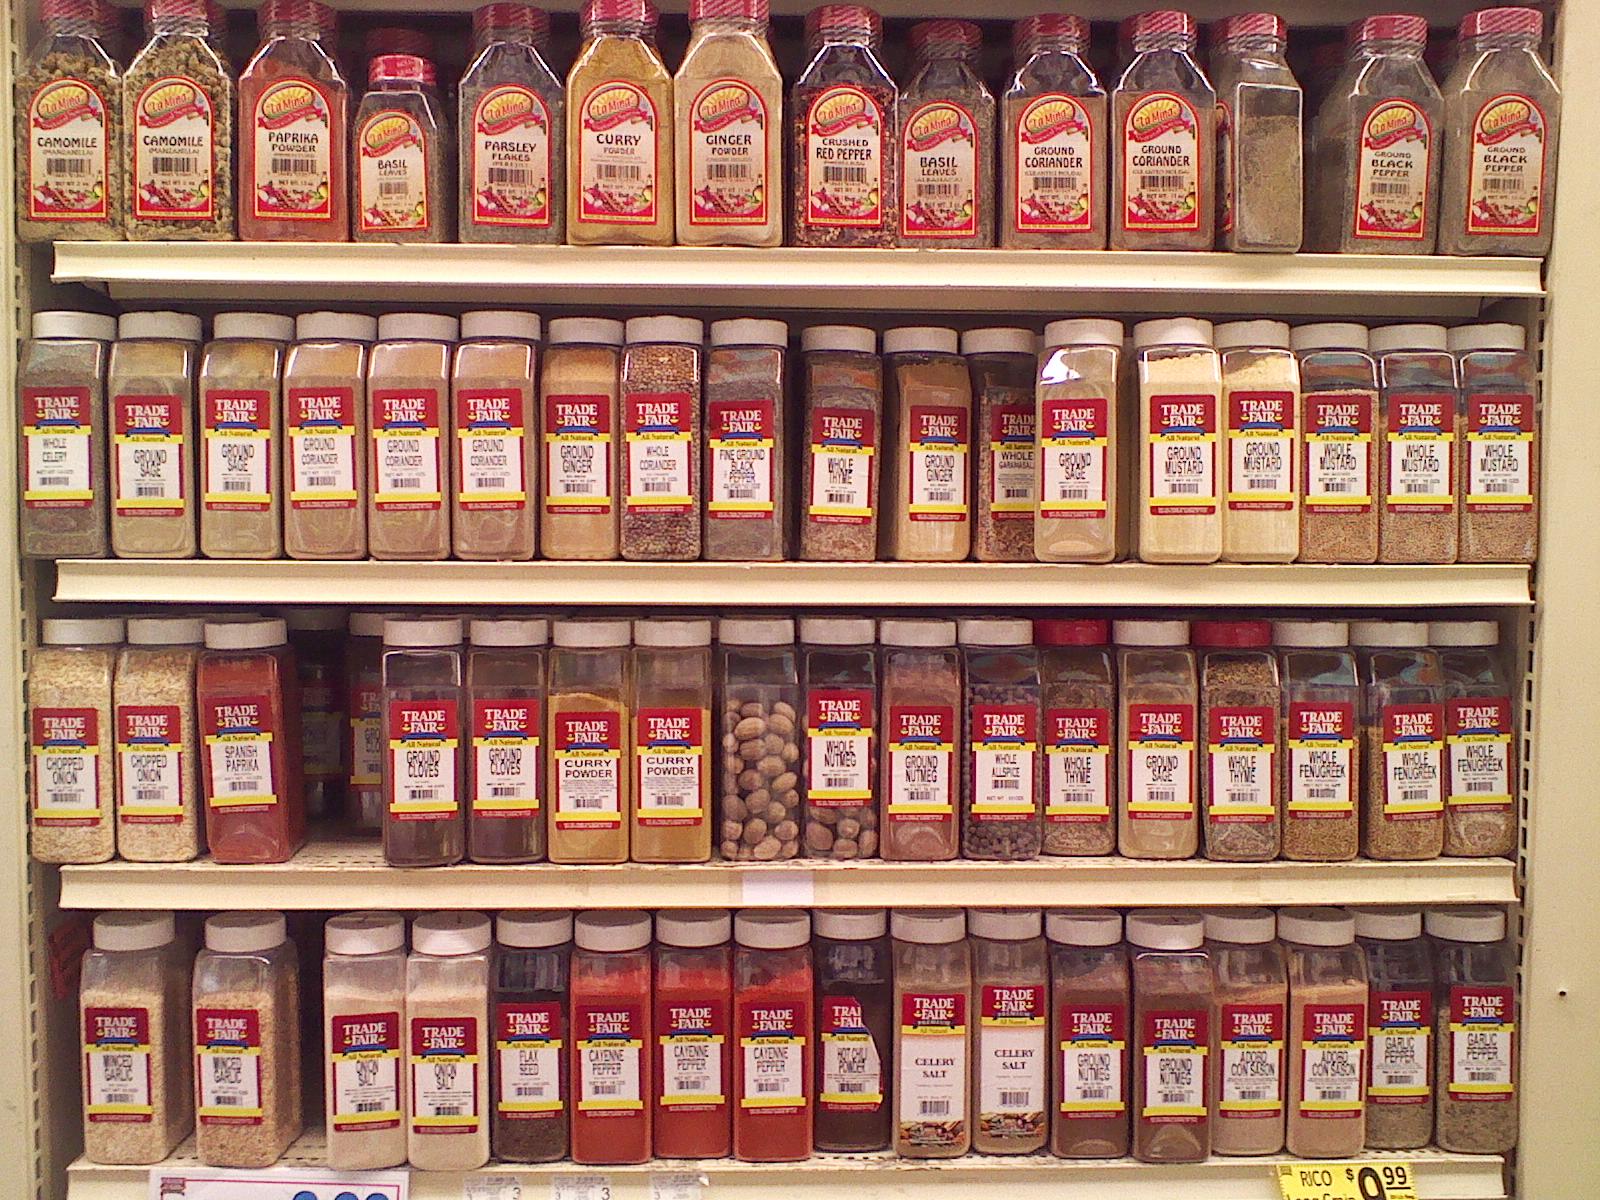
I love my herbs and spices. One of the biggest perks of living near the City is that you can get bulk herbs and spices very cheap. (See last week’s post bulk spices on the Since Your Last Visit page.)
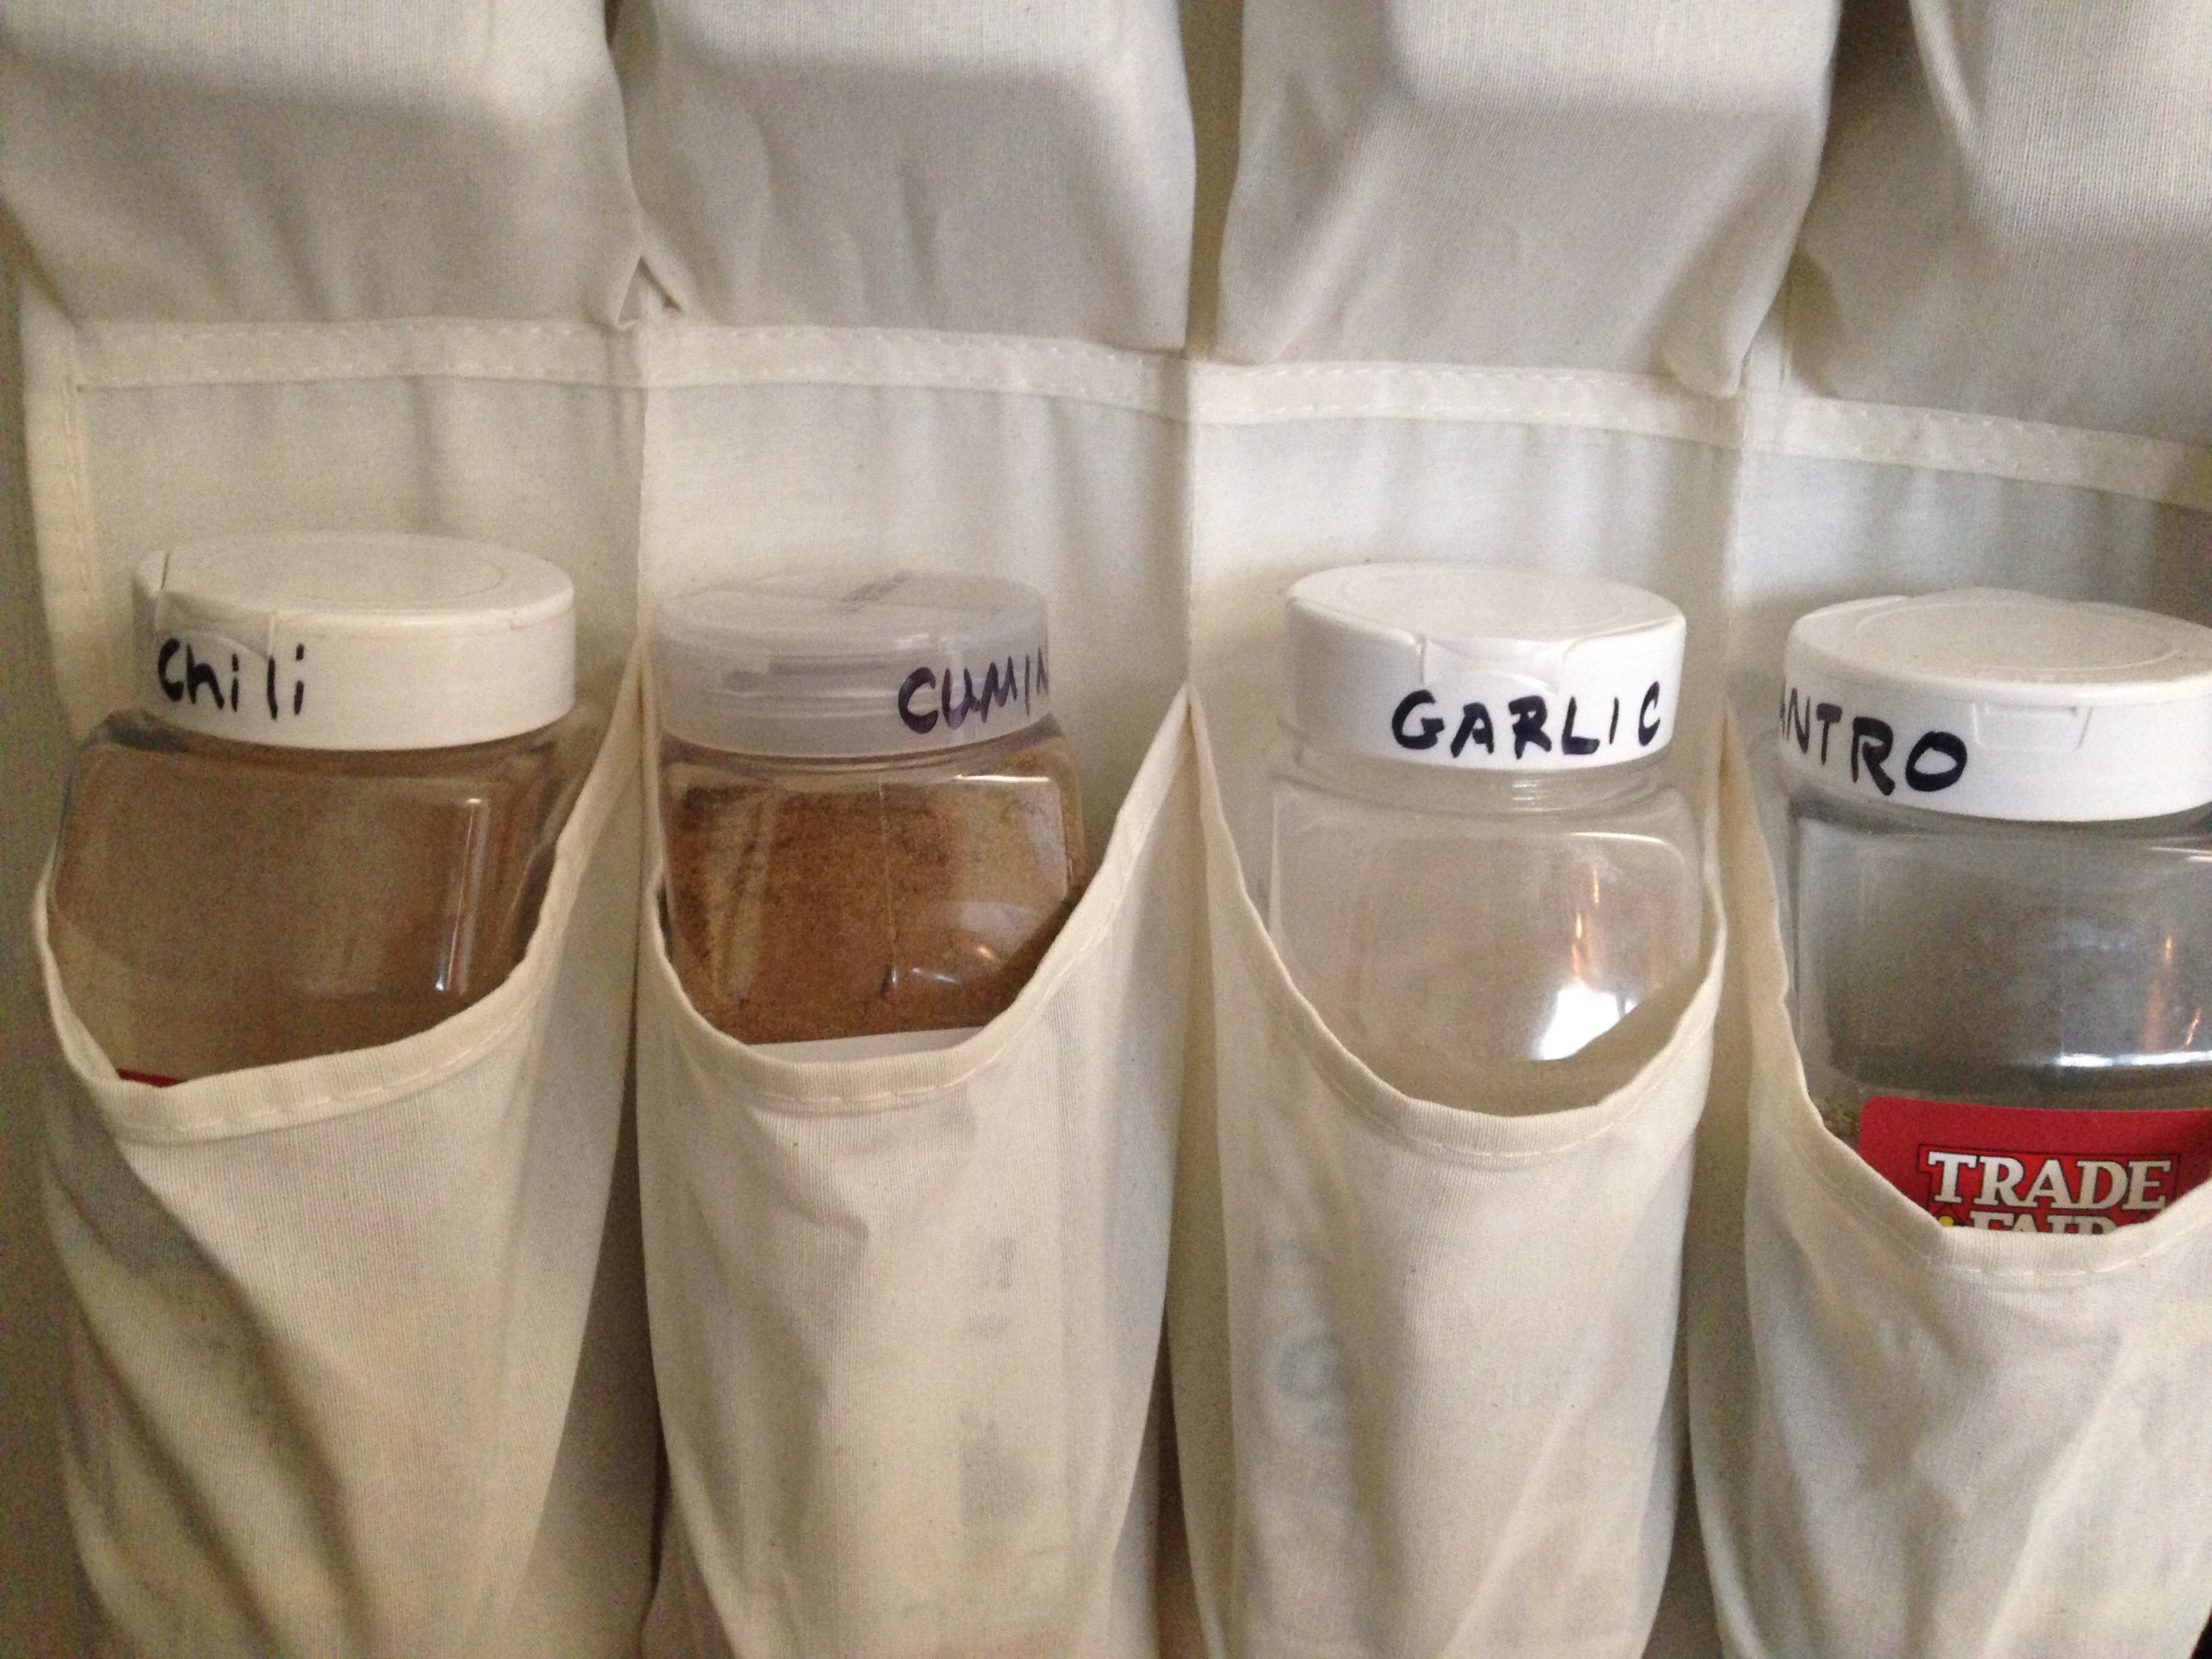
But a cute little spice rack will not do for keeping them organized. These bulk containers were wreaking havoc with my pantry shelves. So I came up with a handy DIY solution.
Over-the-door shoe organizer to the rescue!
I labeled all the lids of my spice containers with a permanent marker and filled up all those pockets.
I love the results. My favorite herbs and spices within easy reach and I don’t have to shuffle through my shelves looking for them anymore. Hooray for organization!
So much in the City is so expensive – mostly rent! But if you live in or around NYC stock up on bulk herbs and spices at the local city grocery stores. The herbs and spices are soooo much cheaper than the typical suburban grocery store chain. Trade Fair is my favorite NYC grocery store with Associated coming in second.
If you don’t live in the NYC area there are still options other than paying $8 for a tiny jar of cloves at your local supermarket. I have actually found reasonable prices on bulk spices on Amazon. So check there. My favorite online stores for bulk herbs are Mountain Rose Herbs and Bulk Herb Store. And be sure to check your local Walmart. They have some basic spices in the $1 category. So save some money and add some spice to your life!
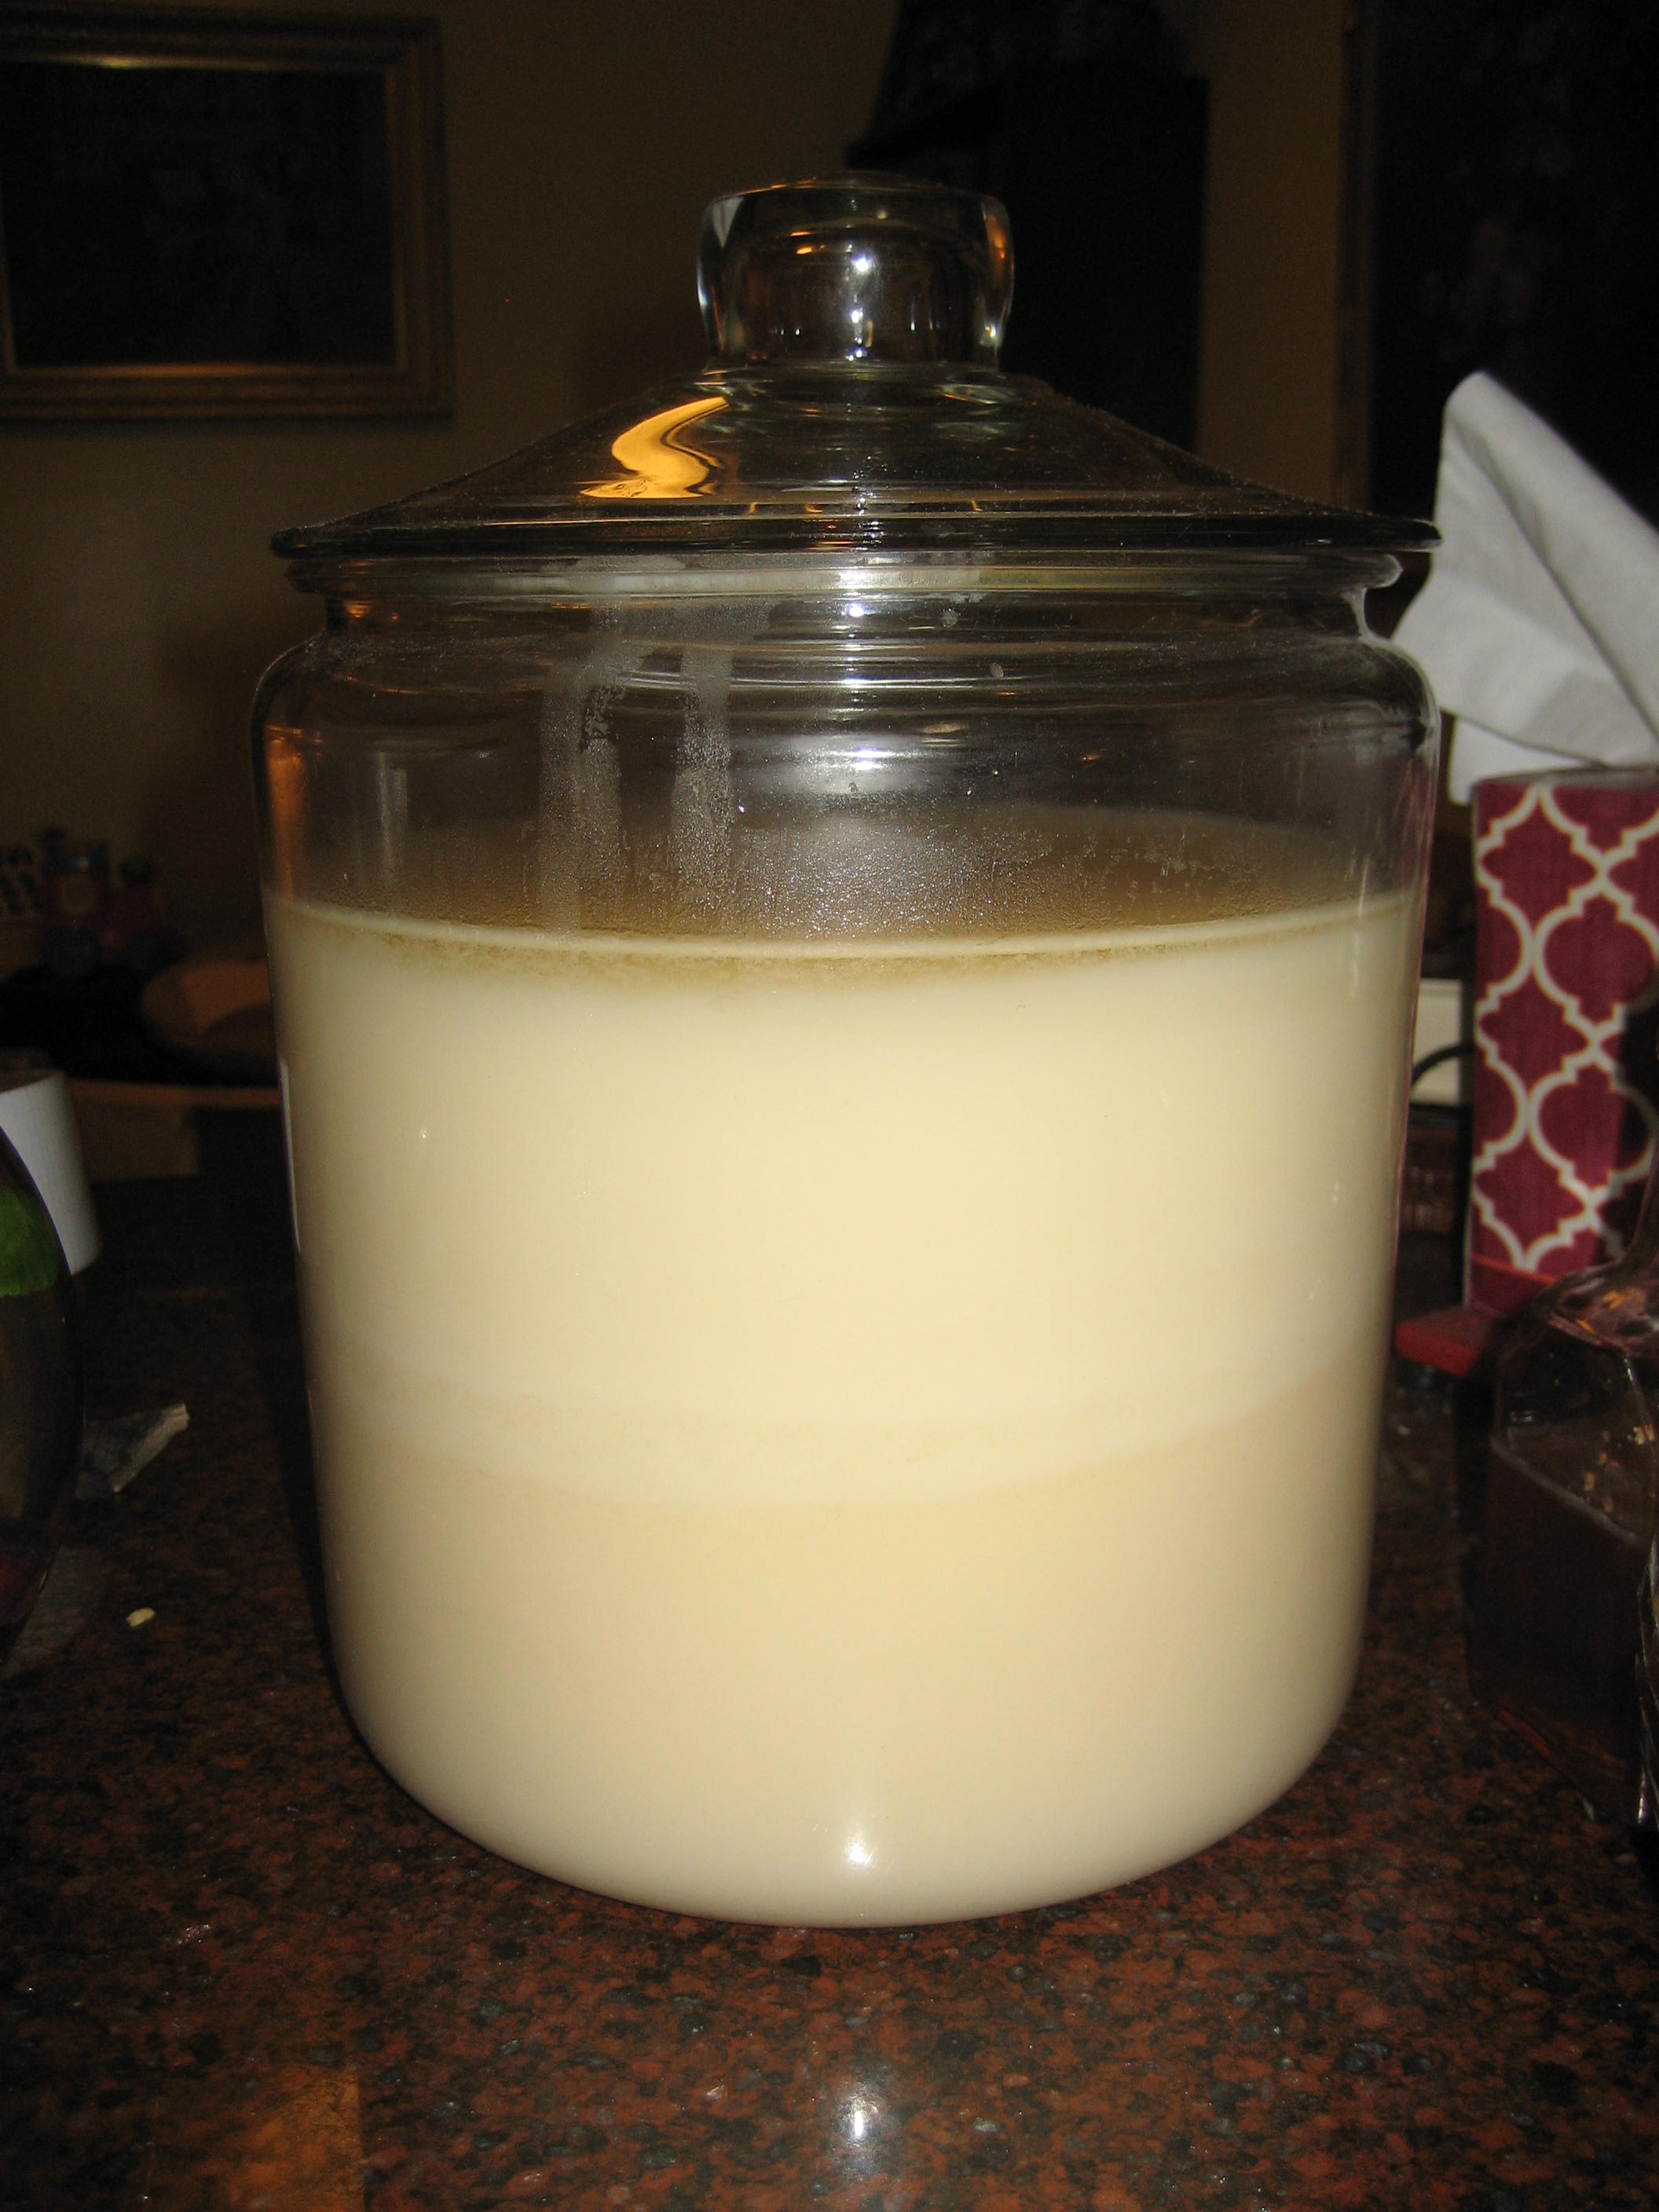
I got 10 pounds of pork fat from the farm we buy meat from last month with the intent of rendering my own lard. When I ordered I had an idea of what I would need to do, but knew I would need to look up the directions again before I proceeded. It was surprisingly easy. It took me three days to do all 10 lbs. as my crock pot is small, but I now have 1 gallon of lard (pictured) on my counter. I’d say it was well worth the $7 I paid for the fat. All I did was cube the fat, toss it in the crock pot with about a cup of water. Cover. Turn on low. Cook either overnight or all day stirring occasionally if possible. Strain out the leftover fat pieces with a cheesecloth and collander, pour in a heat safe container (mason jar, casserole dish, crock, etc.), cool and chill in the fridge. All done and not much to it.
The rendered lard should keep in the fridge for quite some time. I find that fat stores better in the fridge if it’s not tightly covered. I’d suggest covering with a tea towel and rubberband. If covered tightly with a lid moisture can accumulates in the jar and it can get moldy. If this happens, scrape off the mold from the top and use what is underneath. You can also store lard at room temperature. But, I would suggest that if you make a big batch like I did, to store one jar at a time on the counter top and to store the remainder in a cool place.
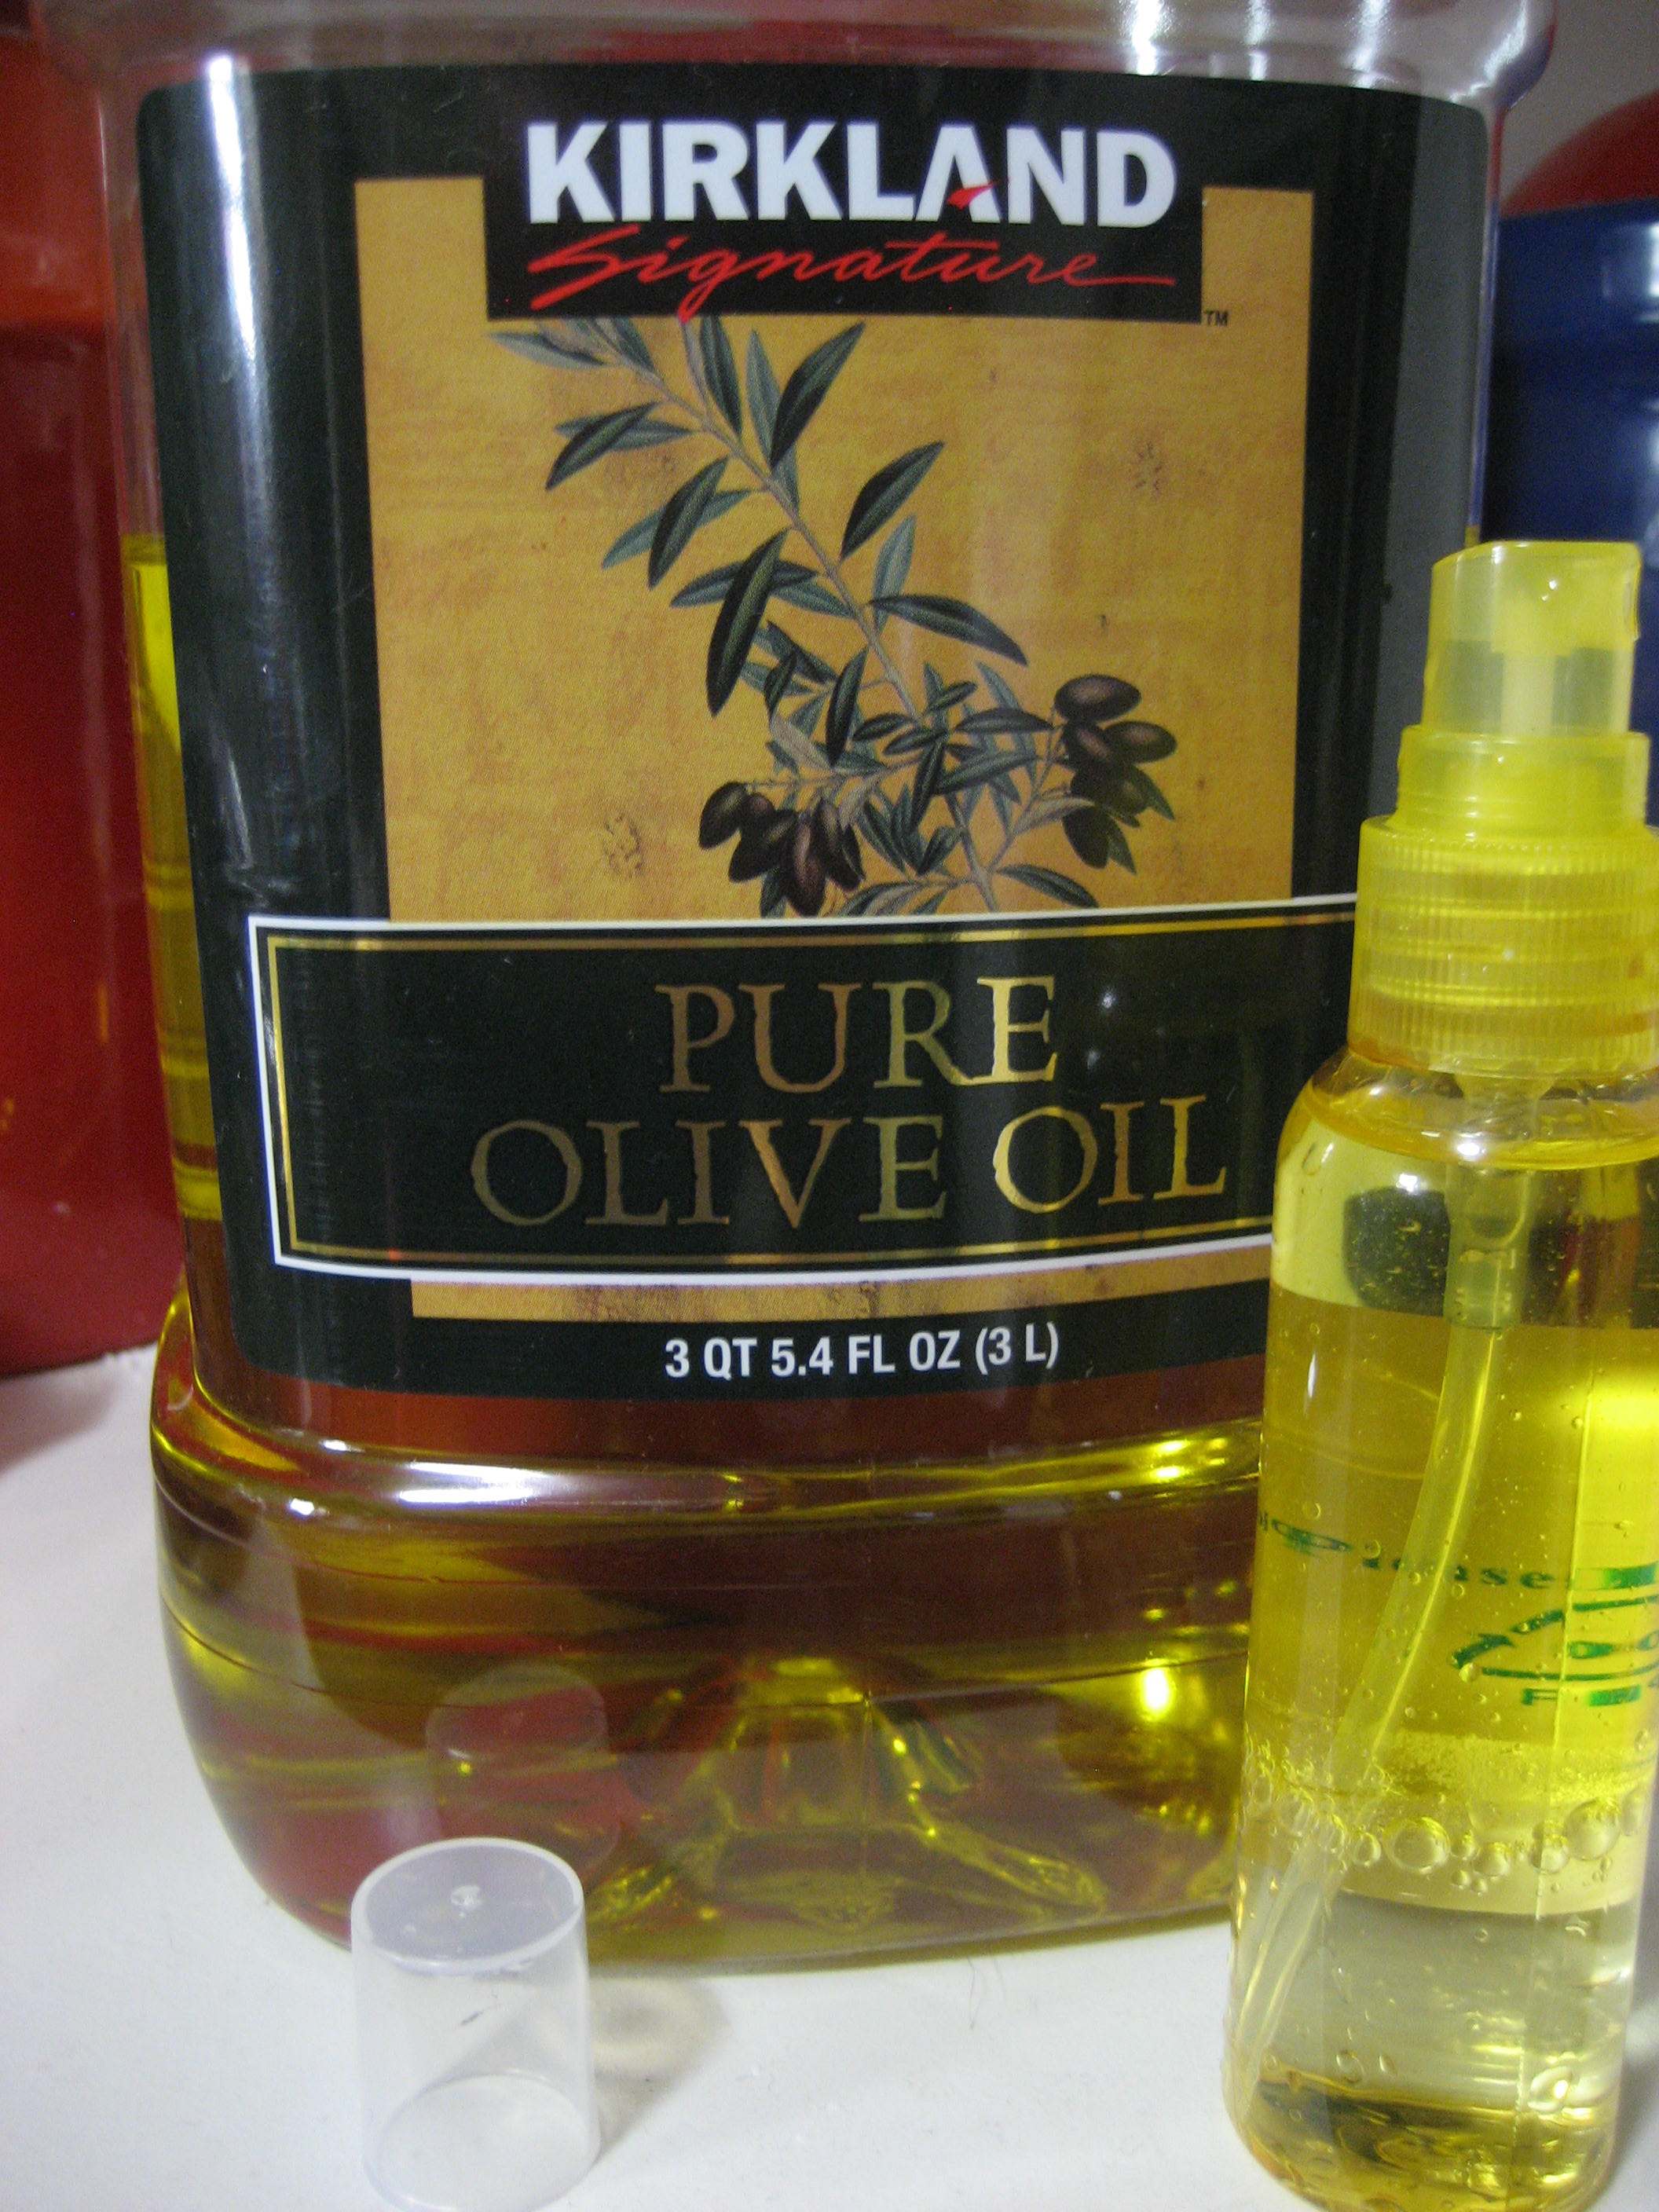
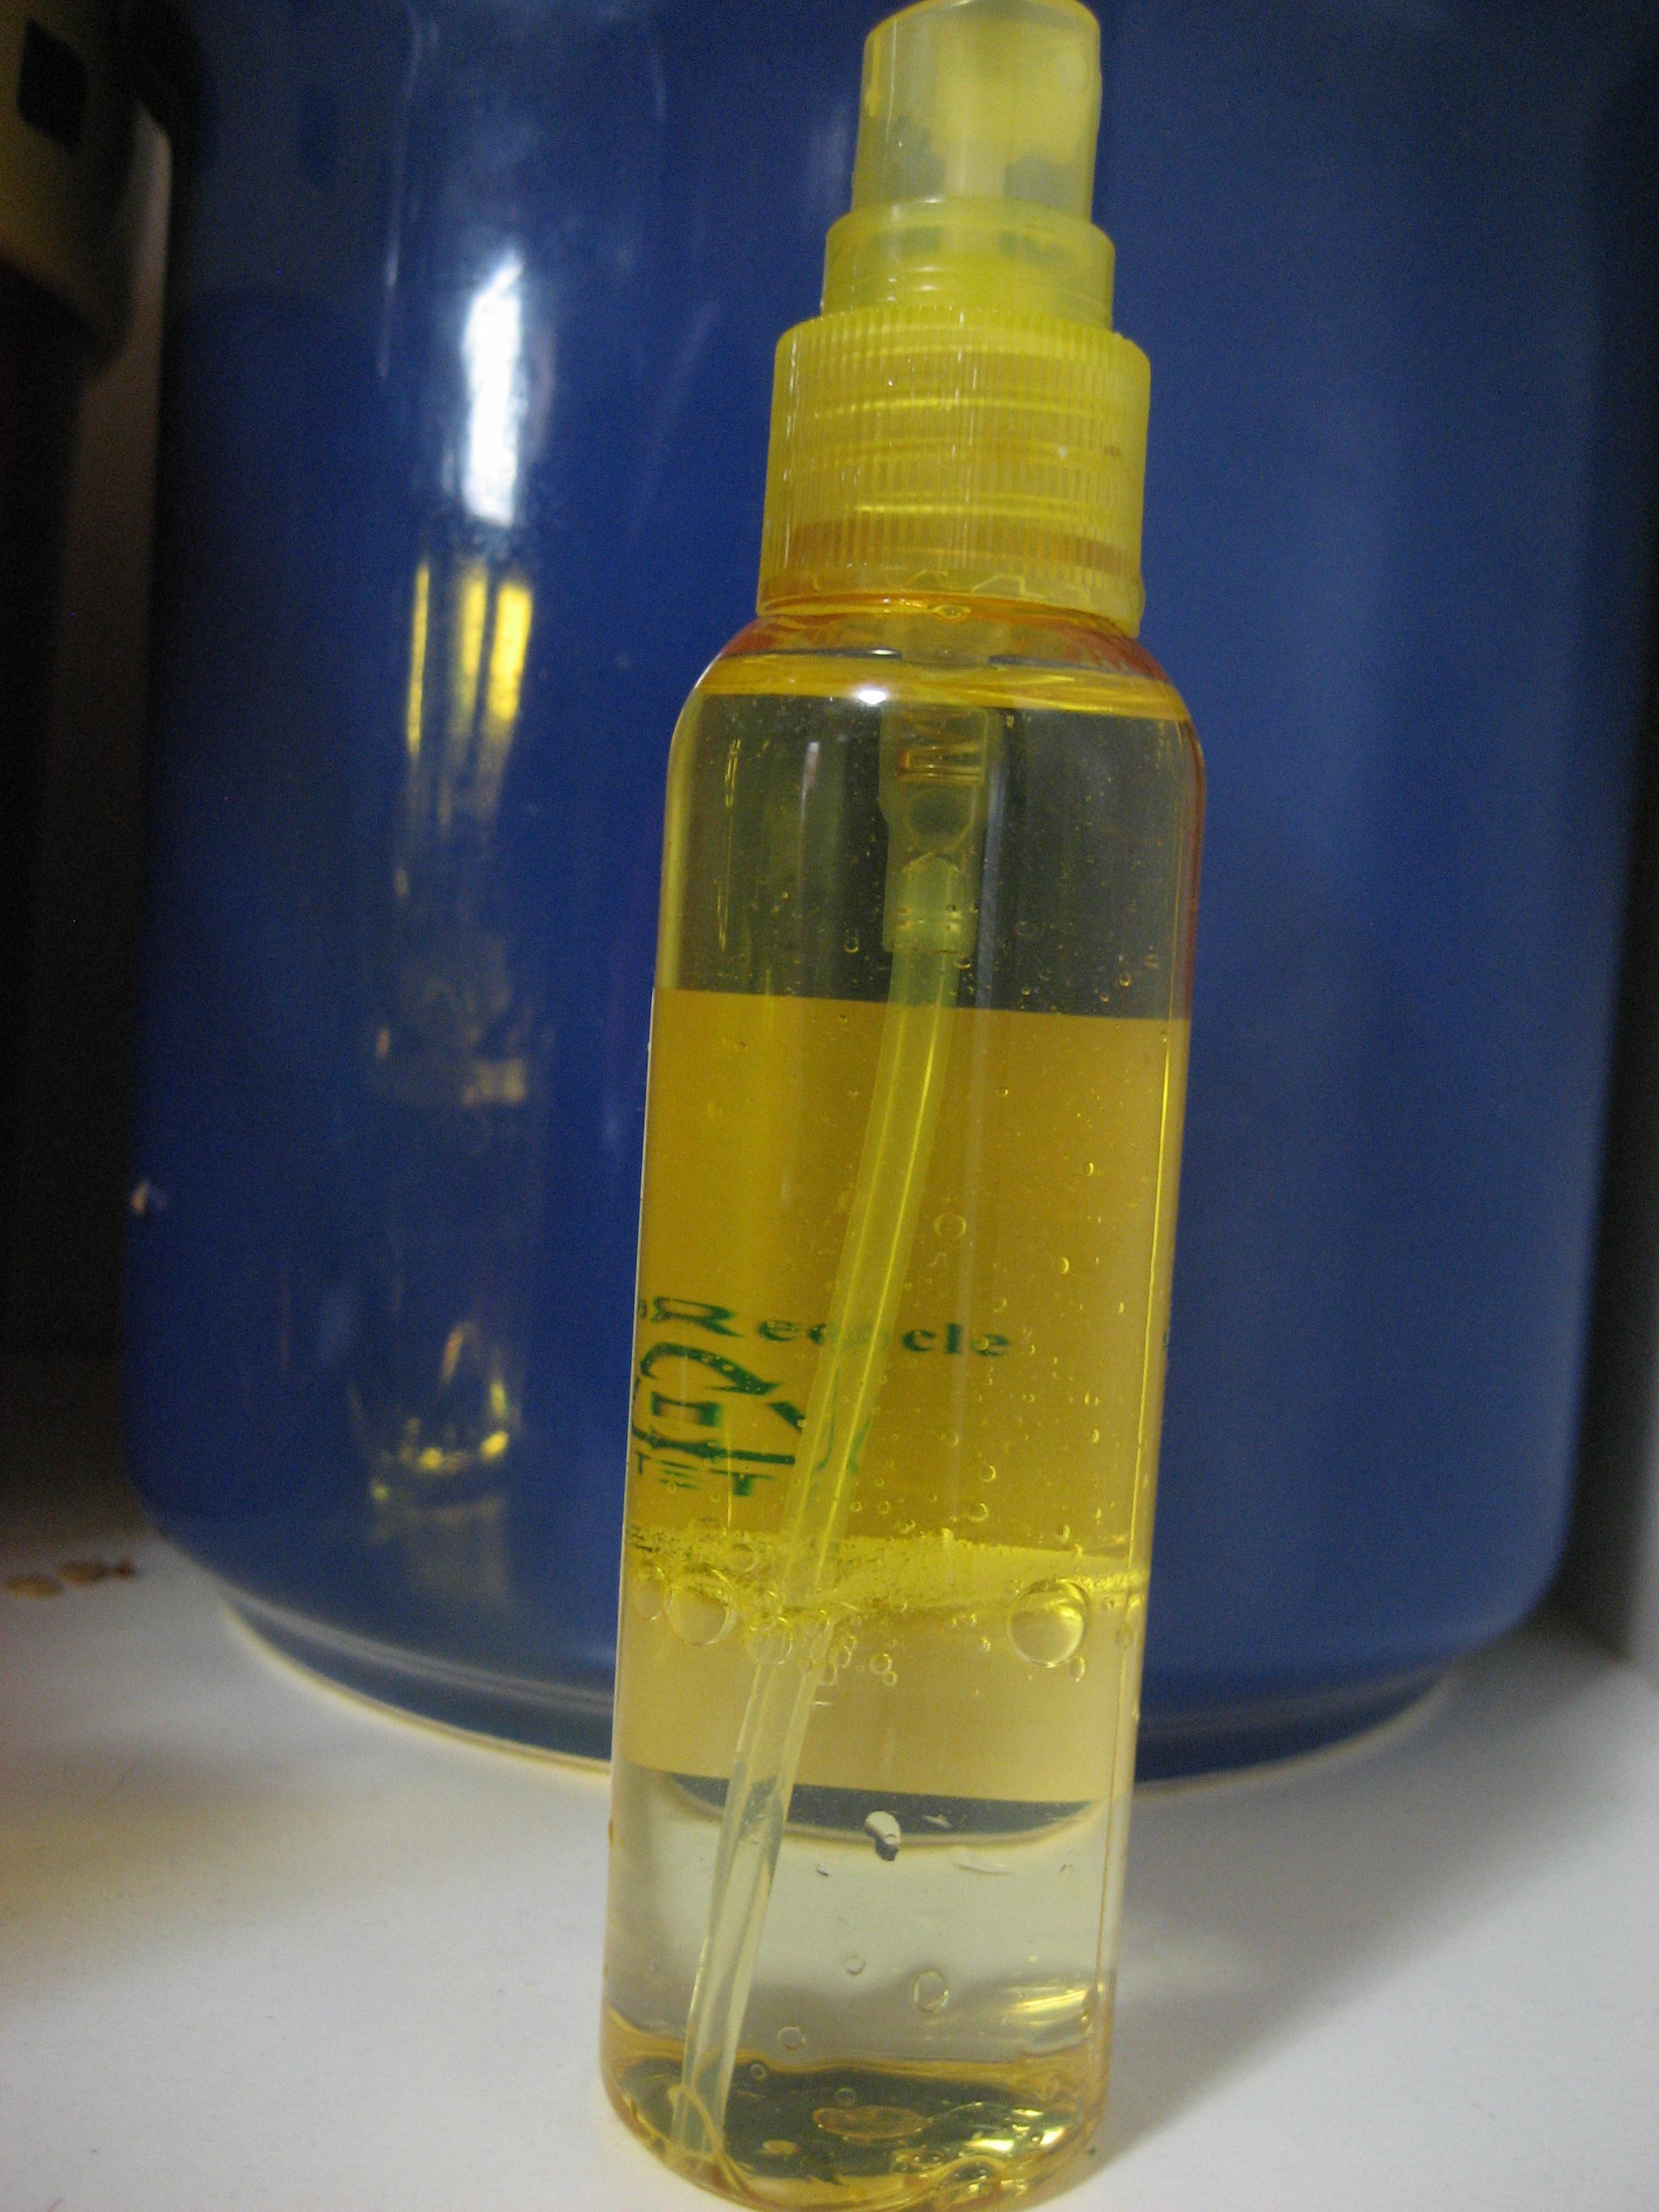
Replace those aresol oil sprayers with your own homemade version. All you need is a spray bottle (glass or stainless steel is best) and your favorite oil. I use olive oil. You need an oil that is liquid at room temperature. If you want to use coconut oil I would try heating it and mixing in half and half with another oil that is liquid. Fill your spray bottle 3/4 full with oil and 1/4 with distilled water. Shake well before each use and spray liberally. I rarely need spray oil but use it when my cast iron waffle maker.
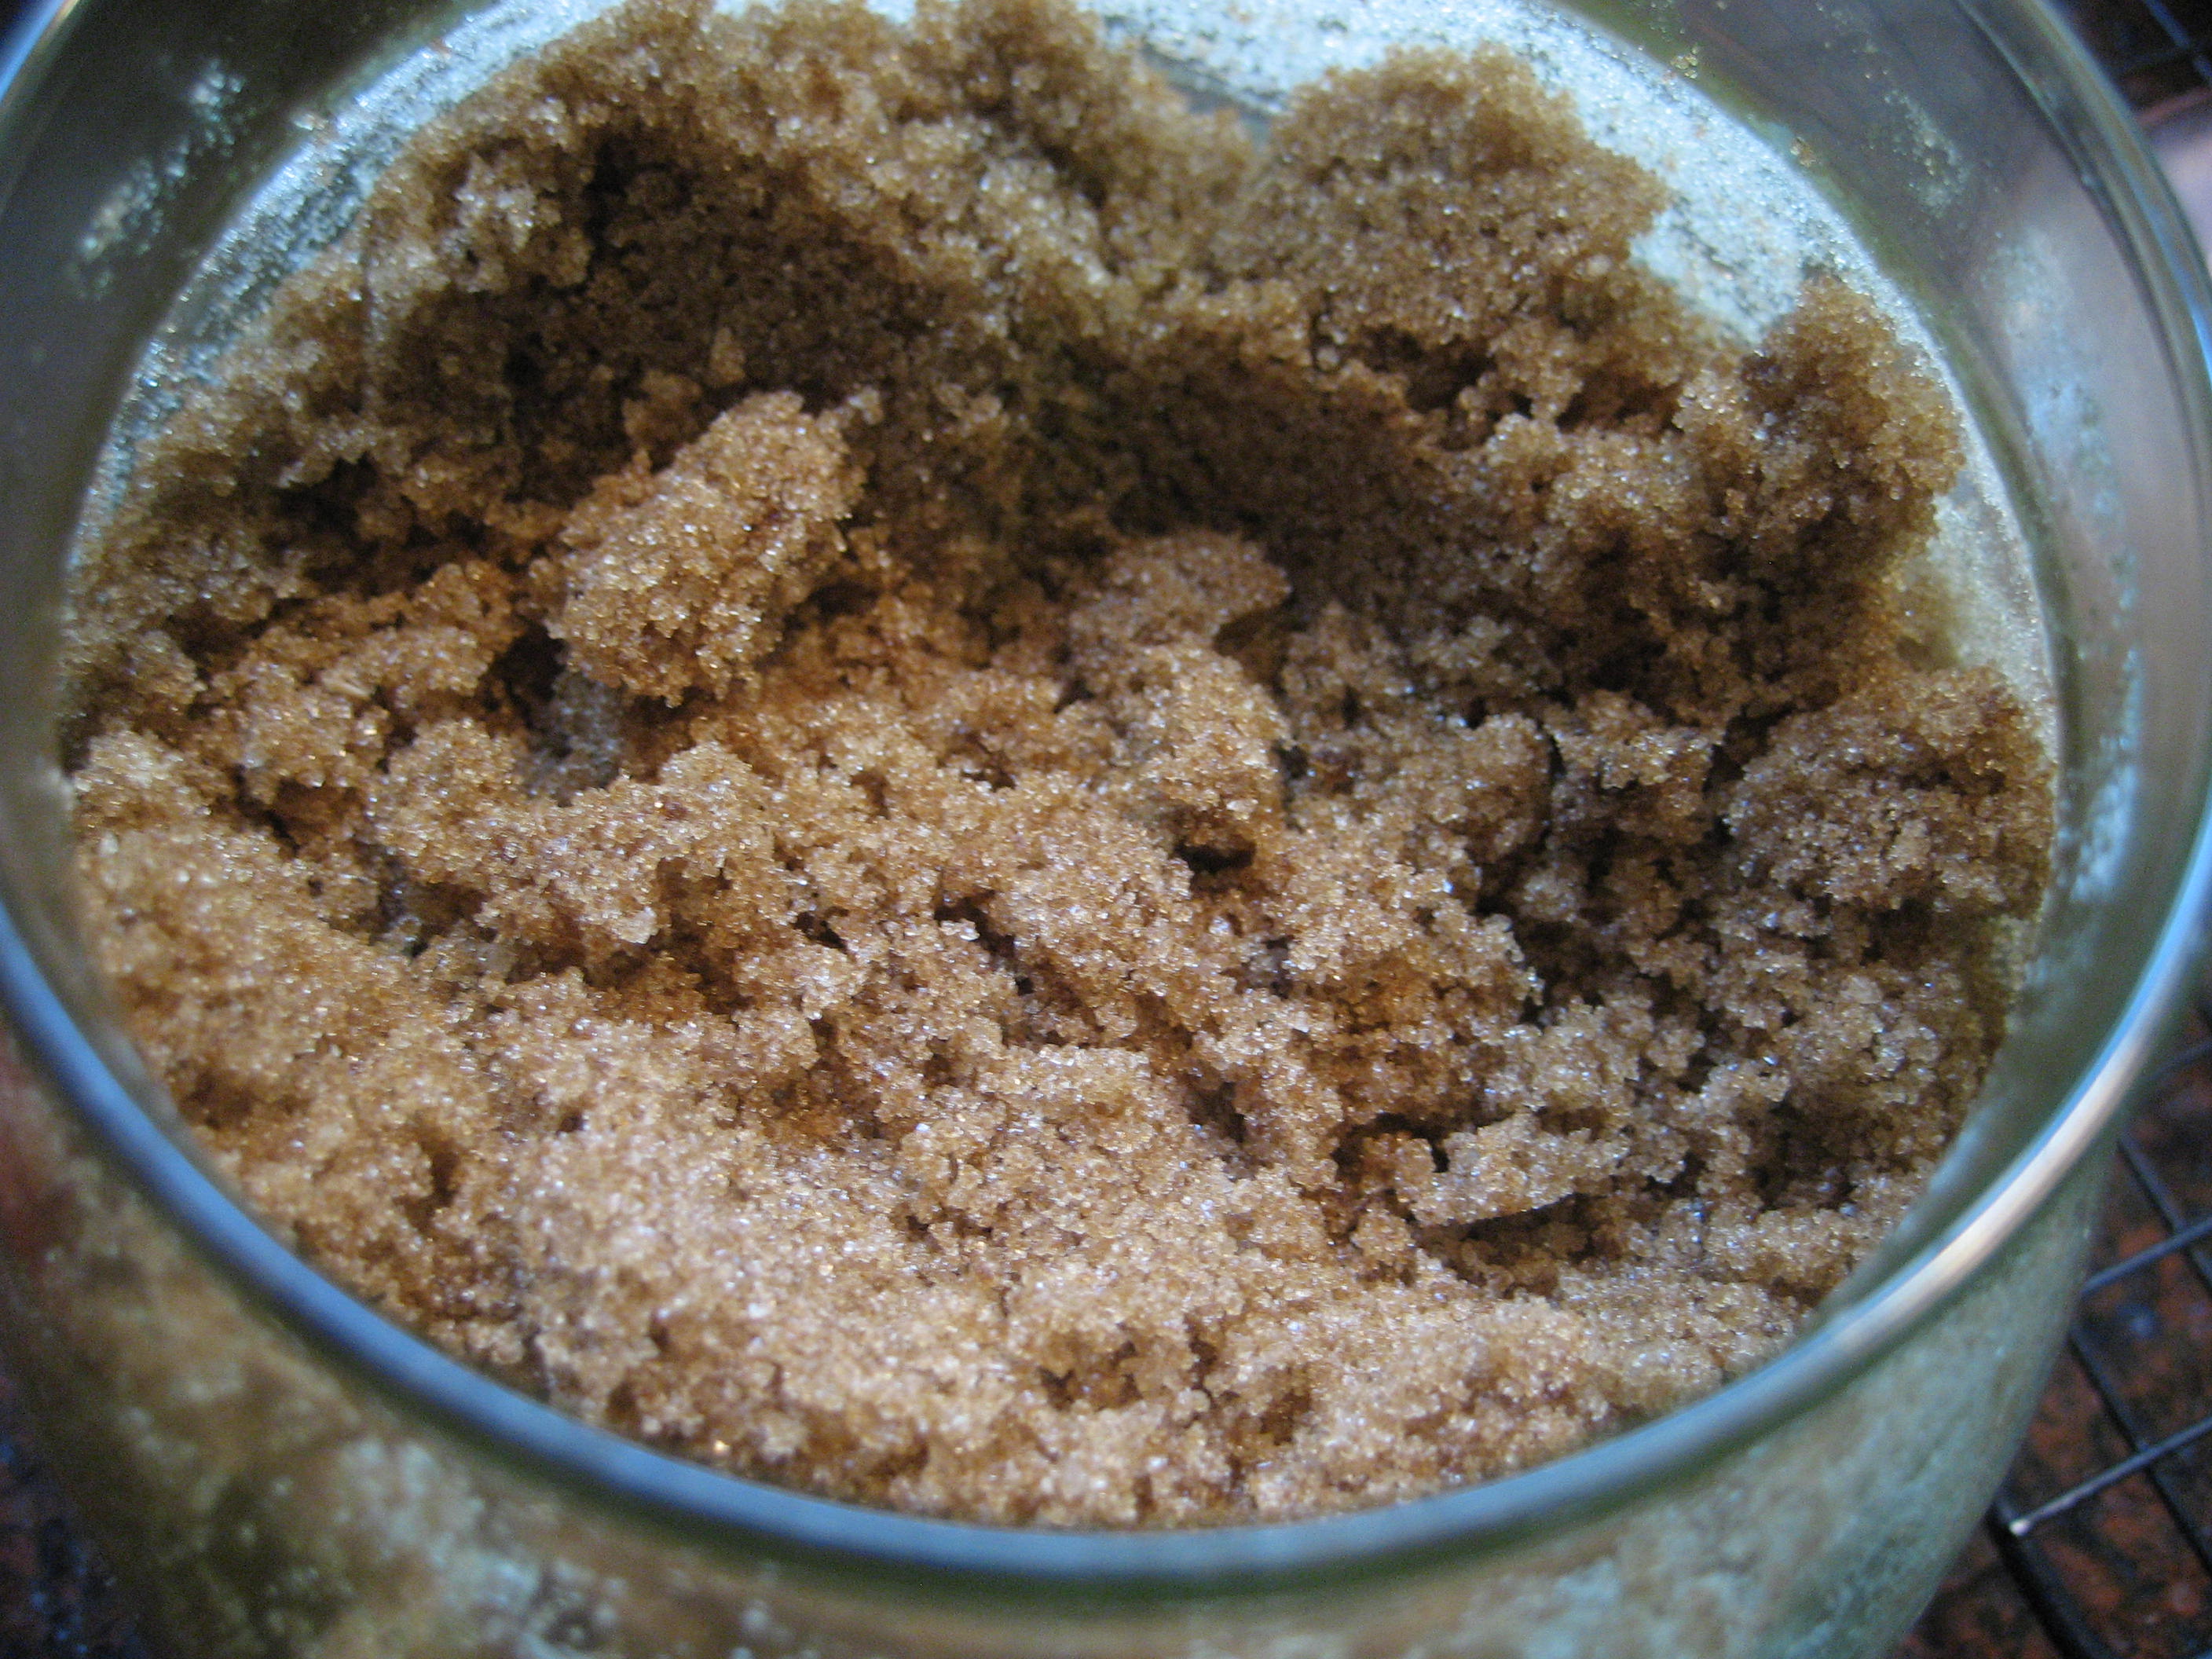
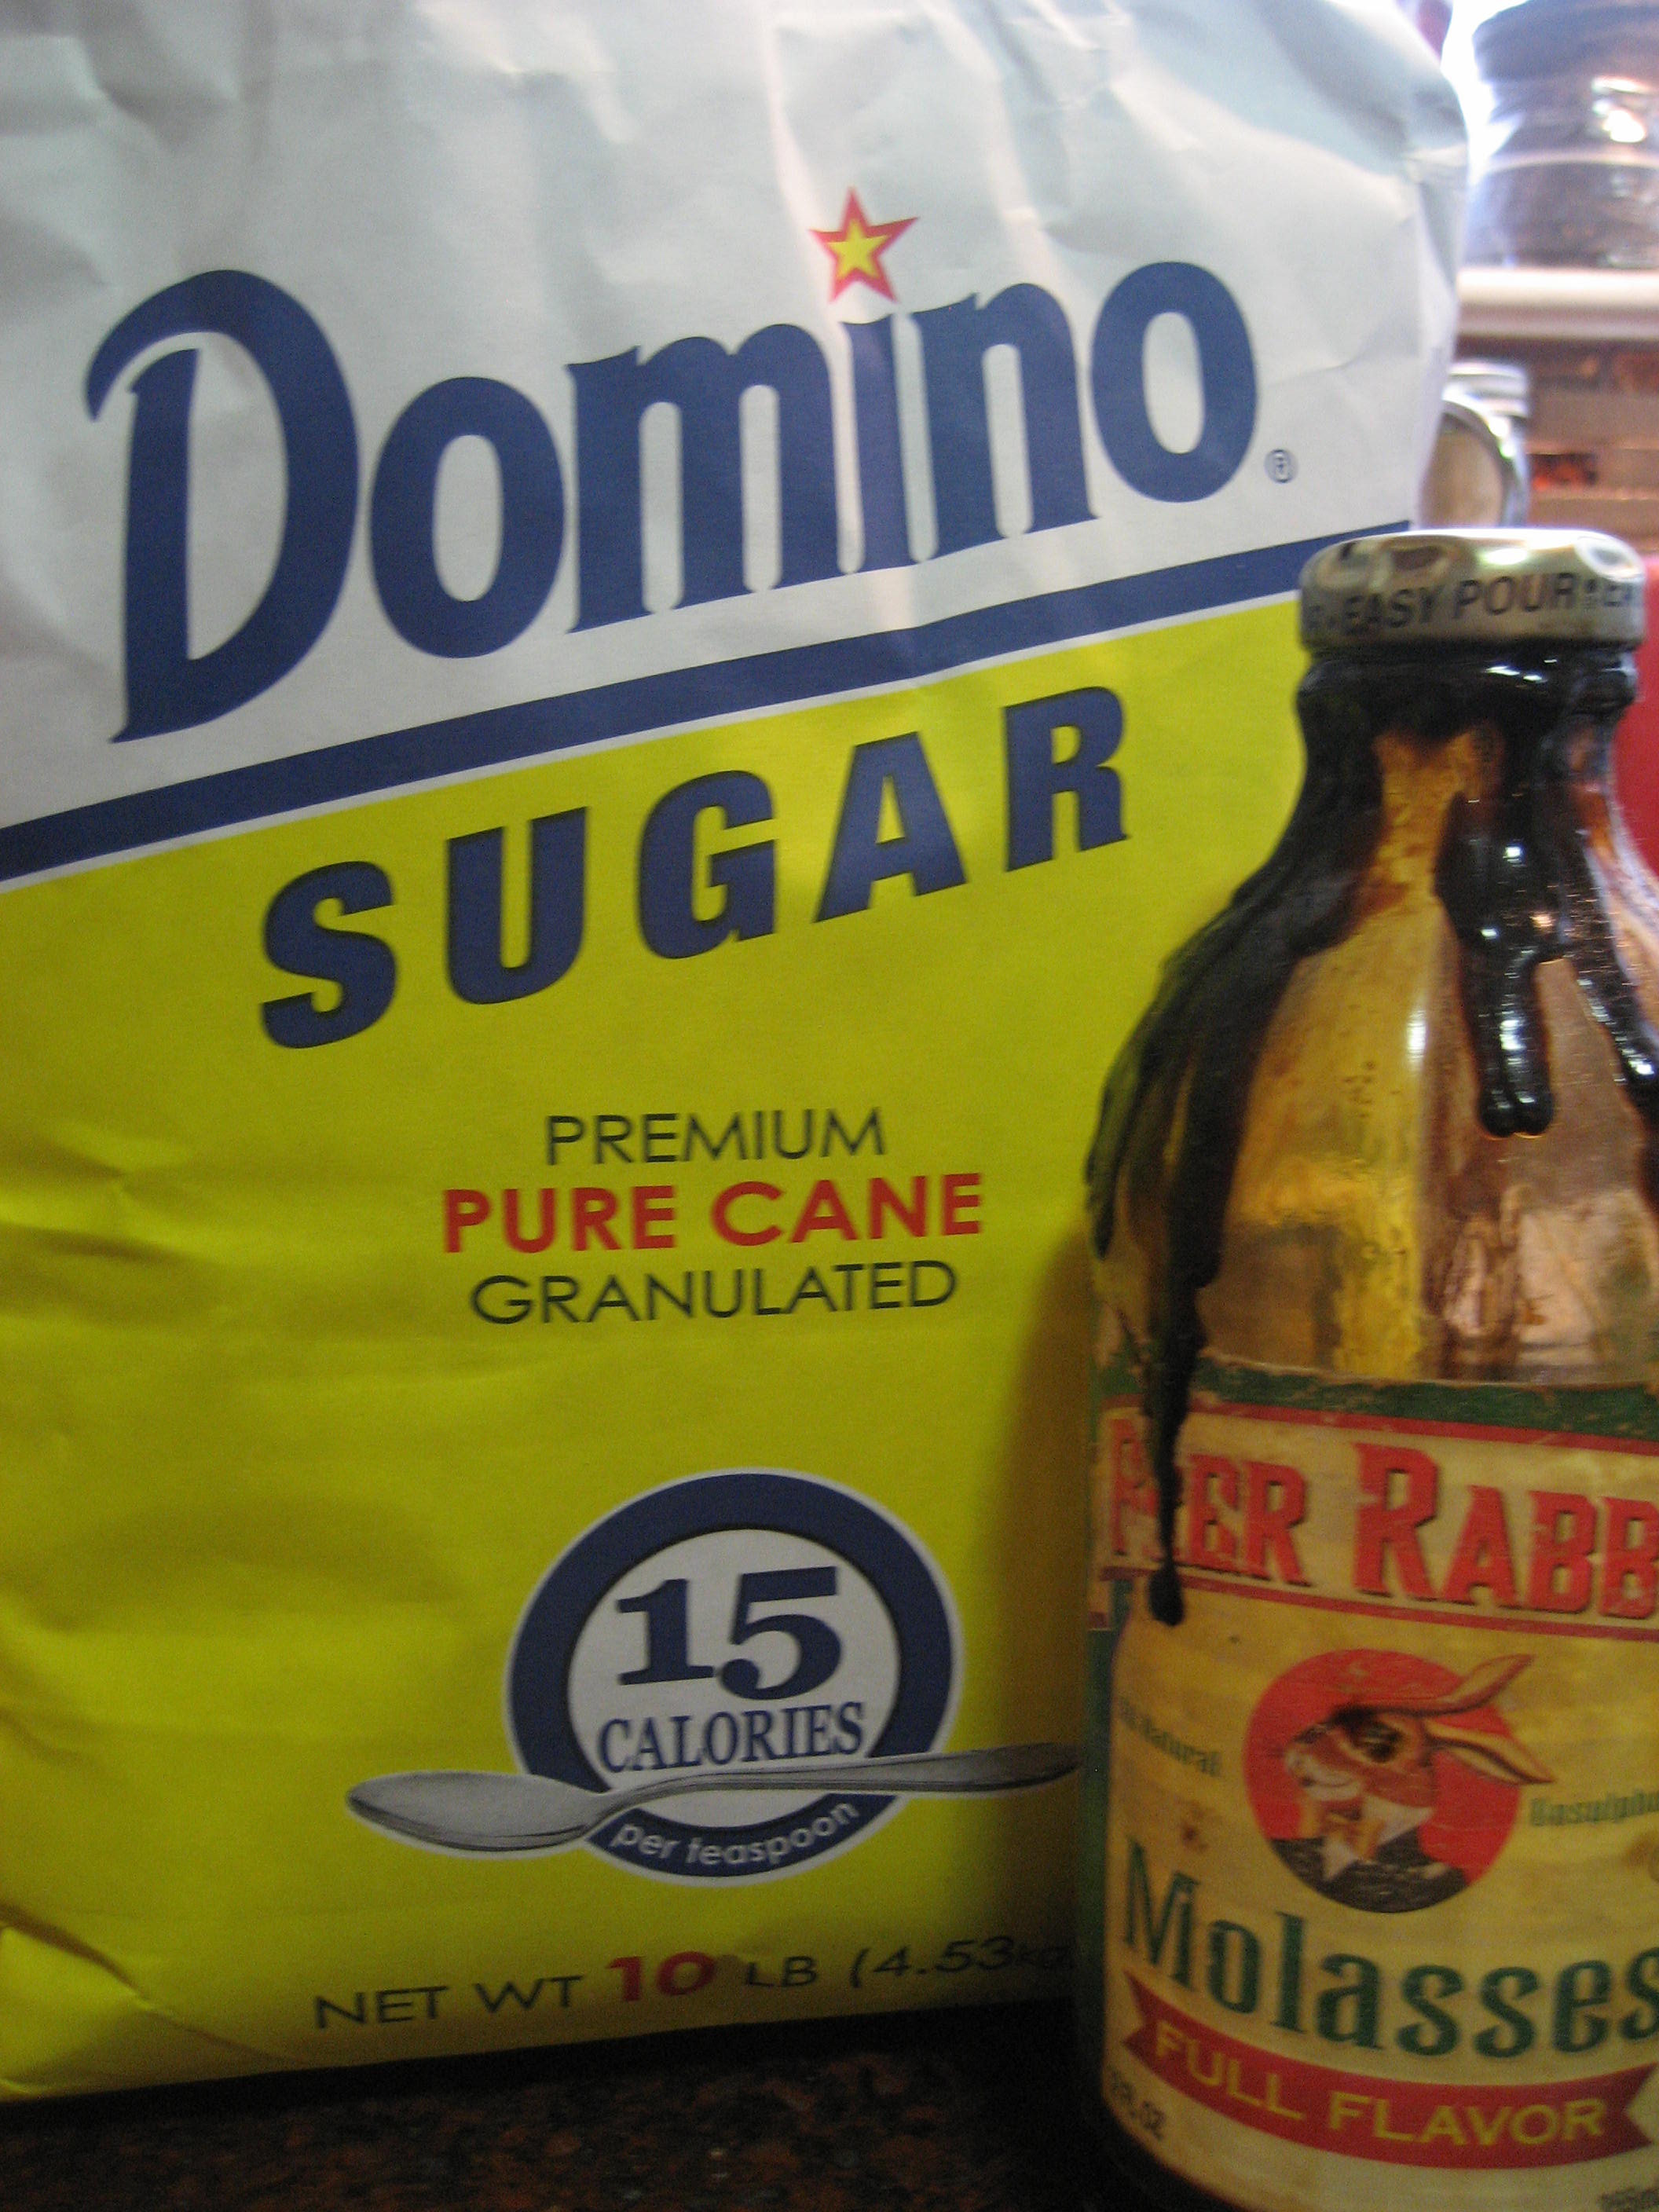
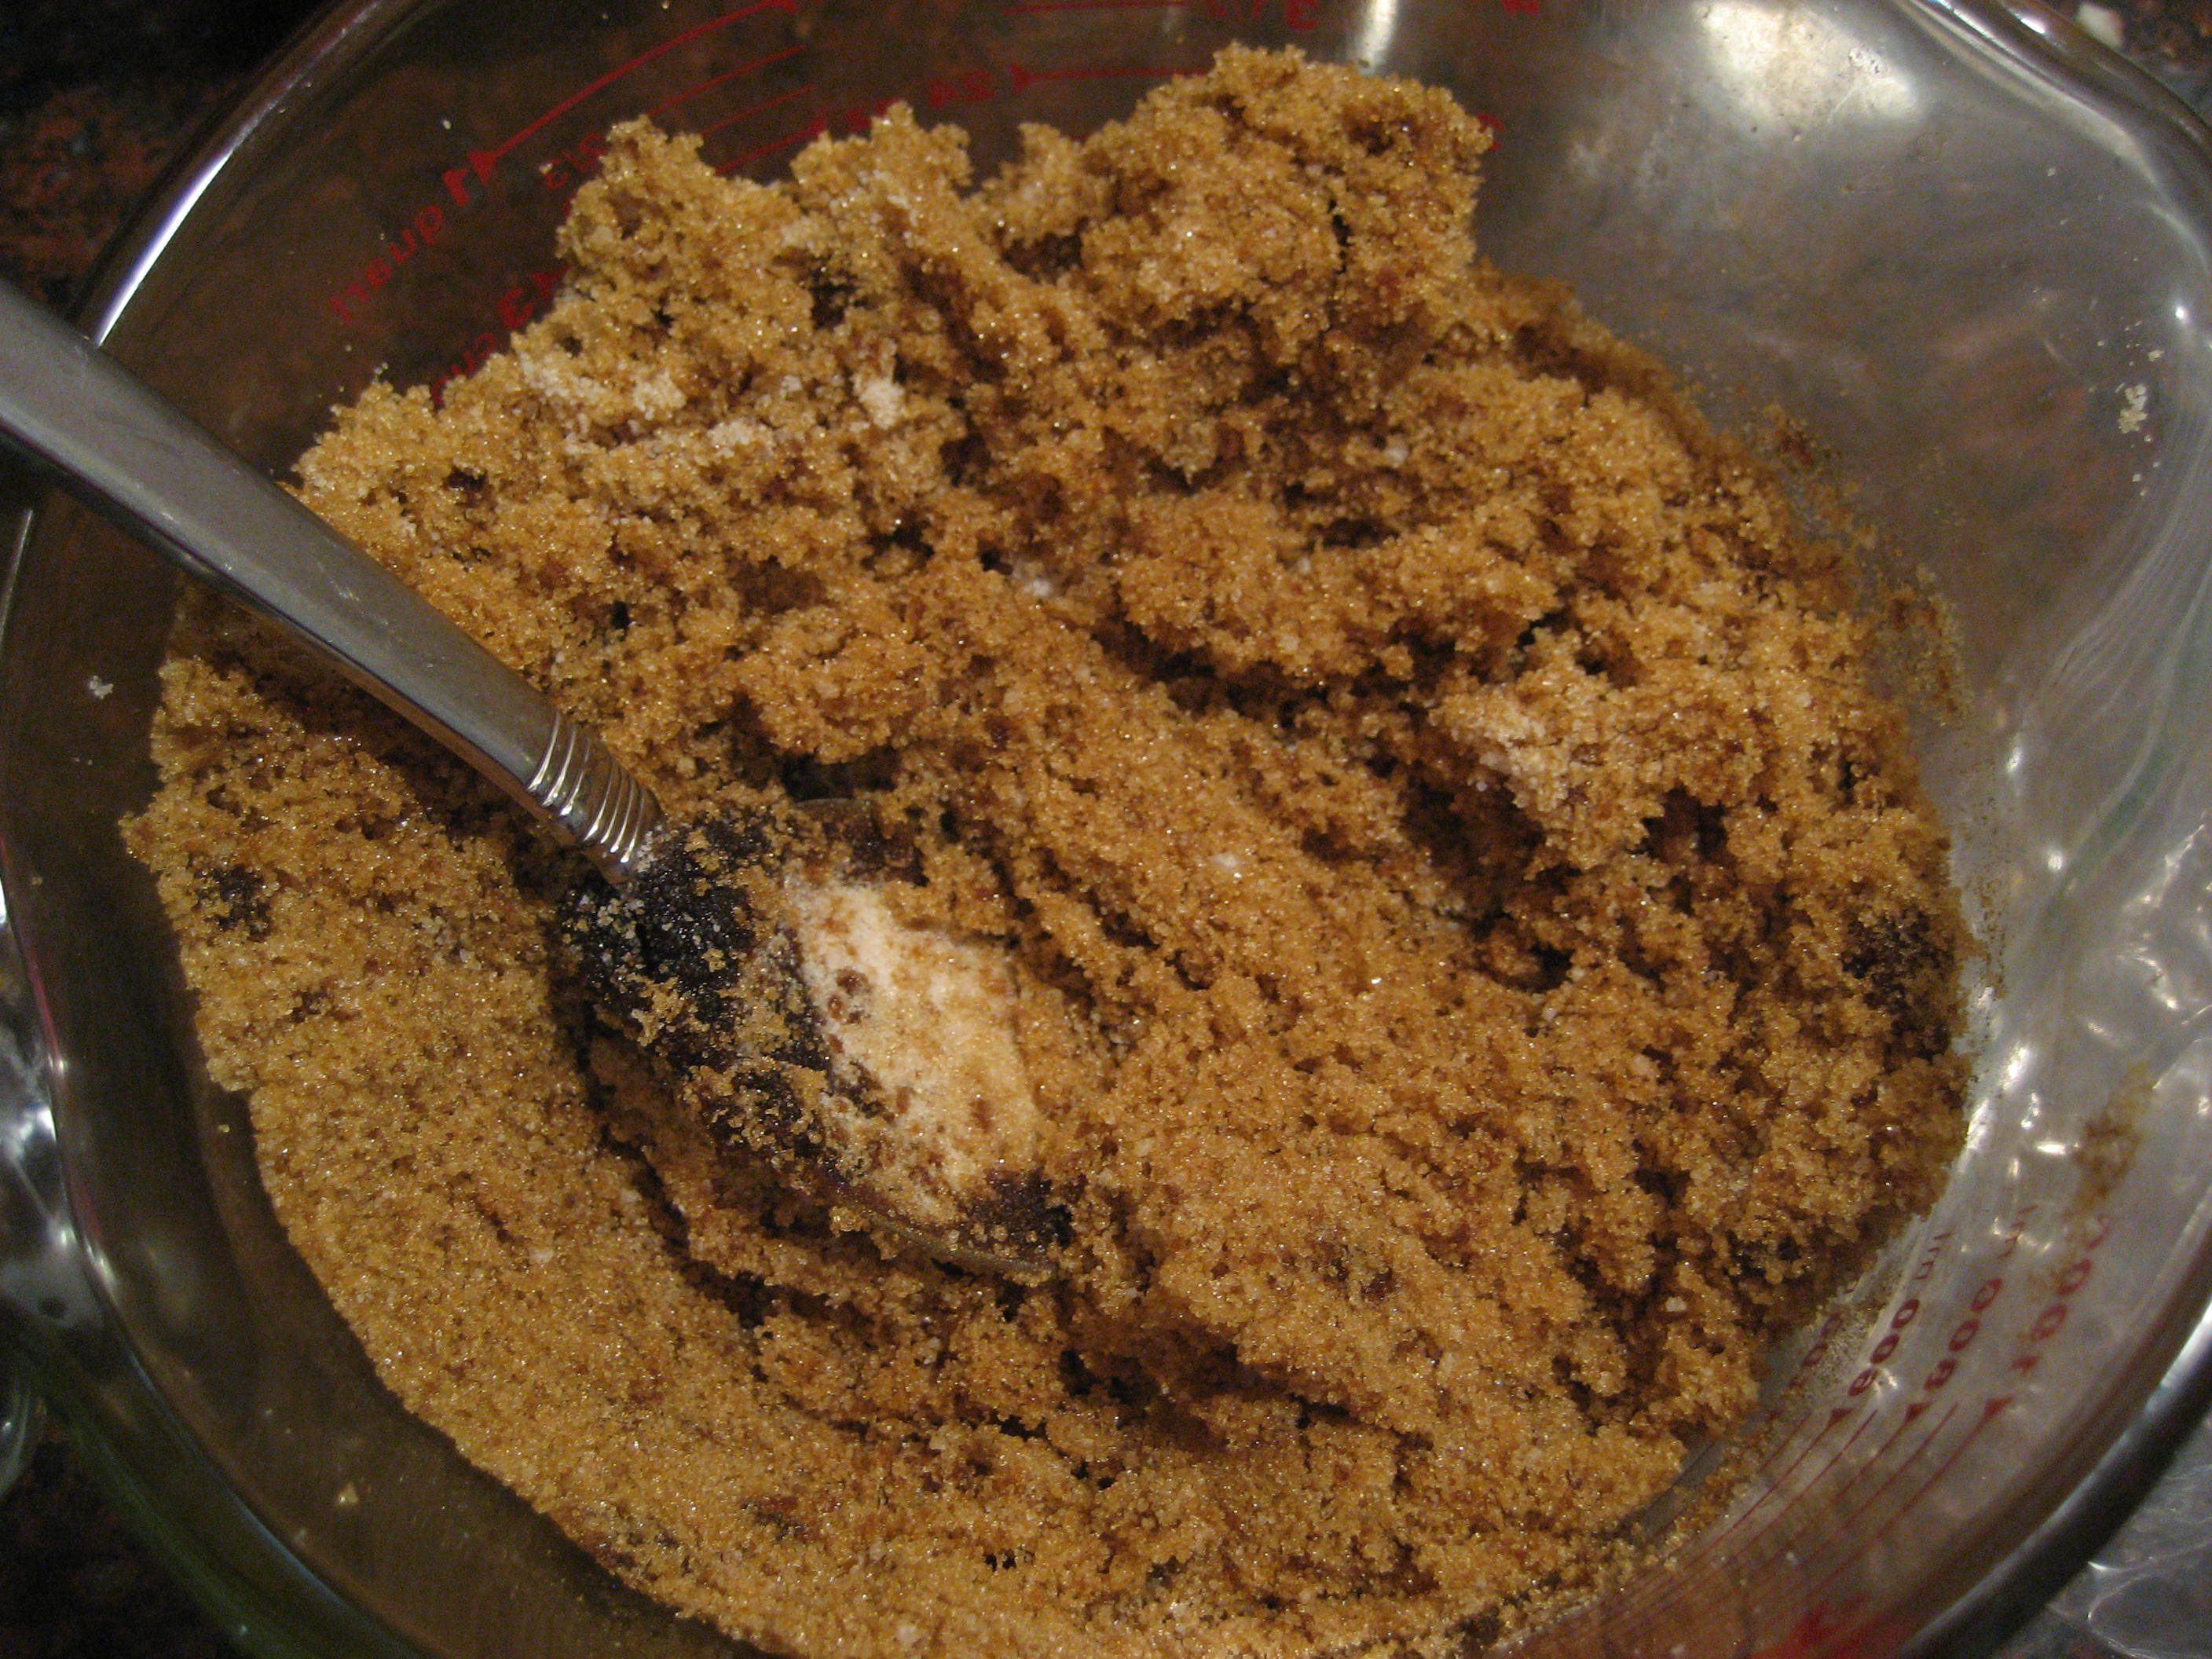
Do you all know how to make brown sugar? I didn’t know how simple it was until I caught a snippet of a Martha Stewart episode a few years ago. I’ve been making it ever since. It’s nice to be able to make up a new batch when you are a 1/2 cup short on a recipe. All you need is two ingredients – some white sugar and molasses. Take a couple of cups of white sugar and drizzle in a couple of tablespoons of blackstrap molasses (affiliate link – Disclosures here). Stir until well mixed. It’s actually easier if you use your fingers to combine the molasses and granulated sugar. You will end up with the softest, moistest brown sugar. For darker brown sugar simply add more molasses. For lighter add less. For best results store in an airtight container so it doesn’t dry out. It’s wonderful! And if you use real blackstrap molasses (the best contains at least 20% iron) you’ll be adding some great iron and minerals to your diet. Enjoy!
Just two ingredients. Can’t get much simpler than that.