So we decided to celebrate one of my favorite holidays today. Pumplekin! What? Never heard of it?
Well, let me tell you about this wonderful New England holiday. Actually, we made it up. Pumplekin was born with lots of laughter around a table full of friends. We took two of our favorite parts of fall – pumpkins and apples and we came up with Pumplekin. We pick a day in the fall, usually in November, to gather together play games and of course, eat wonderful food made of pumpkins and apples. There are even culinary contests and the competition is fierce sometimes. Well, we decided to do our Pumplekin baking today. Here’s what we made. Some recipes are old and some are new. Try some of them to spice up your fall. You could even make your own Pumplekin holiday.

Chocolate Chip Pumpkin Bread
An old standard at our house: Chocolate Chip Pumpkin Bread! This has been one of my favorites for years. I can’t get through the fall without making this. Click on Family Favorites for the regular recipe and on Allergy-Friendly Recipes for the modified versions for those with food sensitivities (gluten, dairy, soy, nut and egg-white free).

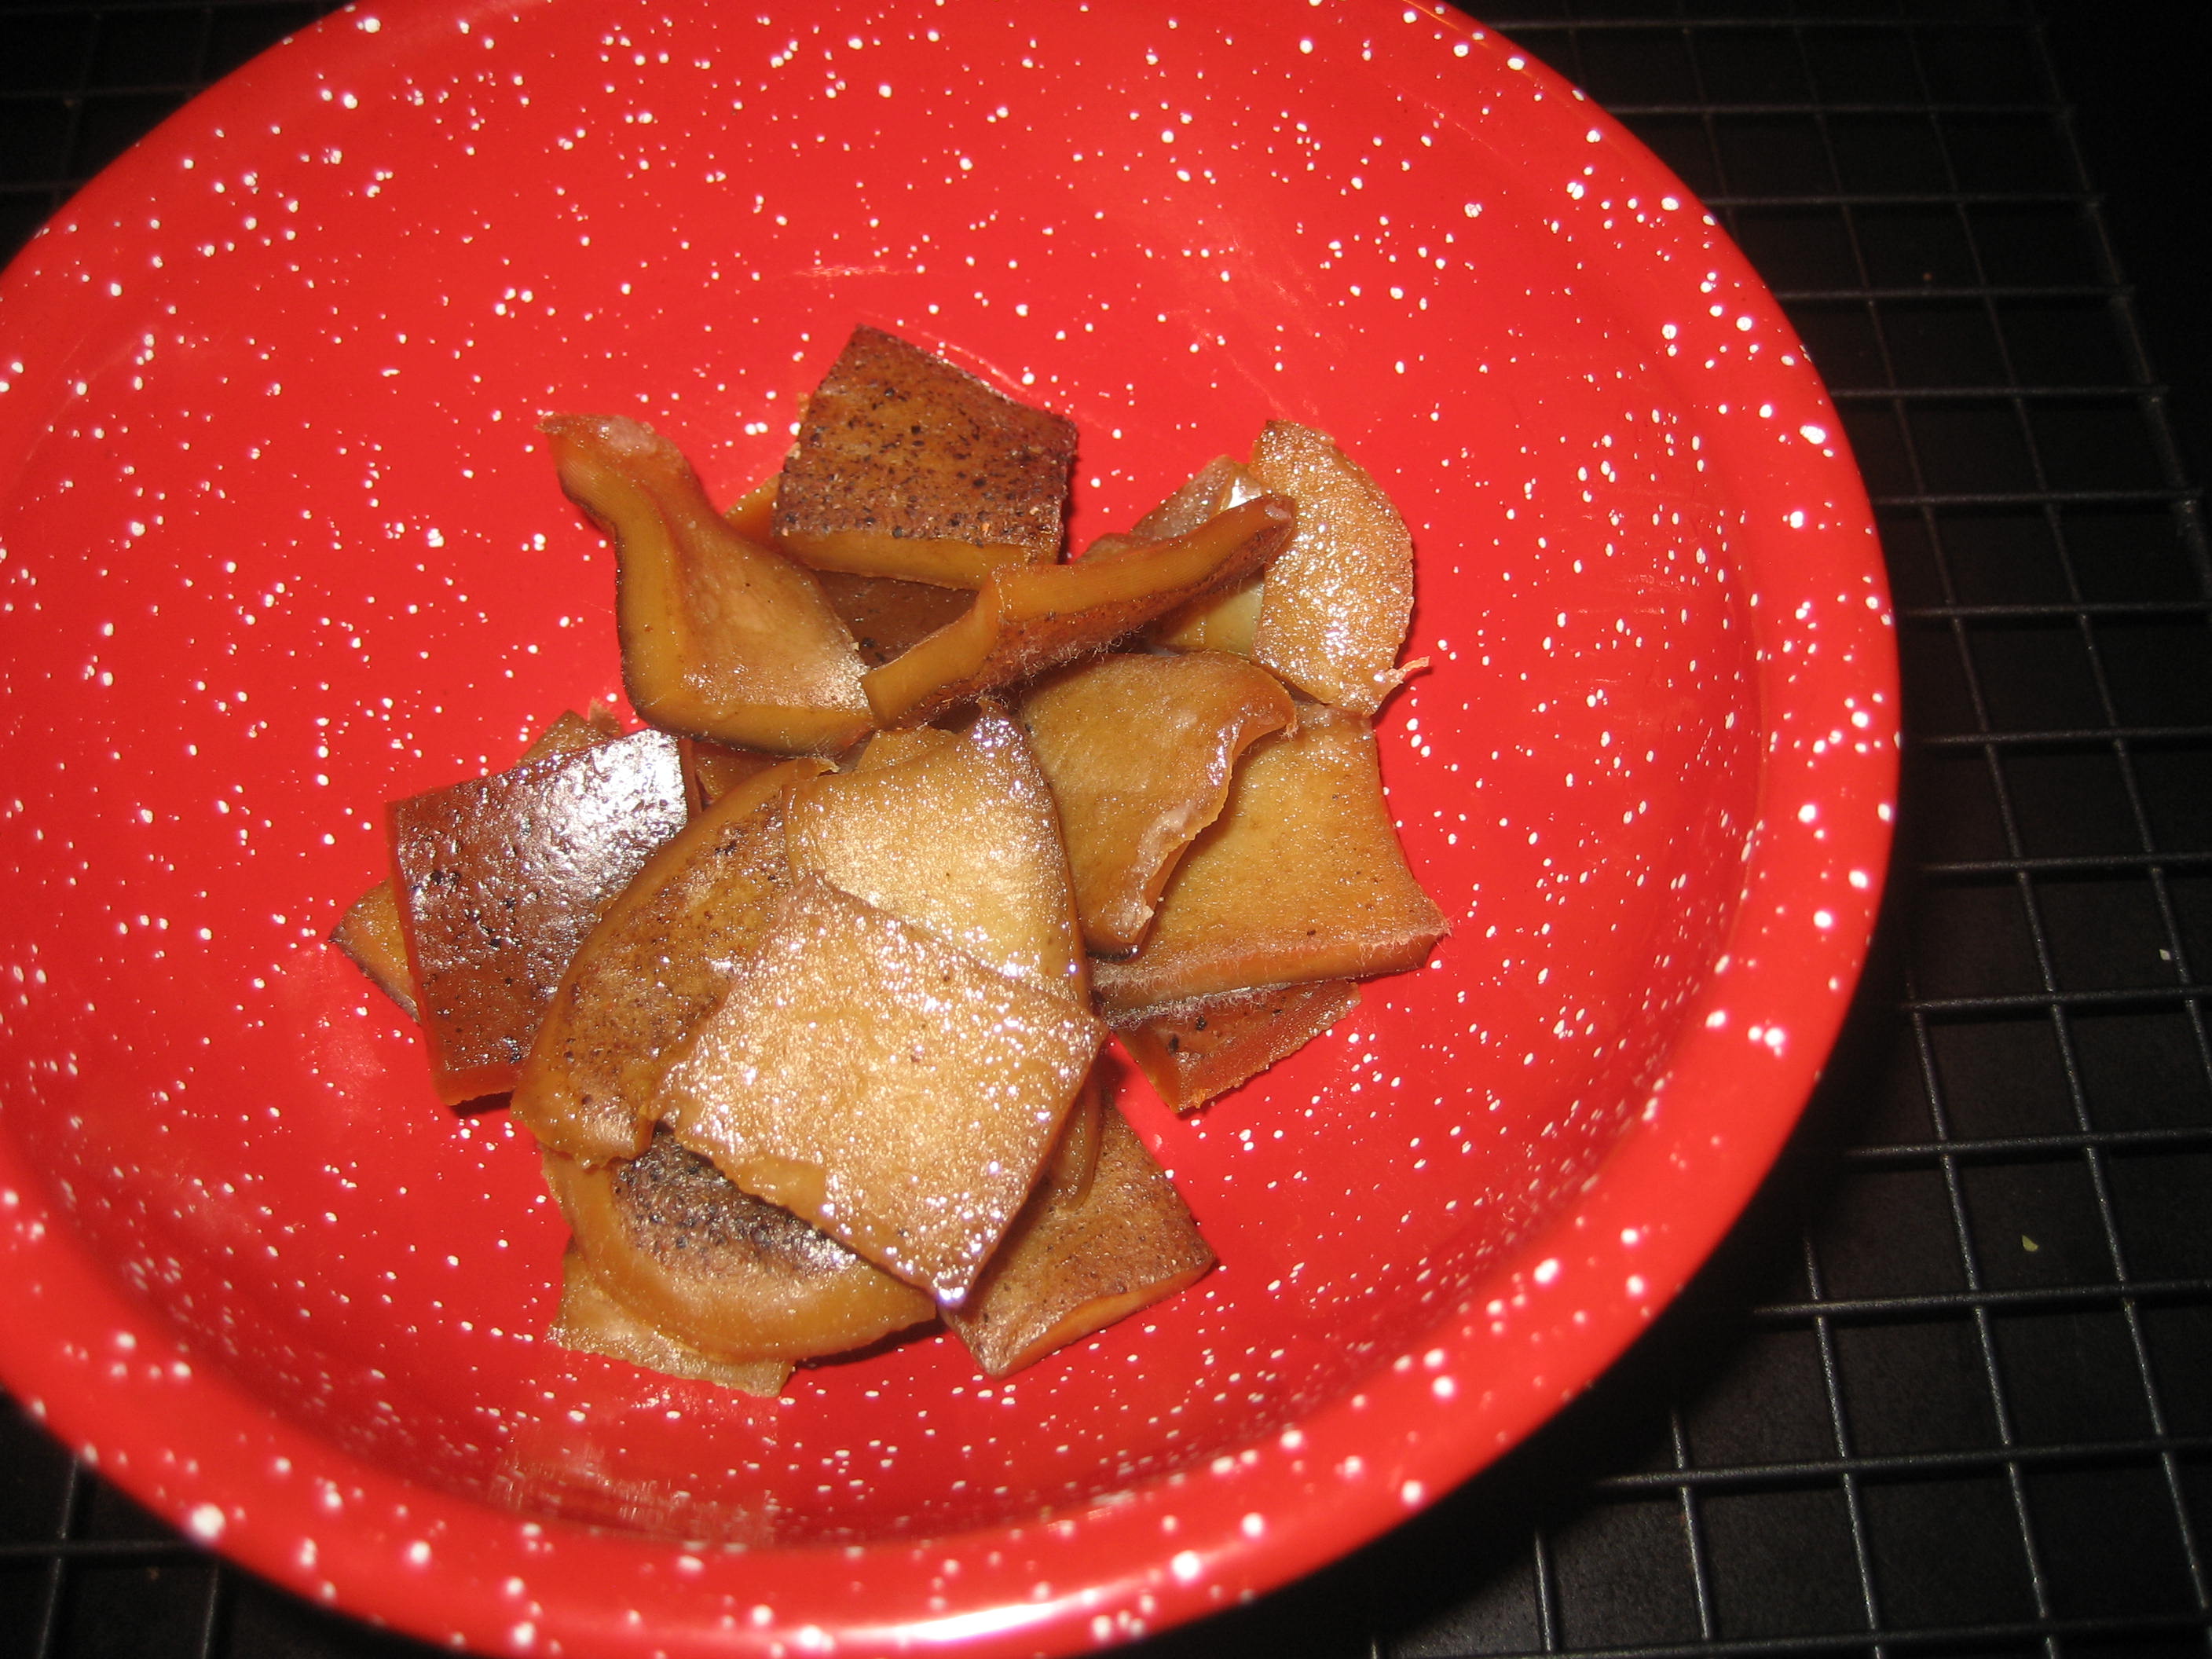
Homemade Toffee Pieces
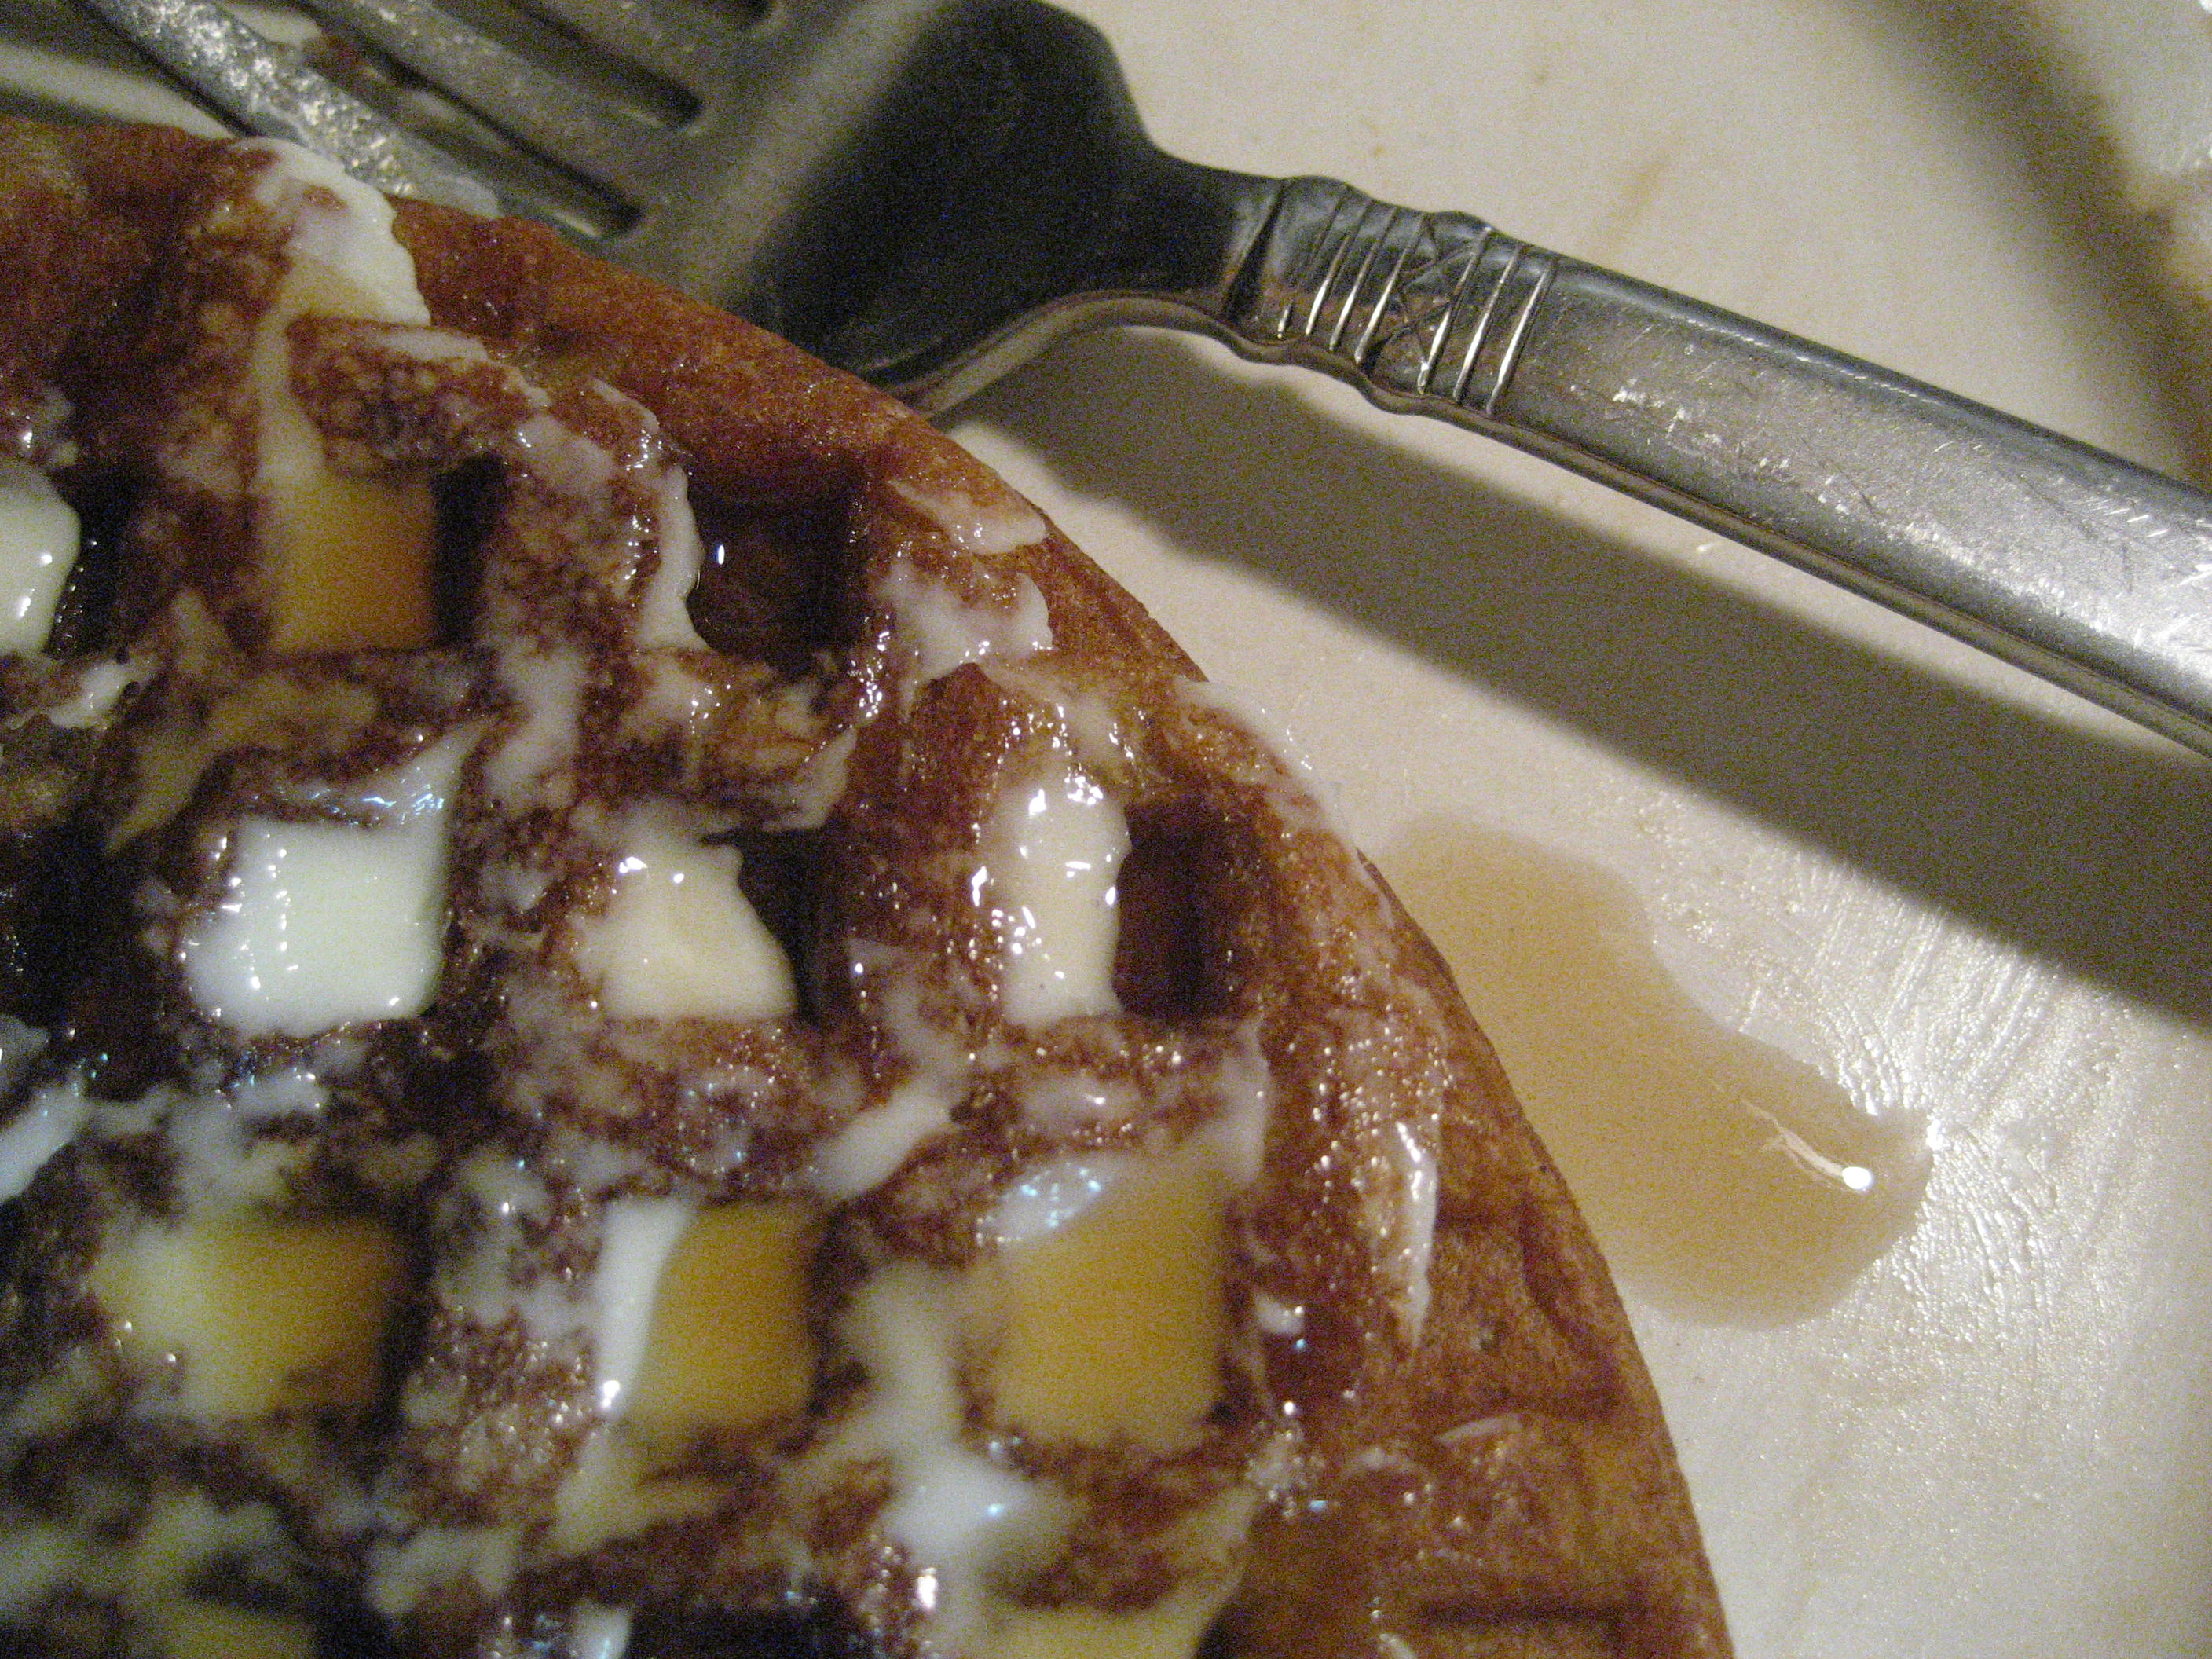
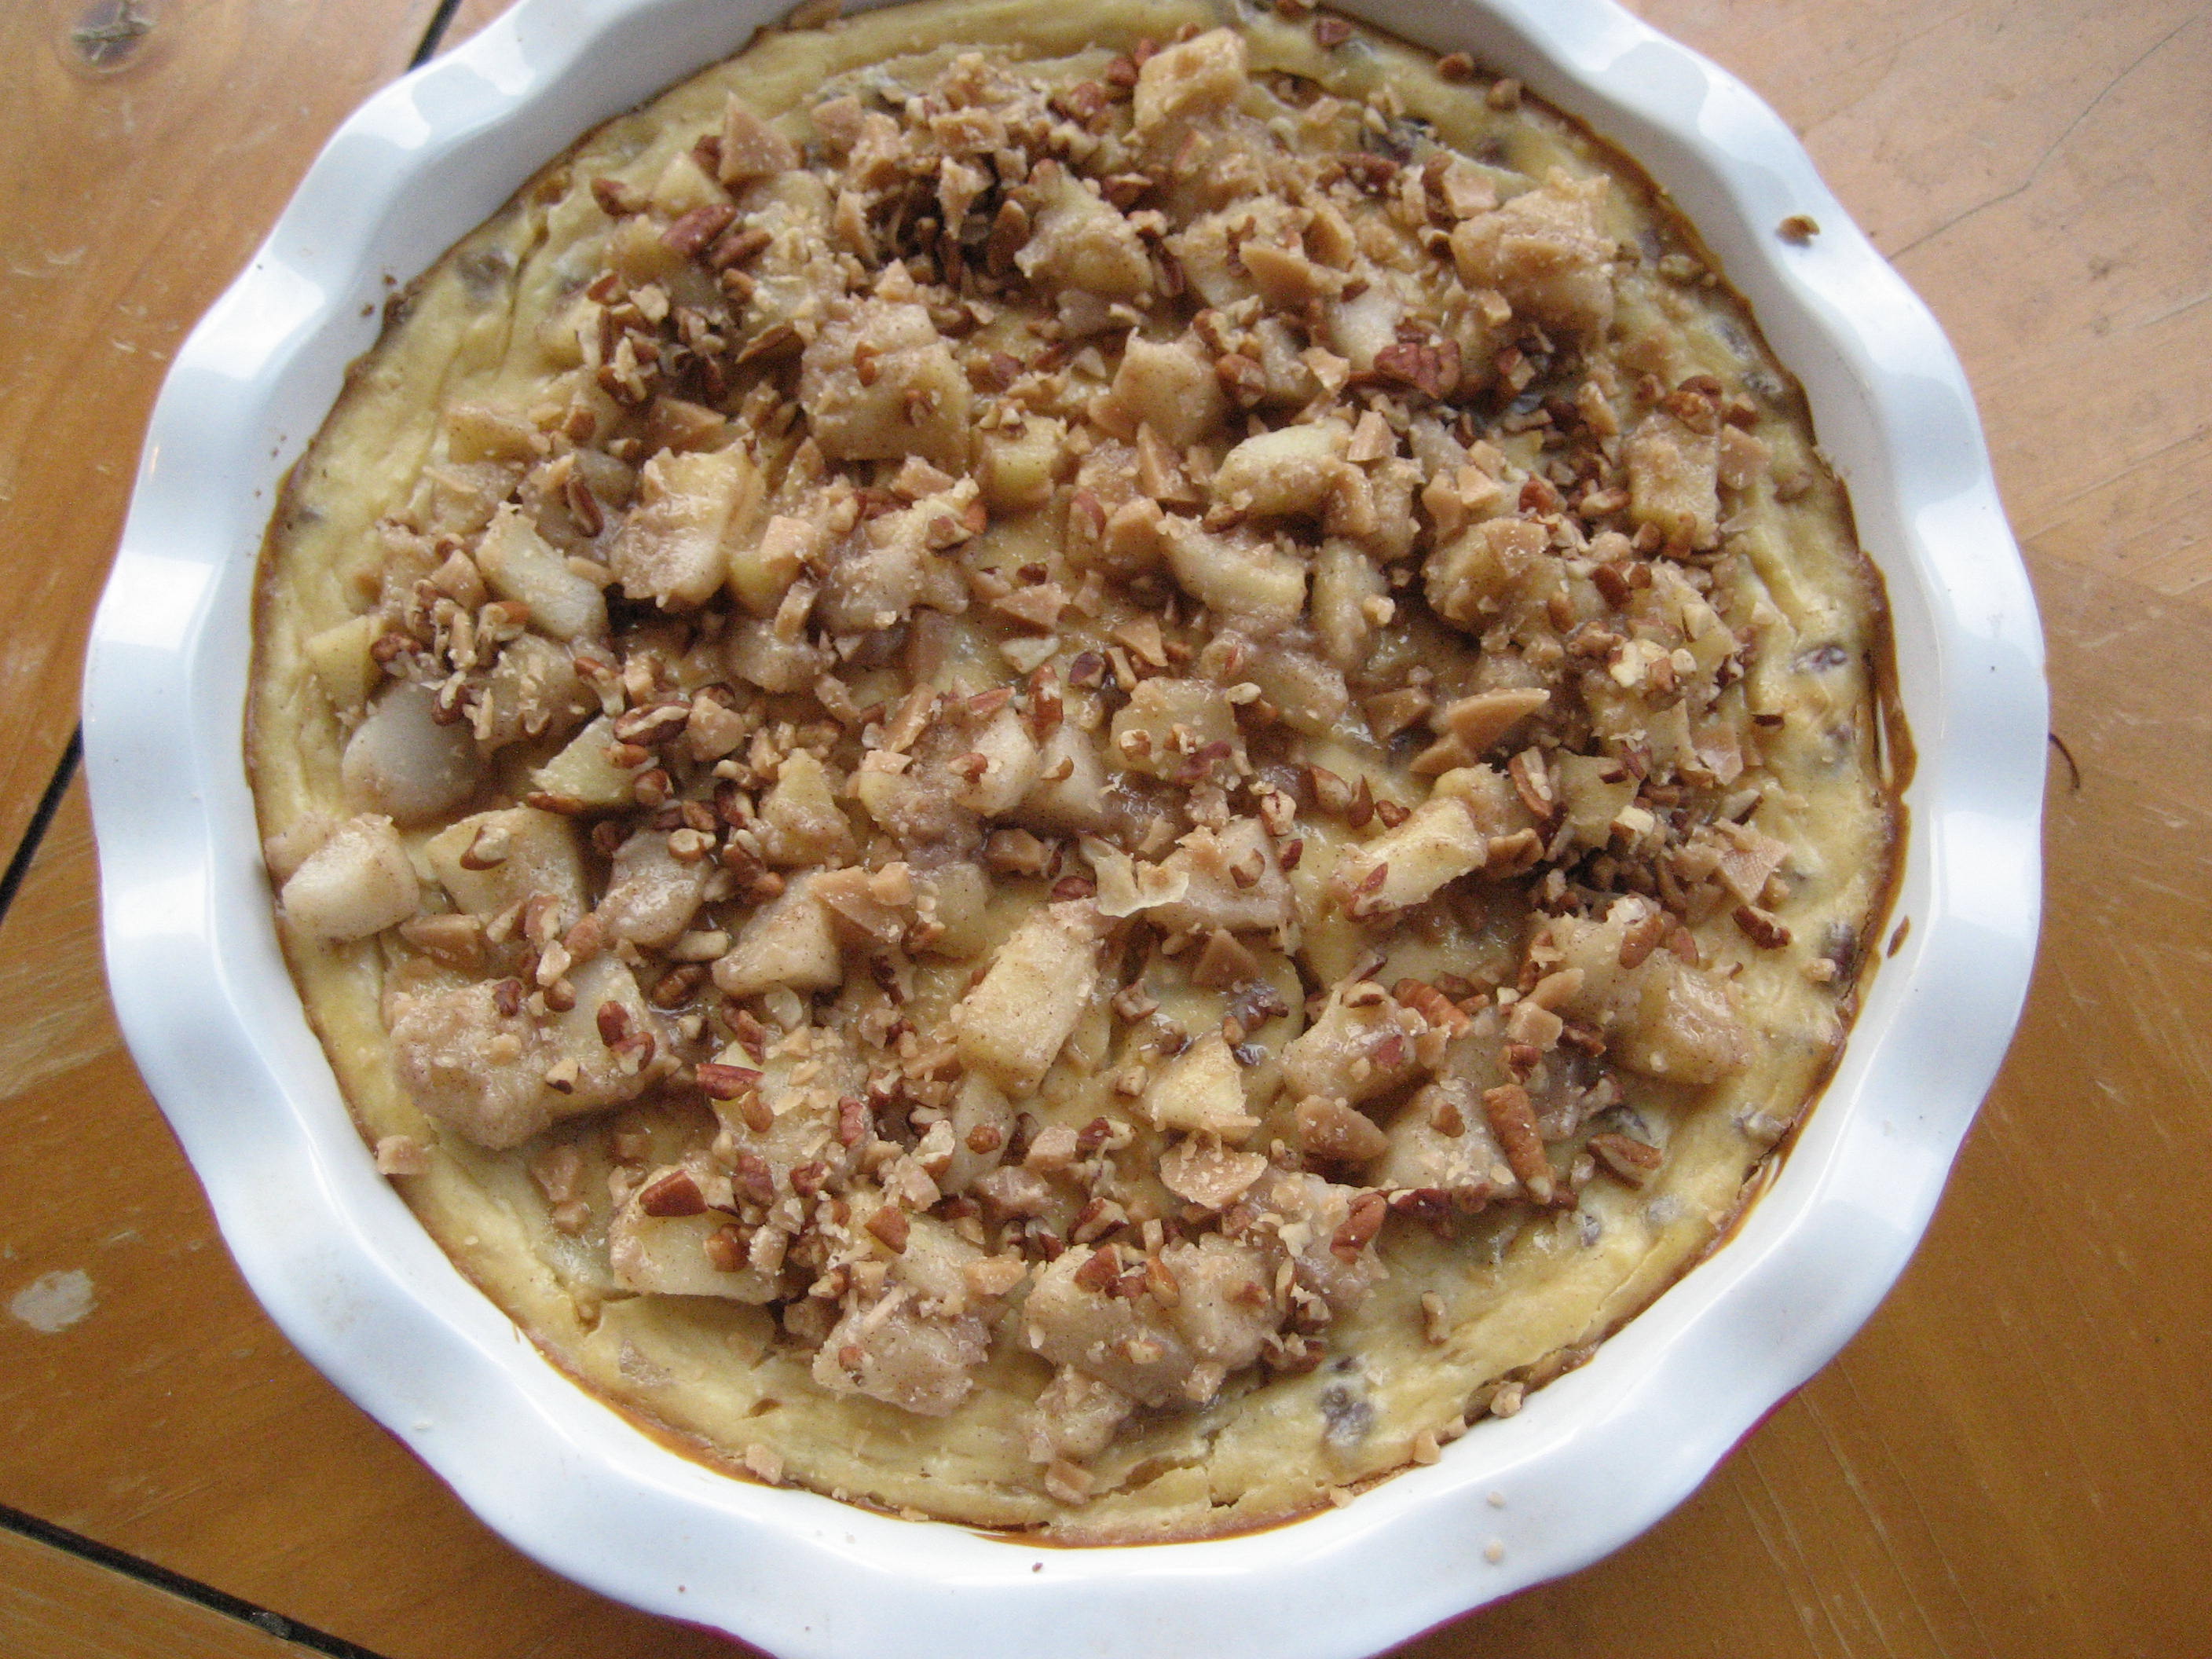
Next on the list is a Pumplekin award winner! Apple Pie Cheesecake! This is an allergy-friendly version of a Kraft recipe.
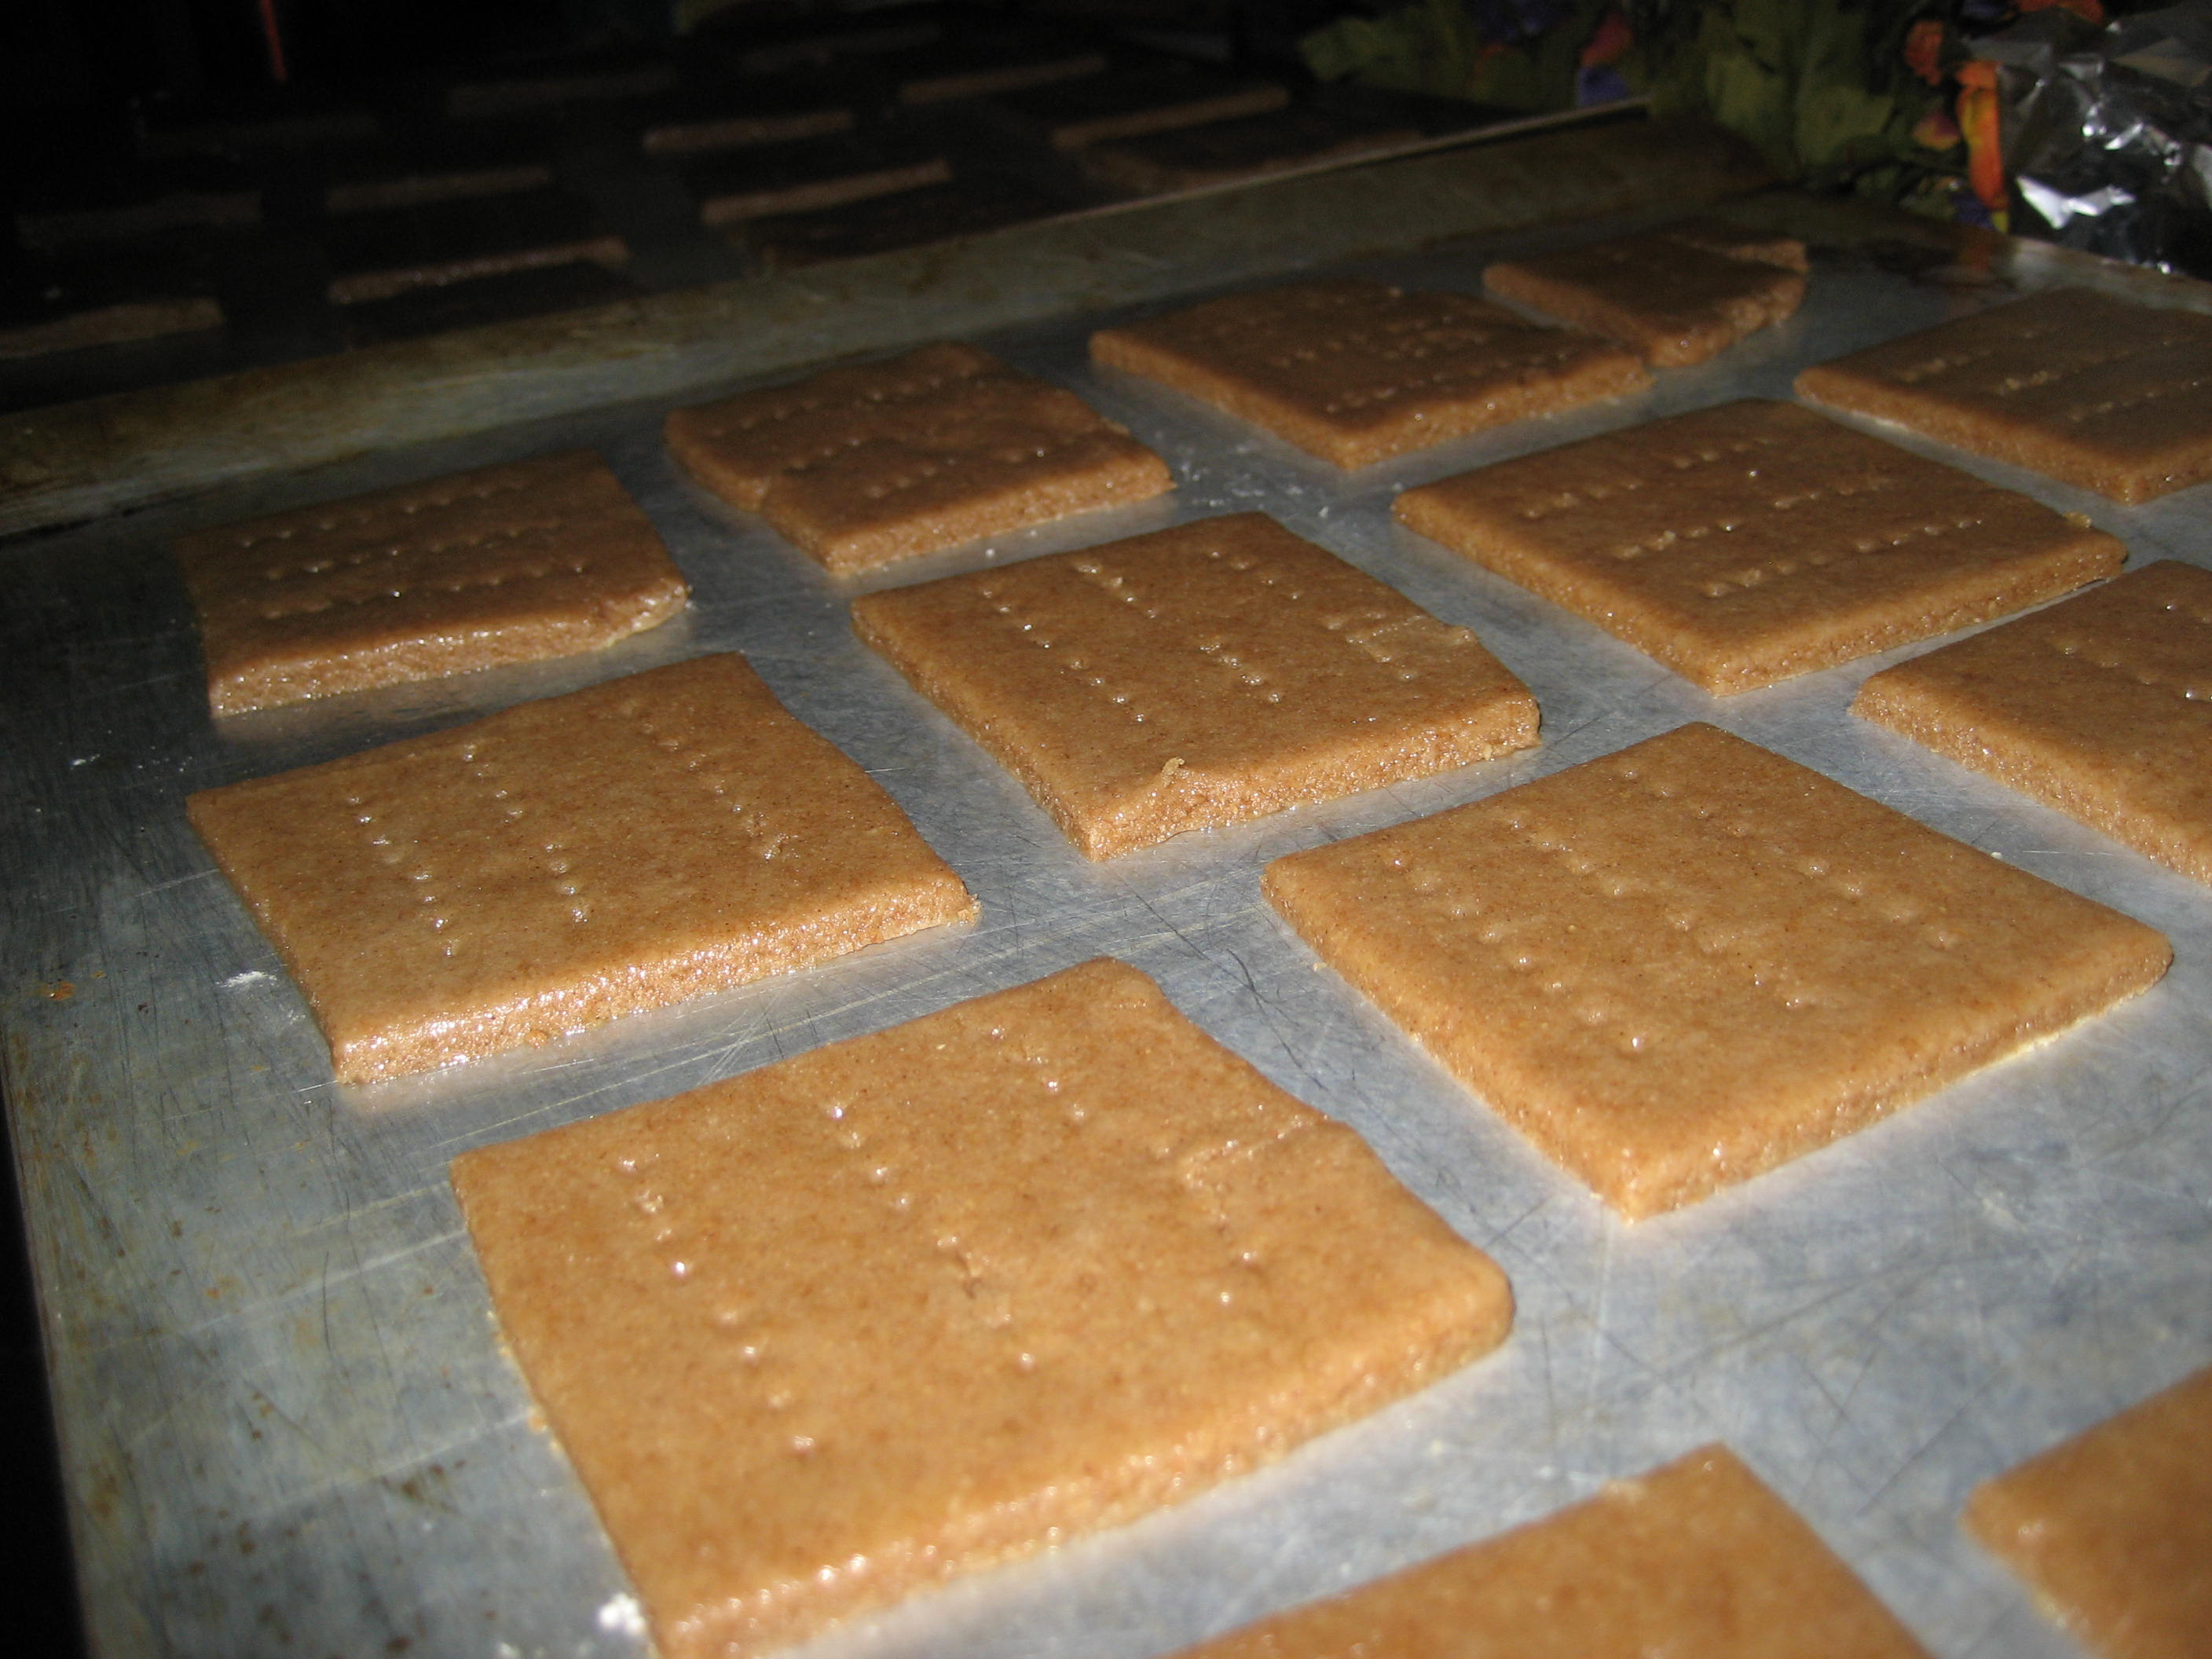
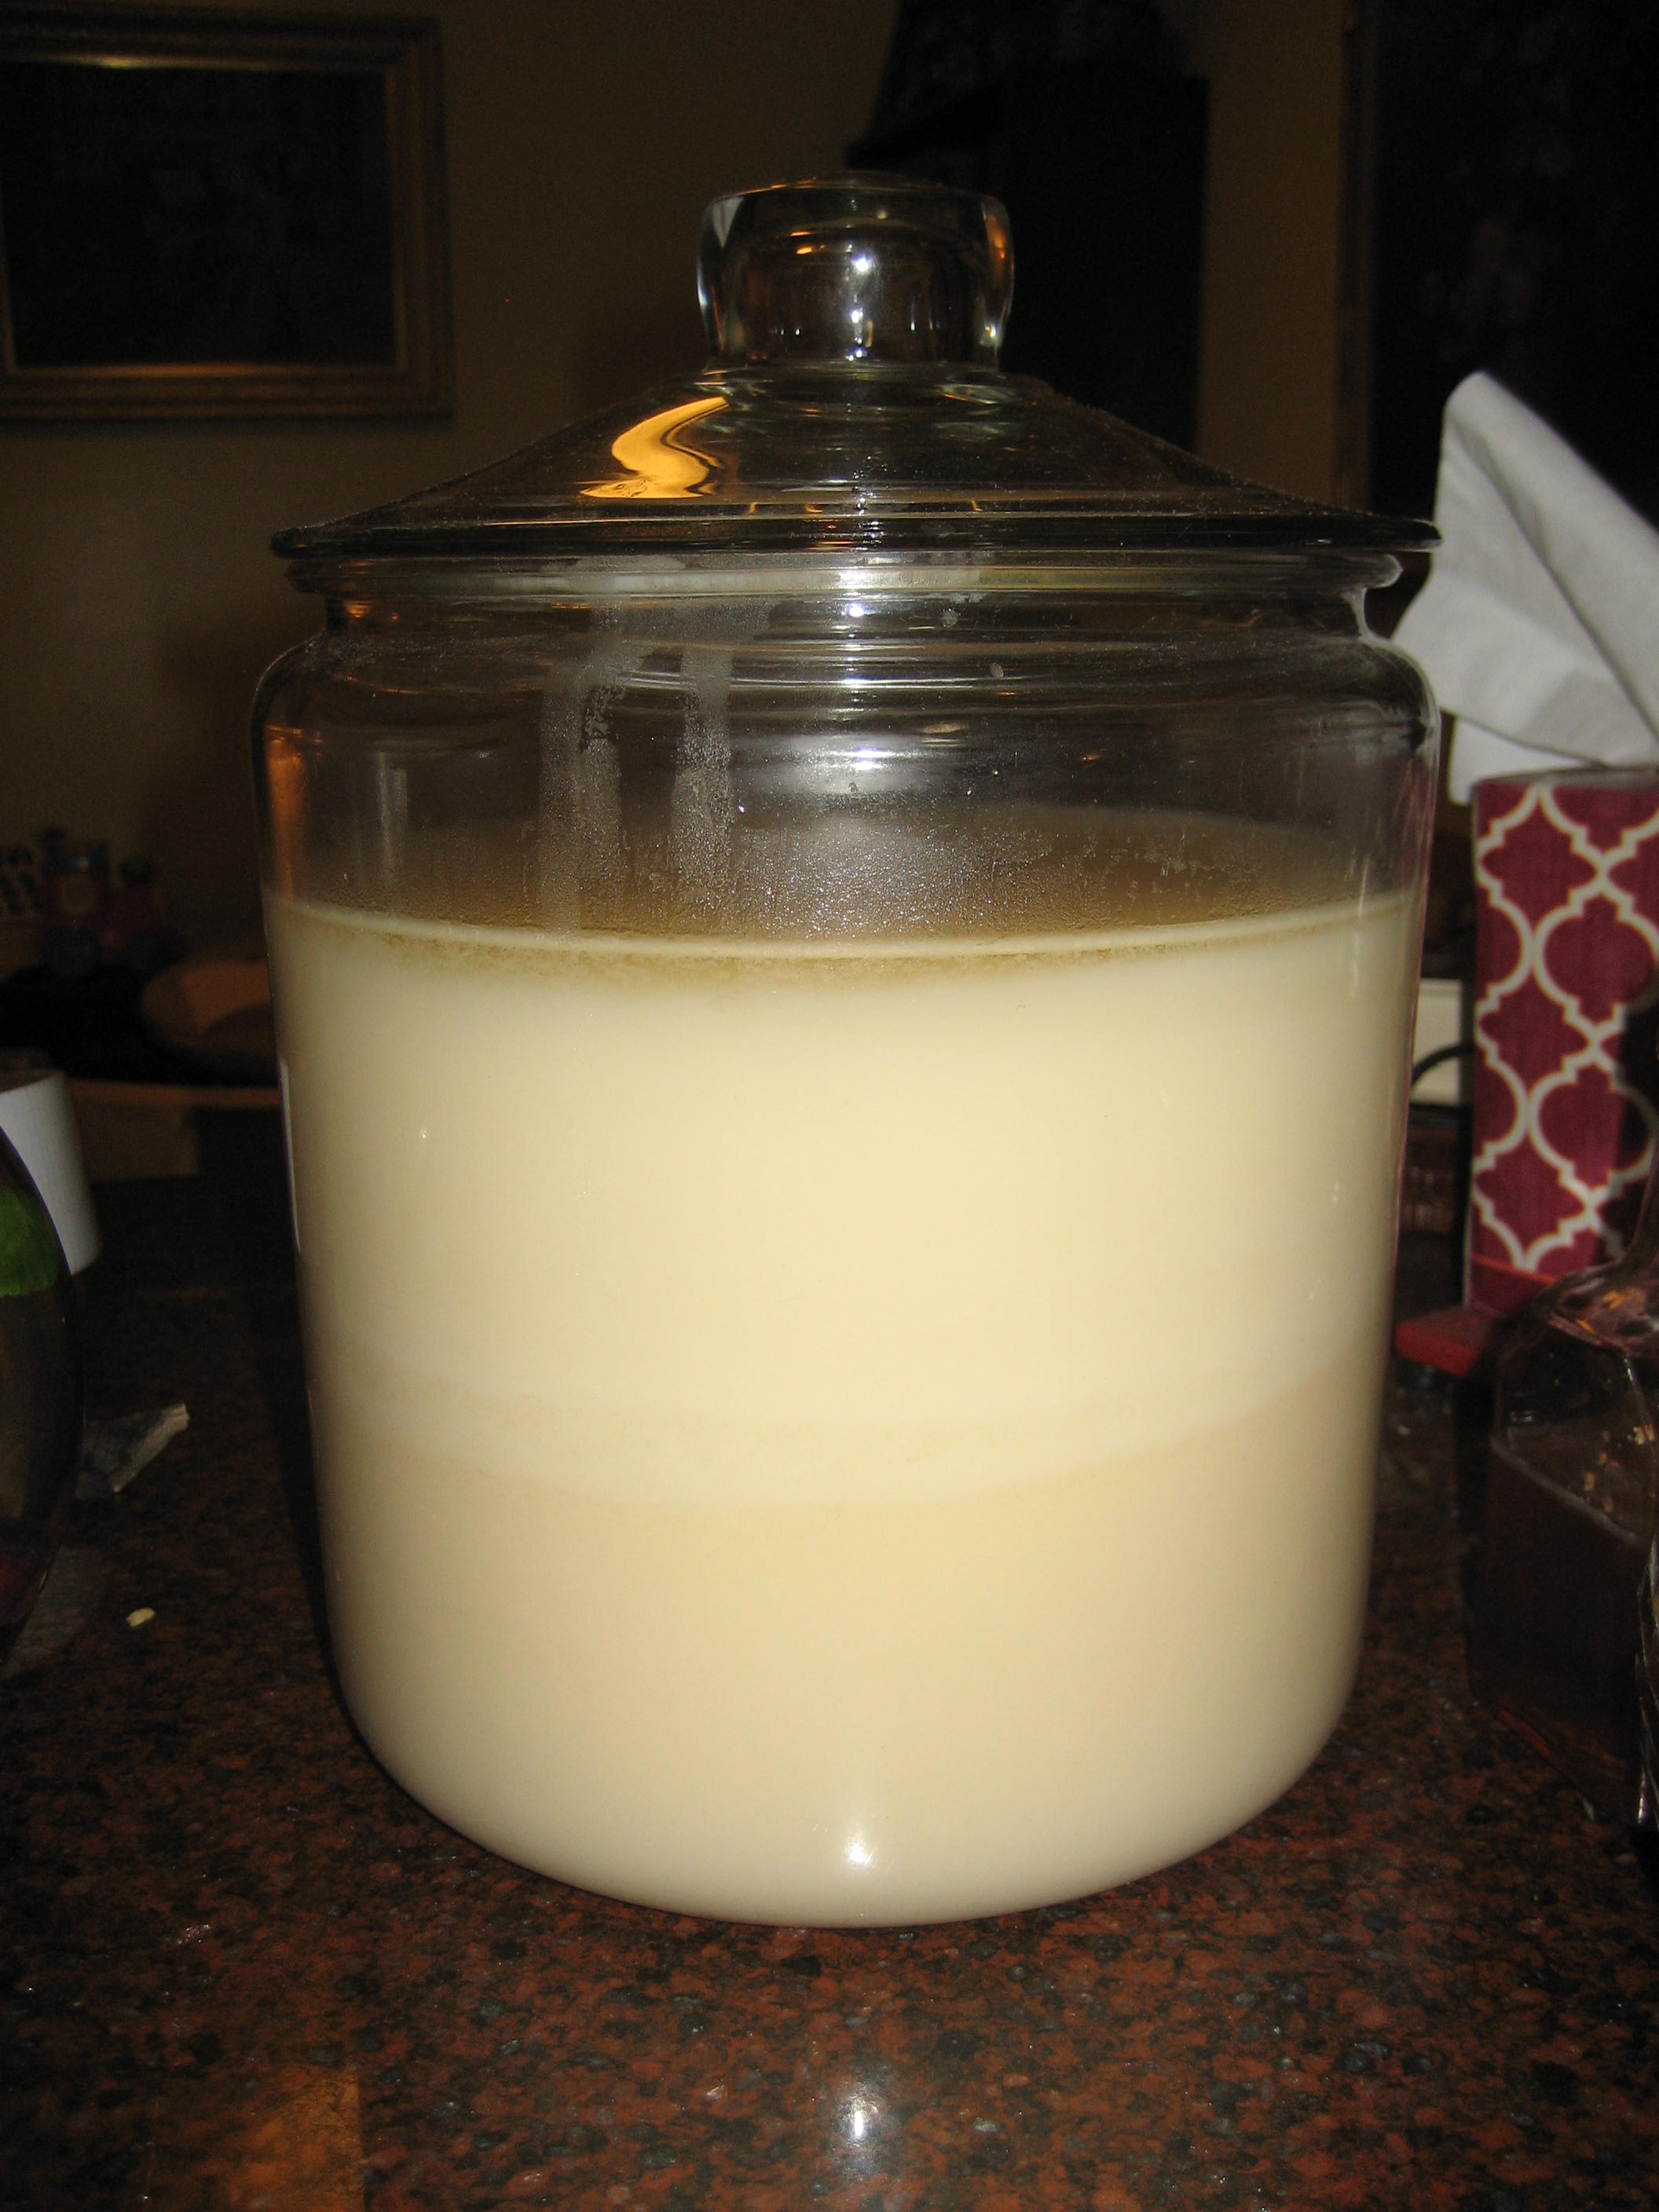
The first thing we did is make our own toffee since the store bought toffee has ingredients that don’t work for us. We used this simple recipe from the Pioneer Woman which had only four ingredients. This was our first successful attempt at candy making. It worked great and is delicious. I made a half recipe and it made a lot. I think we’ll have enough crumbled toffee chips with just this half batch for the rest of our lives. Lol. Also, I didn’t do the chocolate part that they did. I just used the toffee recipe.
Then, once we had that ready the girls and I went to work on the cheesecake.
Apple Pie Cheesecake
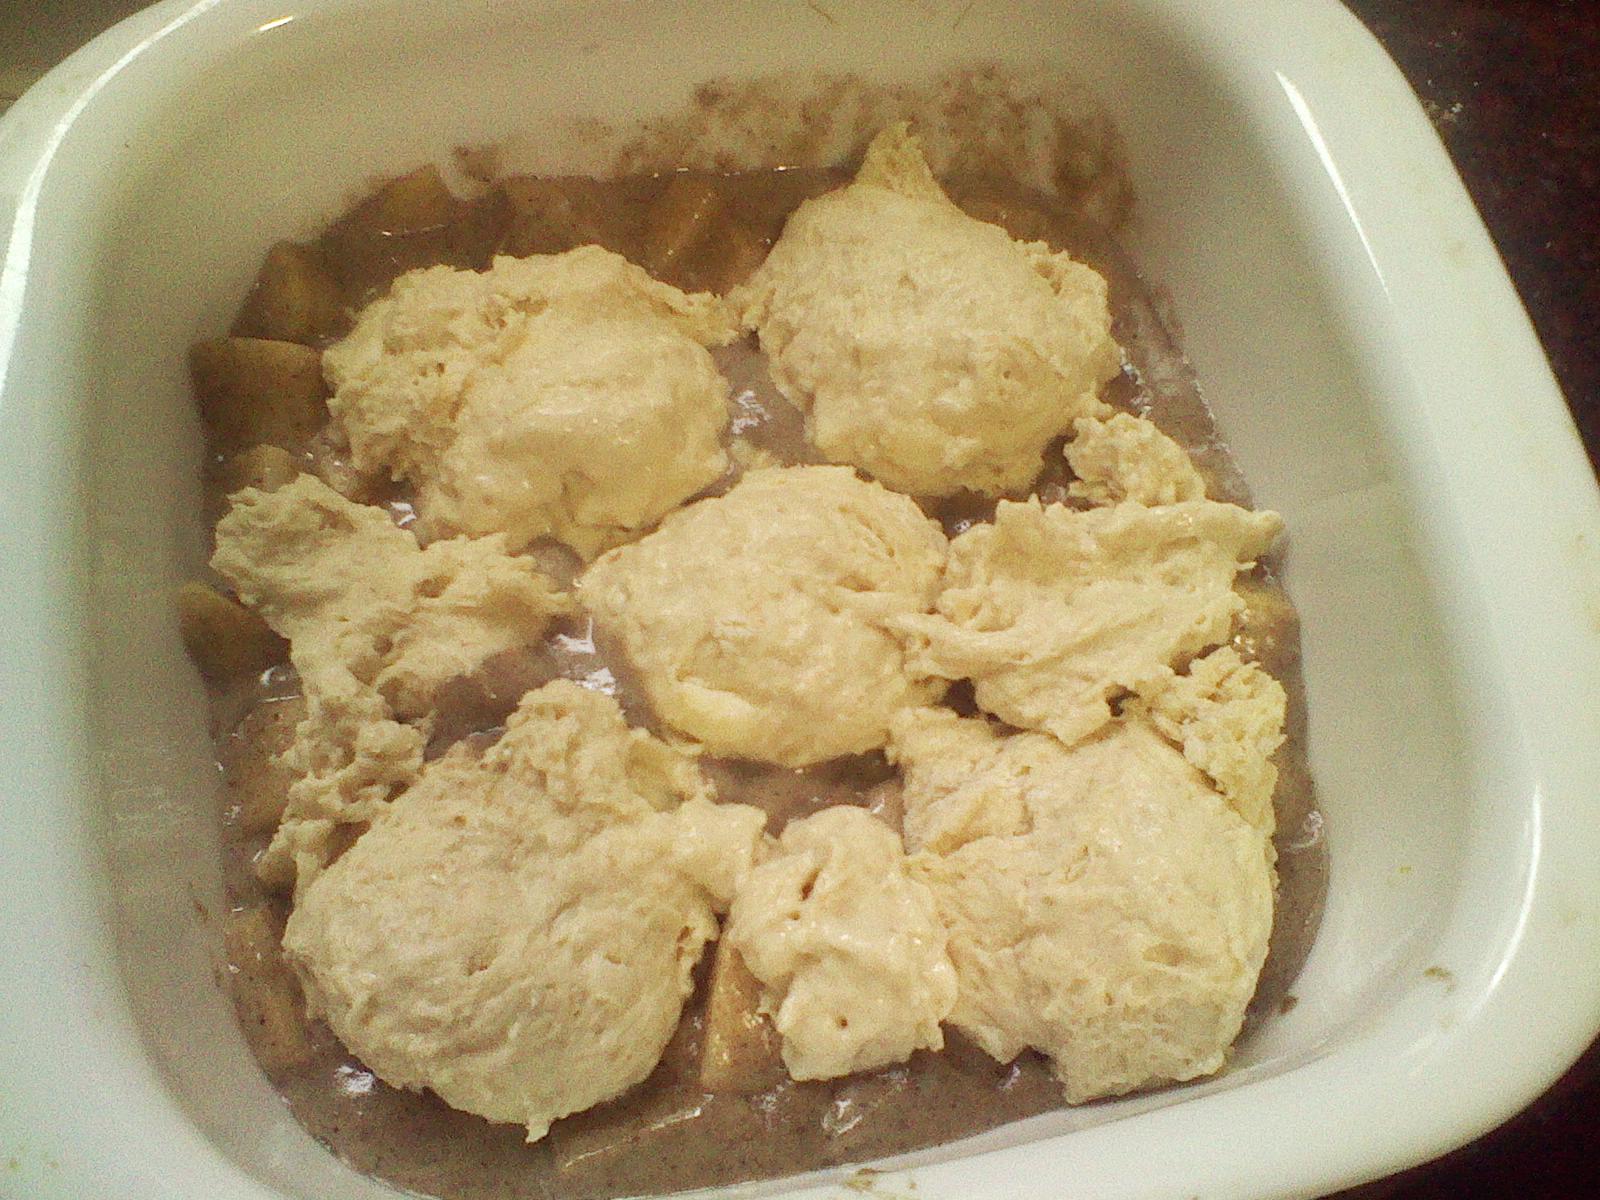
Next, we peeled, cut and cubed three small apples (you need about 2 cups). Sautee them in 3 tbs.of butter, 1 tbl. sugar, 1/2 tsp. of cinnamon, 1/4 tsp. of salt until the butter and sugar are syrupy. Set these aside to cool while you assemble the crust. Drizzle 2 cups of crushed gingersnap cookies with 4 tbls. of melted butter and press into the bottom of a pie pan.
Now for the cheesecake. Yay!

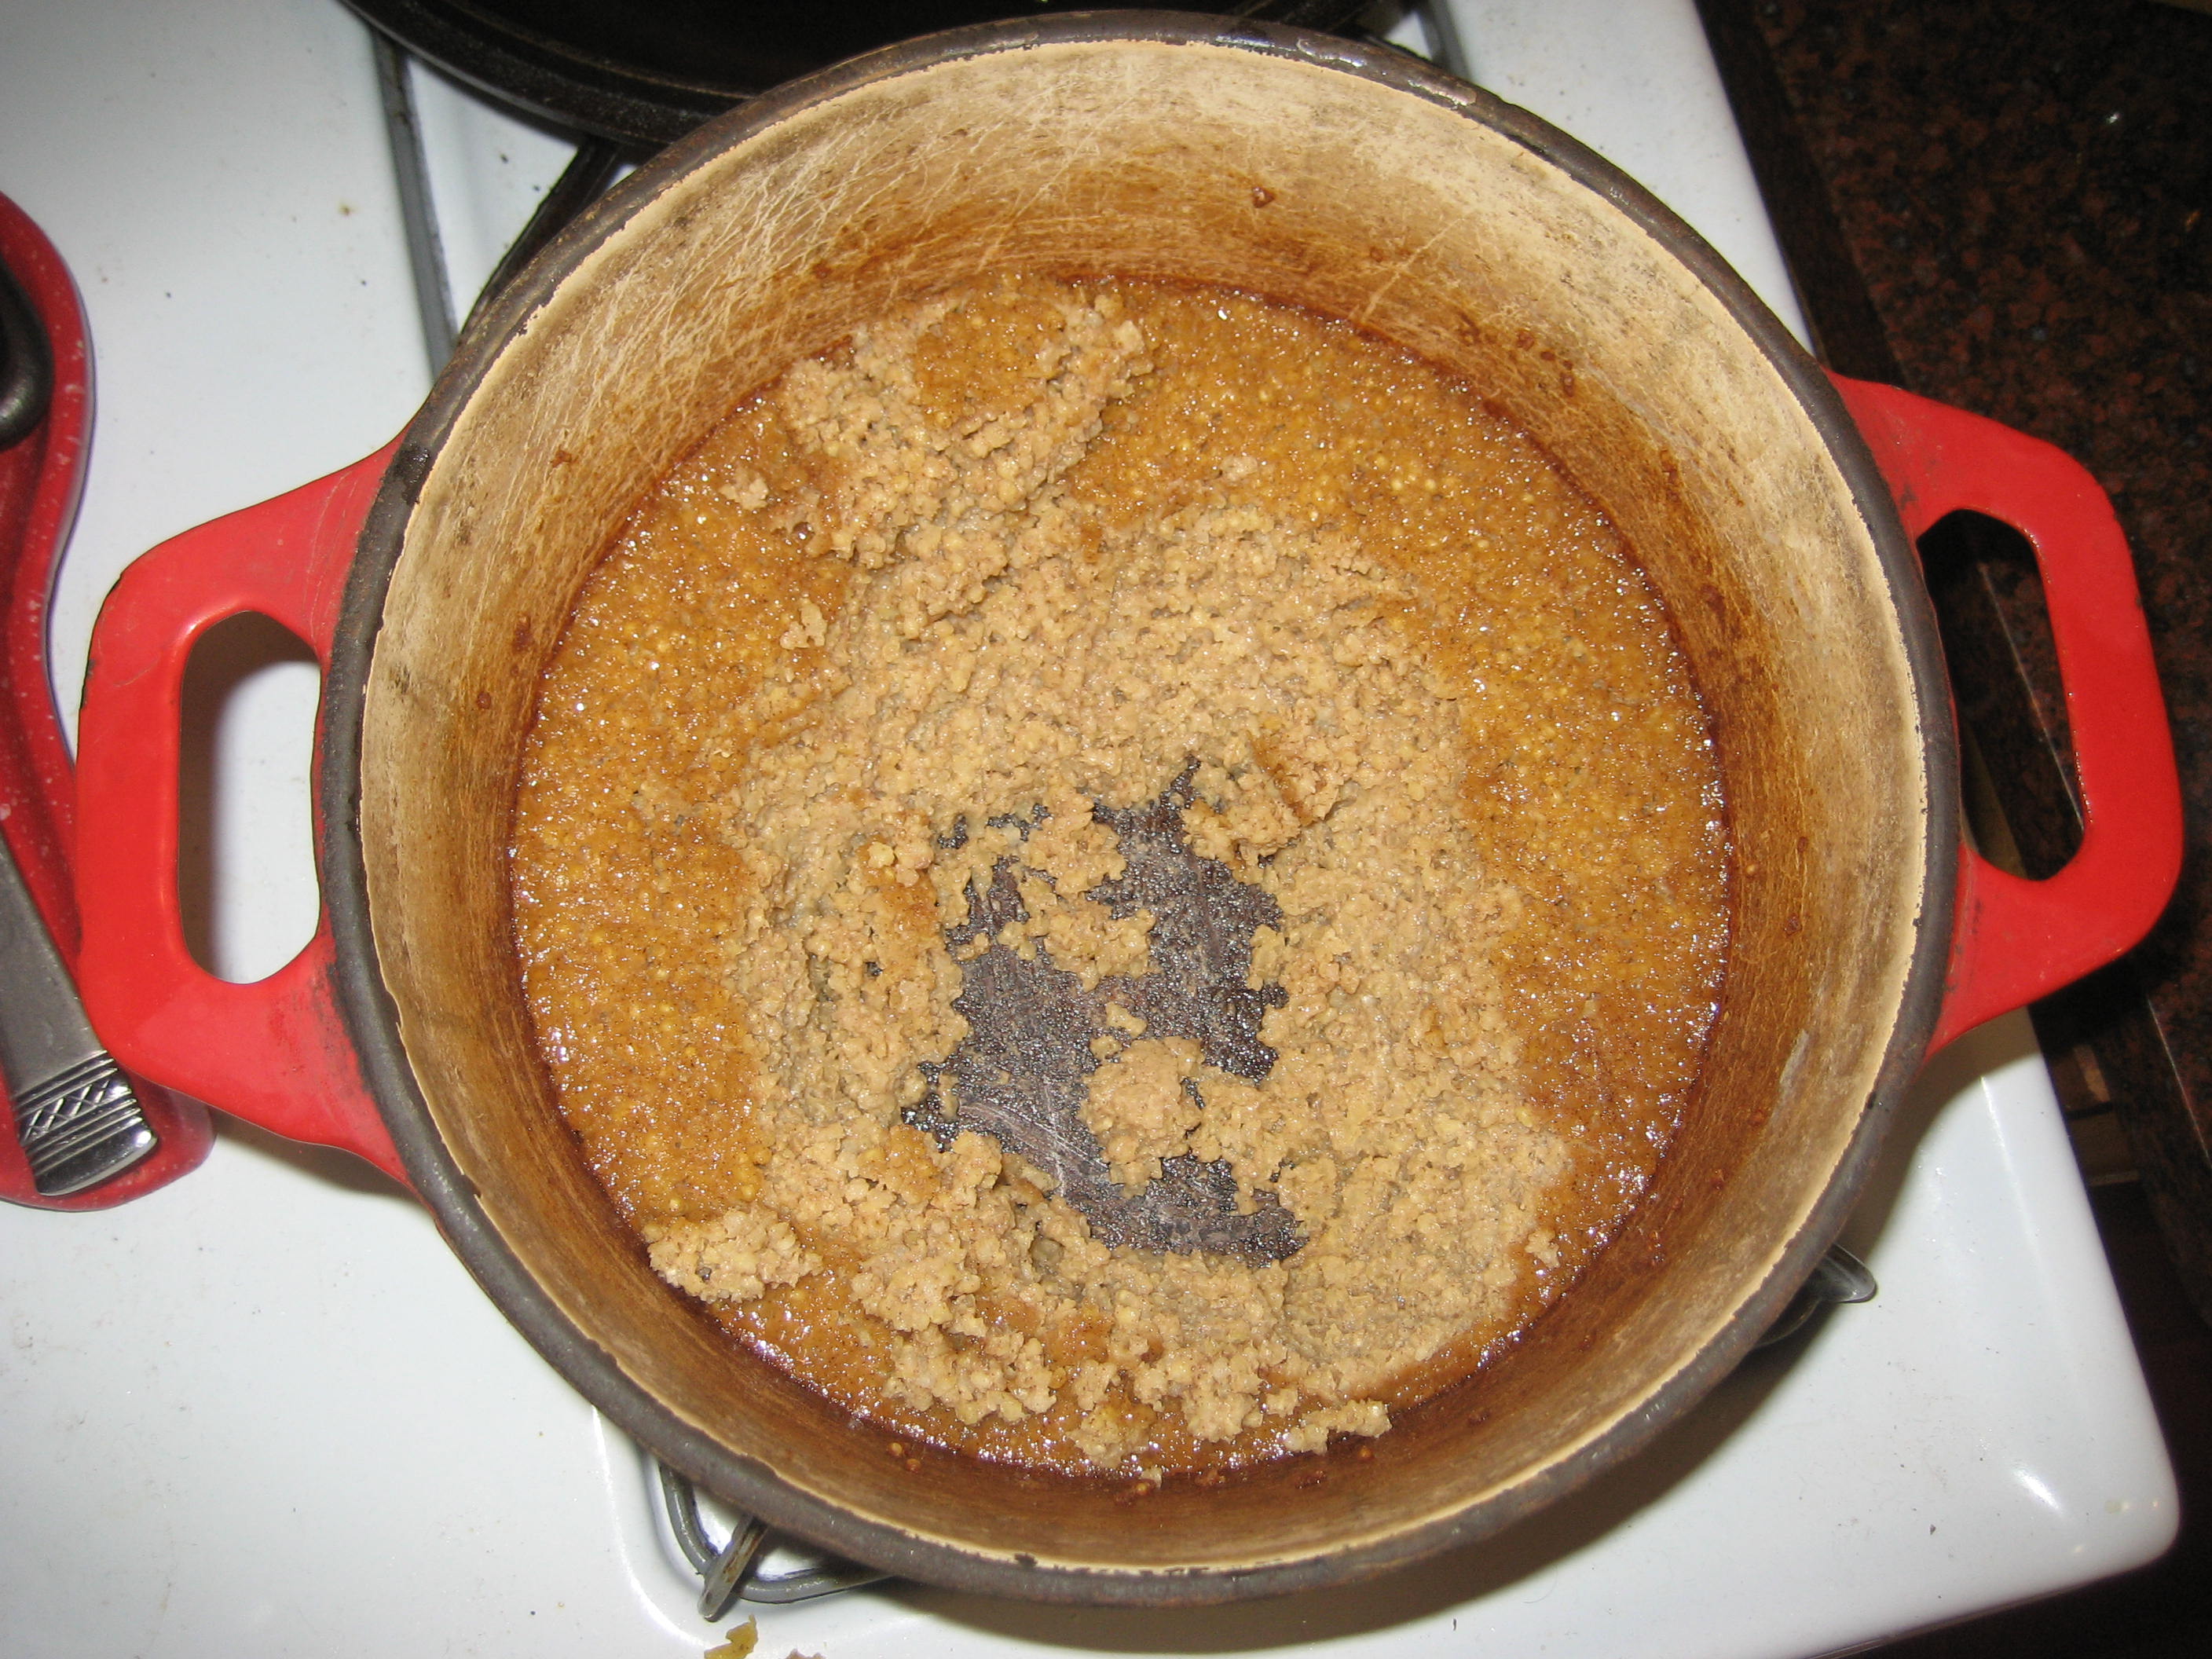
Pumpkin Butter
Mix 2 – 8 oz. packages of cream cheese with 1/2 cup of sugar and 2 tsp. of vanilla. Then add 1/2 cup of sour cream and 6 egg yolks. Mix until all the eggs are combined with the cream cheese mixture. Then stir in 1/4 cup of toffee bits, 1/4 up of chopped pecans and half of your apple mixture. Pour into the pie pan with your prepared crust and bake on 325 for about 35-40 minutes or until the center is set. Once cooled chill for 4 hours and then top the cheesecake with the remaining apples, some of the chopped nuts and toffee. Yum!
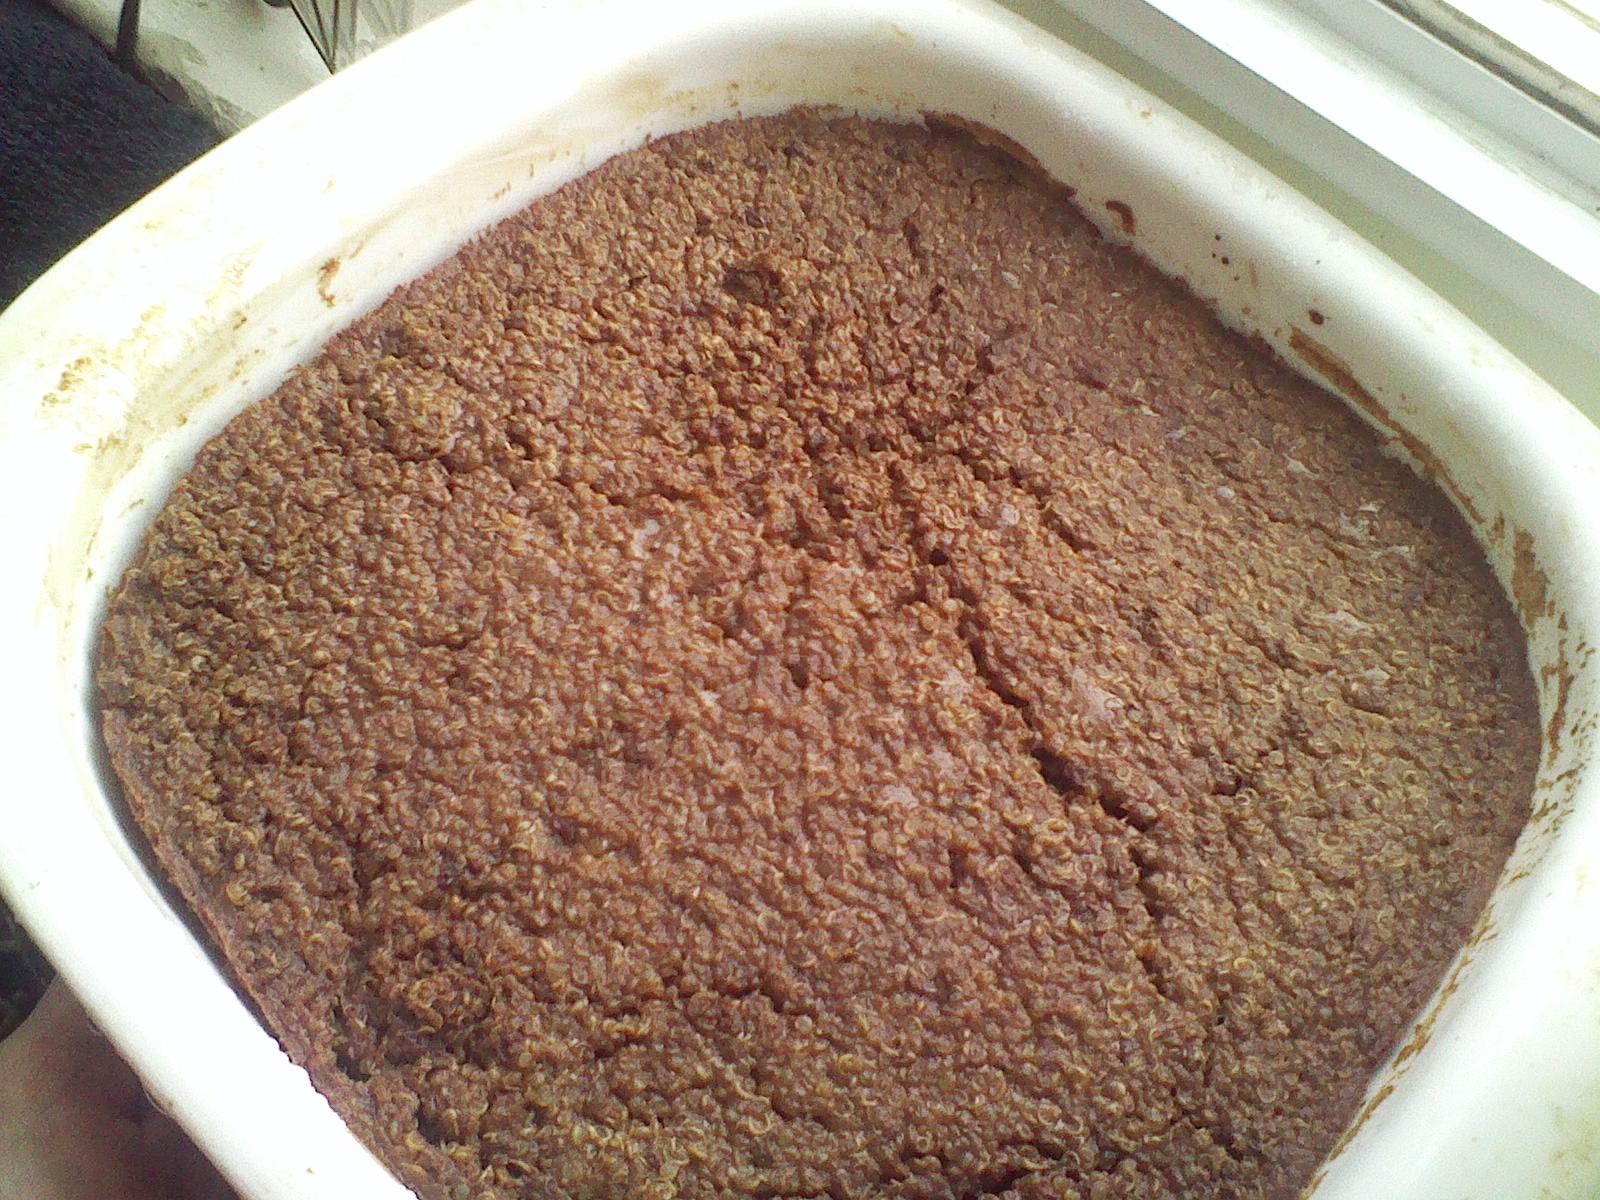
Pumpkin Butter was next on the list. This is an old favorite for us too. You can find the recipe on the Allergy-Friendly Recipes page. It’s great on biscuits or toast. And it lasts a really long time in the fridge so don’t worry if you don’t eat it up right away.

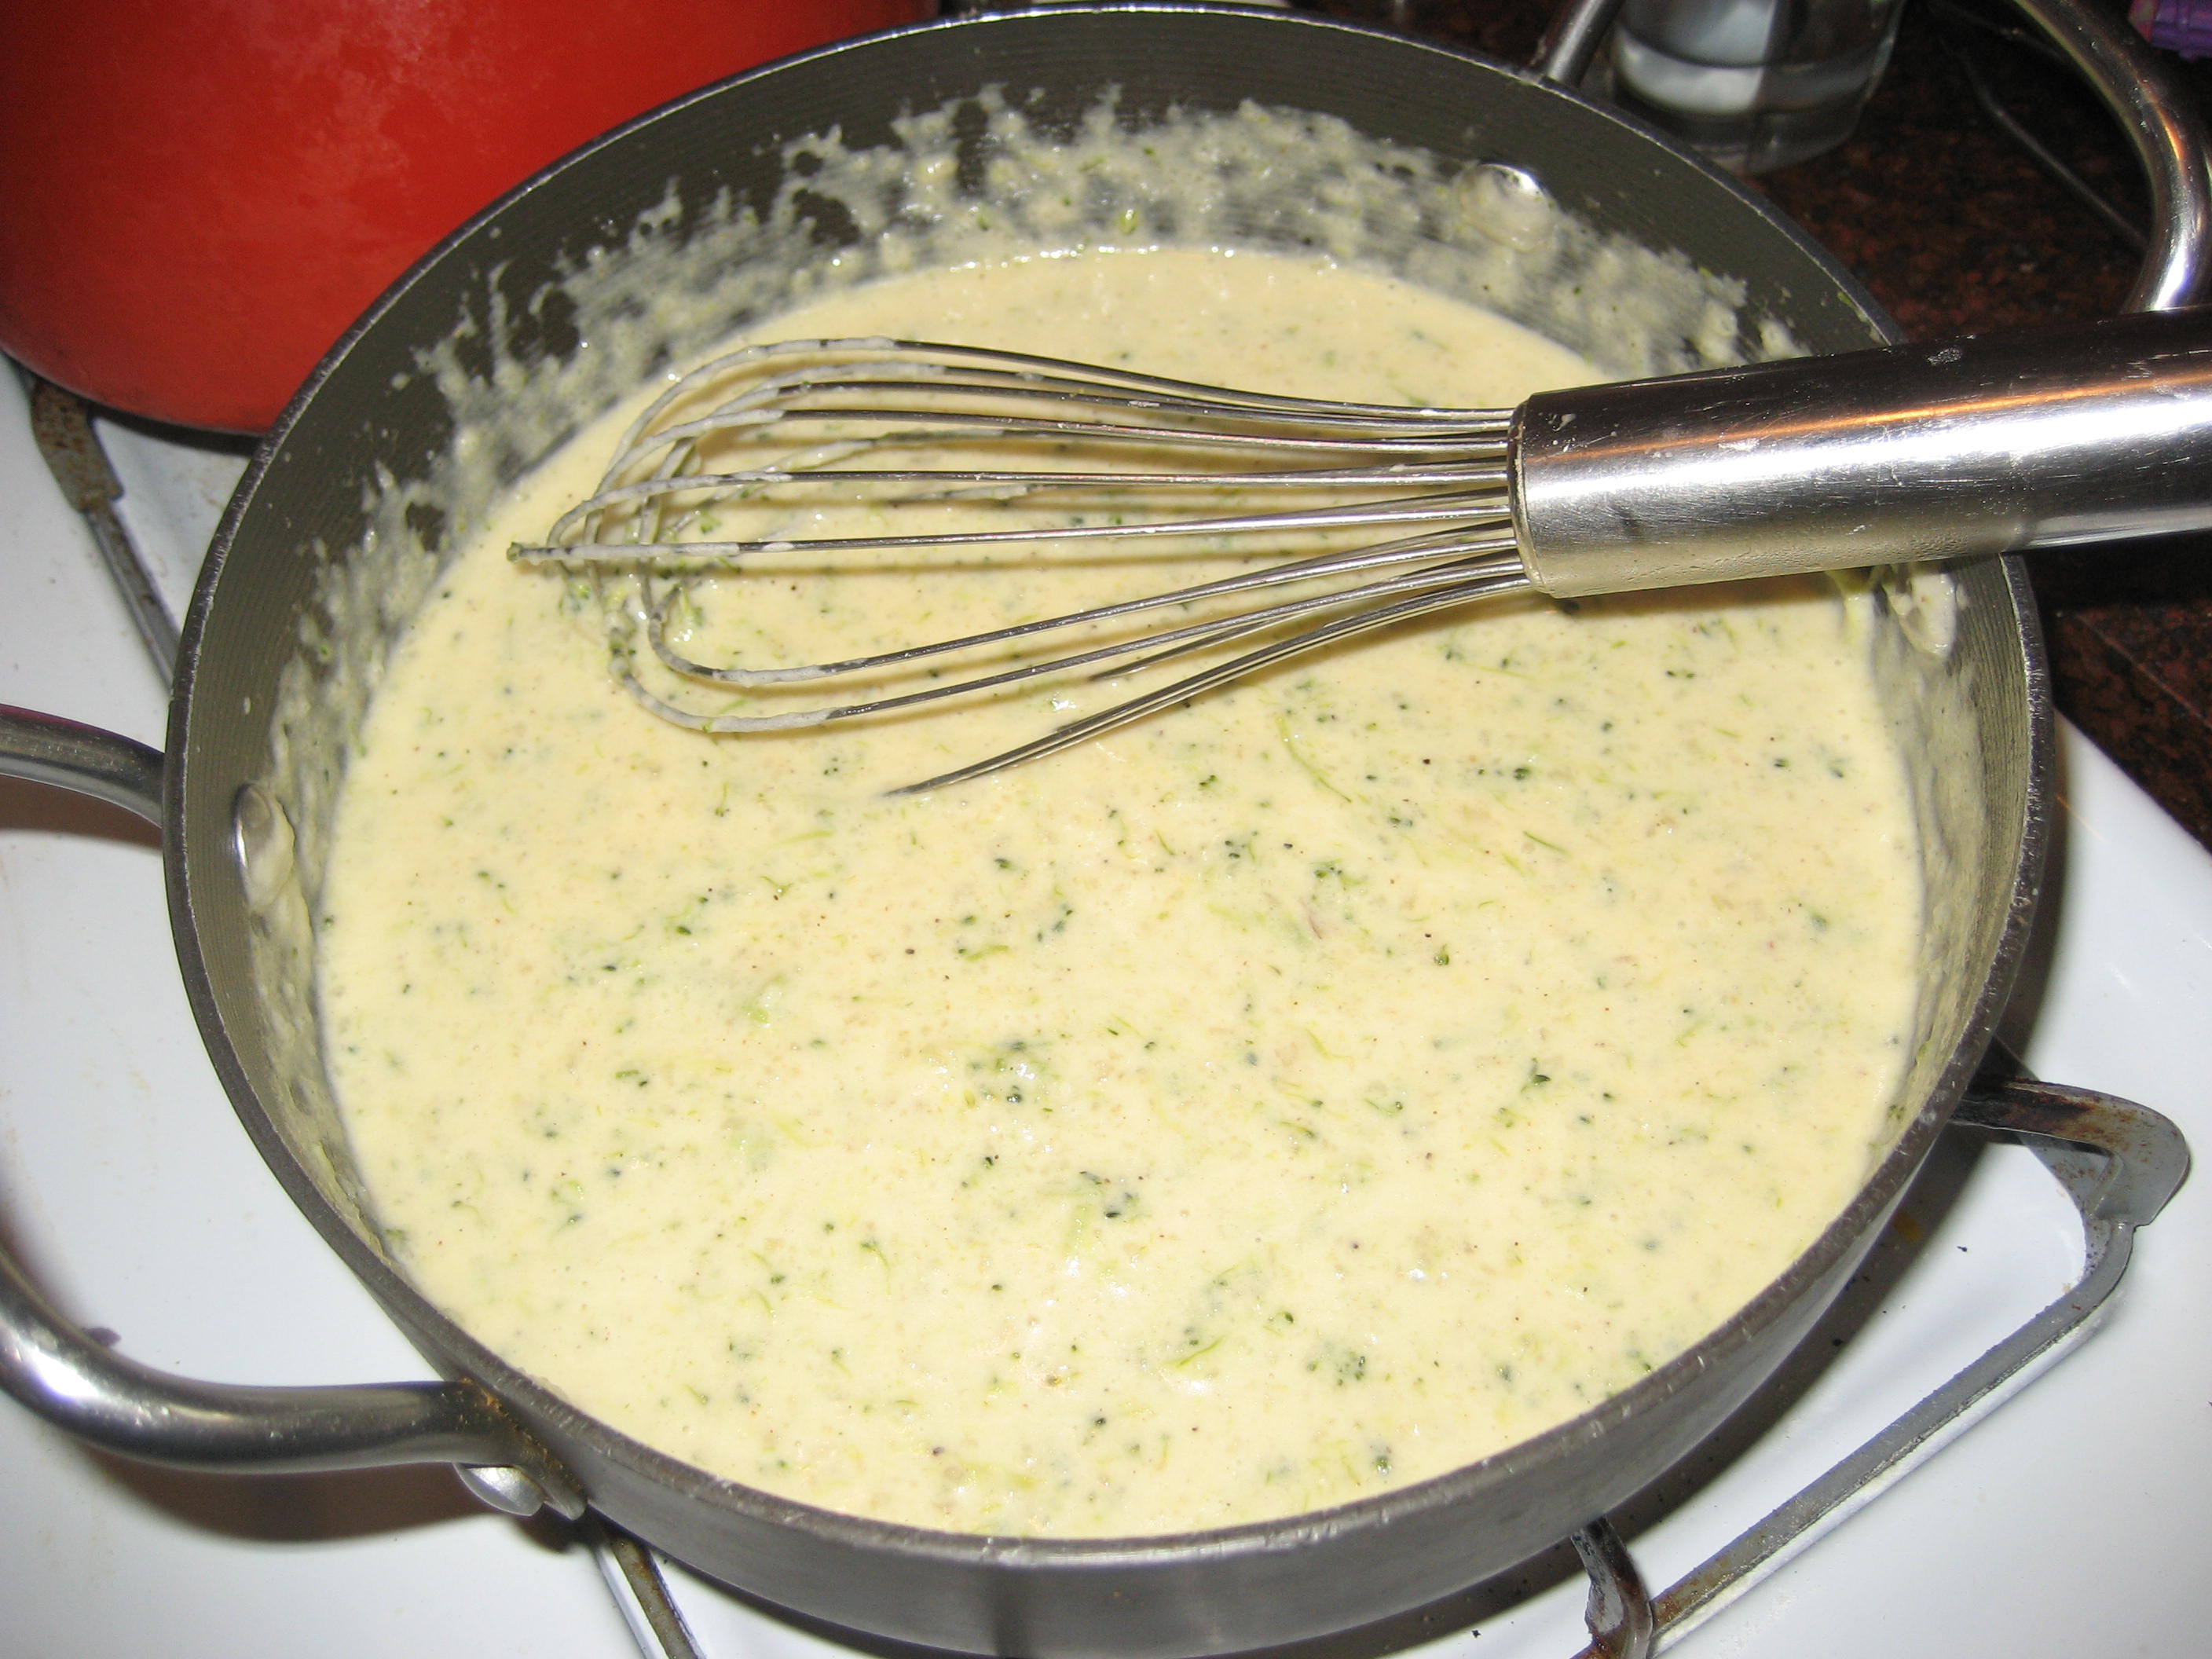
Pumpkin Cream Cheese
And last but not least – Pumpkin Cream Cheese! I saw a tub of pumpkin cream cheese at Trader Joe’s a few weeks ago and had to try it. As soon as I tasted it I knew I would have to make my own. It’s delish. My girl’s want to eat it by the spoonful. I looked at a few recipes online and ended up mixing 1-8 oz package of cream cheese, 1/2 can pumpkin, 3 tablespoons of brown sugar, 1/2 tsp. vanilla, 1/4 tsp. salt, 1 1/2 tsp. pumpkin pie spice. Mix and store in the refrigerator.
Other great fall recipes you might enjoy:
Spiced Chai Tea (I call it Christmas Chai, but it’s great for fall too.)
Pumpkin Cinnamon Rolls
And if you know me. fall is my favorite time of year to cook and decorate for. Here are some of our fall decorations from years past complete with leafy twinkle lights.
This is how we get baking done these days. We got lots done while she napped don’t you think? 🙂
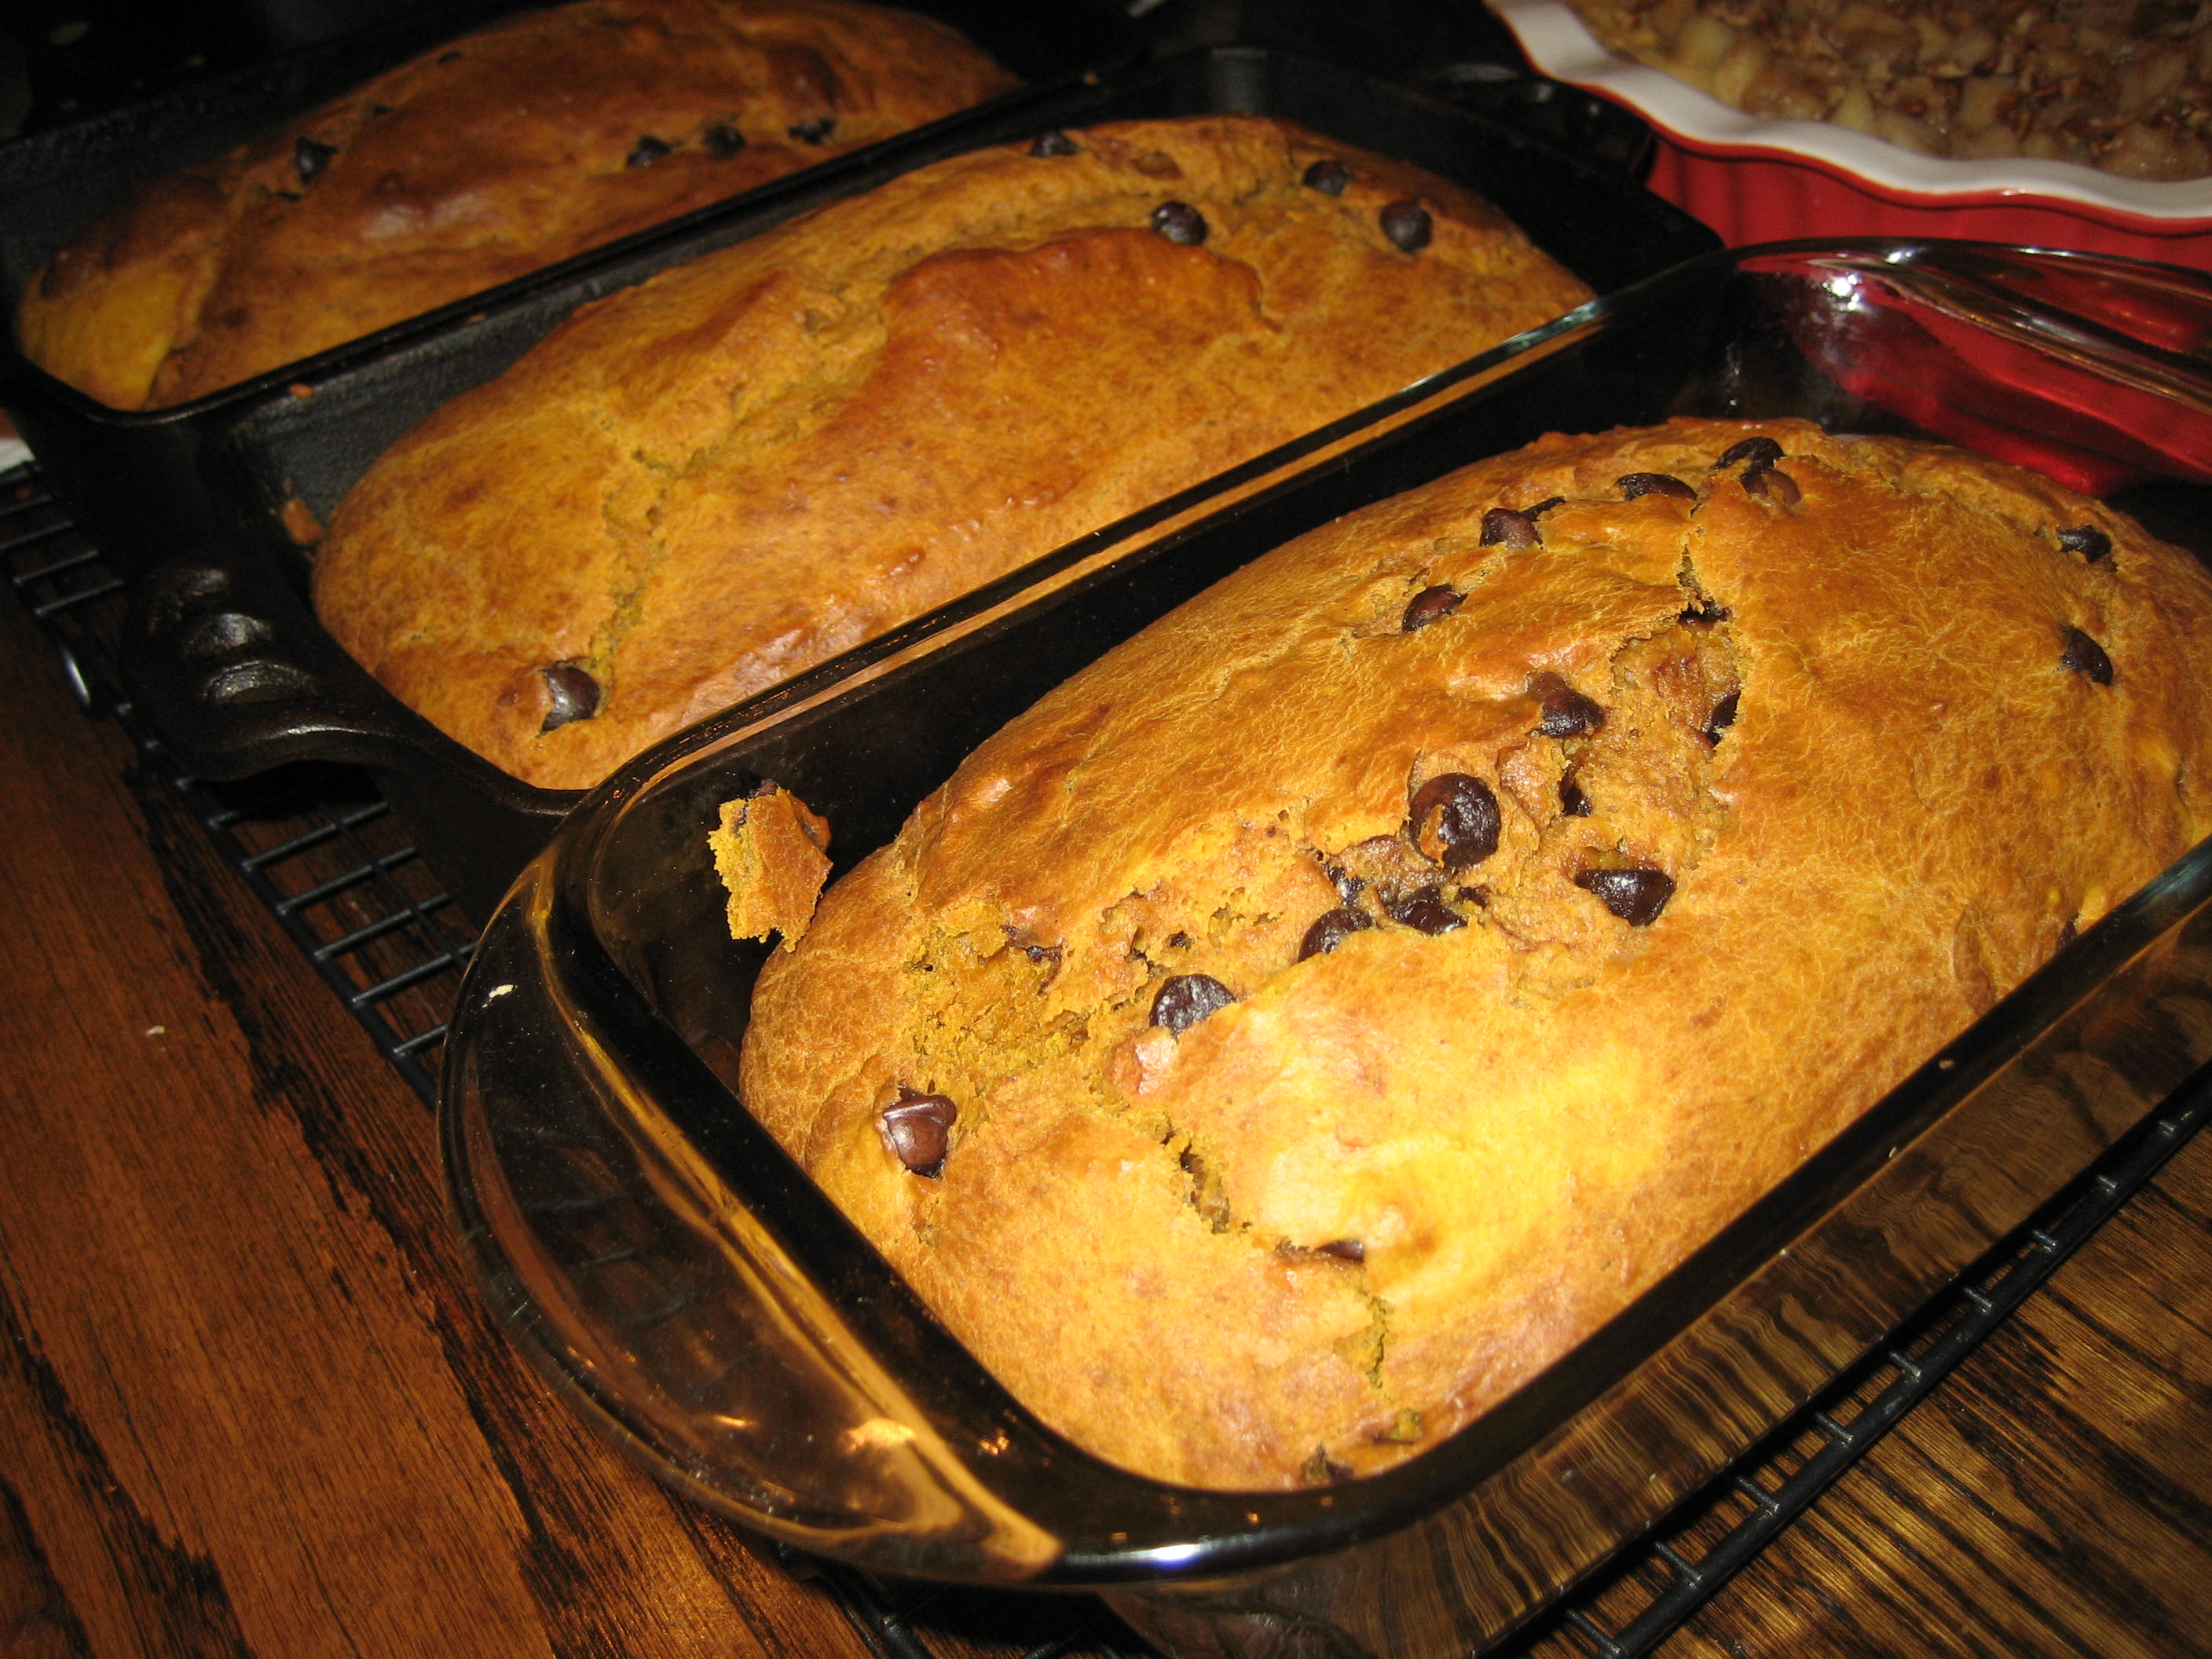
Pumpkin bread – make extra and freeze it.
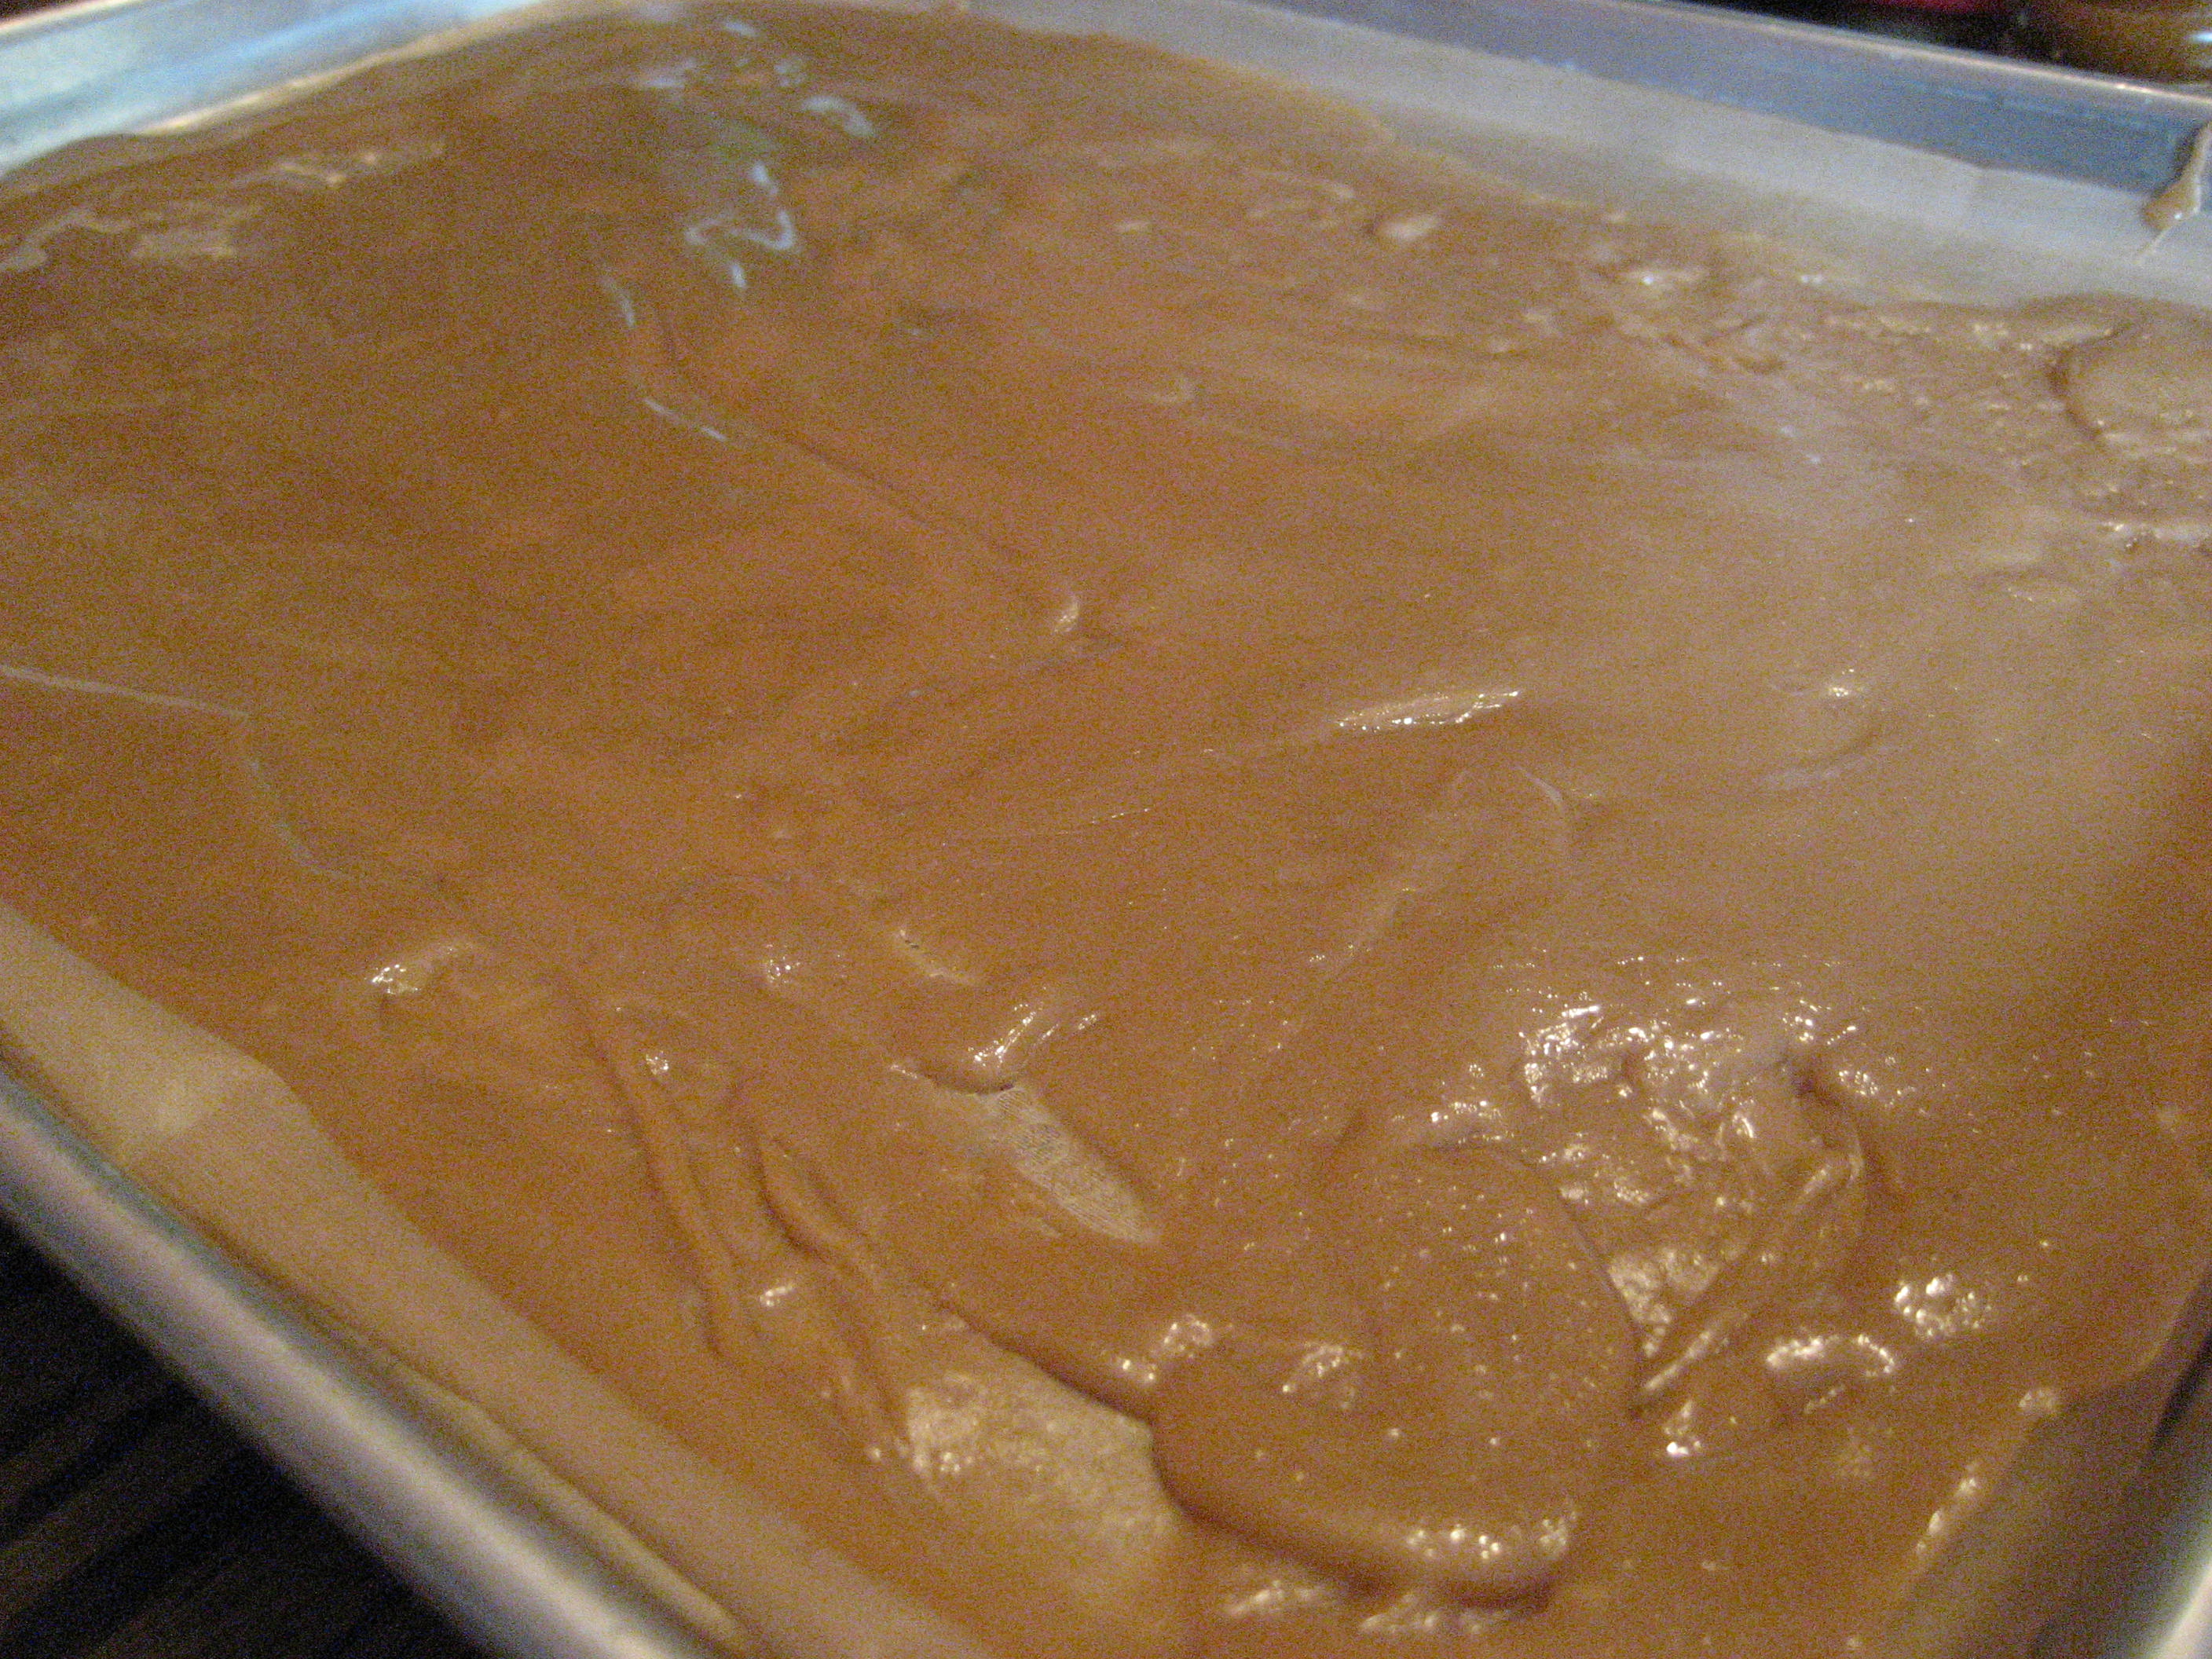
Toffee poured out to cool.
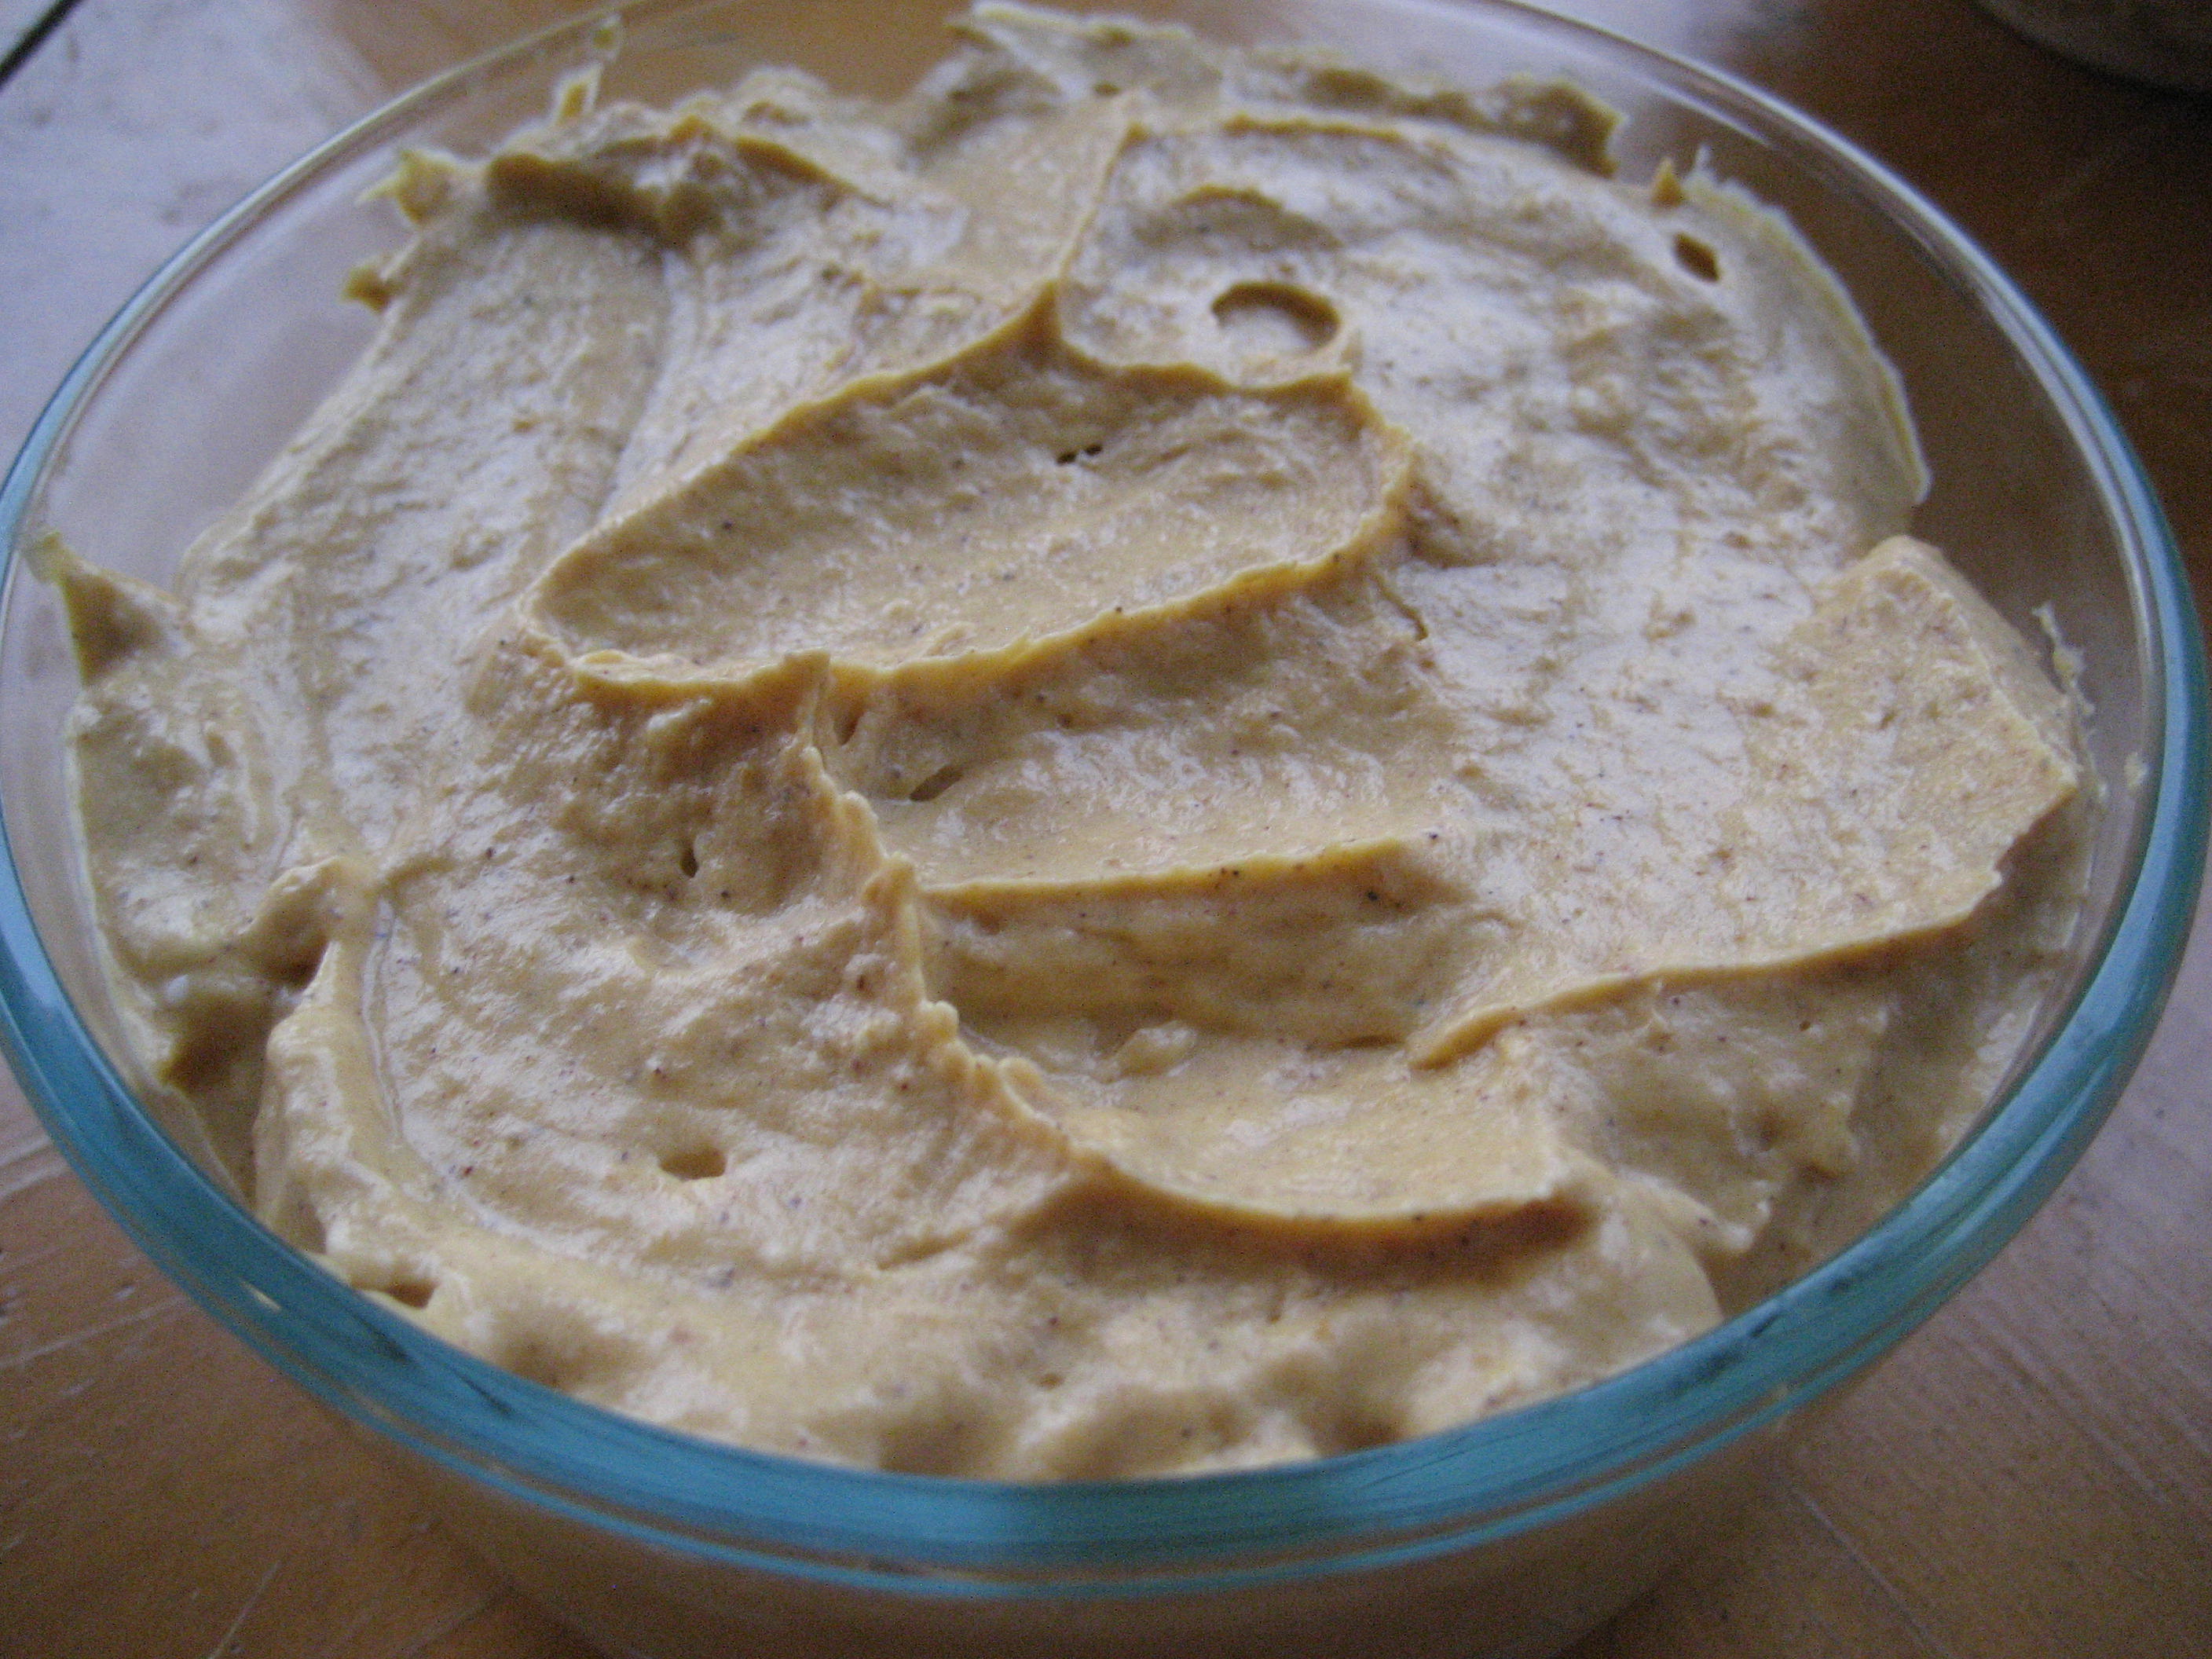
Pumpkin Cream Cheese Spread
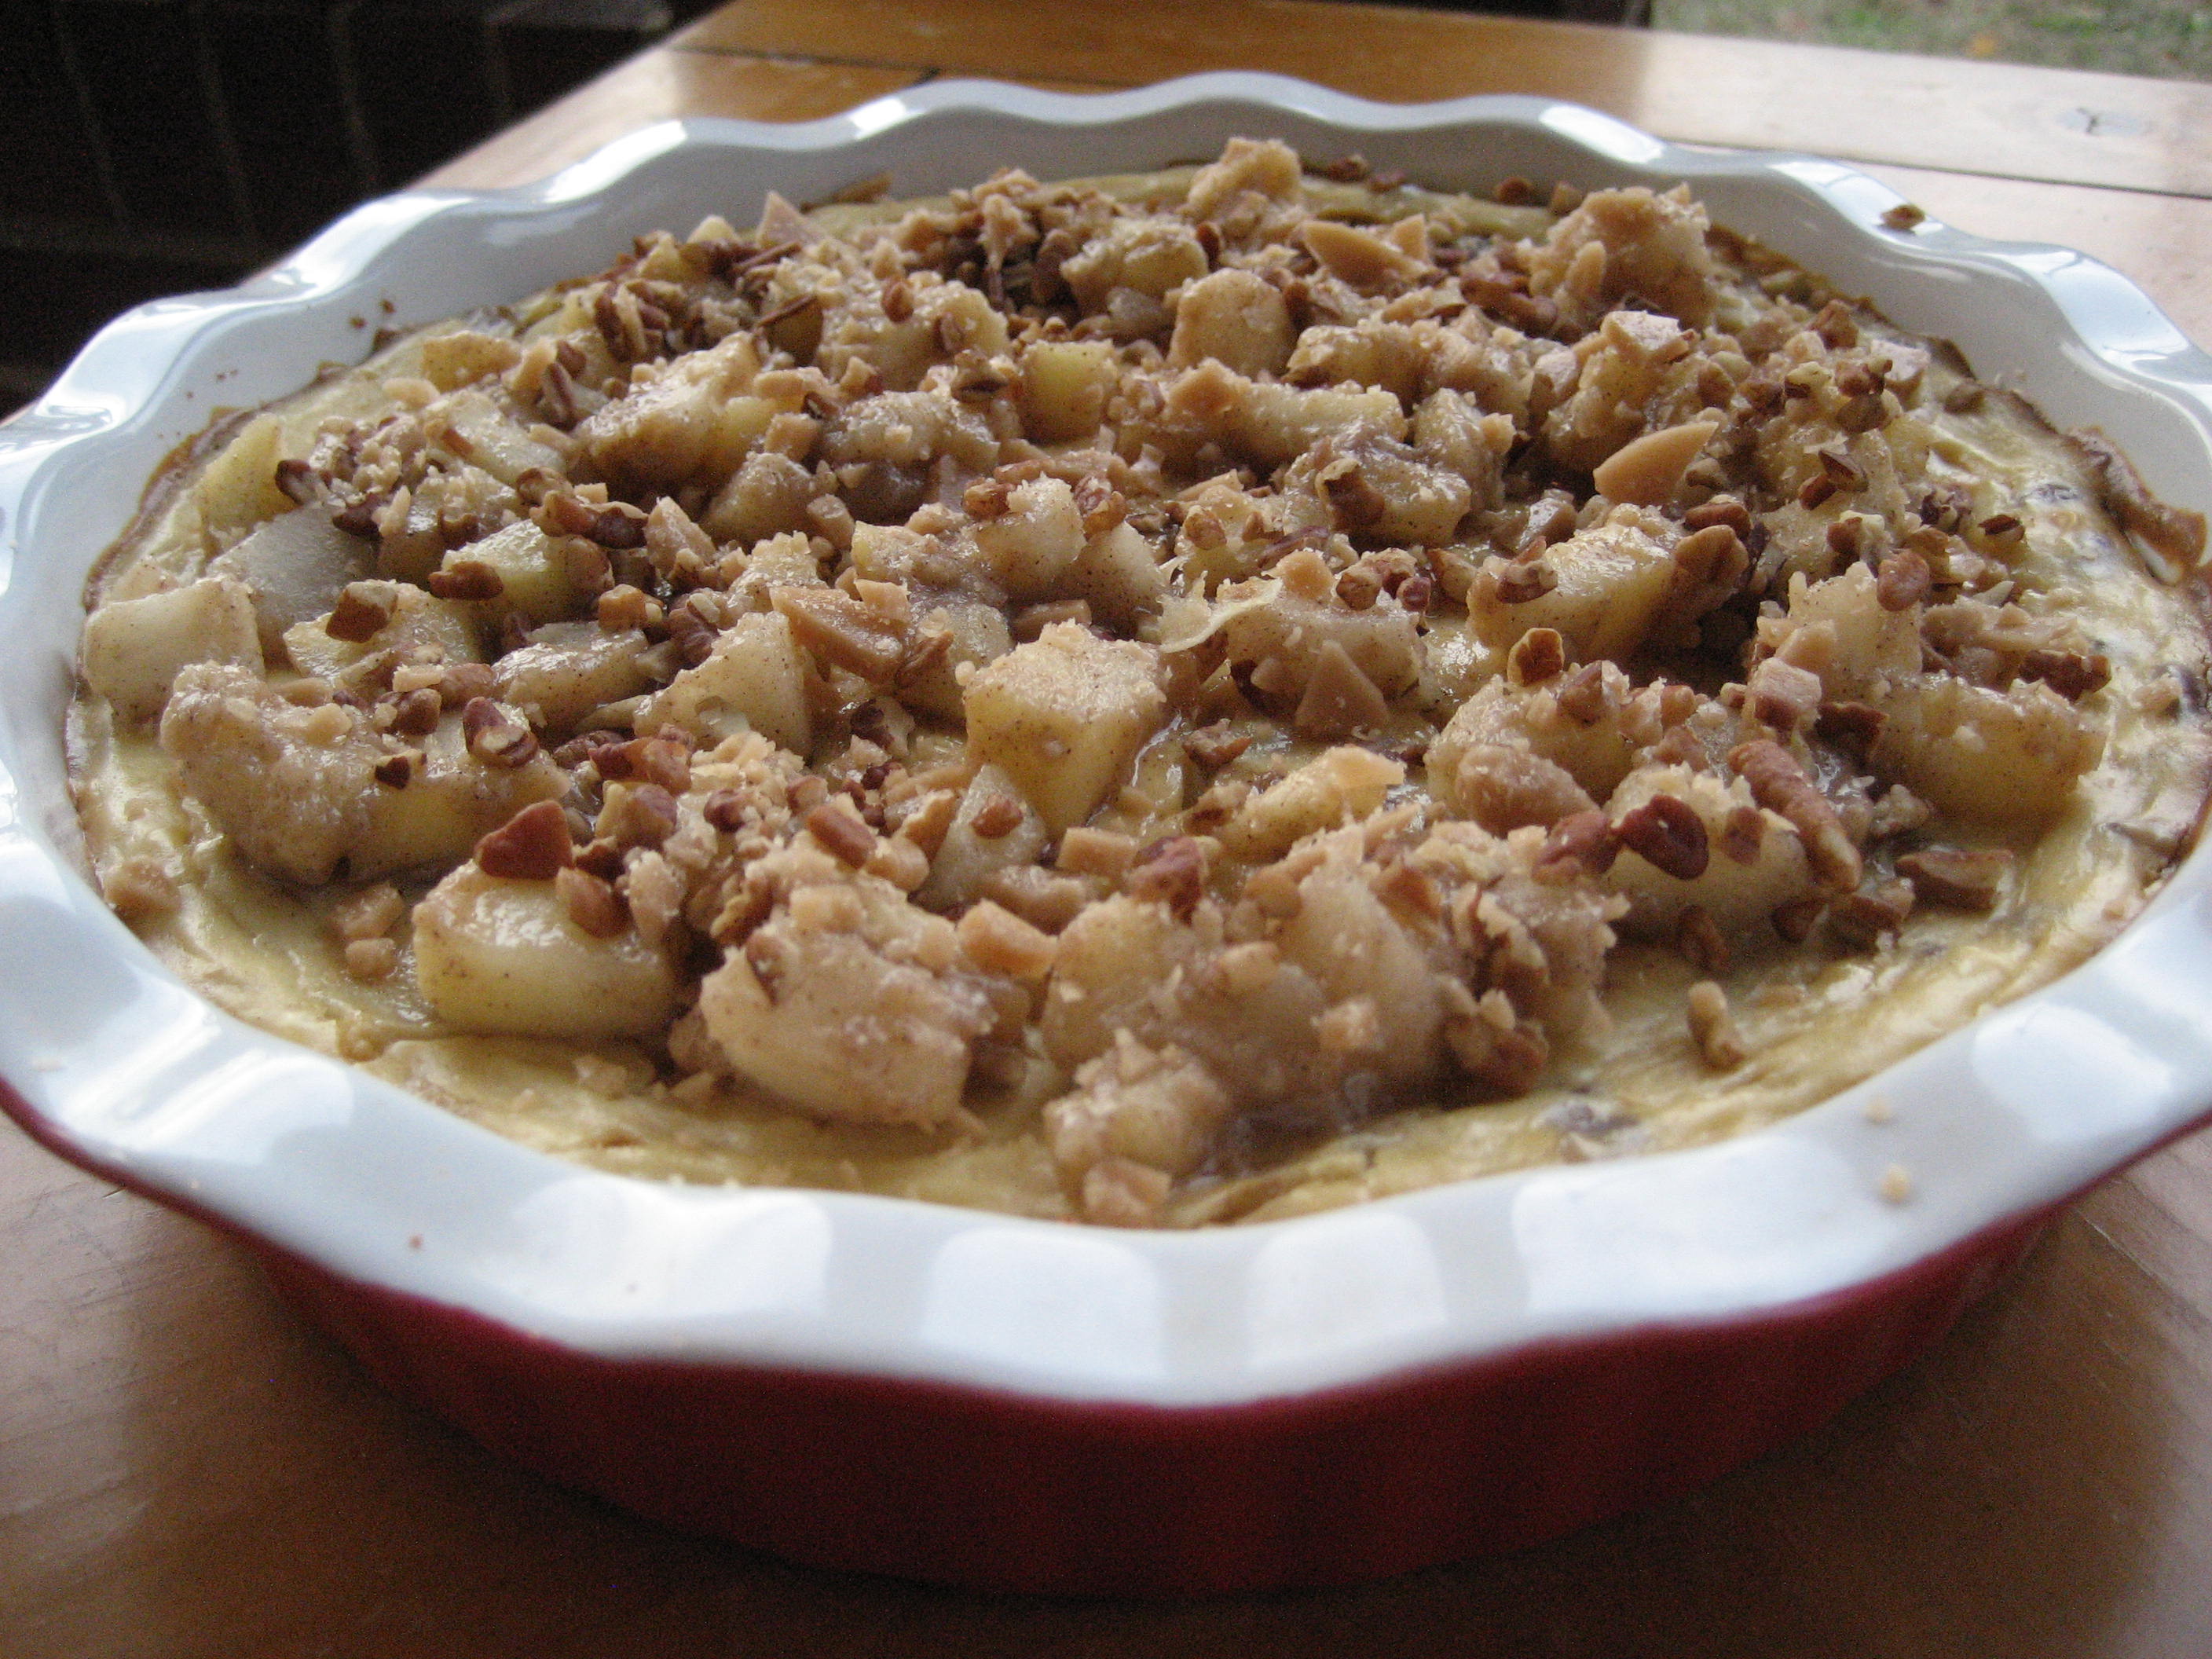
Apple Pie Cheesecake

Pumpkin Butter