Merry Muffins – Beet Chocolate Chip Muffins

Merry Muffins – Beet Chocolate Chip Muffins

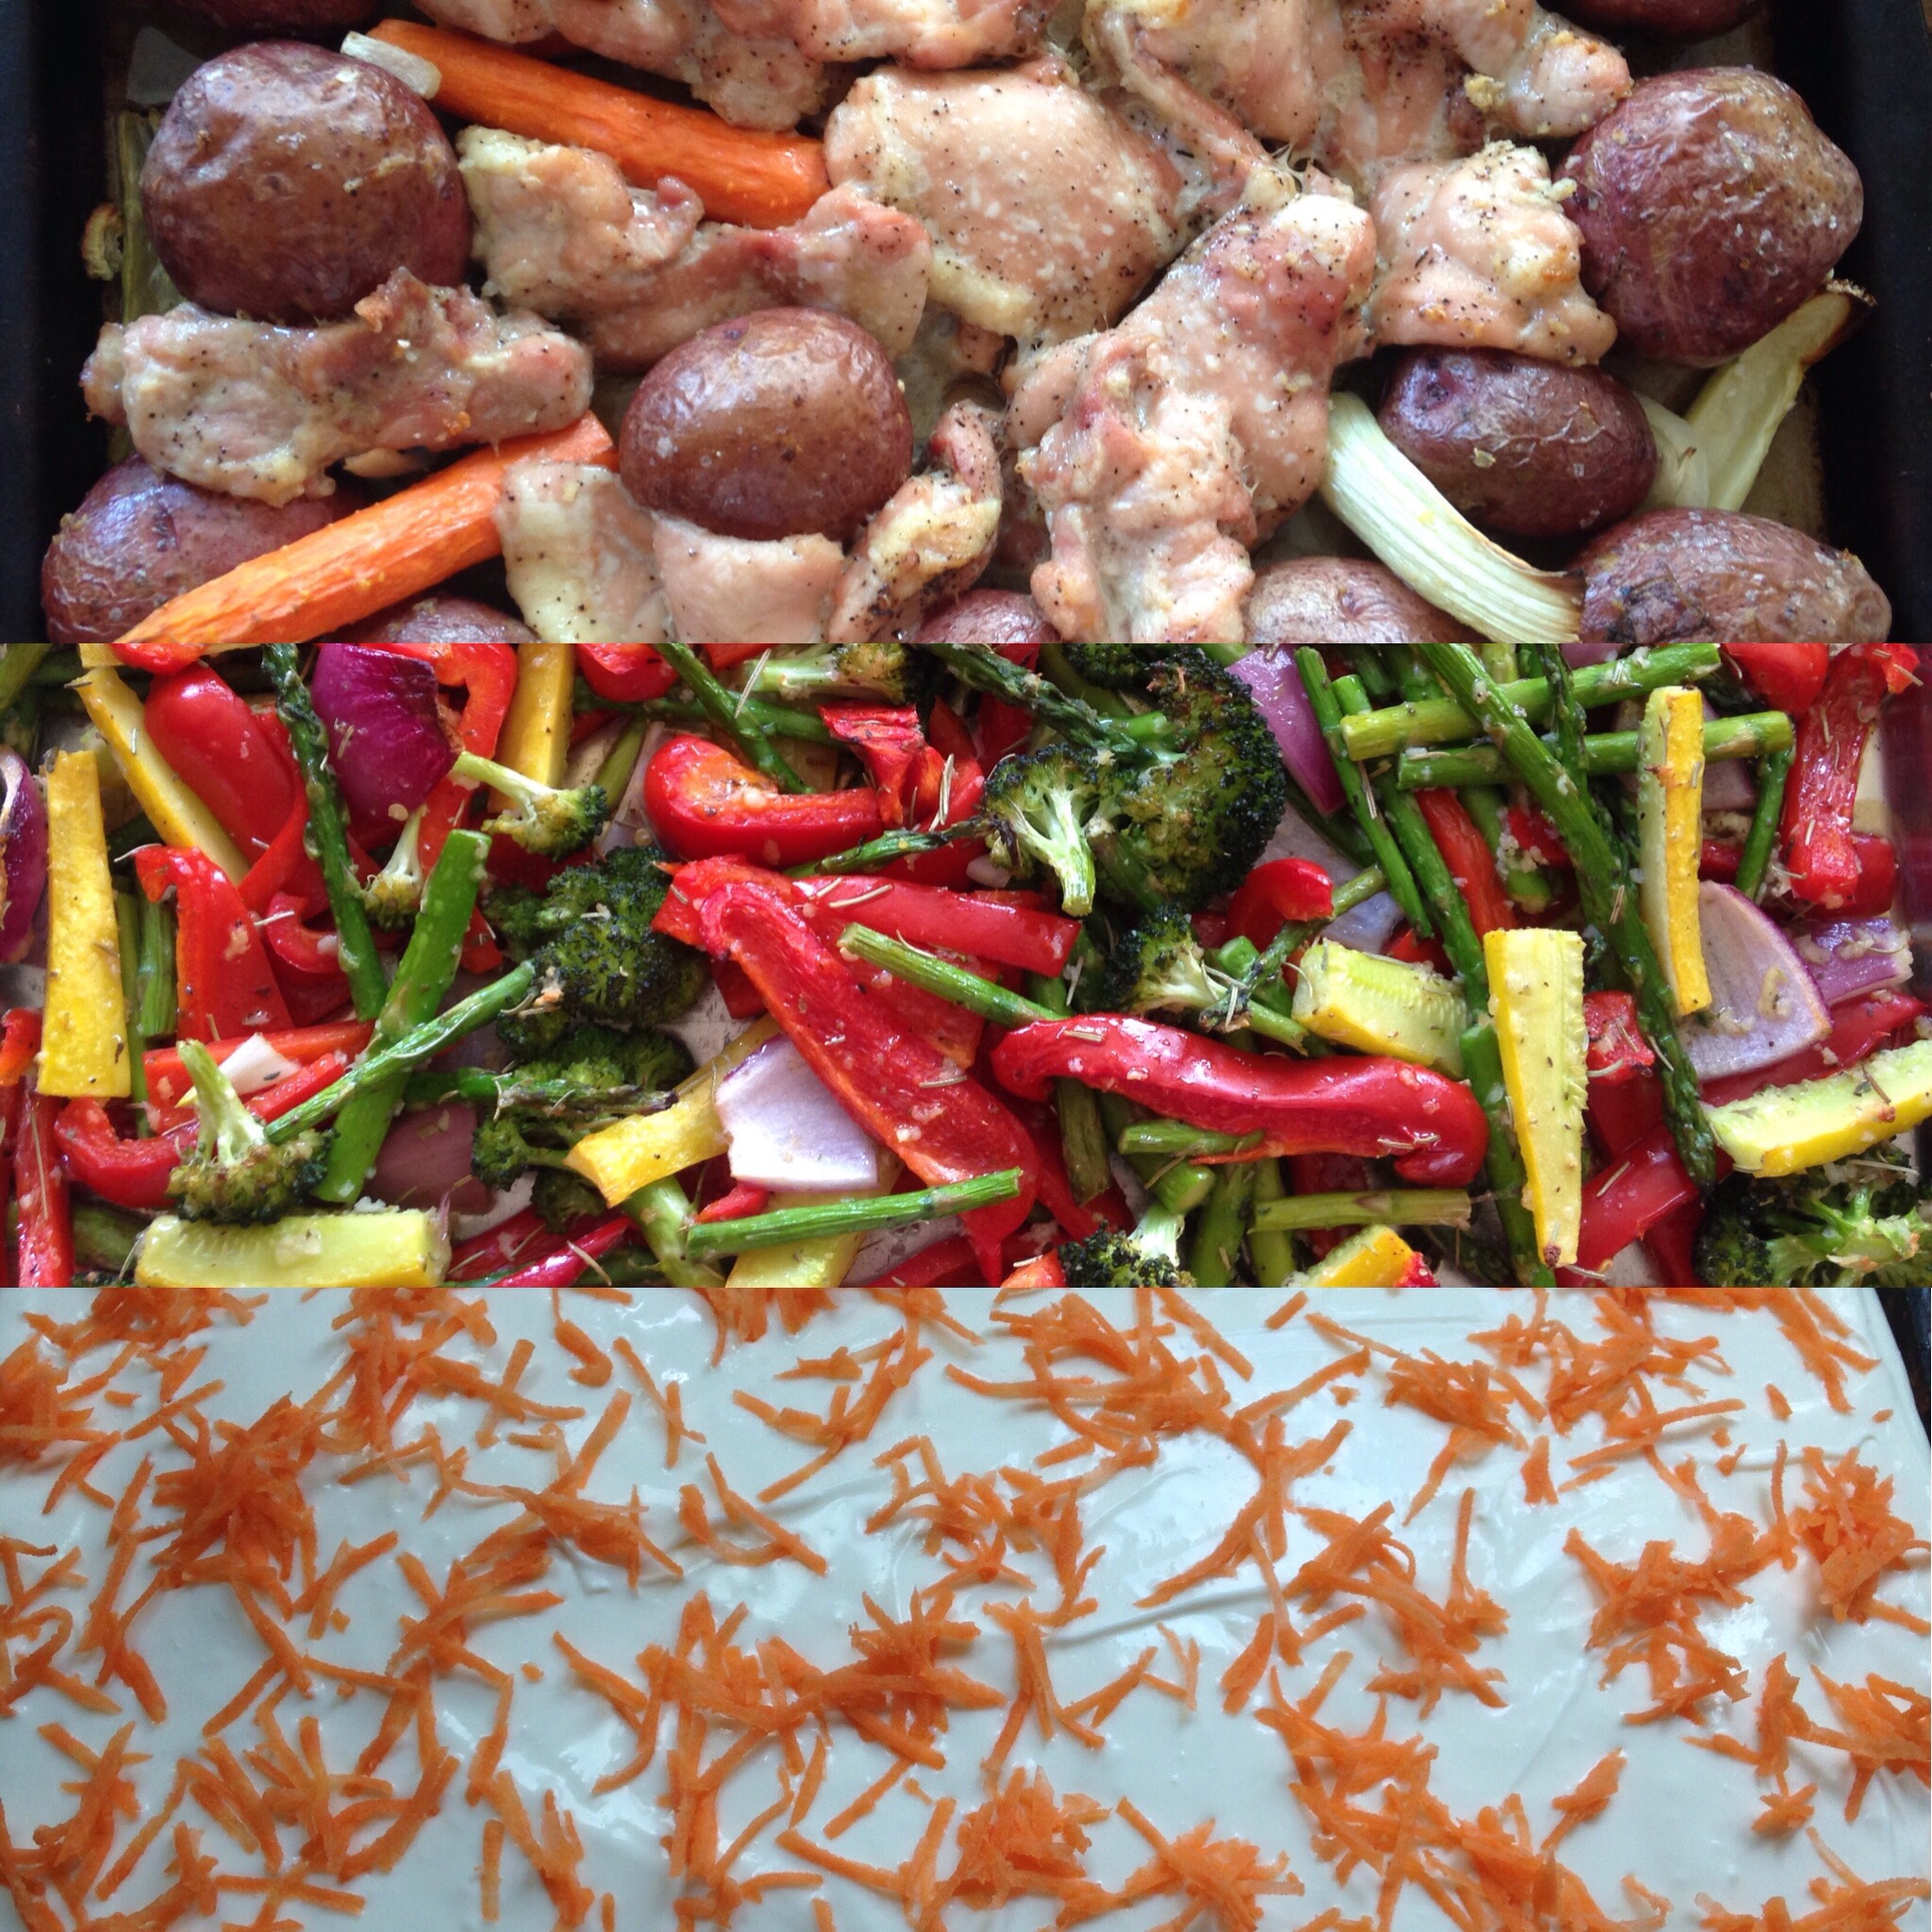
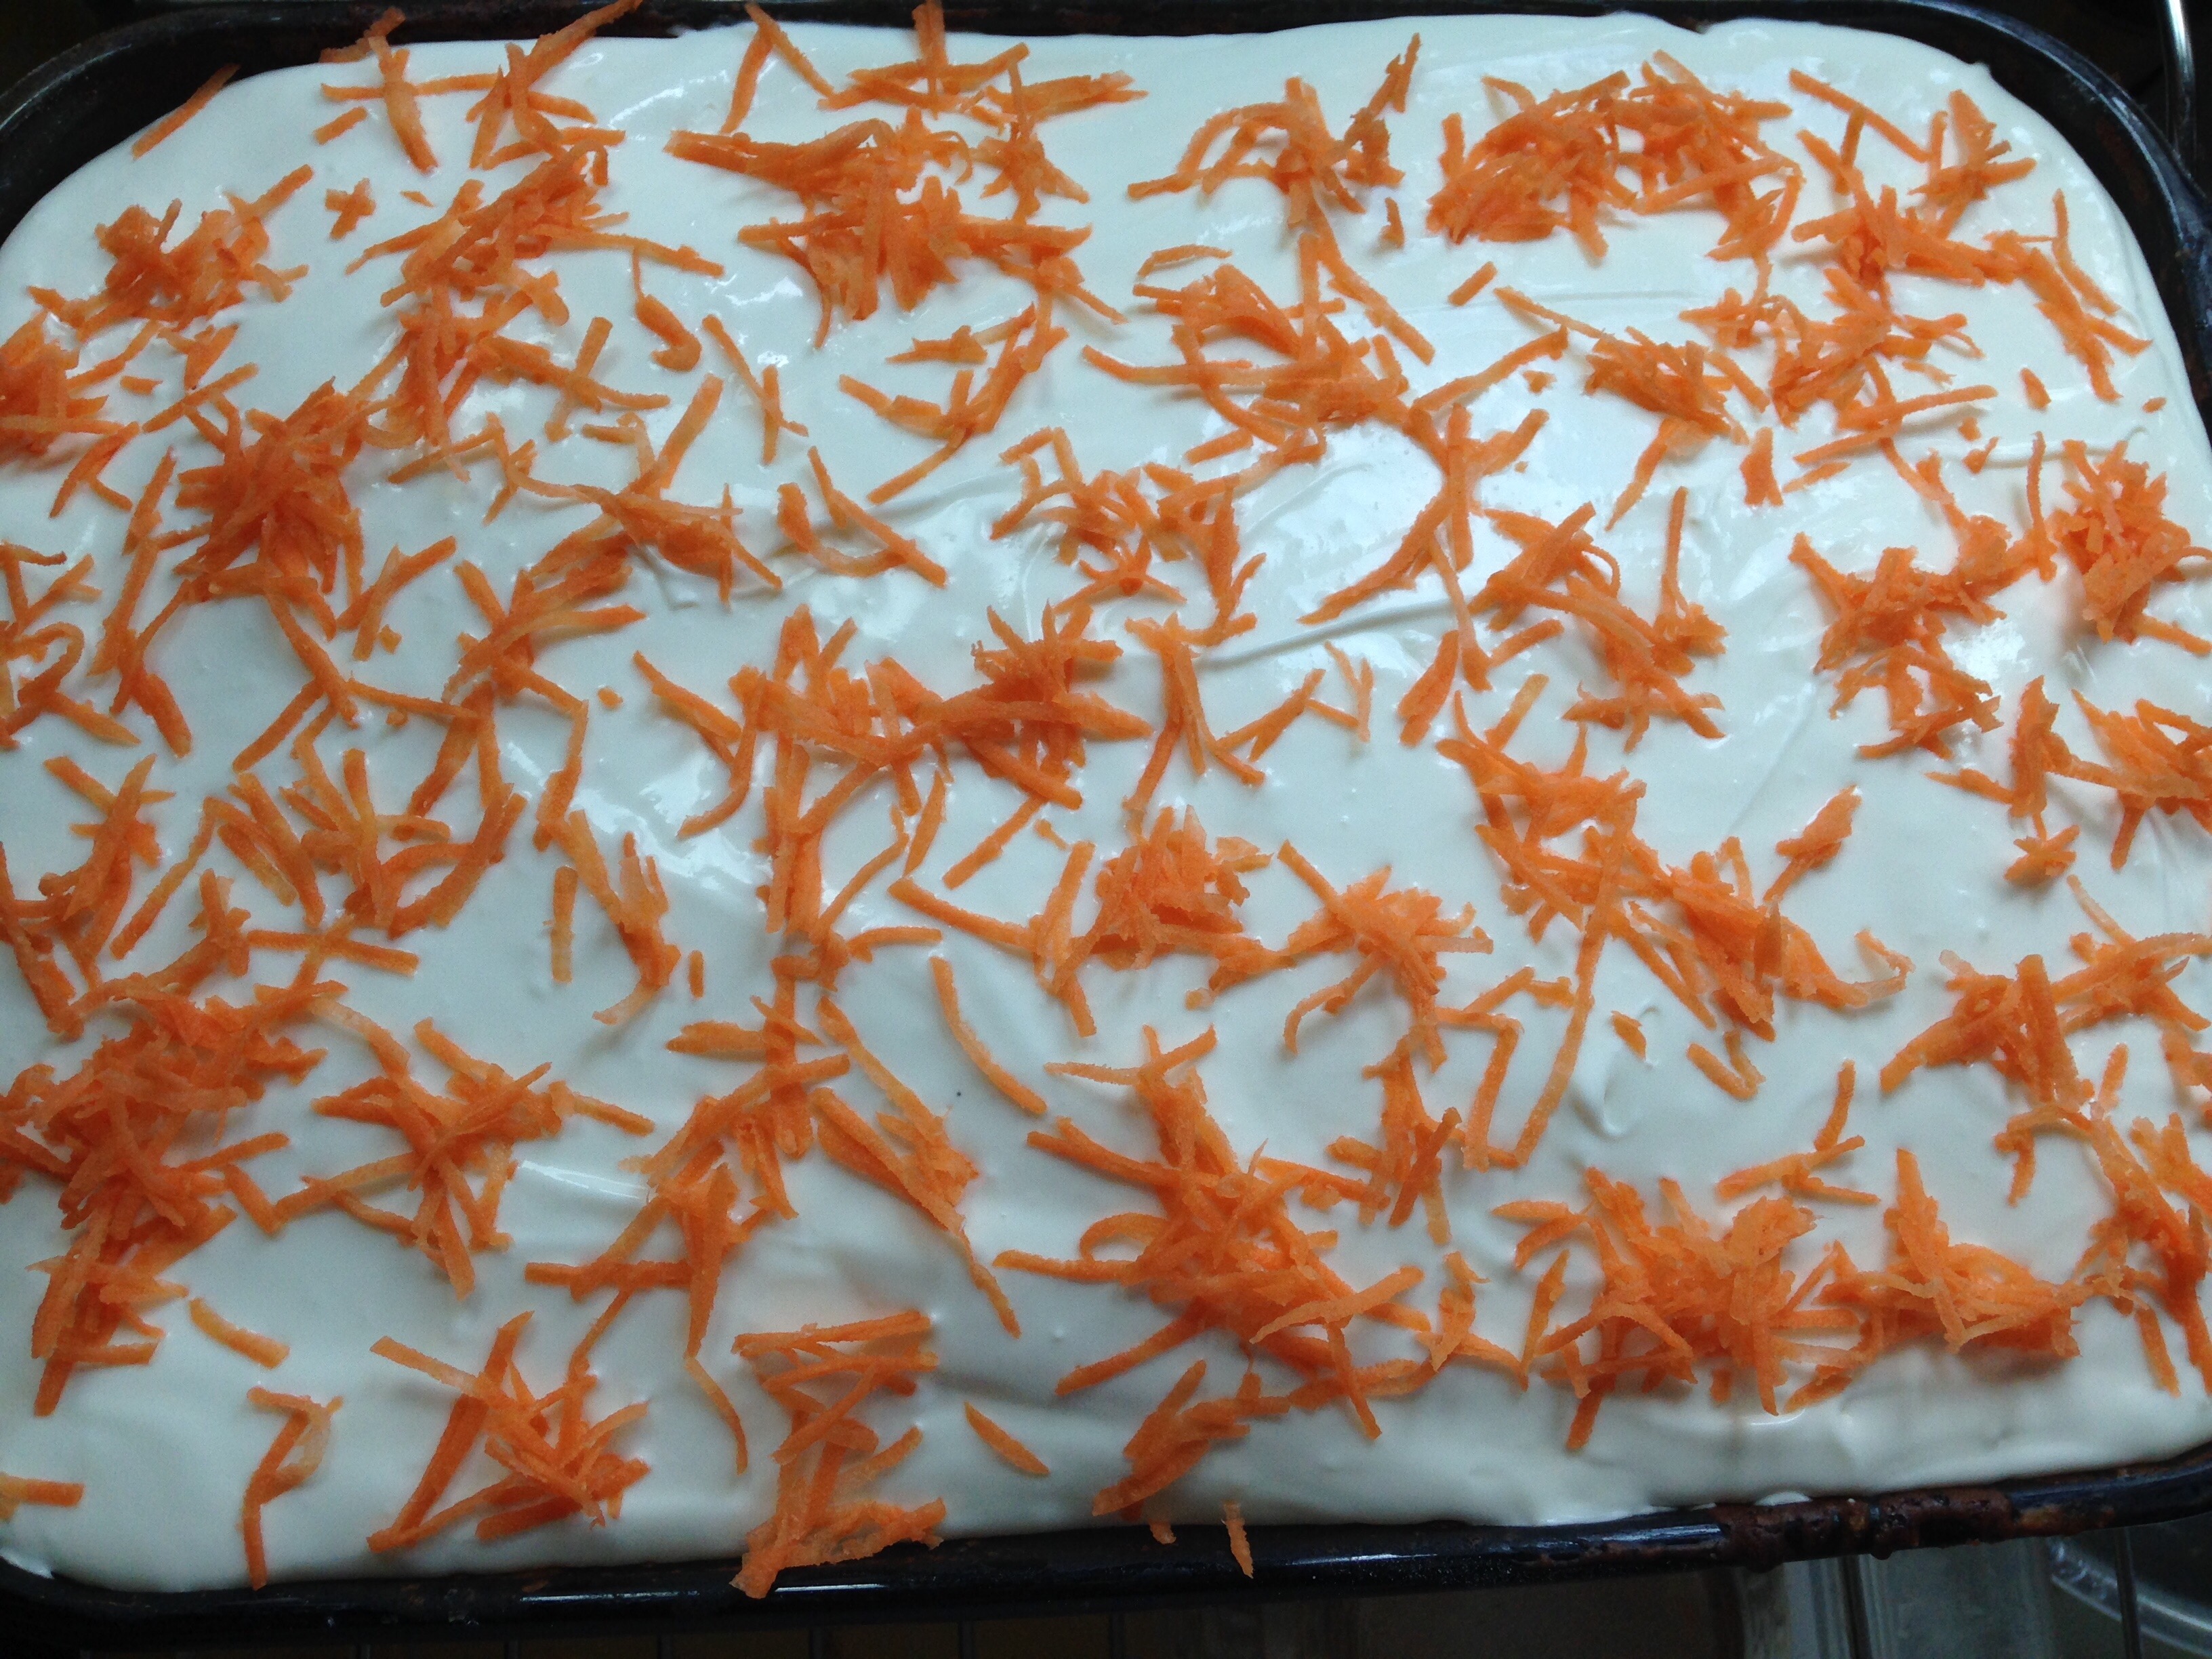
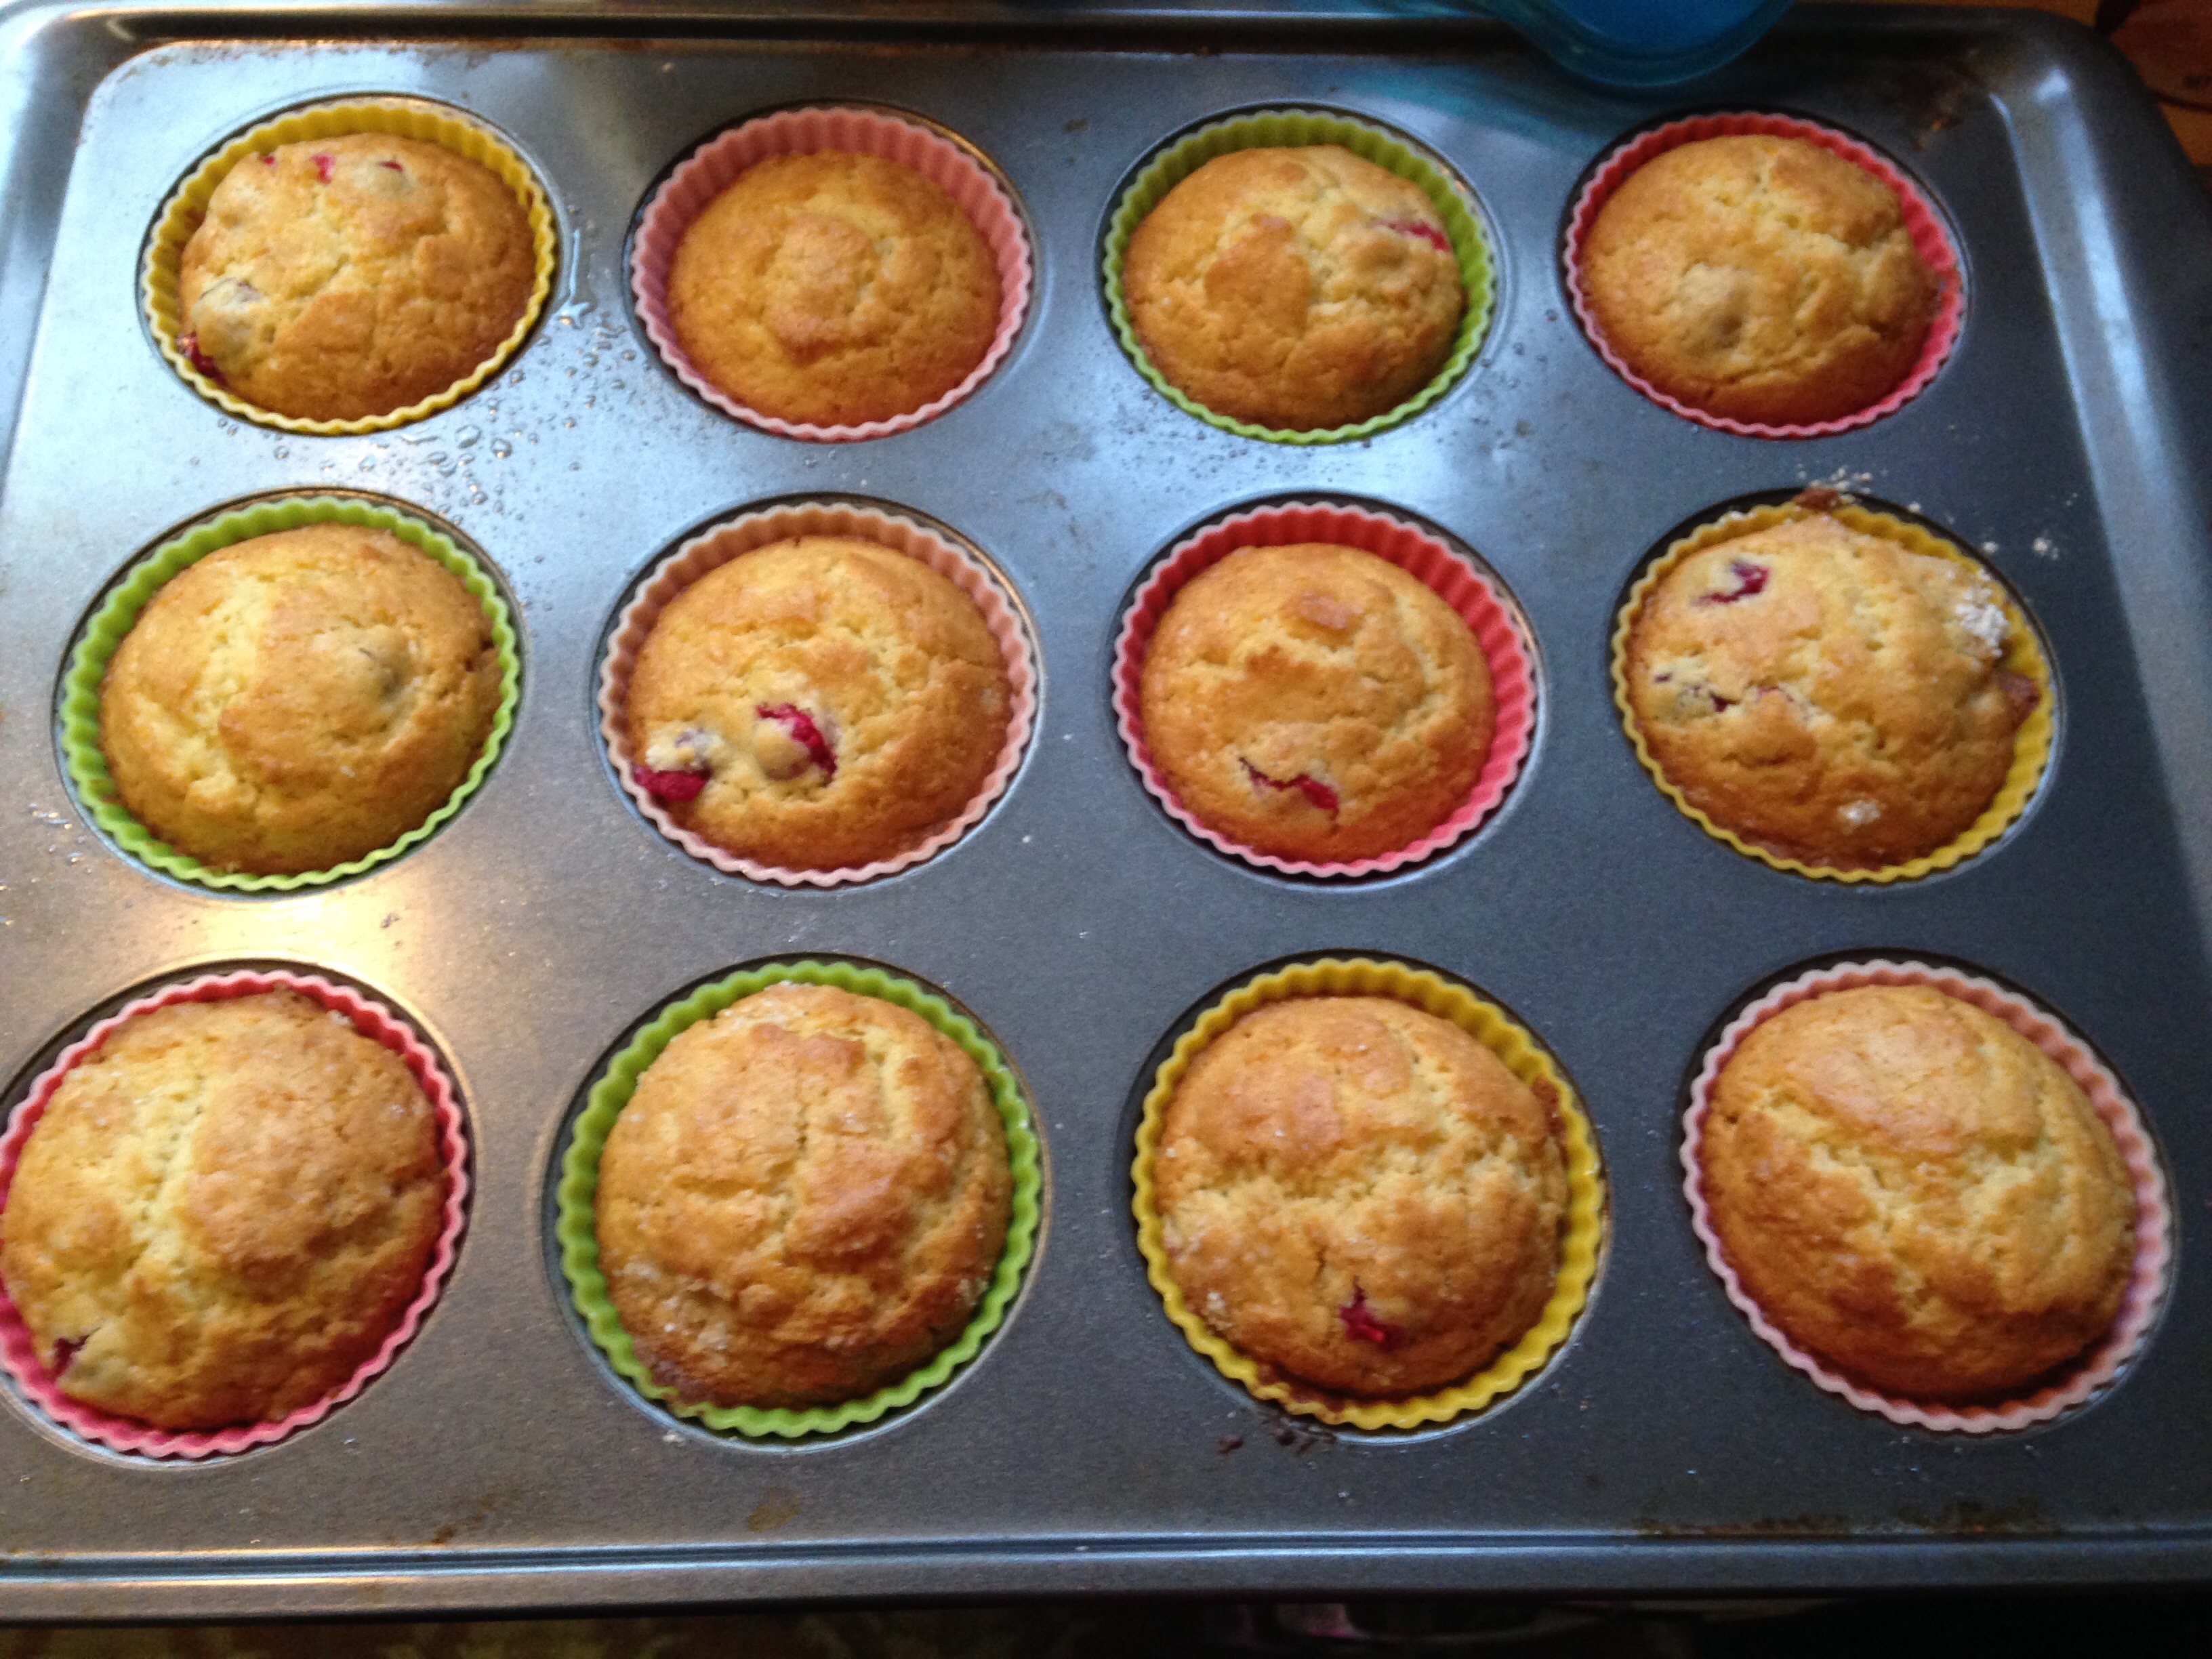
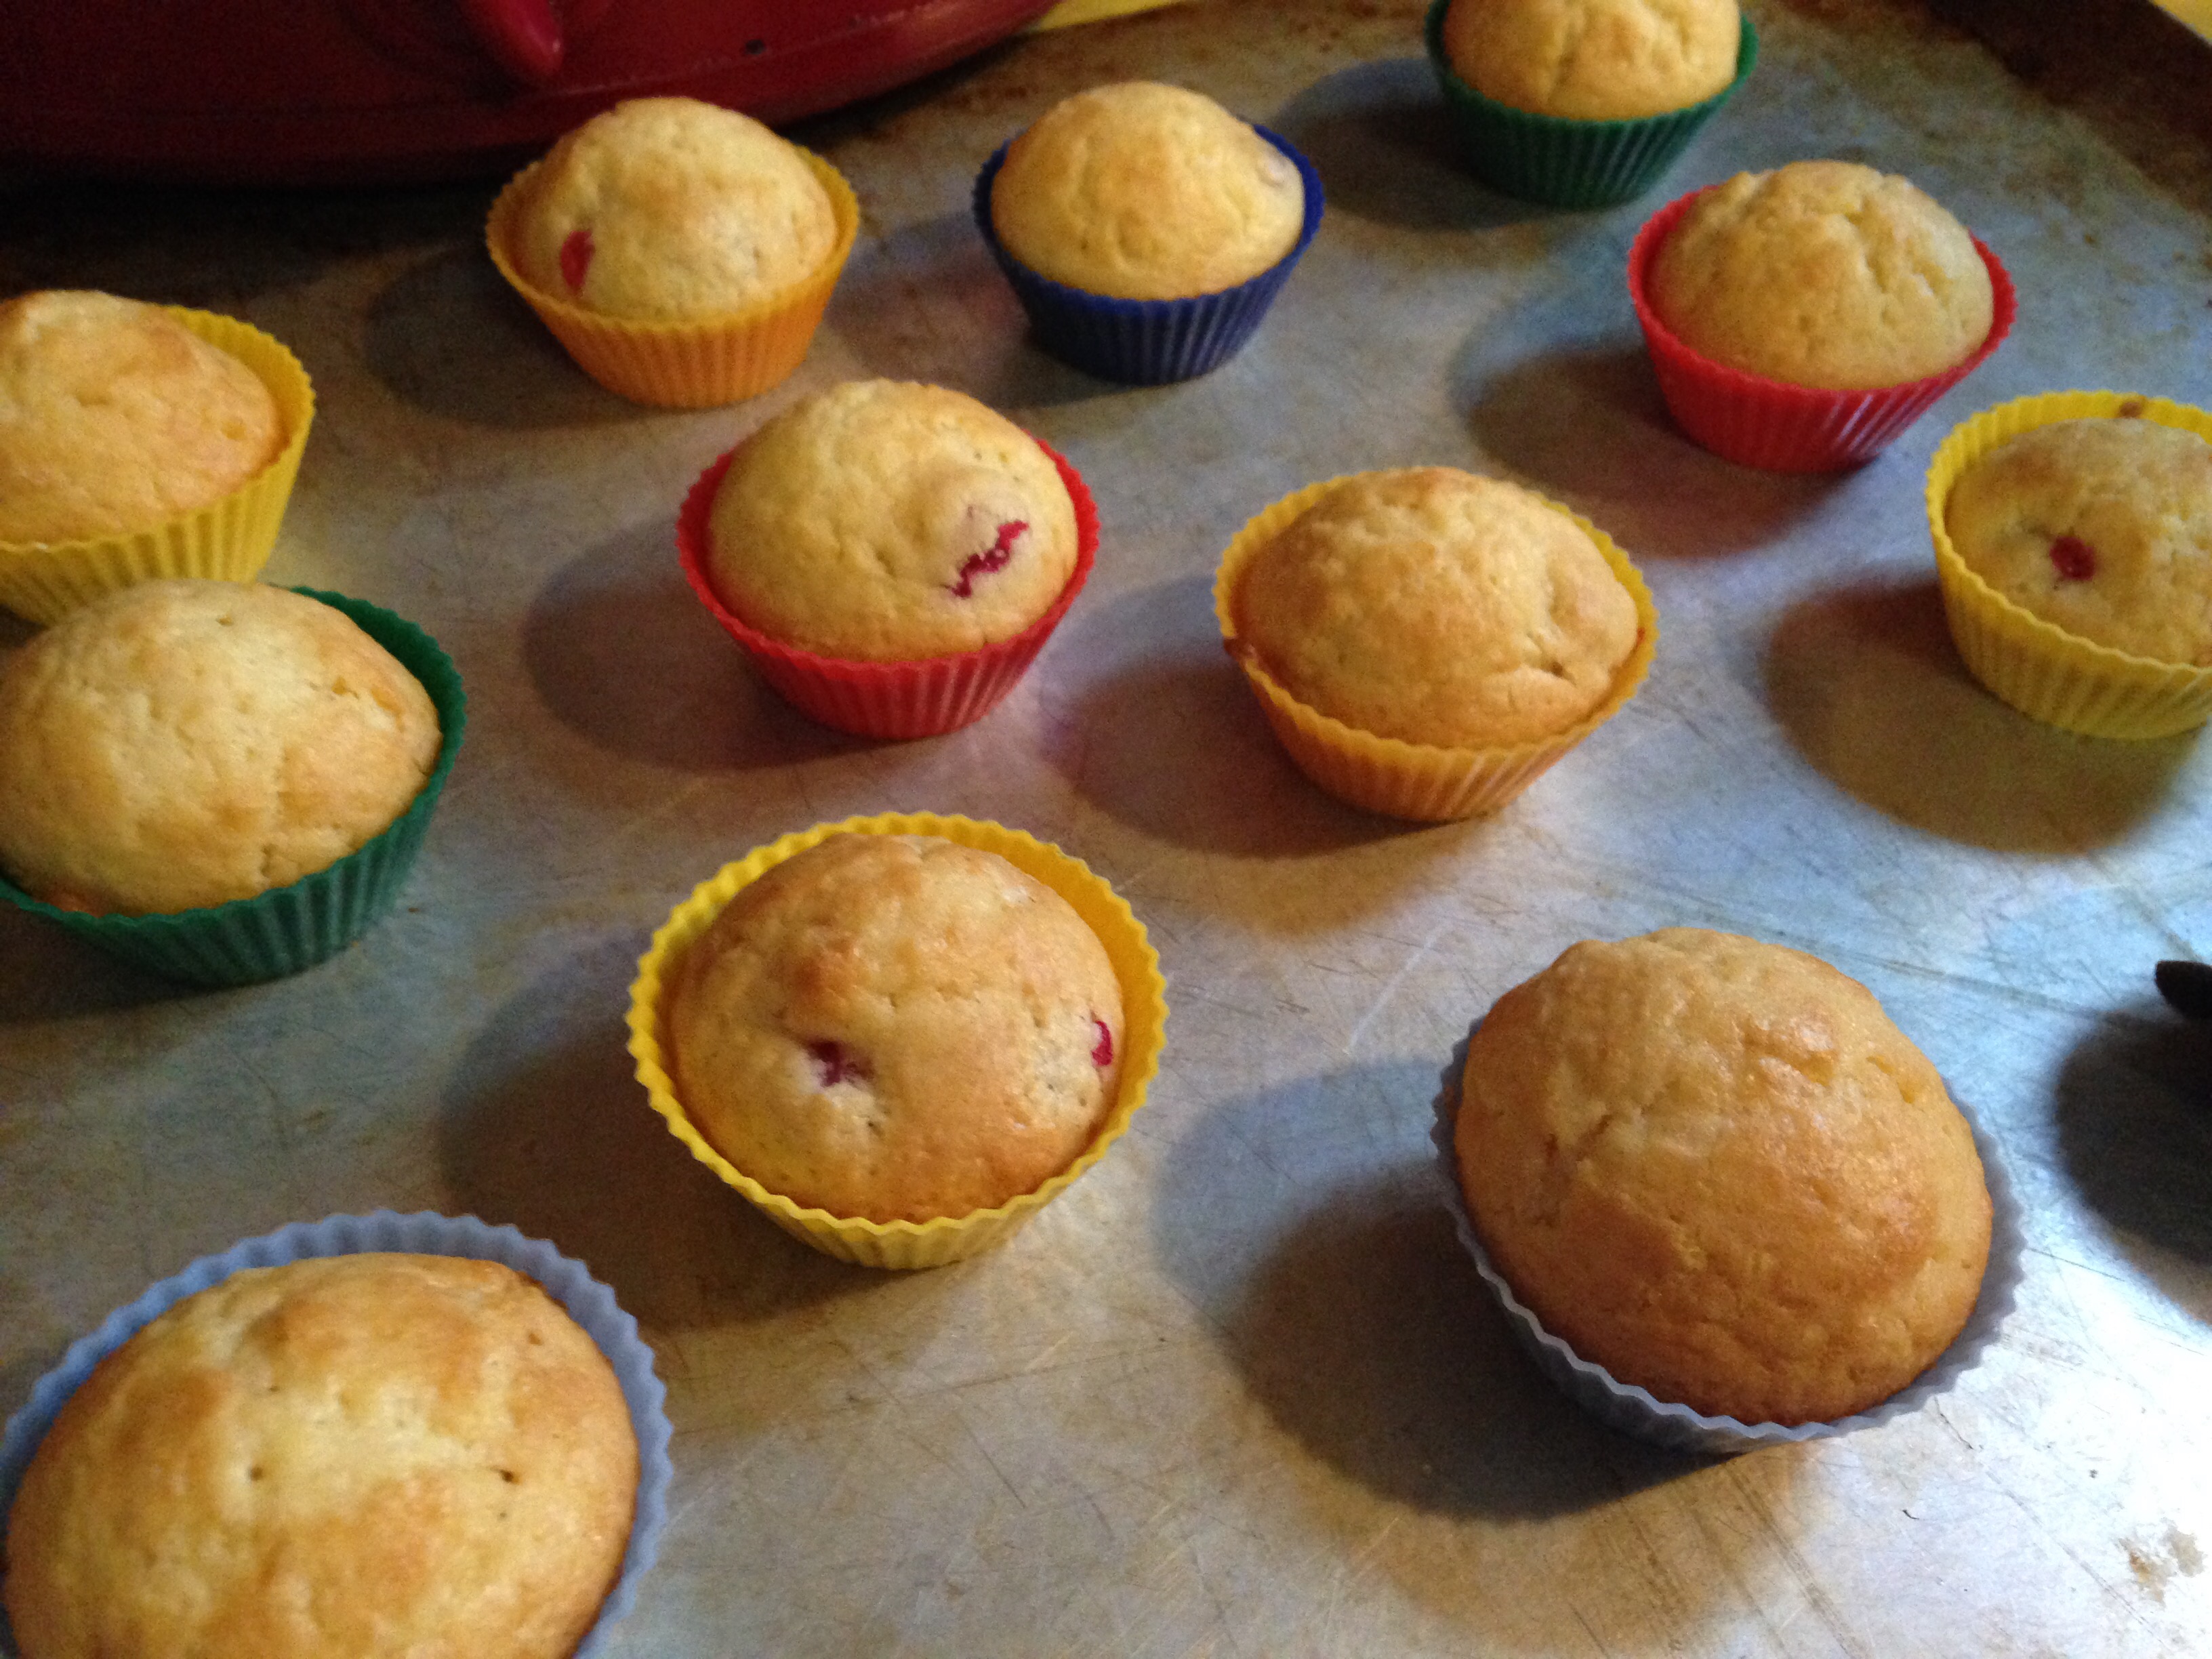
I wanted to make something festive for Christmas. So, I took my normal banana chocolate chip muffins that I make every week for snacks and dressed them up a bit. This is basically a healthy version of red velvet cake using beets to add some fun color, nice texture and extra vitamins. The result: I had something special for Christmas week for the kids to eat for snack time. Here’s what I did if you want to give it a try.

Merry Muffins: 

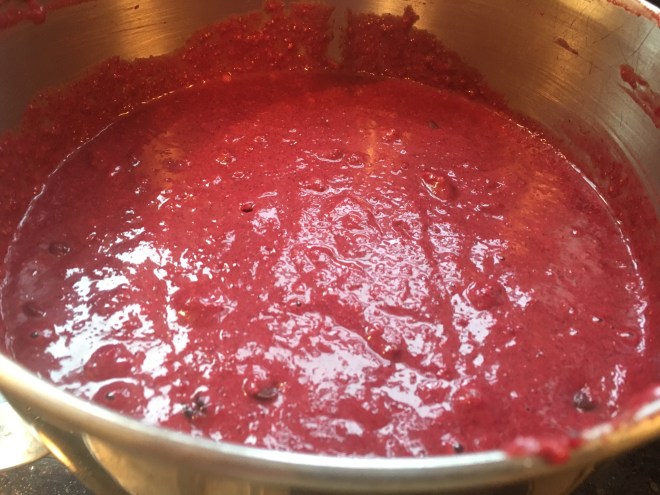
  1. Steam 4 medium beets. I used my new Instant Pot. Cook however you prefer until tender. I cooked mine with the skins on and then they peeled right off when I took them out of the Instant Pot. In the Instant Pot, I cooked them on low pressure for 15 minutes with natural pressure release. Total time from locking on the lid to finish was about 40 minutes total.


  2. Reserve the cooking liquid from the beets to add a little extra color. You can easily reduce to concentrate the color by setting the Instant Pot to sauté after you have removed the beets while you assemble your other ingredients.
  3. Peel the cooked beets and purée in the food processor.
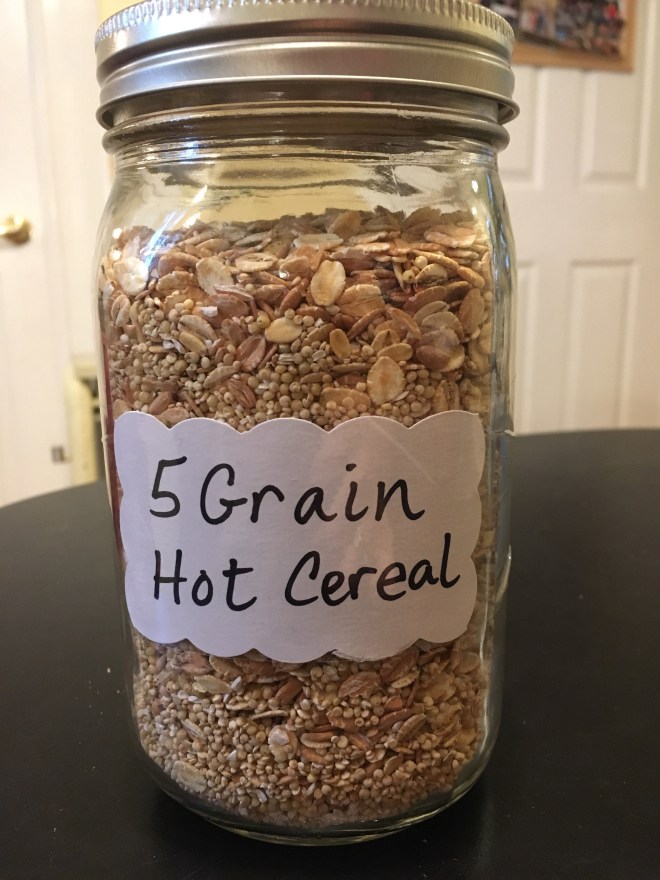
  4. Prepare your dry ingredients. Adjust the flours to suit your tastes and dietary needs.
    • 2 cups all-purpose flour (I like King Arthur or Trader Joe’s)
    • 1 cup whole grain spelt (or whole wheat flour)
    • 3/4 cup millet
    • 1/2 cup buckwheat flour
    • 1 tsp salt
    • 2 tbls baking powder
    • 5 tbls cocoa powder
    • 2 1/2 cups chocolate chips
  5. Next, add some sweetness. Choose your sweetener. Below is what I used. Substitute what you like.
    • 3/4 cups honey
    • 1/2 cup maple syrup
    • 1/4 agave
  6. Get your liquids ready.
    • 2 tsp vanilla extract
    • 2 1/2 cups of milk (minus the volume of liquid from your reserved beet juice)
    • 6 egg yolks (we avoid egg whites, use 3 whole eggs if you like)
    • beet puree
    • 1/2 cup light olive oil (or other tasteless oil)
    • 3 very ripe mashed bananas
  7. Mix the dry ingredients. Add the sweetener to the wet ingredients, and the combine the wet and the dry together, stirring until just combined.img_9520
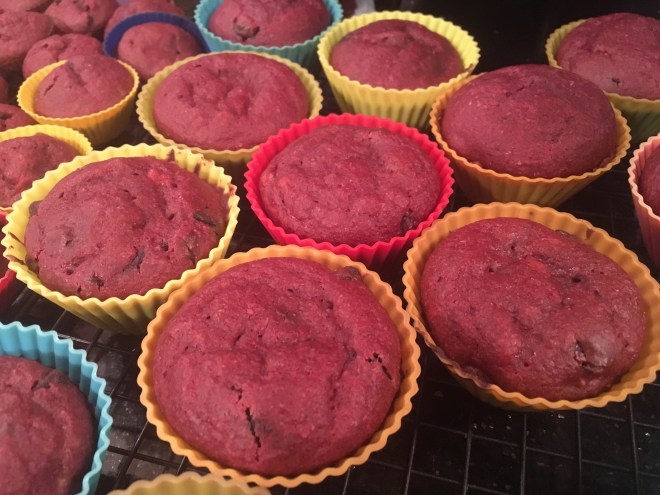
  8. Spoon into muffin cups. I like reusable silicone muffin cups.img_9521
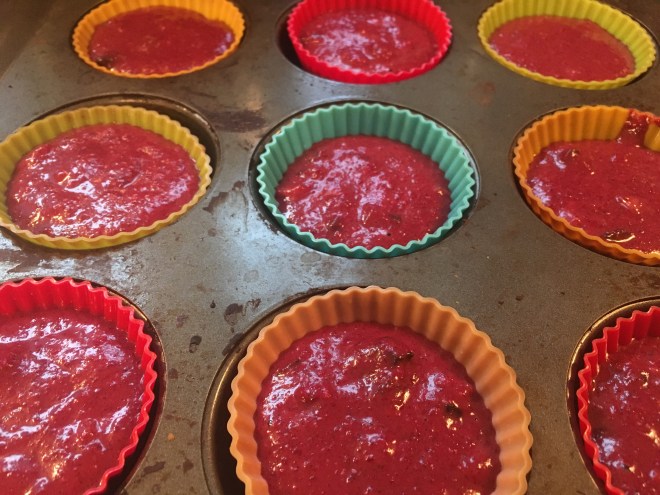
  9. Bake at 400 for 20 minutes.
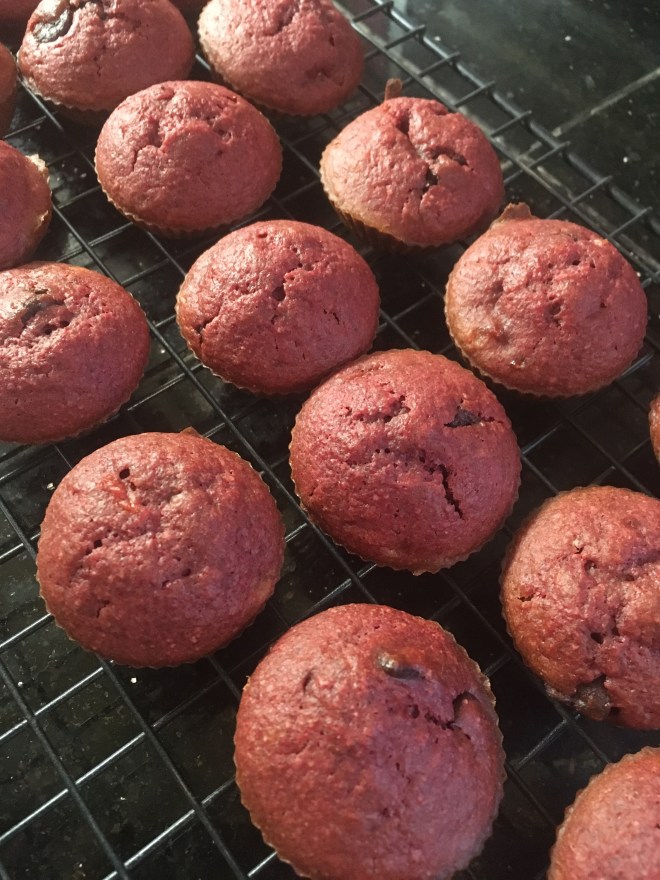
  10. This recipe made about 2 dozen regular size muffins, and about 3 dozen baby muffins. These are best enjoyed fresh. For best texture, freeze if you are not planning on using them within two days.img_9522


Roasted Beets, Sweet Potato, and Apples – Yum!

So I’ve been needing a new healthy snack in my life and this is what I came up with spur of the moment tonight. I’m going to experiment with variations on the seasonings, but this first batch turned out so nicely that I thought I would share.

This makes about 3-4 servings but could easily be doubled or tripled. And this would make a great side dish too. The colors are perfect for fall.

Roasted Beets, Sweet Potatoes, and Apples:

1 Sweet Potato, peeled and chopped

4 Small beets, peeled and chopped

2 Small apples, chopped

3 tbls Extra Virgin Olive Oil

1/2 tsp salt

2 tsp cinnamon

1/2 tsp oregano

2 tbls brown sugar

Mix it all together in a bowl until the apples and veggies are coated with the oil and seasonings. Roast on 400 degrees for 35 minutes.

5 Grain Hot Breakfast Cereal

I’ve been trying to come up with new breakfast ideas lately. When you have to eliminate eggs, oats, nuts, and pork you really aren’t left with many options.

I raided my pantry and gathered up all my different bags of grains that I use for various things. Here’s what I came up with.

Rolled spelt, barley, millet, buckwheat, and quinoa.

I used the following proportions, but you could adjust the measurements or types of grains to suit your preferences.

5 Grain Breakfast Cereal:

1 cup quinoa

3/4 cup spelt flakes

3/4 cup barley flakes

1/2 cup mullet

1/4 creamy buckwheat cereal

Mix the grains together and store in a quart size jar.

To cook, use 1 1/2 cups of water for every 1/2 cup of cereal mix. Serving size is 1/2 cup of cereal mix per person. Simmer in water until the millet is cooked. Serve with butter or cream, and brown sugar.

A Week of Waffles

A Week of Waffles

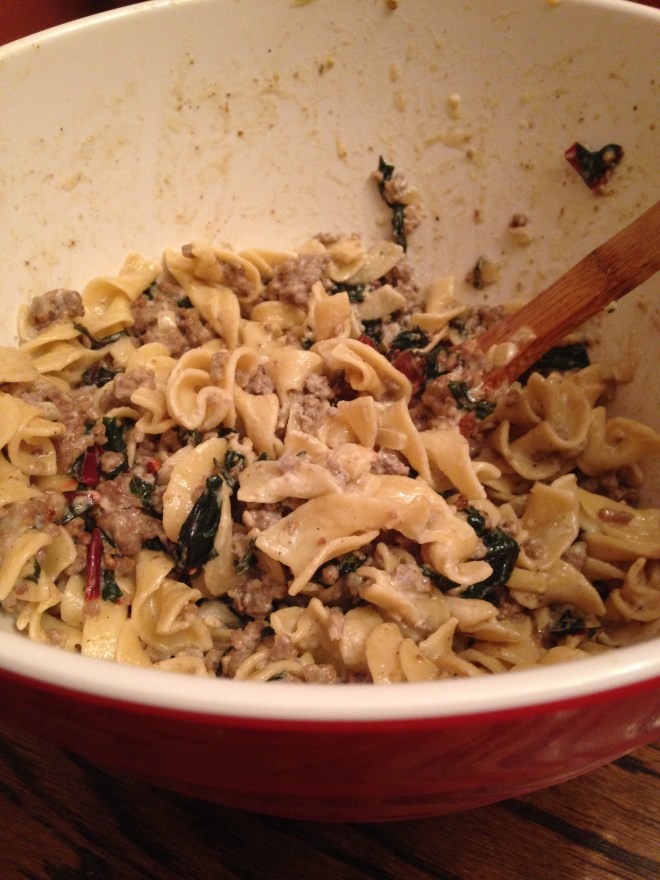
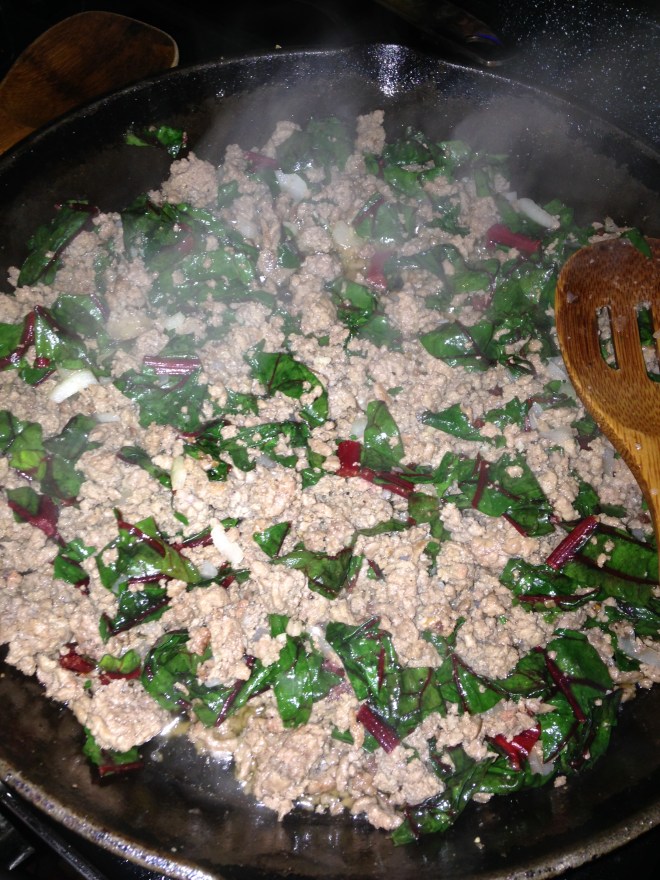
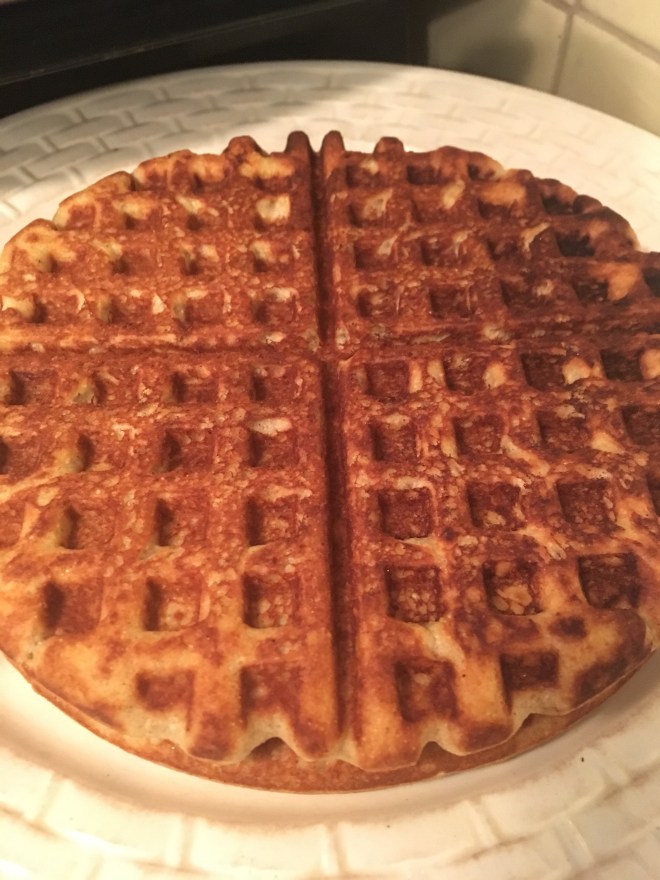
We eat waffles for breakfast every morning. Why you ask? Because when members of your family are allergic to oats, eggs, and pork you’re pretty limited on your breakfast food. This is something that I can make that everyone can eat. So, I make a HUGE batch every Saturday to last us the week. If you want a week’s worth of waffles, try this recipe.

Waffles:

4 eggs (I use 8 egg yolks as we can’t use the whites)

1 cup mild tasting oil (I use light olive oil)

1 tsp. Vanilla

1 tsp. Salt

Stir.

4 cups buttermilk (I sour milk with vinegar)

Add to egg mixture and stir.

5 – 5 1/2 cups flour (I usually use 2 cups all purpose, 2 cup whole grain spelt or whole wheat, and 1 cup millet)

1 tbls. Cinnamon

1 tsp. Baking soda

Stir. If you used whole grain flour, let it sit a few minutes so that the flour can absorb all the liquid. If your batter is still too runny add a half cup of all purpose flour.

Cook in my favorite Cast Iron Waffle makers. 🙂

Store in the fridge for up to one week, or freeze.

Enjoy your pre-made breakfast.

Click this link for some tips on using these cast iron waffle makers to their full advantage.

Easy Roasted Chicken and Veggies


I made this colorful concoction for our Easter dinner this year. It was delicious and so easy to prep ahead when you have guests.

I started the night before by washing and chopping all my veggies, and setting some minced garlic to marinate overnight in olive oil. 

In the morning I tossed about 8-10 red potatoes and a handful of carrots in a big bowl with my garlic and olive oil mixture from the night before. Then I sprinkled them with salt and pepper and put them on my baking stone. I coated the chicken thighs (boneless, skinless, about 2.5 pounds) in the same oil and garlic mixture and placed them around and on top of the potatoes and carrots. Then I threw in some chopped onion pieces and celery stalks for flavor and good measure. 


Next, I coated all my veggies. I had pre-chopped red onions, yellow squash, red peppers, broccoli and asaparagus. For this tray I chose veggies that were colorful for spring and ones that would roast quickly. (The potatoes and carrots went on the tray with the chicken because they would need a longer cooking time.) I coated them in an olive oil, garlic mix with rosemary and oregano added, and sprinkles of salt and pepper. These all got spread on a second tray.

Before roasting


I baked the chicken first. 45 minutes at 400 degrees. When it was done, I took it out to sit and put the second tray with the veggies in the hot oven (still at 400 degrees) for 20 minutes. Everything was perfectly roasted. It was an easy, delicious and flavorful meal.

Roasted to perfection. 400 for 20 minutes.


We had carrot cake for dessert, but that will have to be another recipe. 🙂

Black Bean, Sweet Potato, Turkey Chili


I’ve always used my Mom’s chili recipe. It’s Tex-Mex all the way. My allergy kid is off tomatoes right now however, so that recipe is out. Recently, I’ve been experimenting with alternatives and honestly, we haven’t like any of them….until this one.
It’s a keeper. A Facebook friend posted this recipe for a black bean, sweet potato vegetarian chili. It sounded appealing because it used many of the same spices that I typically use in chili, so I tweaked it a bit and made it my own. 

The first change was to add meat. Sorry to my vegetarian friends. I added ground turkey, omitted the tomatoes and changed a few other ingredients based on what I had on hand and what sounded good.

Black Bean, Sweet Potato, Turkey Chili:

1.5 lbs ground turkey

1 yellow onion, diced

6 cloves of garlic, pressed or minced 

1 tbl chili powder

3 tbls cumin

1 Jalepeno, seeded and diced

Salt and pepper

Brown the turkey meat adding the chopped items and then the spices.

Next add…

1 can each black and pinto beans (or 8 oz. dried and soaked beans)

2 large sweet potatoes, peeled and chopped

1 cup chopped red pepper

2 cups chopped red Swiss chard

3 cups vegetable broth

If needed, add enough water to cover all the ingredients. Simmer until heated through or until the beans are tender if using dried.

This would also make a great crock pot meal if you cooked the meat ahead and tossed all the rest in the crock pot the day of.

I like this recipe because it tastes similar to my standard chili and has a good enough base with the sauce, peppers and sweet potatoes that none of us missed the tomatoes. Eat well everyone!

Homemade Ranch Dressing in minutes 

Our family LOVES Ranch dressing. Granted it may not be the healthiest of choices but it’s our favorite dressing nevertheless.

My allergy kid has had to forego his  favorite Ranch dressing of late however, so I came up with a homemade mixture that I actually like better than the regular Ranch and that he will eat. So, it’s a win, win. I make it in small batches but you could make larger batches. I’d eat it within a week.


Homemade Ranch Dressing:

1 cup mayonnaise 

1/4 tsp salt

1/4 tsp pepper

1/2 tsp garlic powder

1/4 tsp onion powder

1/2 tsp parsley 

Mix and add water until it reaches the desired consistency. If you want the dressing to have a longer shelf life then add distilled water rather than tap water. Store in a covered container in the fridge.

Winter Shepherd’s Pie

This is an alternate take on Shepherd’s Pie. I used a mix of chicken, chard and cauliflower with sweet potatoes on the top.

I wasn’t sure how it would turn out but it was quite good and flavorful. It’s a good way to use up meat from a leftover roasted chicken.

If you want to give it a try, here’s what I did….

Start by boiling 4 medium sweet potatoes in their skin (I like to cook mine ahead in the crock pot ). Next sauté a small chopped onion in light olive oil. When the onions are slightly translucent add six cloves of minced garlic and salt and pepper to taste. Cook for 1-2 minutes more. Add finely chopped chard and cook until wilted. Then add chopped cauliflower. Add 3 cups pre-cooked shredded chicken. Sprinkle with 2 tbls of flour and stir until the flour has been absorbed by the oil. Then add 2 cups of chicken broth. Cook about 4-5 minutes or until thickened. Transfer the meat mixture to a casserole dish. Remove the skins of your cooked sweet potatoes and mash a fork adding 1/2 tsp of salt and 1 1/2-2 cups heavy cream. Spoon on top of your meat mixture and heat at 350 until heated through.

Eat up! Even my one year old loved it.

Homemade Flour Tortillas

Homemade Flour Tortillas

Mexican and Tex-Mex food is a staple in my cooking rotation. But even something as basic as packaged flour tortillas are out for us right now where food reactions are concerned. 

So for the first time ever I made my own. The actual cooking time took me about 30 minutes. Total prep time probably 1 hour 15 minutes, but most of they was time for the dough to rest. 

It’s not hard but it is a bit labor intensive. But it gives you control over the ingredients so it’a a win.

First mix up your dough.

3 cups all purpose flour

1 tsp. salt

2 tbls. baking powder

1 stick butter cut in with a pastry blender

(Every other tortilla recipe I found on google called for either lard or vegetable shortening. Well, I have one kid who can’t have pork and one who is super sensitive to palm/coconut oils so neither of those would work for me. This is why I chose butter. Use the fat of your choice that is solid at room temperature.)

I also found that the butter blended better if Inused my fingers at the end. You don’t want beads of butter like in most baked goods. You want it to be thoroughly blended so that when you pinch some of the flour together it sticks together like wet sand.

Once your flour mixture is the right consistency pour in 1 1/4 cups warm water and mix until the dough forms a ball in the bottom of the bowl. It should be a moist dough but not wet and sticky. Cover and let the dough rest 20 minutes.

After the testing period, pinch off bits of dough and form into 1 1/2 inch balls. Cover and let the balls rest 15 minutes.


Prepare a floured board for rolling out the balls and heat a cast iron skillet or griddle hot until water sizzles on the surface. 


Roll out the balls very thin using only as much flour as needed to keep them from sticking. 


Lay flat on your skillet with no oil. Once the top forms bubbles flip to the other side and cook for about a minute.


If there is residual flour on your skillet rub that off with a dry cloth before putting the tortilla on or the flour will burn.


This recipe made me about 30 tortillas. They are going to make a great bread substitute. I think I’m going to try using less flour when I roll them out next time as they ended up being a little dry. But they tasted great as soft tacos for dinner and were light and pliable. And I have enough for dinner tomorrow. Yay!

Cranberry Muffins

So my allergy kid is causing me to get creative. He’s reacting to…. well lots of things, so everything is suspect right now. No store bought baked goods for us. I would fudge and buy muffins from the bakery once every few months. Since that’s not an option right now I busted out the muffin pans. I haven’t made muffins in, well, years. The King Arthur Flour cookbook gave me a refresher course and then I changed the ingredients based on what he could have.

Ready, set, go….


2 cups flour of your choice (I used All Purpose because that is what he is tolerating best right now)

Scant 1/2 cup sugar

1/2 tsp. salt

2 tsp. baking powder

1 cup fresh ripe cranberries (or berry of your choice)

Combine the dry ingredients and mix the cranberries in until coated with flour. Next, in a separate bowl combine…

1 cup milk

6 egg yolks (or 2 whole eggs)

1/4 cup light olive oil (or oil of your choice) 

Whisk together until combined. Pour over dry ingredients and mix only to the count of 20 even if your batter is still lumpy, that’s okay. The less you mix the fluffier the muffins will be.

Pour into lightly greased muffin cups (I use silicone ones) until 2/3 full. Per King Arthur’s instructions Inpreheated the oven to 500 and then reduced the heat to 400 when I put the muffins in. Cook for 20 minutes.


I used these mini silicone cupcake molds to use my extra batter. I cooked them at 400 for 14 minutes. They are a great size for travel or for the one year old. 

Happy baking everyone!

Mineral Rich Lamb Stroganoff

I invented a new recipe today. Our son is struggling with foods right now so I’m trying to focus on the things that he tolerates well while getting some good fats, protein and minerals in him. This recipe was a modification of my regular stroganoff recipe adjusted for his current food sensitivities. I added lamb for variety so he has some rotation in his meats, and swiss chard and bone broth for extra vitamins and minerals. I wasn’t sure how it was going to turn out but it was great! Though this is not a great picture, the half empty bowl proves that it was a hit. The bowl was full when we started. The five year old had three servings!

img_0900

If you have food restrictions that are different from ours, this recipe is easy to substitute what works for you. Here’s what I used if you want to try it:

1 lb. ground lamb
1 lb. ground beef
3/4 tsp. sea salt
1/2 tsp. black pepper
1/2 cup chopped onion
3 cloves minced garlic
4 cups chopped swiss chard
3 cups heavy cream
2 cups of beef broth or bone stock (see here to make your own)
extra virgin olive oil
2 tbls. all purpose flour
1-1/2 packages wide egg noodles

img_0898

First put a pot of water on to boil for the pasta. While you wait for it to boil cover the bottom of your skillet with olive oil. Saute your ground lamb and ground beef until browned. Season with salt and pepper and add the chopped onion and garlic. After about 5 minutes add the chopped swiss chard and cook until wilted. Add about 2 tbls. more of olive oil. Stir and then sprinkle 2 tbls. of all purpose flour (or flour of your choice) over the meat mixture stirring until the oil has absorbed all the flour.Next pour in the heavy cream and stir. When it starts to thicken add the beef stock and stir until combined and heated. Turn off the heat. Cook your egg noodles (or pasta of your choice), drain and mix the noodles, sauce and meat mixture all together.

img_0901

Sprinkle with parmesan and crushed red pepper flakes if desired. Eat it up. It’s delicious!

Bone and Veggie Broth

img_0872

Break out your crock pots everyone! Whoever invented the crock pot has my eternal thanks. It makes what I’m about to tell you so EASY. I had a great time at the grocery store today. In part because I only had two of my four children with me which made shopping much easier. 🙂 But, otherwise, I was gathering all the fixins for some DELICIOUS broth. Ahhhh. Mmmmm.

I’m making two kinds – beef and vegetable. Let me tell you how to make your own.

img_0859

Beef stock with beef bones, beef marrow, garlic, onions and leeks.

Beef Stock:
Buy about 5 pounds of various beef bones from your butcher. Many stores will have packages set out labeled as soup bones. I bought one package of “soup bones,” two packages of neck bones, and two packages of marrow bones. If they don’t have any out, ring the bell at the meat department and tell them what you want. They can cut it up for you in minutes. When you get home dump all the bones all in the crock pot and add one head of garlic unpeeled and chopped in half, one leek, 1 cup onion quartered, 1.5 tsp sea salt, 1/4 tsp. pepper. Pour cold water over it all and cook on low for 12-18 hours. When cool either strain and freeze or follow my instructions for my favorite way to preserve broth – make your own bullion cubes.

img_0870

Veggie stock – beet greens, potato peels, onions with peels, garlic with peels, carrot and potato peelings, and leeks.

Vegetable Stock:
I don’t know why I’ve never thought to do this before but I recently saw an idea online to save all your vegetable scraps in the freezer and when you have a full bag use them to make veggie broth. That’s what I did and it is currently simmering away. Couldn’t be easier. Dump in all your scraps, cover with water, add 1 tsp. sea salt, 1/4 tsp. pepper. In this batch I added potato peelings, carrot peelings and ends, celery tops and bottoms, beet greens, leeks, onion tops and peelings, and one head of garlic with peels. You could really add anything. If you add peelings just be sure that you wash the vegetables before you peel them. I used the bag of veggie scraps from my freezer and just from putting these batches of broth together this afternoon I almost have another full bag in the freezer waiting for next time. I would say that the essentials to veggie broth that make it great are celery, leeks and garlic. Don’t skip the leeks. I buy them just for broth. They make it that much better.

I’m going to be spooning this into my meals and the mouth of my kids when they are sick. My allergy kid is struggling right now from some recent food reactions so I’m hoping the extra vitamins and minerals will give him the boost he needs and help his gut heal and get back to normal. The healing properties of this broth can’t be equaled. Plus they are sooooo delicious. Enjoy.