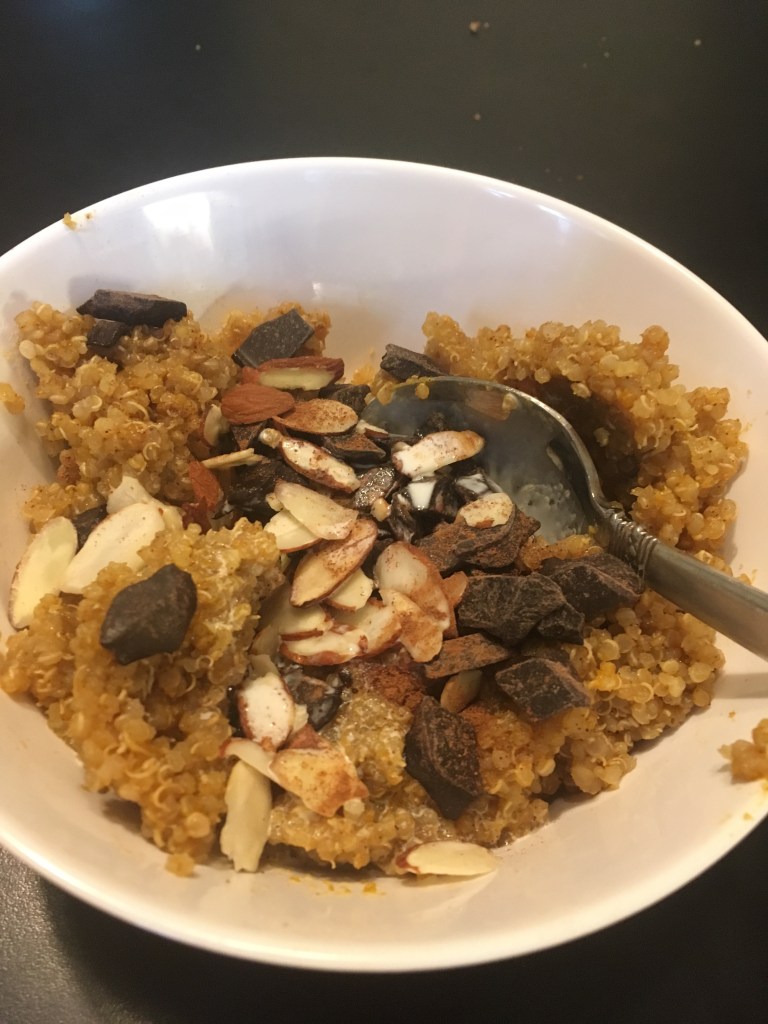
I have made this in a couple of years, but it’s been one of those weeks and I need something easy for breakfast in the morning. Try this easy make ahead breakfast. You can set it up the night before and it’s ready and hot when you wake up. Get the recipe here!
Mix the above adding flour gradually until the texture of the dough is like a thick cream cheese frosting.
Prepare Topping/Filling:
Combine…
1/2 cup flour
6 tbsp cold butter
1/3 cup brown sugar
1.5 tsp cinnamon
Use a pastry cutter or your fingers to combine the butter, flour, sugar, and cinnamon until the mixture is crumbly or the butter is pea size.
Loosely mix 1/3 of the amount of your filling into your batter. Reserve the rest.
Prepare your pans:
Grease your pan(s) and fill halfway with batter. Sprinkle 1/3 more of the prepared topping/filling on top of the batter. Fill with more batter until the pan(s) are 2/3 full. Sprinkle the remaining 1/3 of the topping on the top and use your fingers to poke some down into the batter like you would if denting focaccia bread.
Rise:
Cover with a lid or a damp tea towel. Let the bread rise for 1-4 hours until 1/2 inch from the top of the pan.
Bake:
Bake covered if you have a lidded pan or baking dish for 20 minutes at 400 degrees, and 20-30 minutes more uncovered at 350 until the internal temp measures 190 degrees.
Cool and enjoy.
Makes 1 large 5×13” Pullman style loaf, or two 9×5” loaf pan loaves.
The Art of Homemade Bread will teach you all you need to know if you want to learn more about making healthy bread at home.
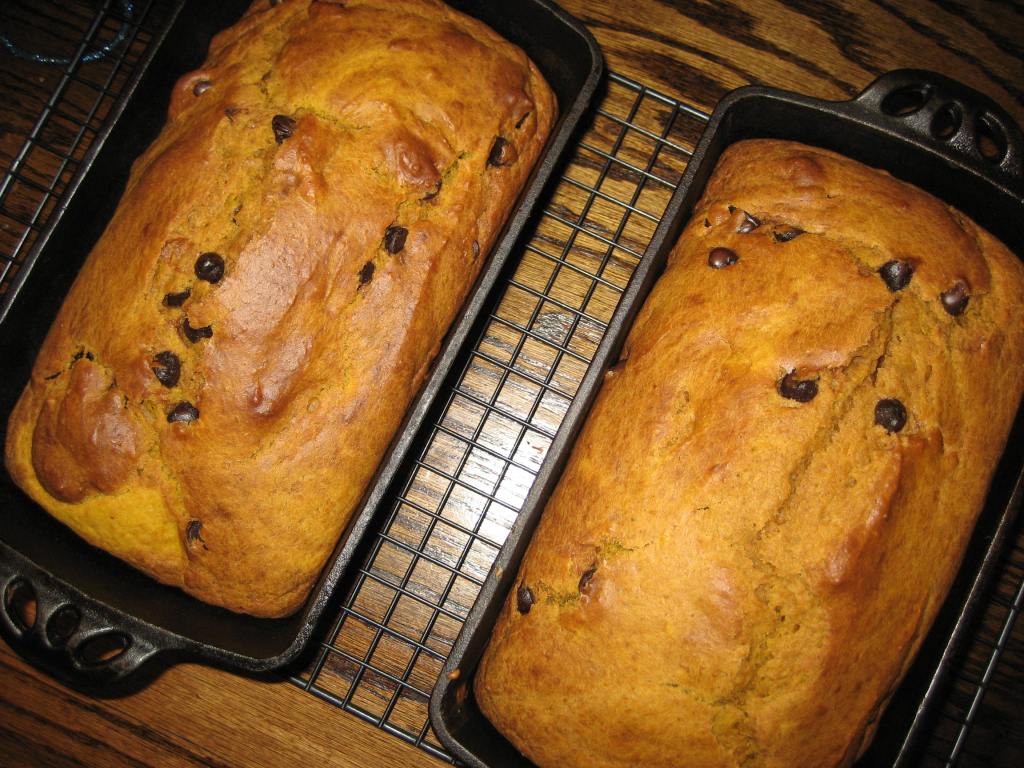
Forgive the misshapen loaf. One spot stuck and a bit a surgery had to be performed in order to remove it from the pan. Thankfully that doesn’t affect the taste. 😊
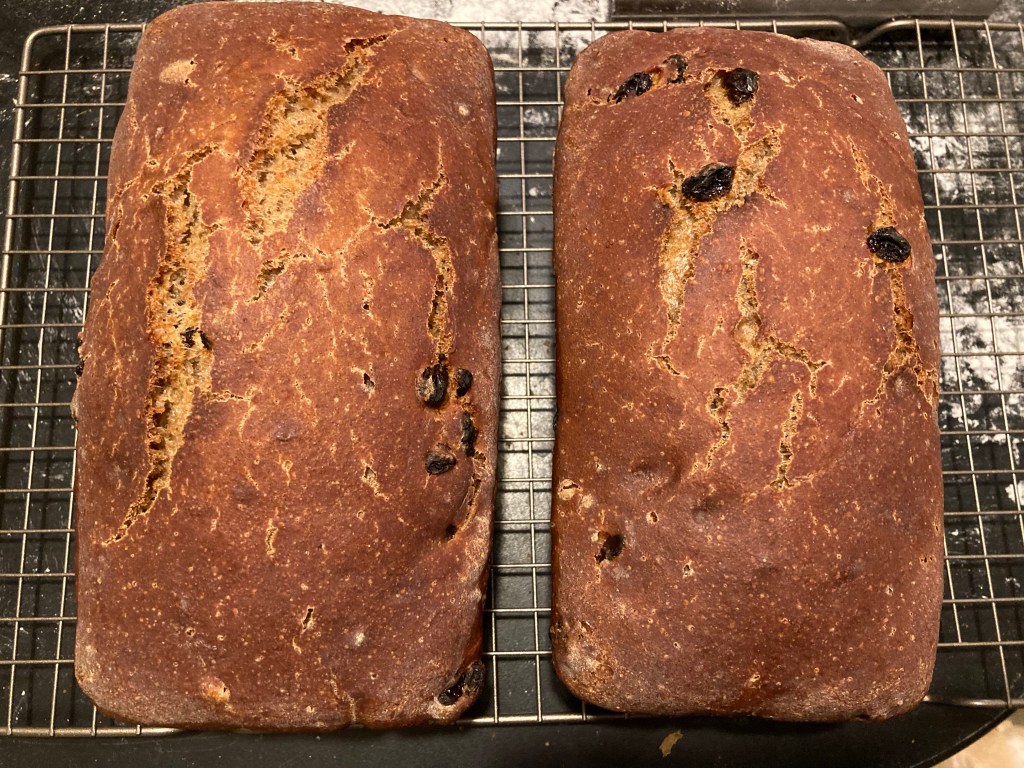
Banana Blueberry Batter Bread:
3 cups sourdough starter (fed or unfed)
1 1/2 tsp salt
1 tsp vanilla
1/4 cup oil
1/3 cup heavy cream
1 cup water
1/2 cup honey
1/2 cup sugar
3 very ripe, mashed bananas.
Mix all of the above together and then add…
2 cups all purpose flour
1 1/2 tsp baking soda
1 tbsp cinnamon
2 cups fresh or frozen blueberries
1-3 cups whole wheat or whole grain spelt flour. Add 1/2 cup at a time until the batter is about the texture of softened cream cheese.
Pour into greased loaf pans.
Cover and let it rise for about an hour or until it almost reaches the top of the pan.
Bake at 400 degrees for 50-60 minutes. Internal temp should register 190 degrees.
Remove from pans immediately and place on cooling rack to cool. Makes 2 loaves.
Enjoy!
And if you want to learn more, The Art of Homemade Bread will teach you all you need to know about making healthy bread at home.
This is another yummy way to use up extra sourdough starter. For other flavors search for “batter bread” in the search box here on the blog. It should be at the top of the sidebar on the right if you are reading on a computer, or if you are mobile it should be all the way at all the bottom under the comments.
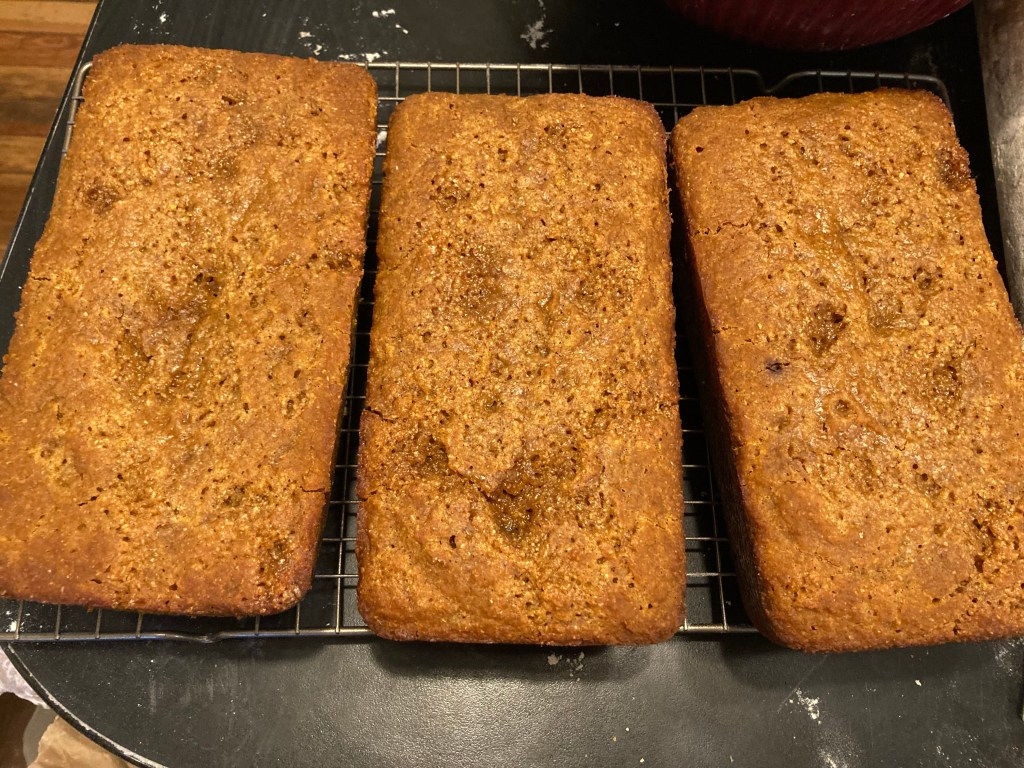
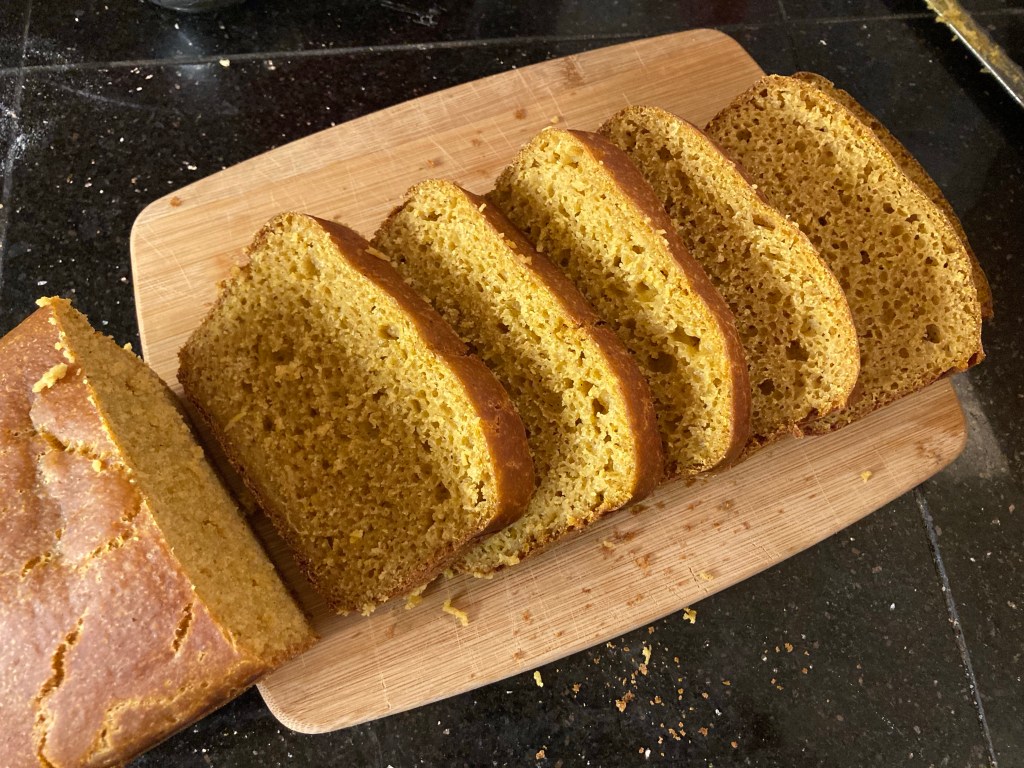
Pumpkin Spice Batter Bread:
2 cups sourdough starter
1/3 cup oil
3/4 cups honey
3 eggs
1/2 cup milk or water
1 tsp salt
1/2 tsp nutmeg
1 tsp vanilla
1 – 16 oz can of pumpkin (or 2 cups of pumpkin purée)
Mix the above ingredients until well combined.
Add…
1 1/2 tsp baking soda
All purpose or whole wheat flour 1/2 cup at a time until the mixture resembles a very thick pancake batter that is about the texture of softened cream cheese or buttercream icing.
Pour into 2 greased loaf pans or a large greased casserole. Let it rise in a warm place for 1-2 hours.
Bake 400 degrees for 45-50 minutes, until a tester comes out clean or the internal temp reaches 190 degrees.
And if you want to learn more, the Art of Homemade Bread will teach you all you need to know about making healthy bread at home.
Sometimes your best meals come for what is lying around in your pantry waiting to be used.
Such is the case with this recipe.
I had leftover pinto beans and hamburger to use up for lunch one day this week, and I was trying trying to think of how to make it a little different or special since we had just eaten the same meal for lunch the day before.
What do I have I asked myself?
I had a Napa Cabbage that needed to be used up. What could I do with that. Well, I could make coleslaw, but traditional cole slaw doesn’t really fit with this meal, and only one of my kids really likes it.
Cross that off the list.
What about Mexican Coleslaw. Yes. That might work.
What can I put in it.
Cabbage, red onion, garlic…. The recipe started formulating in my mind. Here it is for your enjoyment.
Mexican Coleslaw:
Cabbage (green or Napa work well), chopped or grated. Grate the amount needed for the dish you are serving this week and the number of people in your family.
1 cup red onion, chopped
4-6 cloves of garlic, chopped
1/8 cup salt for every 4 cups of cabbage
Black pepper, a few good shakes
1/2 tsp chili powder for every 4 cups of cabbage
1.5 tsp cumin for every 4 cups of cabbage
Juice from 1 lime, or 2 tbsp of bottles lime juice per every 4 cups of cabbage
Throw it all in a bowl and toss together.
Now this is where your options come in.
Mexican Coleslaw Three Ways:
1. Plain: Eat it as is. This is what we did. We used it as a topping for our Mexican lunch in place of lettuce. If you find it a bit dry, drizzle a little bit of olive oil to distribute the spices and moisten it up a little.
2. Creamy: Add mayonnaise. If you want a creamier slaw, add a little Mayo at the end and mix in. This would be wonderful on top of Mexican food as well.
3. Fermented: If you haven’t added oil or Mayo, this is where it gets interesting. You can add more salt and turn it into a Mexican lacto-ferments sauerkraut. This could be done with any leftovers that didn’t get eaten at your meal, or with the whole batch if you desire. Add about 1 tsp of good sea salt per every 4 cups of cabbage. Go by taste. It should be salty, but not so salty so that you don’t want to eat it. Taste as you go when adding salt. Once salted, pack into a clean jar, cover with a follower (glass weight, sterilized rock, ziplock baggie filled with marbles). Cover with filtered water so that all the food contents are submerged. Cover loosely with a lid. Label and date. Loosen the lid at least once a day to release any gases. Eat at any point, but allow it to ferment for 1-2 weeks or until the taste is to your liking before transferring to cold storage.
I enjoyed mine with a taco bowl topped with my homegrown, fermented cherry tomatoes (see lead photo).
For more information on fermented foods visit the Pantry. Or for a more thorough resource, I highly recommend Shannon Stronger’s Traditionally Fermented Foods book (affiliate link).
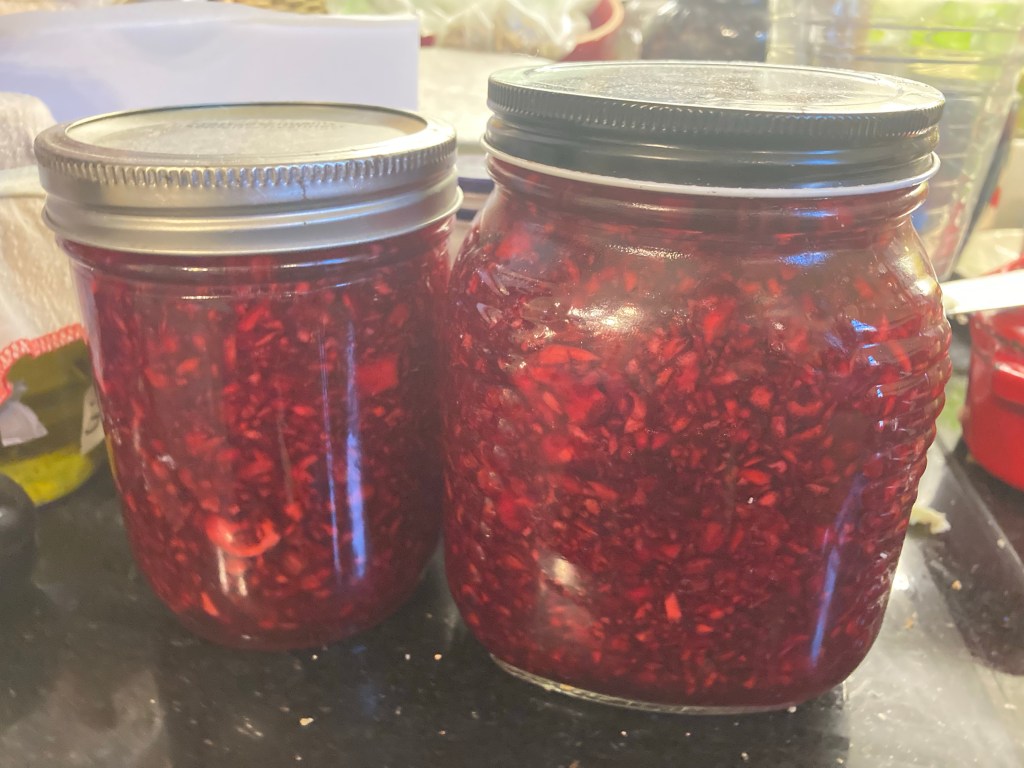
Do you have extra cranberries to use up after Thanksgiving? Try this Lemon Cranberry Relish. It couldn’t be easier. It works for Thanksgiving, but I’ll tell you a secret. I made extra this year so that I have some for Christmas too. That beautiful red color will be lovely on my Christmas table.
This recipe can easily be halved or doubled. Here’s what you need:
1 package whole fresh cranberries
1/4 cup chopped lemon peel or 1-2 tbsp lemon zest
Honey
Simply chop the cranberries in your food processor (or leave them whole if you want), cut up your lemon peel into little pieces or chunks (you could use lemon zest too if you don’t want the chunks of peel in there), put in a jar, and cover with honey to 1” above the fruit level. That’s it!
Swirl the cranberries around 2-3 times per day or whenever you pass by the jar to keep them well coated as submerged. After a couple of days you’ll notice that the honey becomes more liquid as the fruit release their juices into it. You can begin eating it at any point, but the flavor is best after a week or more of fermentation time.
Amazingly this is a fermented relish. The anti-microbial properties of the honey are acting as a preservative for the fruit long enough for the liquid to be released into the honey which then allows the honey to ferment. After fully fermented, which takes about 2 weeks (more like 4 weeks if you use whole cranberries) the this will last indefinitely in the fridge. If kept at room temperature it will continue to ferment and eventually turn to alcohol if left out long enough. I keep mine out on the counter, but it never lasts long enough to bother putting it in the fridge. We eat it up.
And feel free to play with flavors. I’ve also tried adding orange and cinnamon, but the lemon is my favorite.
This recipe makes a great jam substitute if you are trying to avoid sugar. I also use it in baking to make flavored biscotti or scones, or even as a flavoring or sweetener in my morning tea.
Resurrecting this recipe from the Family Favorites page today. Two loaves are about to go in the oven. If you need an gluten-free version click on the Allergy Friendly page.
This is similar to Apple Brown Betty which is baked, but this is a quick, allergy-friendly skillet version, and can be made in small batches. It’s a great way to use of stale ends of sourdough bread, but regular bread works great too.
This recipe is dairy, sugar, soy, nut, and egg free, and can be made gluten free as well.
1 medium apple, peeled and chopped
1 tbsp avocado oil, or butter
1/4 cup honey
1/4 tsp vanilla
Pinch of salt
1/4 tsp cinnamon
Dash of nutmeg
1/4-1/2 cup water
2-4 slices of stale bread, coarsely crumbled (for a GF version use gluten free bread)
Peel and chop your apple, heat skillet over medium heat and add your oil and apple. Sauté for a couple of minutes or so, and add the salt, cinnamon, and nutmeg until all the apple pieces are coated. Next add the honey and vanilla, stir quickly so that the honey doesn’t burn, and gradually pour in some of the water to make a sauce. Don’t add all of it unless you need it. Add the crumbled bread and stir until coated and heated through. Serve with ice cream or heavy cream if you can have it. Makes 2-3 servings.