Deal of the Day: Land’s End Clearance for $1.99

Lands end canvas kindle pouch 425828_AE12_LF_B86I like to shop the clearance section at Land’s End. A month or so ago I found that they have these canvas Kindle/Nook cases on clearance for $1.99. I ordered several of them and I am loving them for keeping stuff organized in my bag. They are sturdy canvas and they have a magnetic closure at the top. I keep snacks in one, hand sanitizer and essential oil blends that travel with me in another, I can stash crayons and paper for each kid in the others. The kids know which pouch has what (I got one of each color/pattern – other colors here) and they can get out what they need and know exactly where it is. My bag stays neat, I can fish stuff out of my bag easily while waiting at the bus stop or riding on the train. It is totally worth $2 to me not to have to make something like this – the built in magnetic closure is a big plus. Snatch them up before they are gone.

(Note: I receive no compensation for this review. This is just my own views and opinions of a product that I like.)

Recycled Sewing: Old jeans to cute bags

3.8.14 027So, I’ve been busy sewing this week. The kids have been practicing learning embroidery and one afternoon I got inspired to turn my husband’s old pair of jeans (that I rescued from the trash) in to some cute bags and pouches for the kids.

Here’s how they turned out. It was fun to cut it up and figure out how to make the bags fit together and how to make each bag fit the individual personalities of my kids.

I used the legs for the boy bag (pictured above right) and the little girl bag (pictured above left). This was super easy since all I had to do was stitch up the bottom and add a strap. I made the flaps large so their stuff won’t fall out and didn’t use buttons or snaps so that they can get in and out of the bags themselves. For the middle bag for my oldest daughter I used the left side of the jean with one front pocket and one rear (pictured below). Used the waistband for the shoulder strap and stitched some cute floral fabric along the top to finish it of and cover the cut edge where the waistband used to be.

Bags for the girls.

Bags for the girls.

One for the older girl.

One for the older girl.

One for the little girl with a little flower pocket under the flap.

One for the little girl with a little flower pocket under the flap.

Bag for the boy. Or a "satchel" as we call it.

Bag for the boy. Or “satchel” as we say.

The little one being a cute model.

The little one being a cute model.

DIY Crayon Rocks


How many of you have seen these Crayon Rocks? They are great because they travel easily and they are easy for little ones to grasp. They don’t crumble when they get stuffed down in the bottom of your bag, and of course the little red bag that they come with is very cute and trendy. But, at $10 per bag it’s pricey for crayons.

2.13.14 013I admit, I did buy a bag that I found locally for half the regular retail price as a treat for the kids. But, then I got to thinking, why not make my own? It’s easy.

To begin, start saving all those tiny bits of crayons that you would normally throw in the trash. Once you have a handful collected, fill up each heart in this Silicone Heart Mold (affiliate link) with pieces of the crayon of the same color. This particular mold is the best I’ve found for mimicking the shape and feel of the crayon rocks. The resulting crayons are small, and the indentation in the mold makes them easy to grasp. Set the mold filled with the crayon bits on a cookie sheet for support and pop it in the oven on 200 degrees for 15-20 minutes or until they are all melted. Let them cool completely, pop them out of the mold and the kids are ready to color. Find a cute cloth bag to store them in (or go the easy route and use a plastic baggie) and you’re all set.

Molten crayon wax. Just removed from the oven.

Molten crayon wax. Just removed from the oven.


A bucket full of crayons.

A bucket full of crayons.


Pretty.

Pretty.


Window Silhouettes

2.13.14 006I’m so proud of myself I have to share this. It’s not terribly practical of me since I don’t have a template to share or any step by step directions to share, but it turned out so well maybe some of you can come up with something cute for your windows. You could outline anything and turn it into a decoration that is cute and whimsical. Let the kids try their hand at it too. All I did was draw the outline that I wanted in chalk on black construction paper and then cut it out and tape in on the window. Doesn’t it look like Mary Poppins and Bert are dancing on the rooftops? And in the snow no less! It makes the window with the ugly view much more fun. If you can’t freehand your drawing then you could trace over an image or print an image out on regular white paper. Cut that out and then trace around it with chalk on your black construction paper. Supercalafragilisticexpialidocious everyone!

From this angle it looks like they're dancing in the snow. :)

From this angle it looks like they’re dancing in the snow. 🙂

Shhh! My Surprising Secret for Keeping my Kitchen Clean

140204_0003Shhhh. Don’t tell anyone. (Well, actually do… share this post and improve my blog traffic.) But, I’ve been finding it easier to keep my kitchen clean. It took me a while to figure out why. We moved in the fall and it seemed like in the new kitchen it’s easier to keep clean than the old one. This really didn’t make sense. The new kitchen is smaller, has fewer cabinets and storage places and less counter space. So, why would it be easier to keep clean? It took me a couple of months to figure out but it finally hit me.

When we moved, we removed some conveniences from our life. Now it seems counter-intuitive that removing conveniences would make something easier, but that’s what happened. Let me tell you the story.

When we moved we threw out our microwave. This decision was made mostly due to a lack of space in the new kitchen. The fact that half the buttons were broken had something to do with it too. And I know that it is better for us to eat food heated on the stove, but that’s another topic. So, we moved and began settling into the new place without a microwave. After a month or so I was noticing that it seemed easier to keep this kitchen clean. Why would that be? A couple of months went by and it finally dawned on me. The reason (partly) is because I no longer had the microwave to rely on.

I realized that before in my spacious kitchen where counter and cabinet space was abundant, that I often relied on the microwave for reheating food, and usually on paper plates too. When we moved we gave up both the microwave and paper plates. Since then it’s been easier to keep the kitchen clean because I end up doing it in short spurts here and there throughout the day. Before, I would let myself fall back on using the microwave and paper plates and then go about putting out the next “fire” (solving arguments, changing diapers, cleaning up spills, etc…. you know everyday life). I would move the kitchen to the bottom of my “To-Do” list because I didn’t have to do it right then. I could get to it later. When the next meal came along and I still hadn’t gotten around to cleaning the kitchen, I would fall back on the paper plates and microwave. The cycle would continue and we would end up with stacks of dishes and no clean silverware in the drawer. So, I would end up washing just enough forks and spoons to get us through that meal and then I’d have to deal with all again at the next meal. The kitchen was a monster and something that I could never get on top of.

Now, without having the conveniences at my fingertips, I have to wash the pans because there is no hot food if I don’t. And it’s easier to wash a drainer full of dishes in the morning and then another one while I cook dinner. Cleaning the kitchen is not the dreaded chore anymore. It feels smaller and easier.

Now, lest anyone have the mistaken impression that I am against ever having a microwave or against ever using paper plates – I am not. But, I’ve realized that removing those things from my life has ended up being a blessing in disguise. It’s taken away a crutch and made me keep on top of things that I otherwise would let slide. Not having the microwave and not keeping paper plates around forces me to keep up better cleaning habits in my kitchen.

2.13.14 005And lest anyone also have the mistaken impression that my kitchen is now always clean here’s a picture just to prove it. It’s not always clean. We’re busy and I still let the kitchen work slide when more pressing things like 3 kids and homeschooling takes over my day. But, it’s no longer the dreaded chore that it used to be for which I am thankful.

Happy Valentine’s Day – DIY Crayon Hearts

2.13.14 013In honor of Valentine’s Day today we are making some crayon hearts. So save all those little bits of broken crayons, melt them down and turn them into new ones. The biggest benefit of these remade ones is that they are thick, so they don’t break easily. And they are easy for little hands to hold. More details to come….  If you’re interested in learning more now, visit my previous post – Crayon Rescue. The new mold pictured here is this one (Amazon affiliate link).

DIY Olive Oil Hand Soap and Dish Soap

140128_0012This is easy peasy for all of you who aren’t brave enough (like me) to undertake the daunting process of making your own soap from scratch.

With this recipe you can customize your blends, and add your own essential oils for scent and disinfecting purposes.

We avoid all the natural soaps and all the store bought soaps because members of our family react to the coconut oil in almost every natural soap and have very sensitive skin which reacts to the mainstream soap brands. So, once you take out coconut oil as a base ingredient and all the main soap brands and all their irritating ingredients, then you aren’t left with much except coming up with your own homemade soap. However, the process of making my own soap from scratch is a bridge too far for me right now. I’ll make lots of things from scratch (as you can tell from the recipes on this blog), but cooking fats and handling lye with littles around just makes me too nervous. Maybe I’ll try it one day, but right now, soap is one project that I don’t have the time, energy or ambition for. So, this is the way you do it without having to make it from scratch yourself. And I just found out that it has a name. I’ve been making soap this way for the past several months and didn’t know what it was called until recently. It’s a process called “re-batching.” Basically, you’re taking an existing bar or leftover pieces of soap and remake it.

For our purposes, we will be turning a bar of soap into liquid hand soap and dishwashing soap.

Now, if you research DIY soap recipes online, you will find that almost all of them call for liquid castille soap. Now aside from the fact that most of those contain coconut oil as part of the base for the soap – which rules them out for me – the other factor that has driven me to develop this recipe is the expense. Even if buying castille soap is cheaper than buying regular dish soap at the store, liquid castille soaps are expensive and basically, I’m just not willing to pay that much money for them.

So, here’s what I do instead. Note: This recipe is very easily customized to meet your needs so change the ingredients to suit your purpose.

Basic DIY Liquid Hand Soap:
Start with 1 bar of 
Kiss My Face Pure Olive Oil Soap (affiliate link, see Disclosures Page). Amazon charges $3.99 per bar for this (you can find 8 oz. bars even cheaper other places online), and you’re only grating 1/2 cup of shavings which is a very minimal amount. So, this recipe will cost you probably less a quarter per batch. To make the soap, start with a cheese grater. Grate enough shavings to loosely fill a 1/2 cup measuring cup. Don’t use the largest shredder but the next size down. Dump the shavings into a small glass bowl. Add your favorite essential oils for fragrance and disinfecting. To decide which oils you want to use, click here for a list of essential oils and their properties. Then add 1 cup of distilled water. (You could use tap water if you’ll use the soap up quickly, but if you don’t use it up fast enough you may find bacteria or mold growing in your soap and have to throw the rest of the batch out). Let the mixture sit overnight. The water will soften the soap shavings and in the morning you will have a lovely, scented liquid soap. Stir the soap and pour it  into an old soap dispenser and you’re done. This recipe will make enough soap to fill a 10 oz. soap dispenser. If you’re not sure what oil blends to use, my favorite for hand soap are geranium/cedarwood or lemon/lavender. If you want to make a moisturizing soap, add 1 teaspoon of your favorite oil (olive oil, almond oil, etc.) to the bottle and shake well. Note: Over time the soap may begin to solidify or coagulate in places so that it looks like there are things floating around in your soap bottle. This is normal and the nature rebatched olive oil soap. If this happens you can just vigorously shake your bottle to remix it. If it doesn’t mix all the way, you can either use it as it is (which is what I usually do). Or if you bothers you, pour your soap into a sauce pan and gently heat it on low (do not boil) and stir until it is all recombined. When it has cooled a little bit pour it back into your soap dispenser.

DIY Liquid Dish Soap:
Follow the recipe above, except only add 3/4 cup of distilled water to the 1/2 cup soap shavings. This will make a more concentrated soap. If using distilled water, feel free to double and triple the batch so that you don’t have to make it as often. The best oils for dishwashing purposes are citrus blends – lemon, lime, orange, grapefruit, tangerine. I would suggest using lemon as the main oil as it has wonderful disinfecting and solvent/grease cutting properties, and then adding some other citrus oils based on what scents you prefer (be creative and come up with your own combinations). Probably 12-15 drops of oil total is sufficient for a small batch of this recipe. If you double or triple the recipe, adjust the essential oil amounts accordingly. I should warn you that you won’t see any bubbles in your dishwater when using this soap. Olive oil soap is a very low sudsing soap and hardly makes any bubbles. It will still work fine though. It’s just not what we are used to.

DIY Foaming Mosturizing Hand Soap:
Follow the recipe for the basic hand soap above. Add about a 1/4 cup of the end product to a foaming soap dispenser and fill with water. Add 1/2 teaspoon of oil to the soap dispenser to make a moisturizing blend. Keep in mind that olive oil soap doesn’t foam much. So, I use it for one of my bathrooms, but don’t expect typical results in a foaming dispenser. If you want the typical foam then I suggest using this foaming hand soap recipe.

This basic recipe will work with any bar soap that you like and works well for you skin. Feel free to try it with something other than olive oil soap. The moisture content and sudsing may be different with another bar soap, but try it out. It will save you money and if you use a soap with minimal ingredients it will be better for your skin too.

Seasonal Decorating: Valentine’s Day

140204_0006I love decorating my house for the various seasons and holidays throughout the year. There is Thanksgiving and Christmas of course. Everyone decorates for those. But, I’ve always enjoyed putting up decorations all year long – spring, summer, the Fourth of July, fall (which is probably my favorite), Thanksgiving, Christmas, New Year’s, winter, and now we are at Valentine’s Day.

Having kids makes this all the more fun because they enjoy it just as much as I do. And we’ve come up with some pretty fun ideas together along way. Scroll down to see some of our Valentine’s decorations this year. You can come up with some pretty cheap and easy ideas with some simple items from the dollar store that you can reuse year after year.

Valentine's wreath on our door made from a scarf wrapped on a round frame.

Valentine’s wreath on our door made from a scarf from the .99 Cent store wrapped on a round metal  frame (it’s actually a frame for advent candles) picked up from the curb.

A mini-Christmas tree decorated with paper hearts cut from a gift bag.

A mini-Christmas tree decorated with paper hearts cut from a gift bag.

Valentine's garland made with red Christmas lights wrapped around one of my babywearing wraps.

Valentine’s garland made with red Christmas lights wrapped around one of my babywearing wraps.

Sticky hearts from the .99 Cent store in the window - It's Valentine's Day NYC!

Sticky hearts from the .99 Cent store in the window – It’s Valentine’s Day NYC!

Meet Rosie. She's our scarecrow that we got on clearance two years. She sits in the hall outside our door. We decided that we liked her so much that we keep her out all year long and dress her up for each holiday/season. The kids say hi and bye to her each day.

Meet Rosie. She’s our scarecrow that we got on clearance two years ago. She sits in the hall outside our door. We decided that we liked her so much that now we keep her up all year long and dress her up for each season and holiday (watch for more pictures of her in the future). See – even she has a bag of Valentine’s for you.

Felt hearts hanging in the plant.

Felt hearts hanging in the plant.

Rosie's Valentine.

Rosie’s Valentine.

Isn't Rosie cute. She's a good friend.

Isn’t Rosie cute. She’s a good friend.

Happy Valentine's Day everyone!

Happy Valentine’s Day everyone!

Sugar-free and Allergy Friendly Apple Cobbler

140128_0003The inspiration for this recipe is from a recipe I found on Yummly. Since I’m not good at making pies, I made it one night in substitute for an apple pie. It turned out really good. I’ve realized since that I’m a cobbler girl and not a pie girl. And that’s okay with me. I’ll leave the apple pies to my mother-in-law and I’ll stick with cobblers. To me pies feel like work, and they never turn out right for me anyway, but cobblers…. they feel easy and fast. So, I made this recipe few more times and as I do with all my recipes after I’ve interalized it, I start tweaking it and making it my own – adding my own flair.

Well in this case, the flair was removing an ingredient. Sugar. I was avoiding sugar over the holidays (great time for that right?) and needed a sugar free dessert for myself. So, I made this without sugar, and guess what. It was really good. Keep reading to find out what to do. But, I’ll give you a hint first… The key to this recipe is the cream.

Sugar-Free Apple Cobbler: 

This recipe is free of sugar, eggs, wheat, corn and nuts.

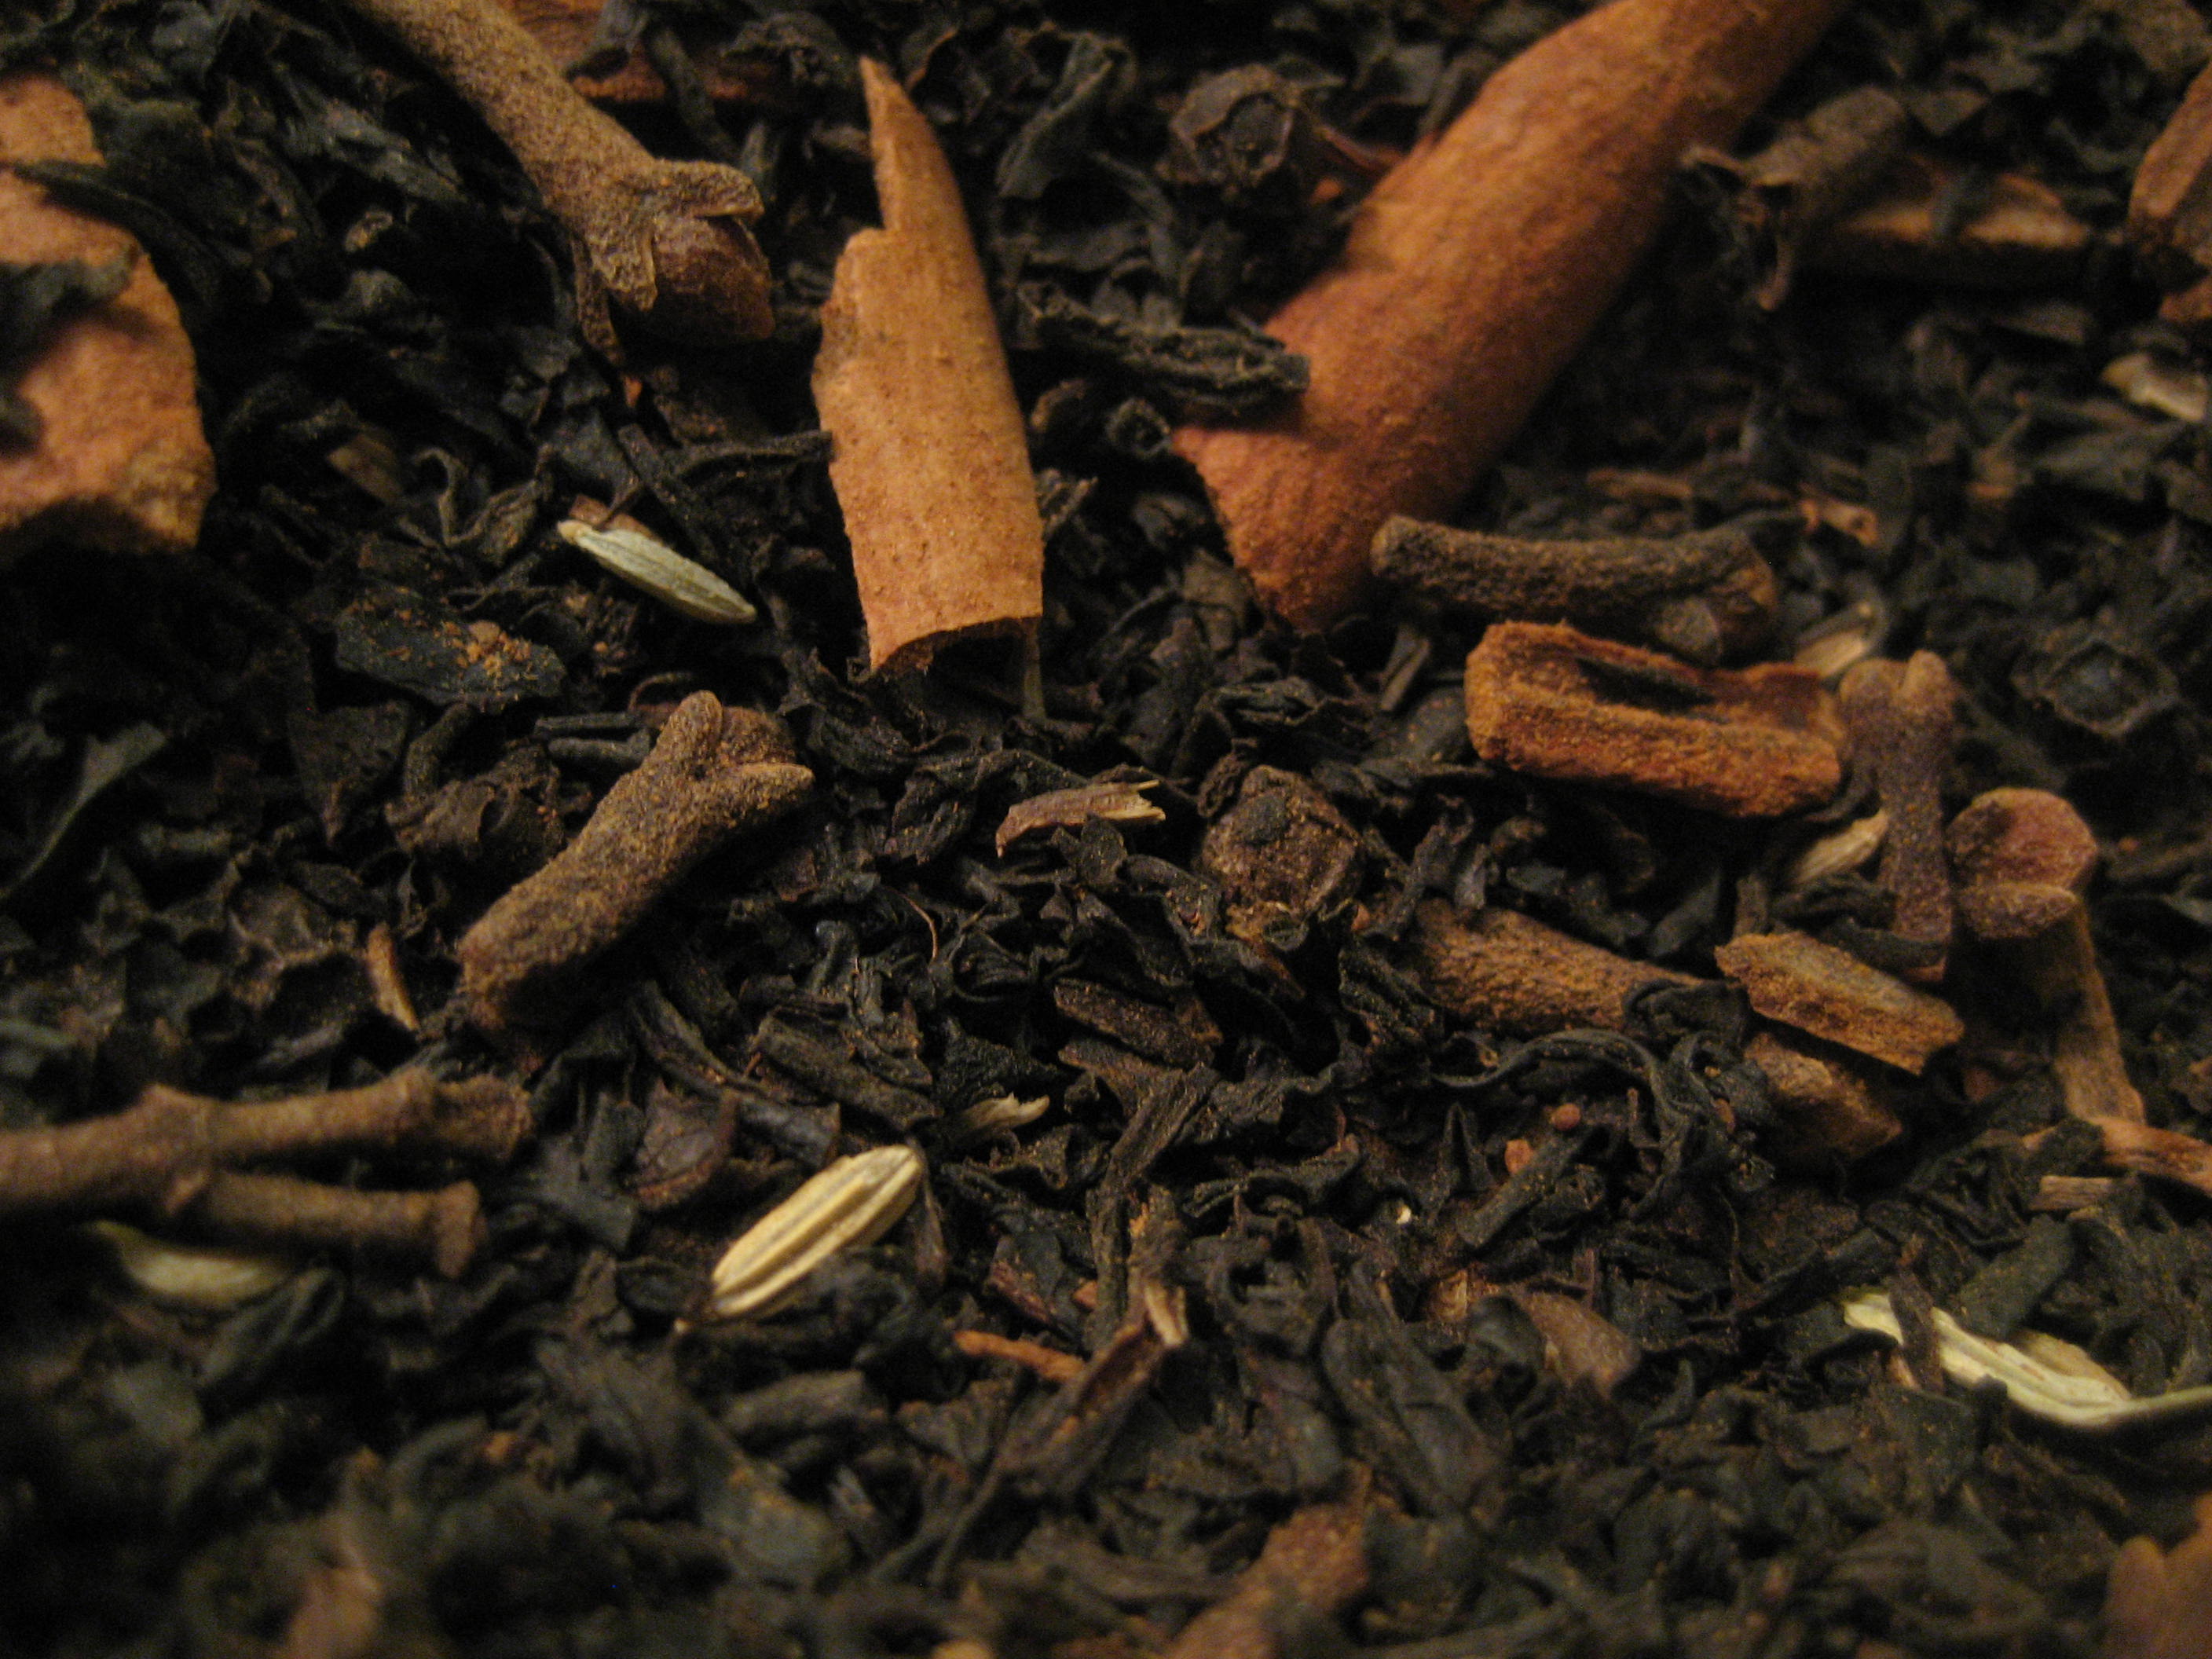
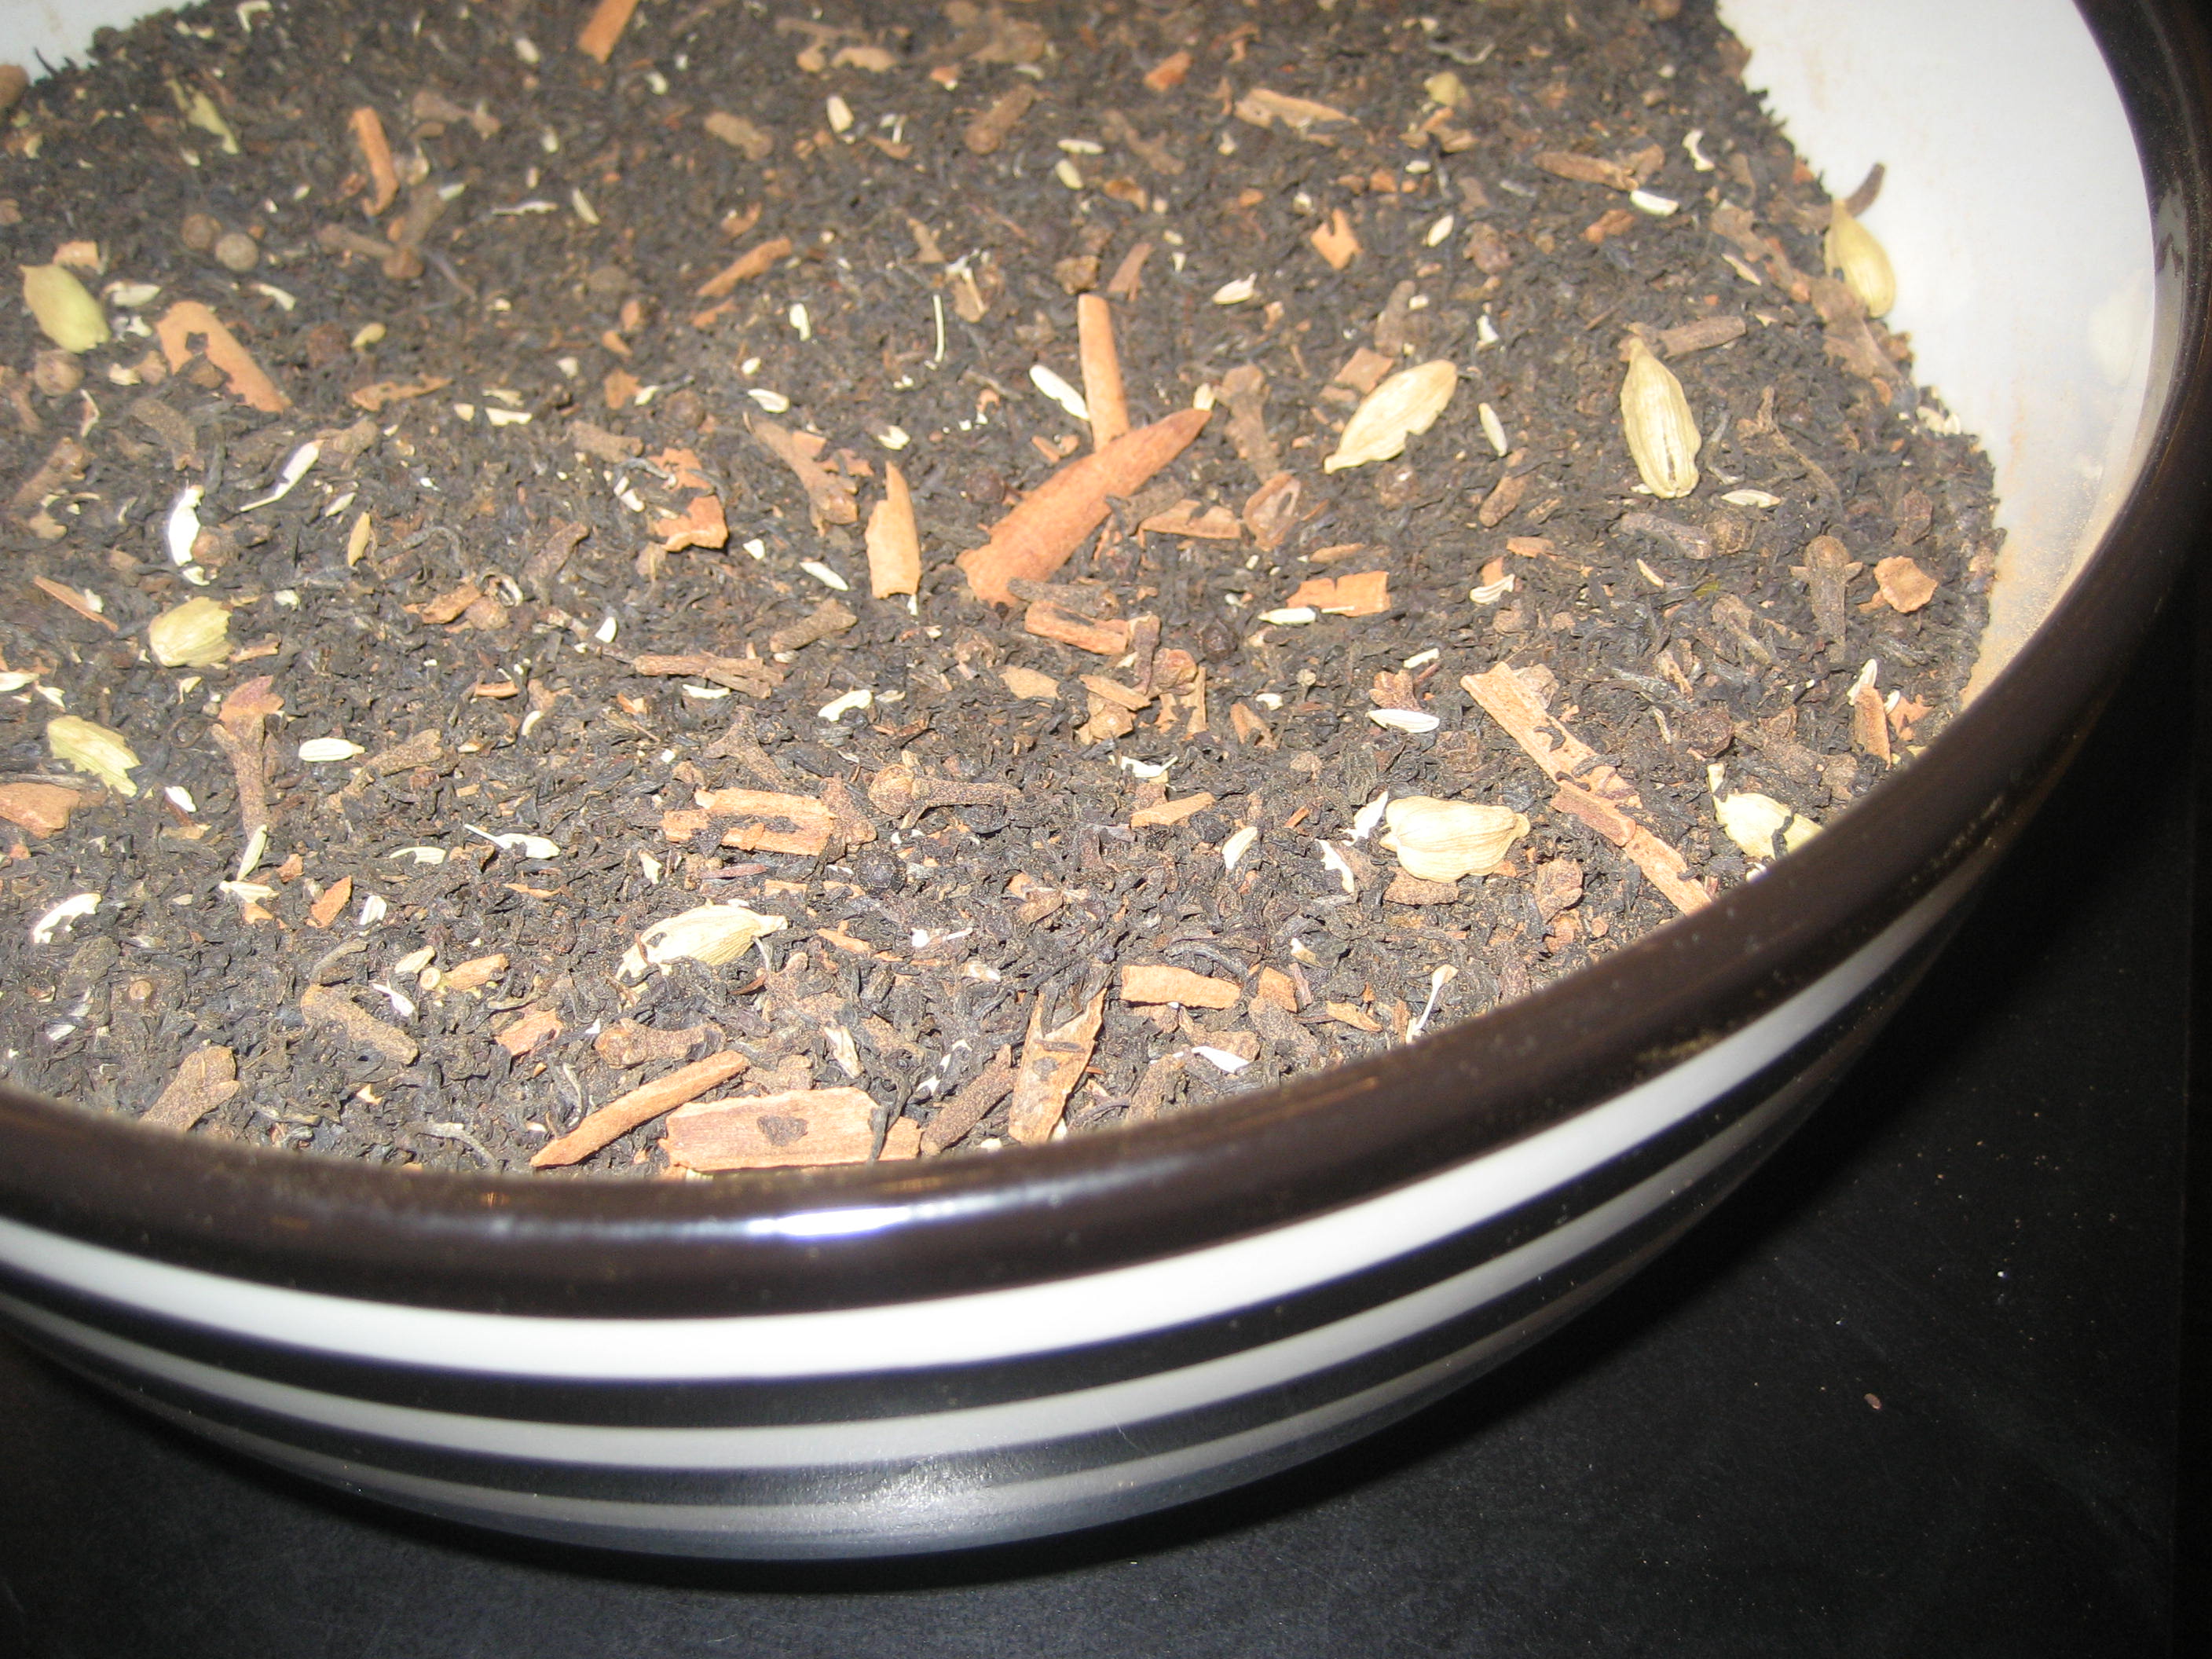
Ingredient List: apples, butter, white spelt flour, cinnamon, cloves, salt, heavy cream, baking powder.

First, grease a casserole dish, cake pan or pie plate with butter.

Peel, slice and chop 4 large apples. Choose a sweet, red variety like Fuji or Braeburn. No Granny Smith’s here please.

Sprinkle 2 tsp. cinnamon, a dash of cloves and 1/2 tsp. of salt over the apples and stir to coat.

Next, melt half a stick of butter in a large (cast-iron if you have it) skillet. Toss in the apple and begin to saute them over medium heat in the butter.

Sprinkle 2 tbls. of white spelt flour over the apples and stir until all the flour is combined with the butter and apple juices. This will make a roux which will thicken your cobber base.

After a few minutes of cooking pour 1 1/2 cups of heavy cream over the apples stirring and simmering until thickened. Remove from heat. The sweetness of the cream combined with the apple juices adds just enough sweet to make this naturally sweet and delicious without needing sugar. (Note: if you wanted it a little sweeter you could substitute 1/2 of apple juice for 1/2 cup of the cream.)

Now, for the topping. This is basically like making homemade biscuits.

In a large mixing bowl add 3 cups white spelt flour (you could use any flour of your choice here, but I think baked goods come out particularly well with this spelt flour), 2 tsp. baking powder, 1 tsp. salt. Stir to combine and then cut in 1/2 stick of butter using a pastry blender. Pour in 1 cup of heavy cream and stir quickly until it all just starts to come together adding a dash more cream if the mixture is too dry. Try to avoid overmixing. The cream here too adds a touch of sweetness so that you don’t need to add sugar to the pastry.

140128_0000
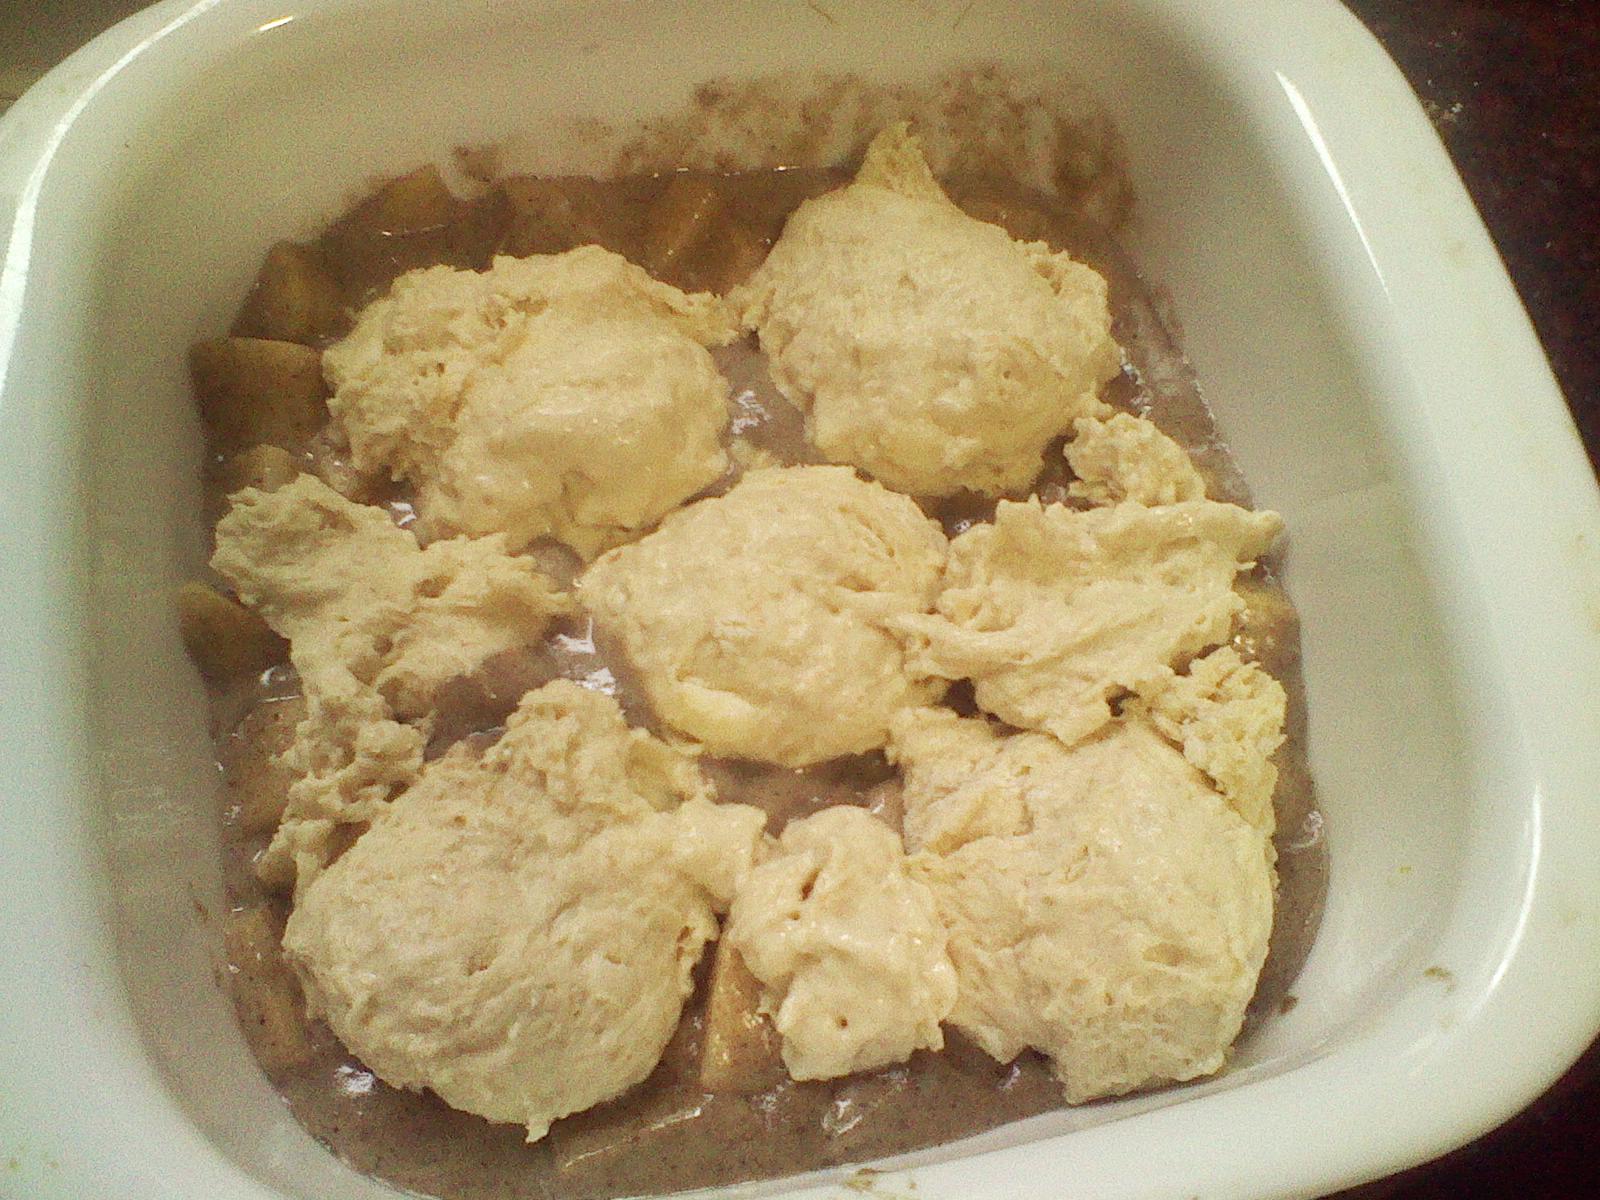
Spoon your apple mixture into your greased casserole dish. Now, using a large spoon or cookie scoop add dollops of the dough. Don’t worry about filling in every space with dough as it will rise as it cooks and all the nooks and crannies will get filled in.

Bake at 350 for about 35 minutes or until your biscuit topping is golden. Serve with whipped cream if desired. It’s delicious! Enjoy!

Note: If you are diabetic and trying to avoid sugar, the fat (cream and butter) in this recipe will help you metabolize the carbs from the apples and dough.
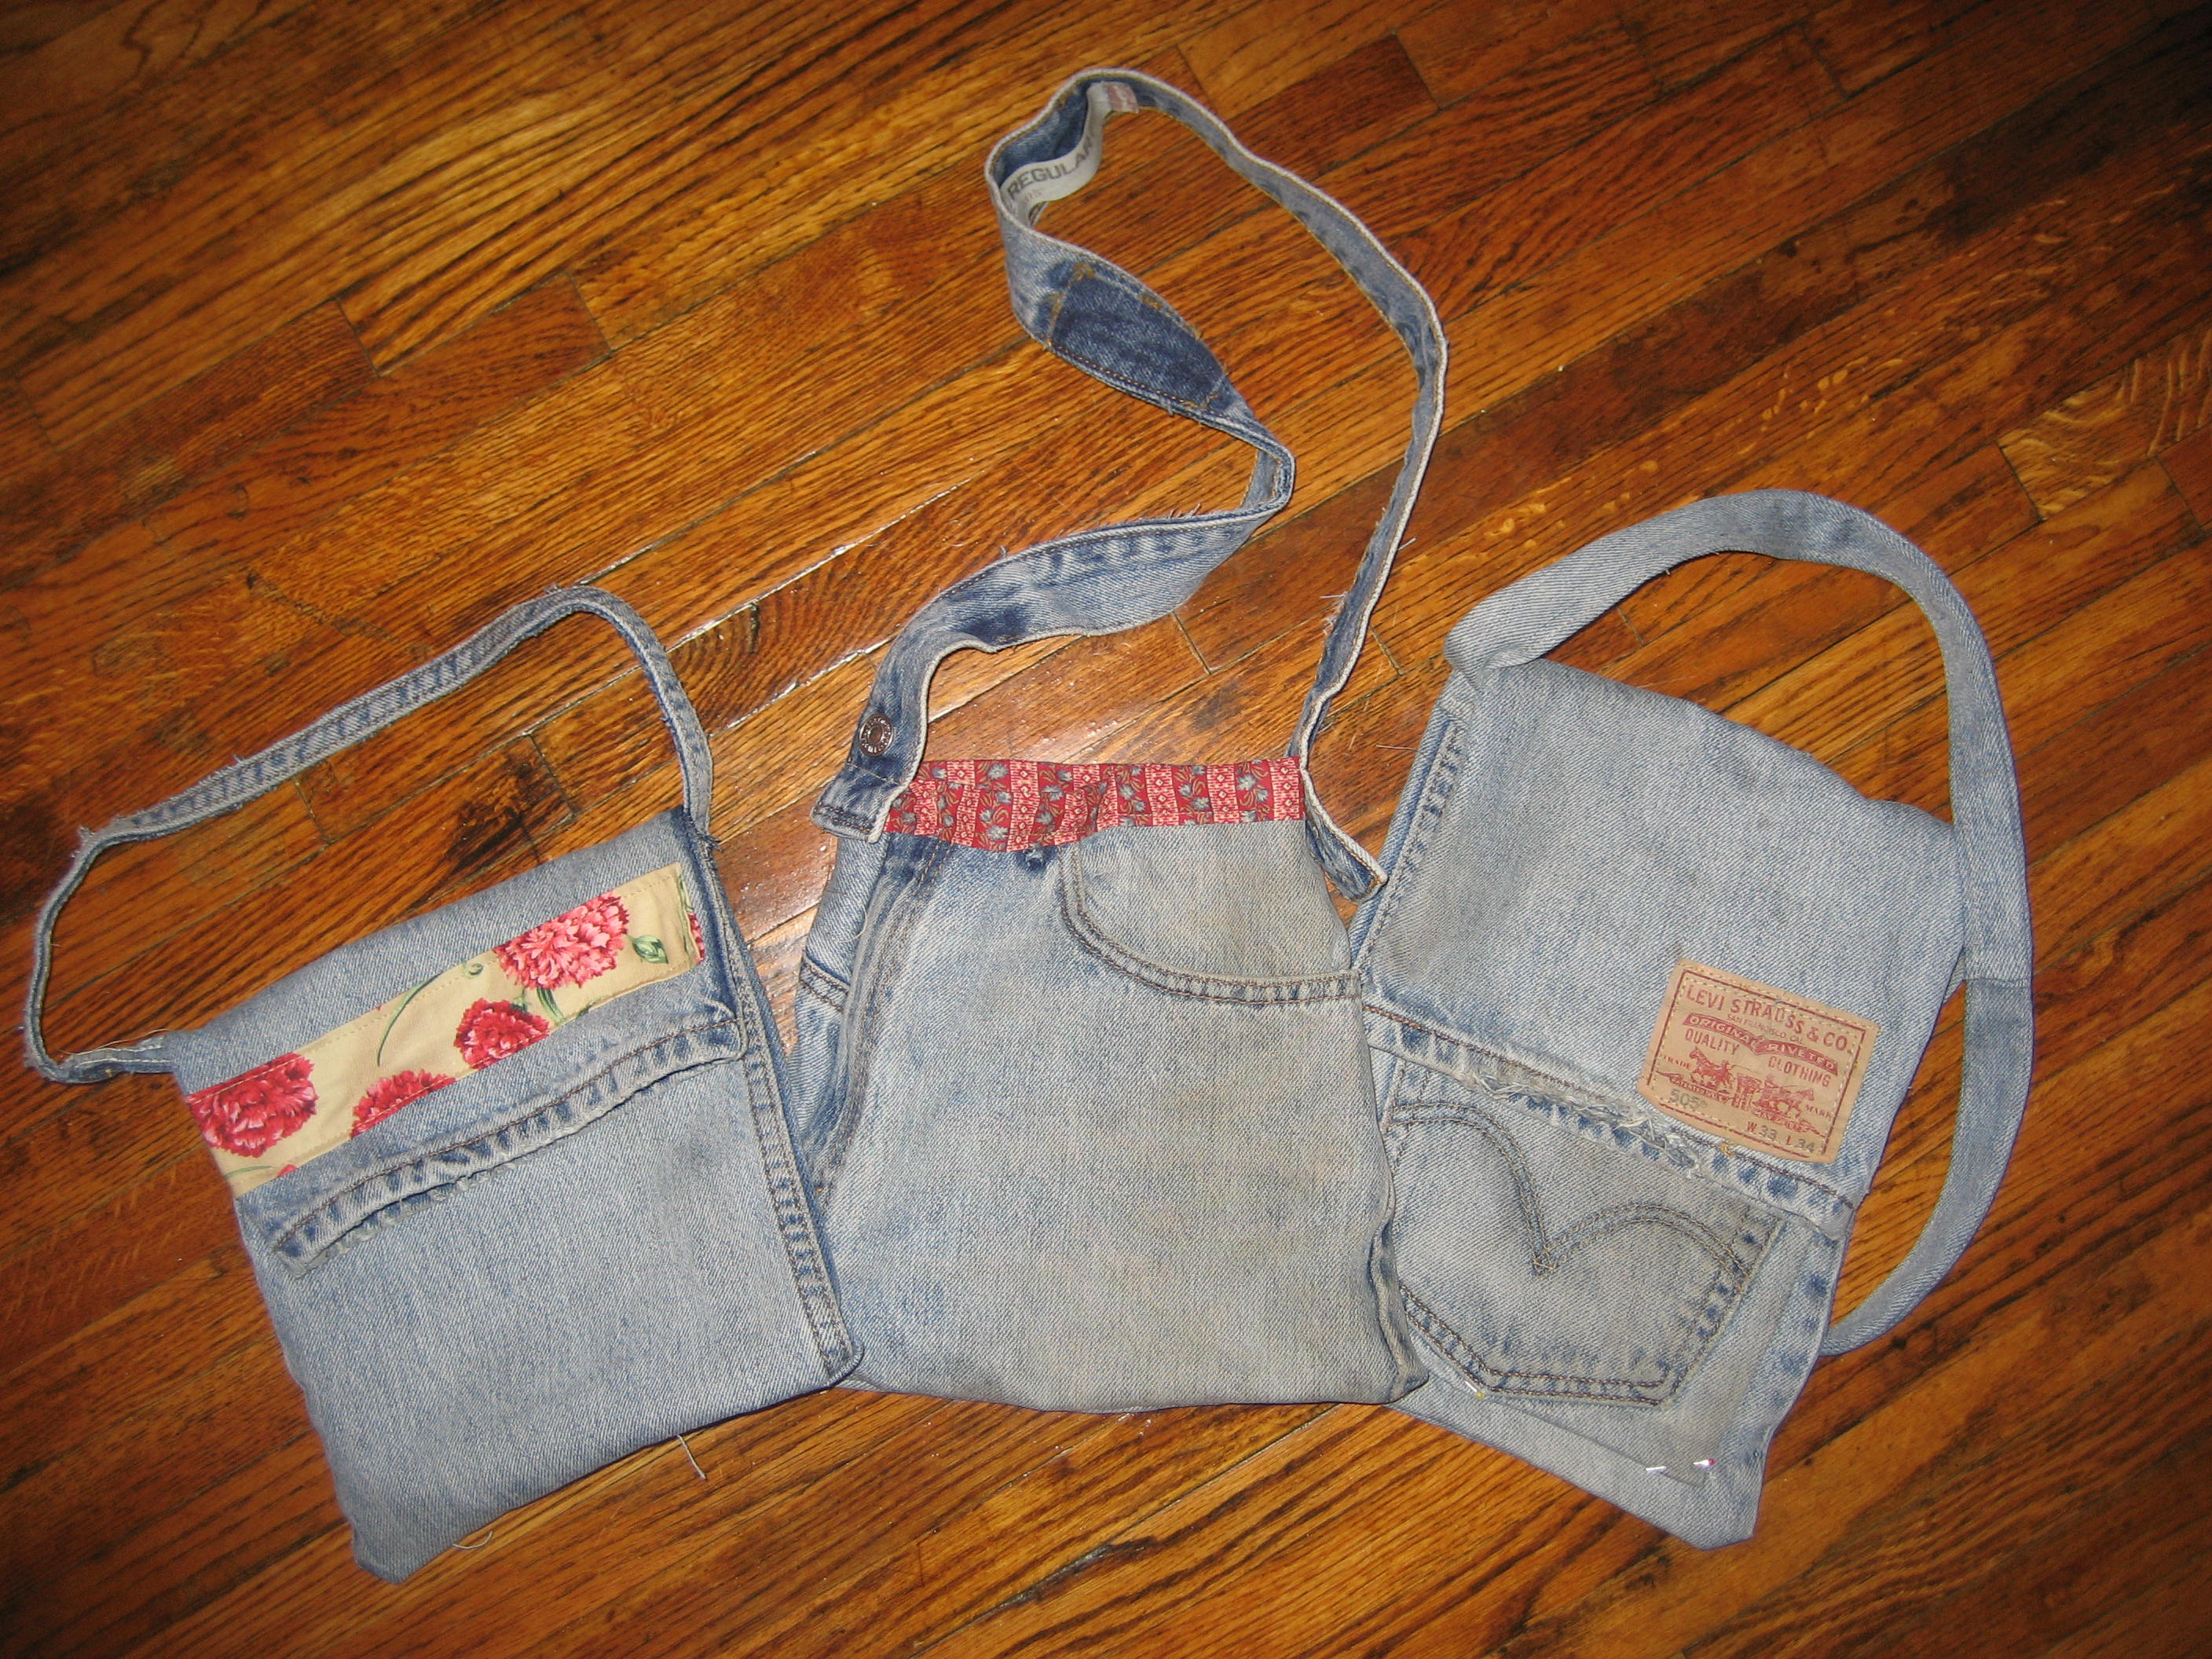
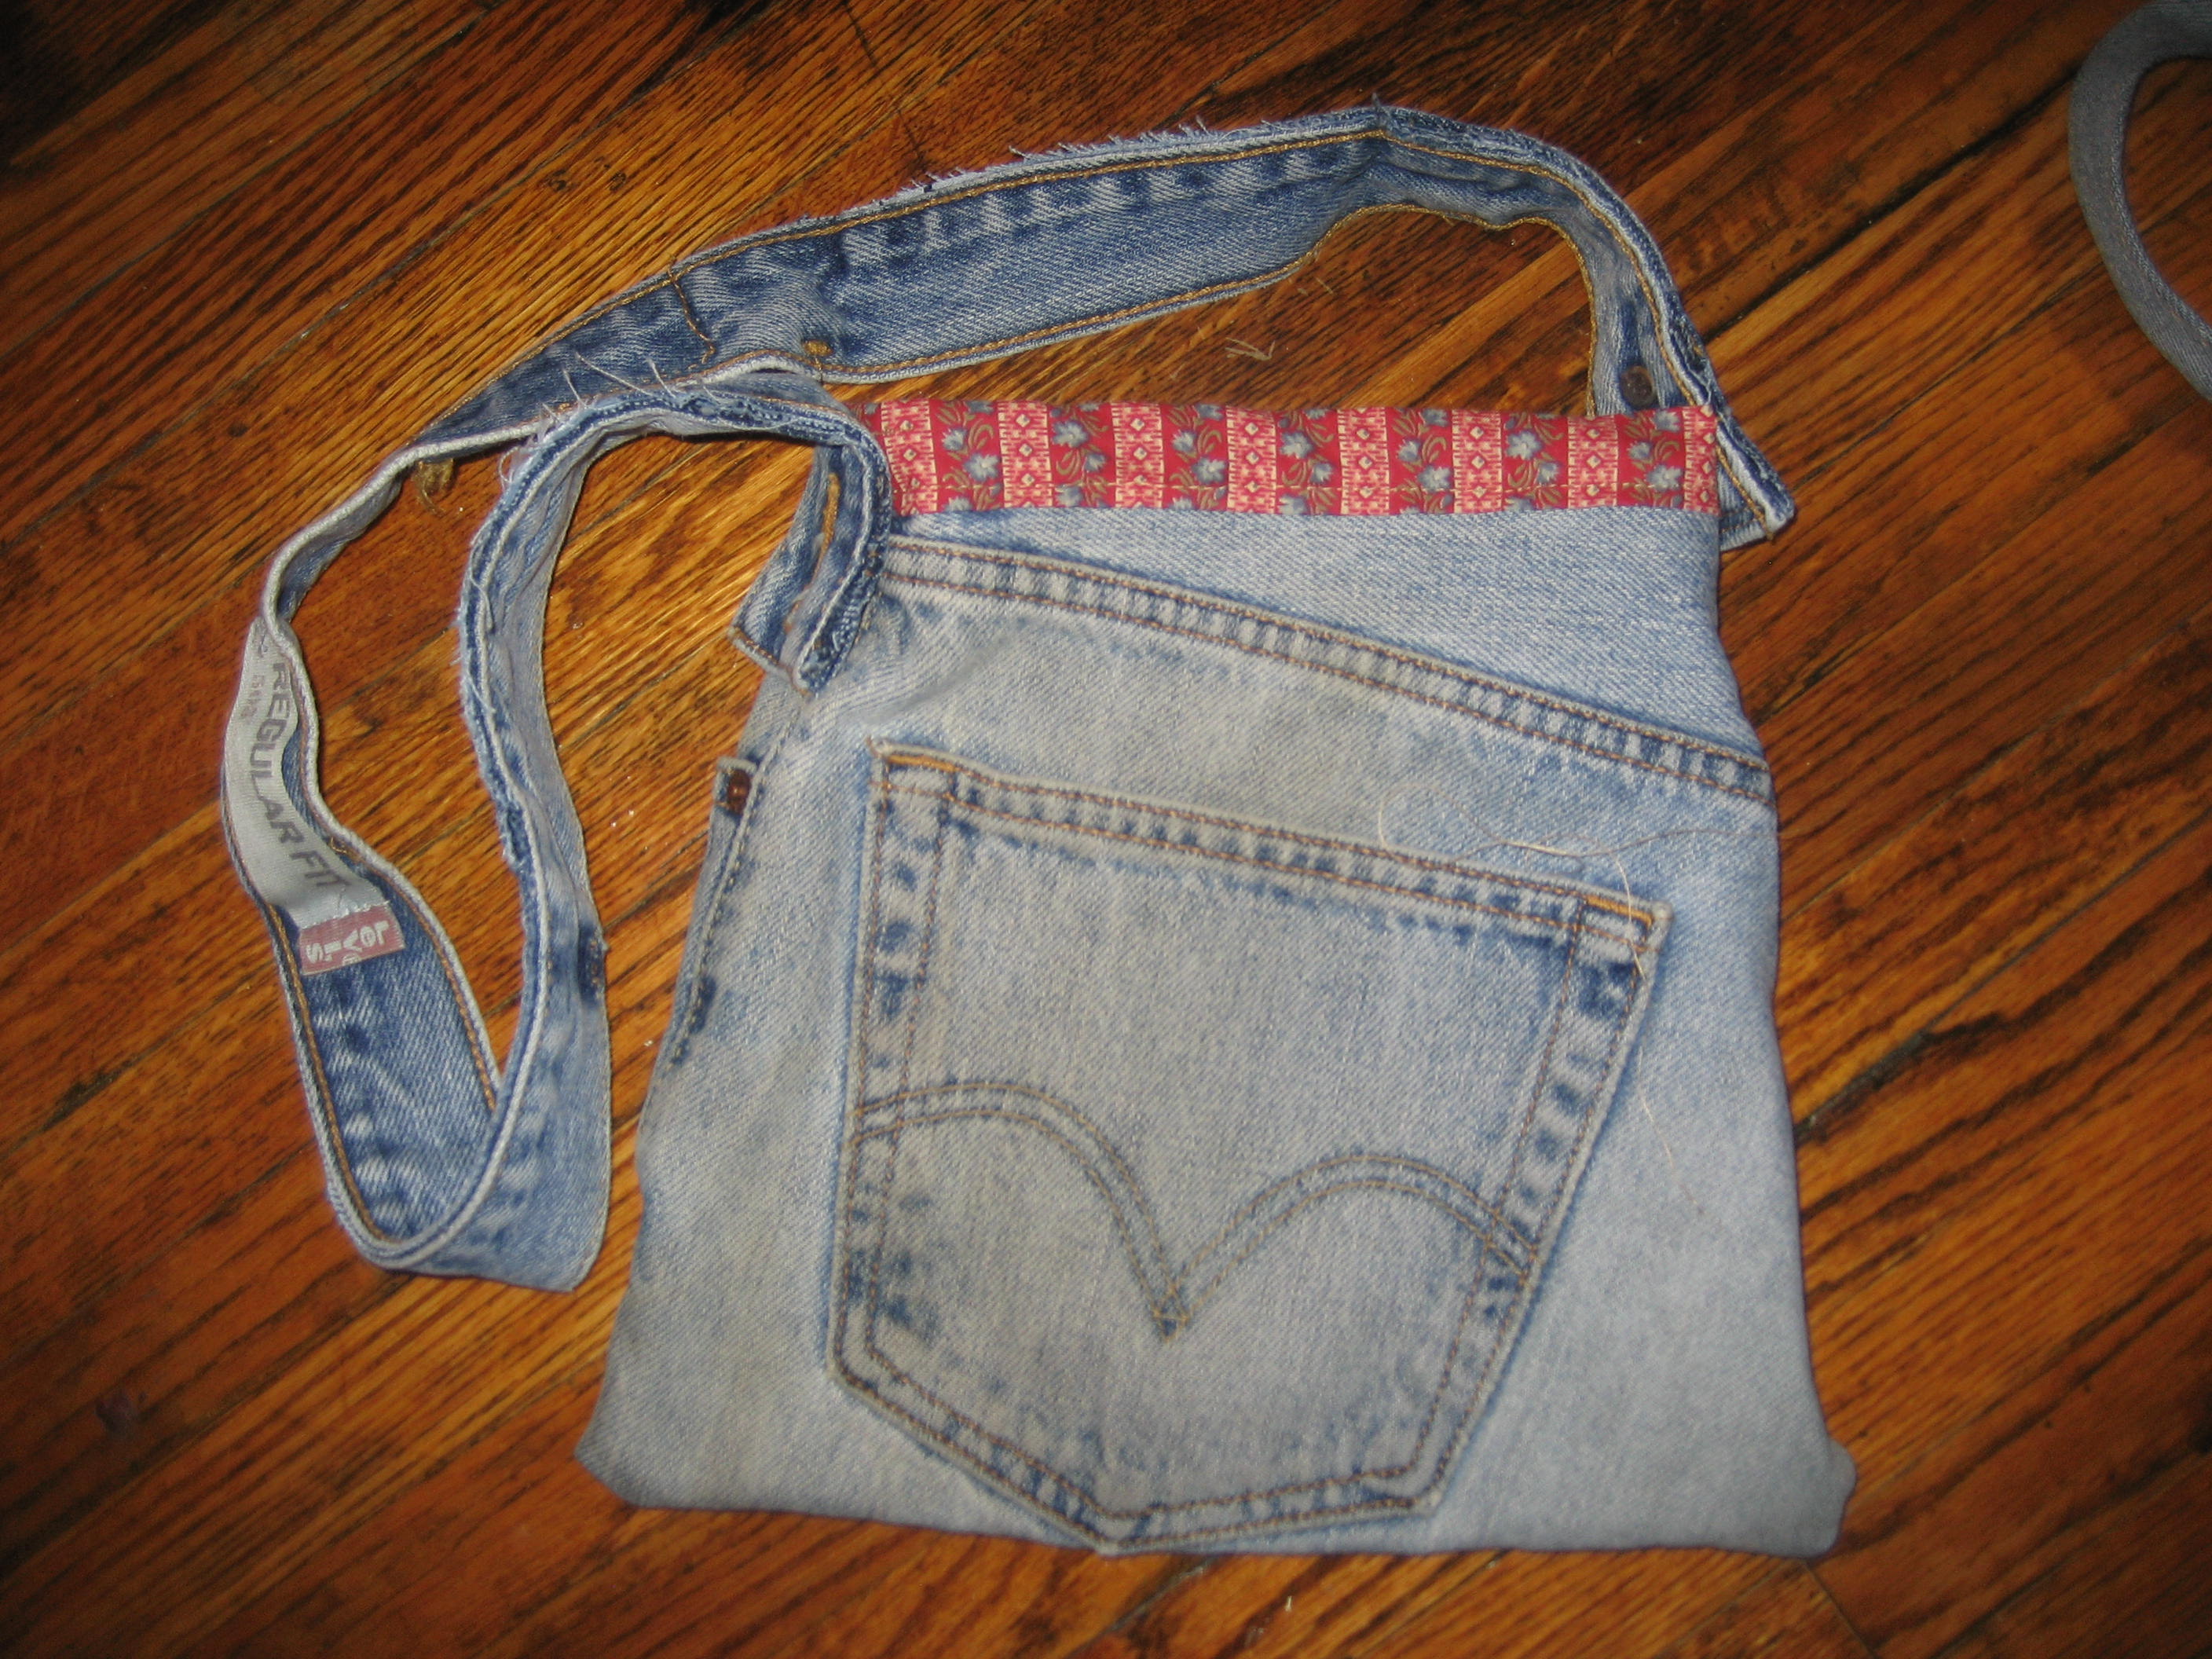
I found another new favorite tea blend….

140130_0000I just posted about my favorite herb and tea blends yesterday and I just discovered another one today. Read yesterday’s post and scroll down to the bottom to see my newest favorite blend – Black Raspberry and Lime. Mmmm.

Make your own delicious herb and tea blends

140130_0000You don’t have a to be a tea master to come up with your own tasty herb and tea blends. It just takes a little experimenting to figure out what tastes go well together and what combinations taste good to you. Here are some of my favorite. These are ones that the flavors blend particularly well together. As with any herb, be sure you know the herb you are using if you begin using one that is new to you. My favorite research resources are listed at the end of this post. Take responsibility for your herb use and do your own research (see my Disclaimers page here). Please make note of any cautions that I list on these blends, but keep in mind that this is not a complete list. You should always research it further if you aren’t sure that an herb is safe to use or consult with your doctor or an herbal practitioner.

12.1.11 003My favorite herb and tea blends:

Christmas Chai – A great robust, flavorful chai. Click for recipe

Dandelion/Red Raspberry Leaf/Red Clover – Ironically, I don’t much like the taste of these herbs individually, but put together they are quite delicious. All three herbs are very nutritious and dandelion and red clover work very well together as a gentle blood purifier and liver cleanser. Please note that Red Clover is an estrogenic herb and should be avoided if pregnant or nursing.

Chai/Nettle/Chastetree Berry/Milk Thistle – I came up with this blend when I started to use chastetree berry to help balance my hormones and I think I like this blend of flavors better than plain chai tea. The chastetree berries have a light peppery flavor that really accentuate and blend well with the chai and nettle. Mmmm. Another cup please. Chastetree berry is safe and beneficial to use while nursing but not during pregnancy. Milk Thistle is a good liver support herb.

Chai/Nettle/Turmeric/Cocoa Powder – If you do your reading, you’ll find turmeric has many health benefits (read more here and here). Turmeric has many anti-inflammatory and antioxidant properties and is great for any issues of inflammation and joint pain. You may want to avoid turmeric if pregnant or trying to conceive. As for the rest, who could ever object to chocolate, and then nettle is my favorite herb of all time. This blend is tasty and delicious if blended with a little sweetener and cream. For best results, brew your dried herbs as a tea and then blend 1/4 tsp of each powder with your favorite sweetener and cream in an immersion blender. If left to sit the powders may settle to the bottom a little. Caution: Turmeric is not for long-term use. Consume no more than 1 tsp. per day and use with caution if pregnant or nursing.

English Breakfast/Nettle/Yellow Dock/Tumeric/Cocoa Powder – This may seem like a strange combination but it is a variation on the previous recipe and quite tasty in it’s own right. Yellow Dock is a good liver cleanser and blood purifier. This (or the recipe above) is my substitute when I feel like coffee is getting to me and I need to take a break from it. Simmer 2 tsp. of English Breakfast, 3 tsp. Nettle and 1/2 tsp. of Yellow Dock in a sauce pan in 2 cups of water until you have a strong tea. Strain and rinse the pan. Return the tea to the pan and add 1/2 tsp. cocoa powder and 1/4 tsp of turmeric. Stir and heat until combined. Sweeten with maple syrup and cream to taste.  Caution: Turmeric is not for long-term use. Consume no more than 1 tsp. per day and use with caution if pregnant or nursing. Yellow dock is a cleanser and laxative. Not for long-term use (8-10 days at most). Do not use if pregnant or nursing.

Turmeric/Ginger: Continuing on the turmeric theme, I found this recipe just yesterday for “Golden Milk.” It’s made with coconut milk and sounds delicious.

Nettle/Raspberry flavored black tea – This may be my all time, most basic, go-to blend that I never get tired of. I find something about the flavor of the nettle and raspberry flavored black tea (I purchase mine here or here) to be very satisfying and delicious. I like to drink this blend straight with no sweeteners or added milk or cream.

Nettle/Garlic/Cinnamon/Ginger: This is my go to tea when I’m feeling like I’m coming down with something or that I need a little extra immune boost. I can’t say enough about the health benefits of nettle and garlic (my two favorite herbs). And one of the thing that I like the most about the herbs and this blend is that it is very safe for anyone to consume. Steep using a tea infuser/strainer: 1 tsp nettle, 1-2 cloves coarsely chopped garlic, 1 tsp. chopped fresh ginger root, 1 cinnamon stick.  Sweeten with honey. You could even add some black tea to the mix if you wish.

Black Raspberry Tea/Lime: This one is easy. Brew some raspberry flavored black tea and squeeze in some fresh lime juice. Mmmm. Refreshing.

Experiment with your own blends. What do you like?

(Note: All external links on this site are for informational purposes only and not affiliate links. I receive no compensation for any purchase made through these links.)

Christmas Chai Tea

Christmas Chai Tea

Cotton-lined dish washing gloves


41ZtqK26hQL._SY300_I usually don’t post about products but have any of you used these? Casabella Premium Water Stop  Latex Gloves (affiliate link – see my Disclosures page). I just discovered them and they are working wonders for the eczema on my hands that flares up periodically with the use of irritants like dish soap and hot water. But, what’s a city girl to do? The dishes have to be done. NYC apartment = no dishwasher. I can’t make the kids do the dishes yet. And the regular latex gloves from the store irritate my hands just as bad as dish soap with all those powdery linings. Well, guess what? These are wonderful! They have a “cotton flocking” which means that tiny cotton fibers have been adhered to the interior of the glove. Now, I will warn you that when I first got these and opened them up my first thought was, “These aren’t lined with cotton.” You see, I was expecting a cotton fabric lining and that is not what it is. It feels like a soft, less rubbery glove on the inside. I wasn’t sure that it was what I wanted but decided to try them out. I have been using them for around 3 weeks now and let me tell you the are well worth the $7 price tag. The lining (though not what I expected) doesn’t irritate my hands, they fit well and don’t slip and they have yet to crack or get a hole which is something that I can’t say for the gloves I used to buy at the grocery store. I’m sure they will wear out eventually but right now I am very happy and will definitely order more. They have definitely made dish washing a much happier chore at my house.

 Note: These are latex, so if you have a latex allergy I would avoid them since I don’t know that the cotton flocked lining would protect your skin sufficiently.