
How many of you have seen these Crayon Rocks? They are great because they travel easily and they are easy for little ones to grasp. They don’t crumble when they get stuffed down in the bottom of your bag, and of course the little red bag that they come with is very cute and trendy. But, at $10 per bag it’s pricey for crayons.

 I admit, I did buy a bag that I found locally for half the regular retail price as a treat for the kids. But, then I got to thinking, why not make my own? It’s easy.
To begin, start saving all those tiny bits of crayons that you would normally throw in the trash. Once you have a handful collected, fill up each heart in this Silicone Heart Mold (affiliate link) with pieces of the crayon of the same color. This particular mold is the best I’ve found for mimicking the shape and feel of the crayon rocks. The resulting crayons are small, and the indentation in the mold makes them easy to grasp. Set the mold filled with the crayon bits on a cookie sheet for support and pop it in the oven on 200 degrees for 15-20 minutes or until they are all melted. Let them cool completely, pop them out of the mold and the kids are ready to color. Find a cute cloth bag to store them in (or go the easy route and use a plastic baggie) and you’re all set.
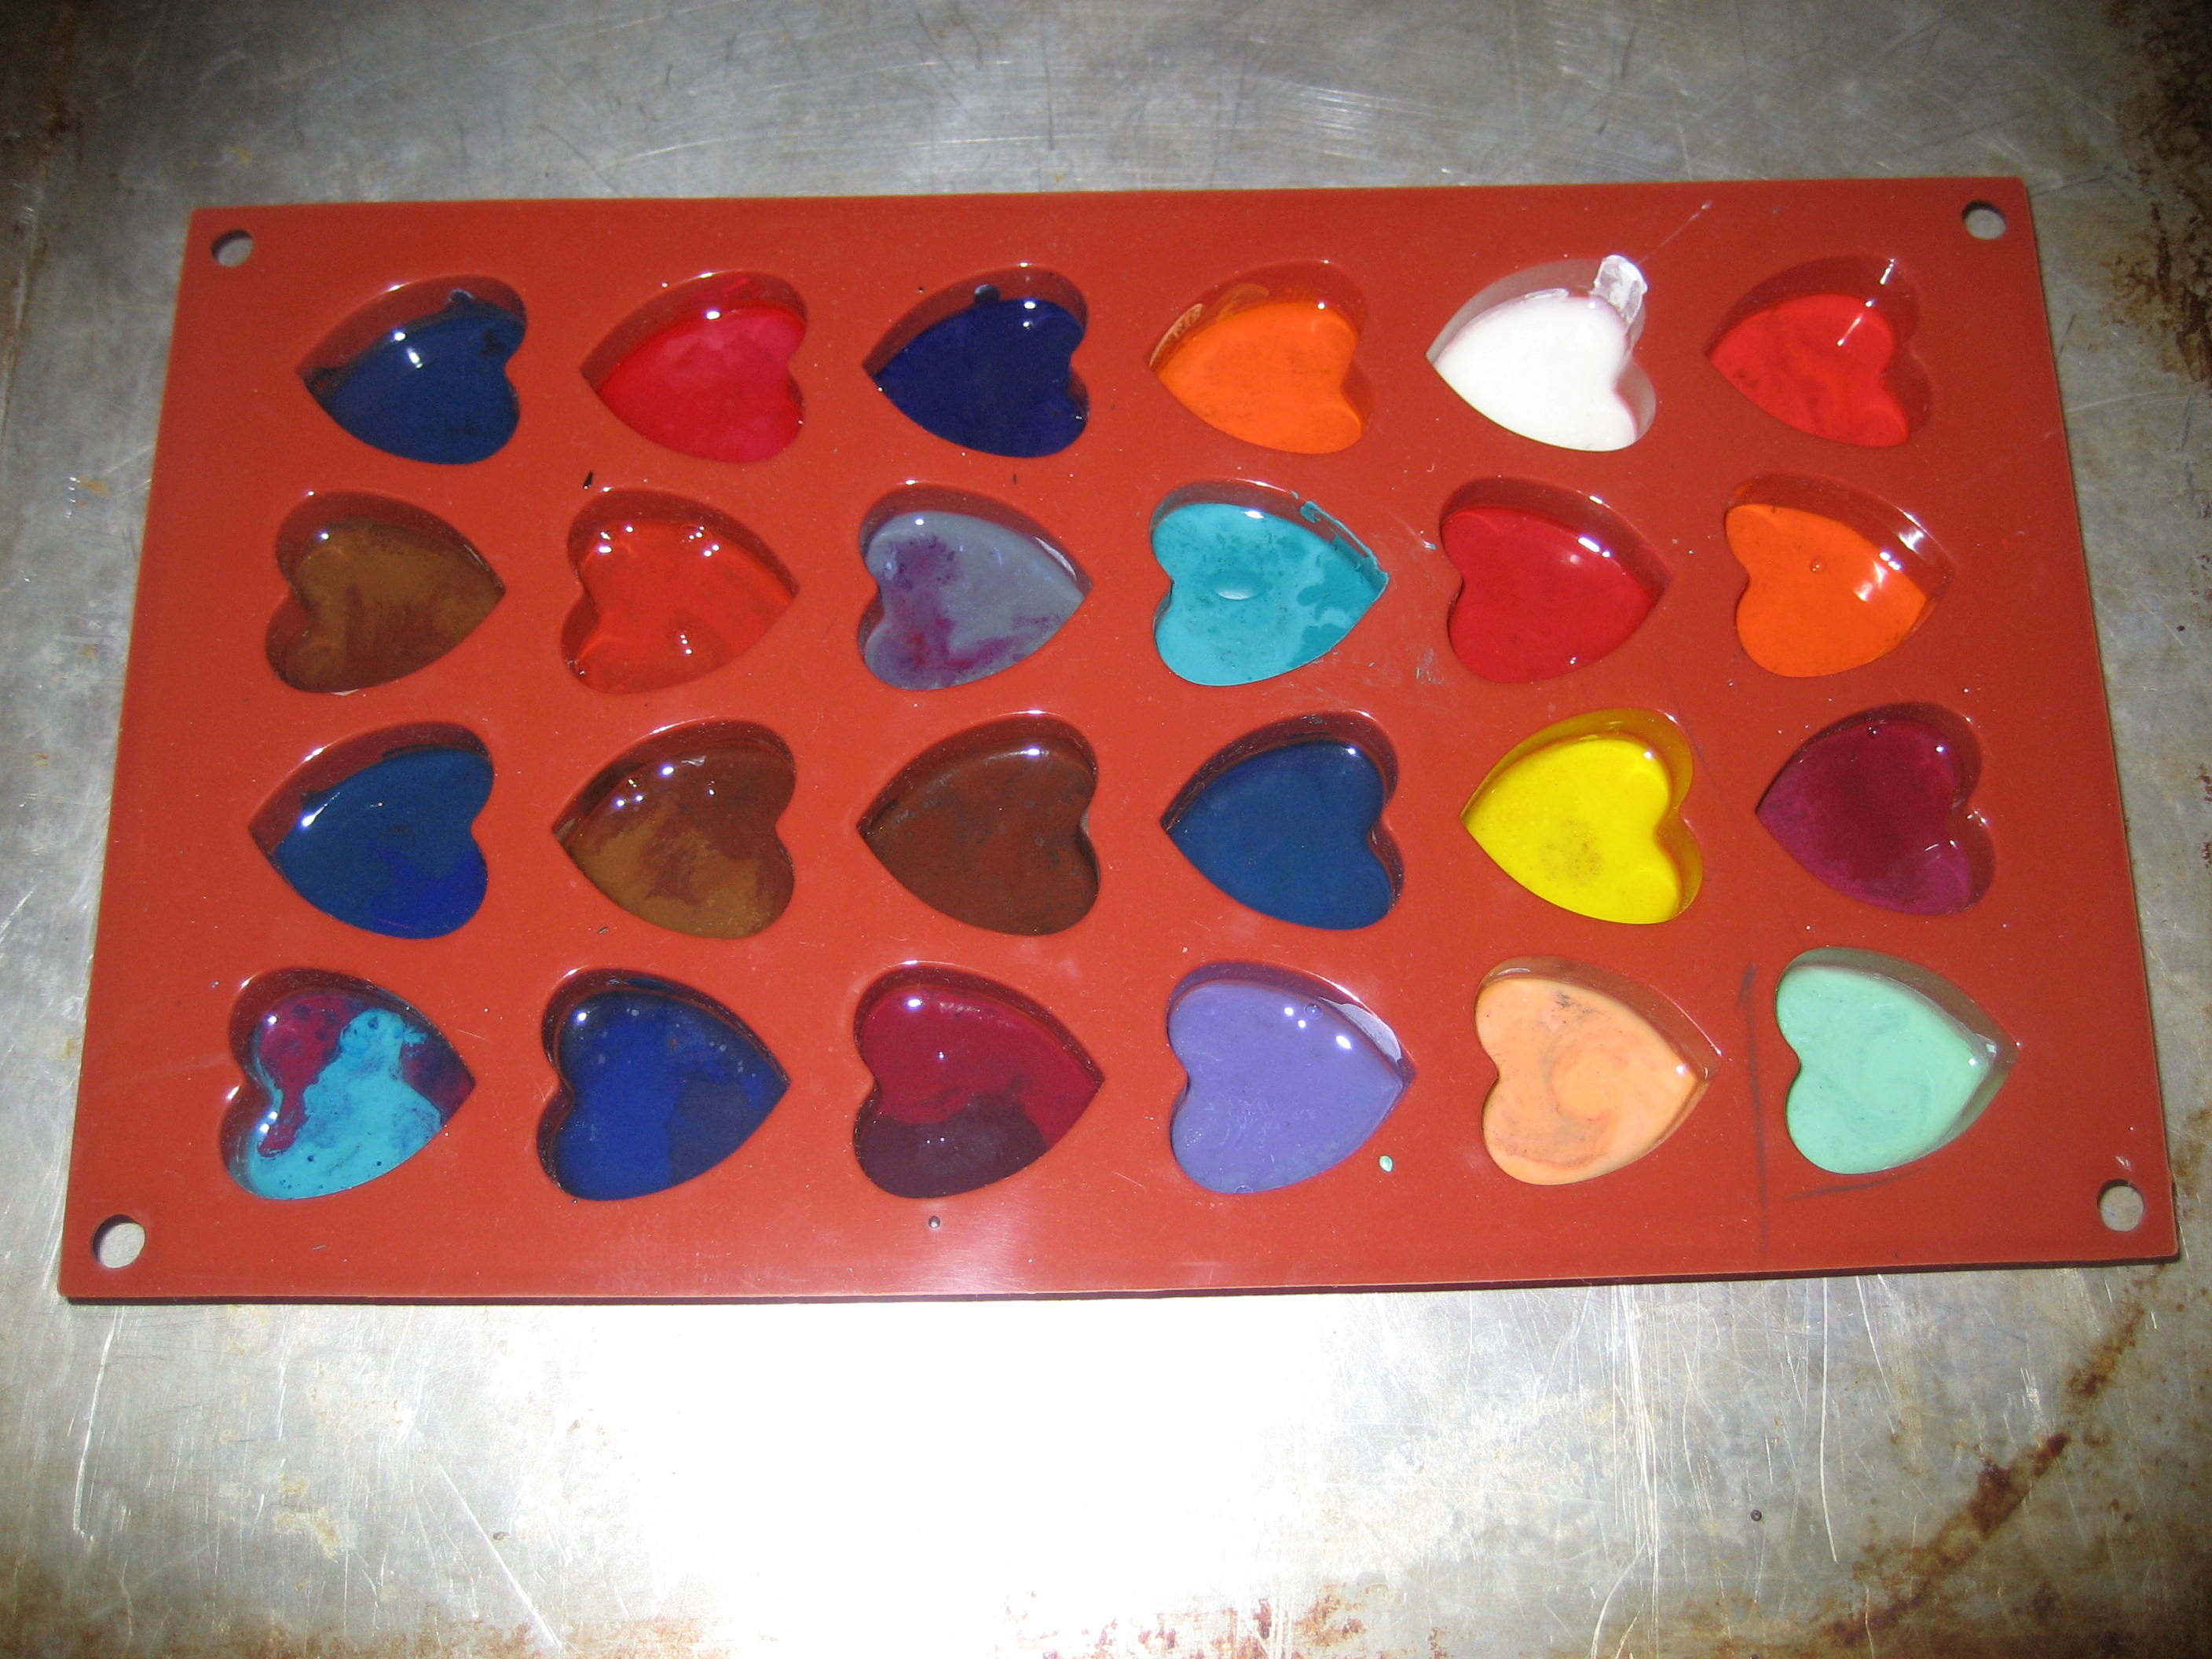
Molten crayon wax. Just removed from the oven.

A bucket full of crayons.
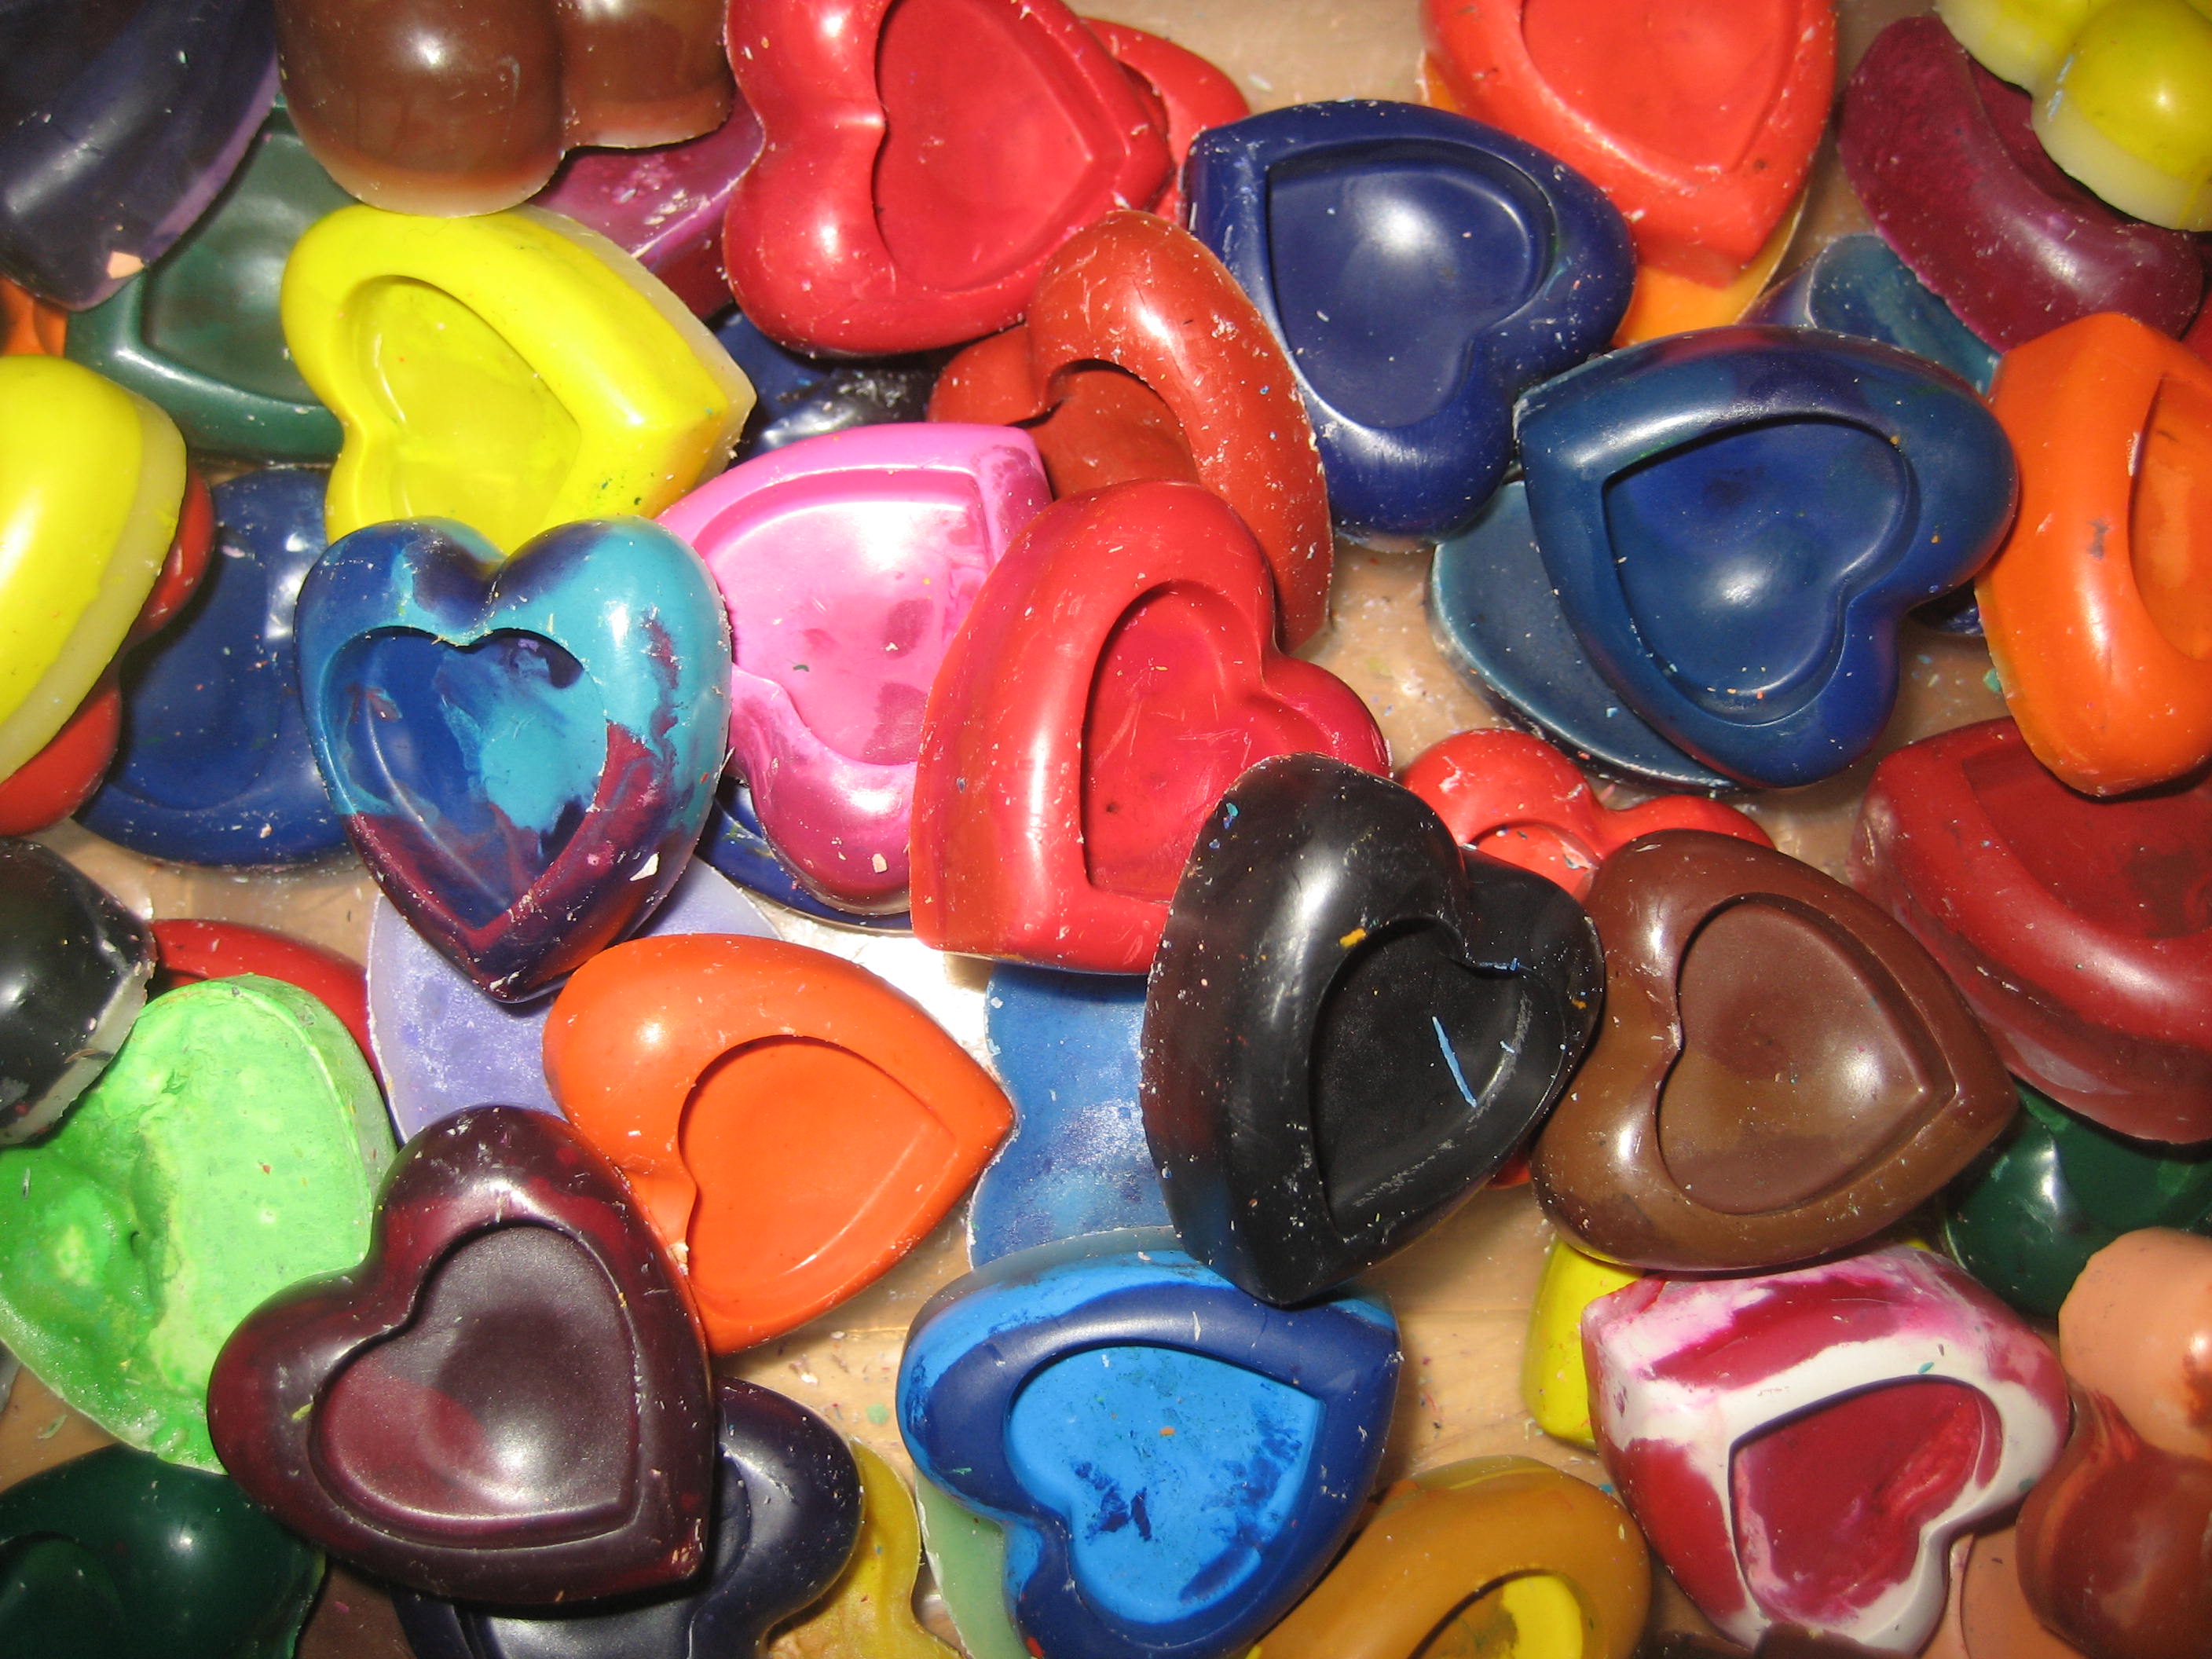
Pretty.
