DIY Bug Spray – Insect Repellent

We are in the middle of another stretch of hot weather. I went out two evenings ago to water the flowers in the backyard and was immediately besieged by a swarm of mosquitoes. I could literally watch five of them land on my leg at once. I suffered through watering as quickly as I could while waving them away and swatting at the ones that actually landed on me. When I came in I counted 20+ mosquito bites on my arms and legs. The next day, I thought to put on my homemade bug spray first. I was out for longer this time and I watched to see how many would land on me. Only ONE mosquito even attempted to land on my bare legs and arms. I came in after watering for over half an hour with zero bites! Amazing isn’t it. Click the link above and then scroll down for the recipe. It’s easy. Grab a 2 oz. spray bottle from the travel sized toiletry department at Walmart, add a carrier oil, add in the essential oils of your choice, spray directly in your skin (avoiding clothing and eyes), rub in, and watch the mosquitoes stay away from you.

Note: The oils pictured above are the five that I find work the best at repelling mosquitoes. However, you should use Rosemary and Citronella with caution on children and young babies. Use a high dilution ratio for these oils as well as lemon as it is photosensitive and can cause sunburn when exposed to sunlight. Other safe oils to include if you would like to substitute something else for one of these oils would be geranium, catnip, cedarwood or vanilla. Visit http://www.hopewelloils.com to research safety information.

5 Grain Hot Breakfast Cereal

I’ve been trying to come up with new breakfast ideas lately. When you have to eliminate eggs, oats, nuts, and pork you really aren’t left with many options.

I raided my pantry and gathered up all my different bags of grains that I use for various things. Here’s what I came up with.

Rolled spelt, barley, millet, buckwheat, and quinoa.

I used the following proportions, but you could adjust the measurements or types of grains to suit your preferences.

5 Grain Breakfast Cereal:

1 cup quinoa

3/4 cup spelt flakes

3/4 cup barley flakes

1/2 cup mullet

1/4 creamy buckwheat cereal

Mix the grains together and store in a quart size jar.

To cook, use 1 1/2 cups of water for every 1/2 cup of cereal mix. Serving size is 1/2 cup of cereal mix per person. Simmer in water until the millet is cooked. Serve with butter or cream, and brown sugar.

My Garden – Late May 2018

Here’s what has popped up in the last couple of weeks and what I’ve planted in the last few days. We’ve had a rainy week, so I took advantage of it to plant my annuals and the last of my perennials for the year.

For annuals this year, I chose mixed green begonias, lavender vinca, white alyssum, and mixed impatiens.

In the perennial category, I added a few chrysanthemums, gaillardia, daylilies, ajuga, more lamium, and my new recent favorite, several varieties of agastache.

New to bloom since I posted last are perennial geranium, iris, more azaleas, honeysuckle (which I forgot to take a picture of), and the peony is so close to blooming.

So, let’s get on with the pictures.

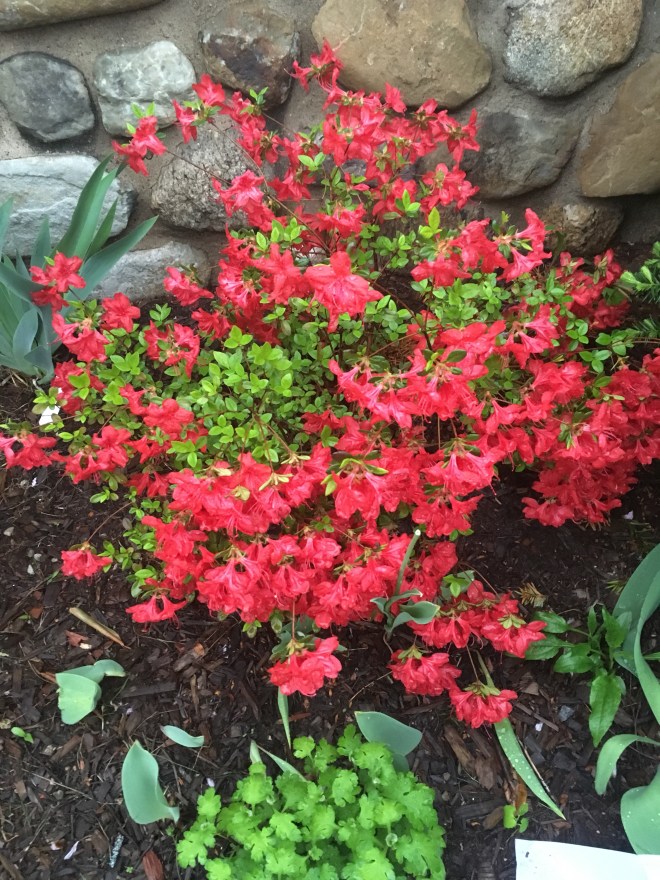
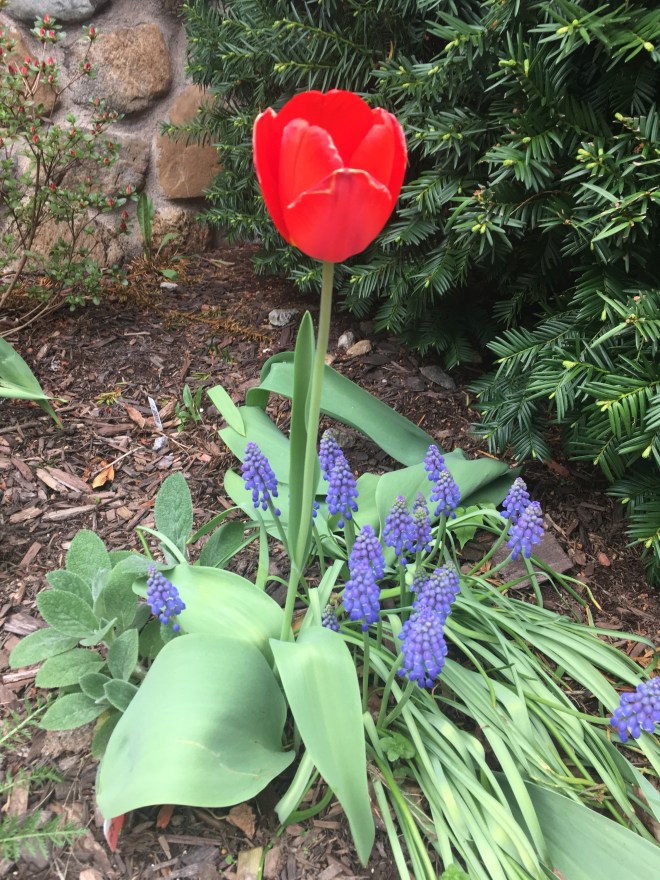
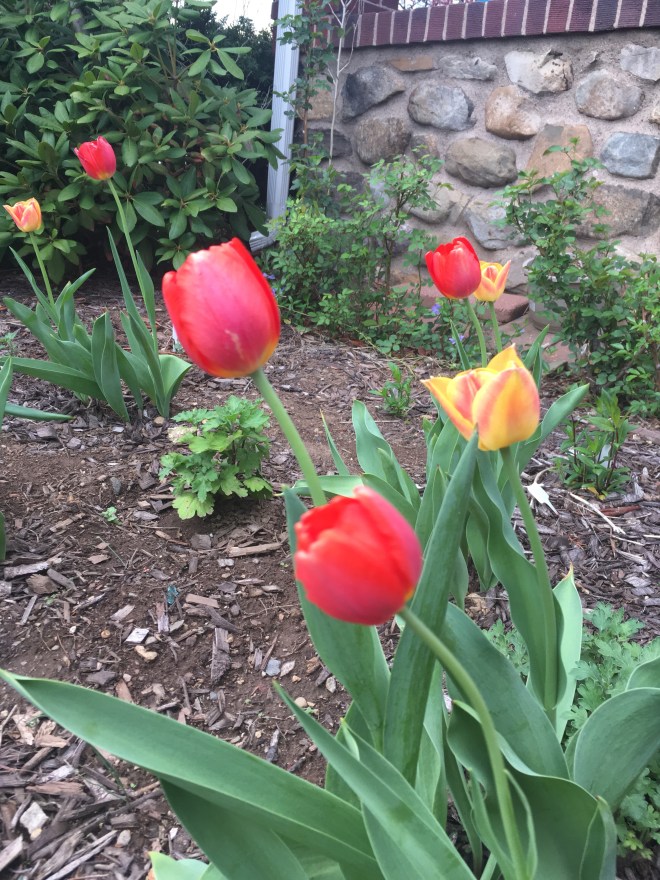
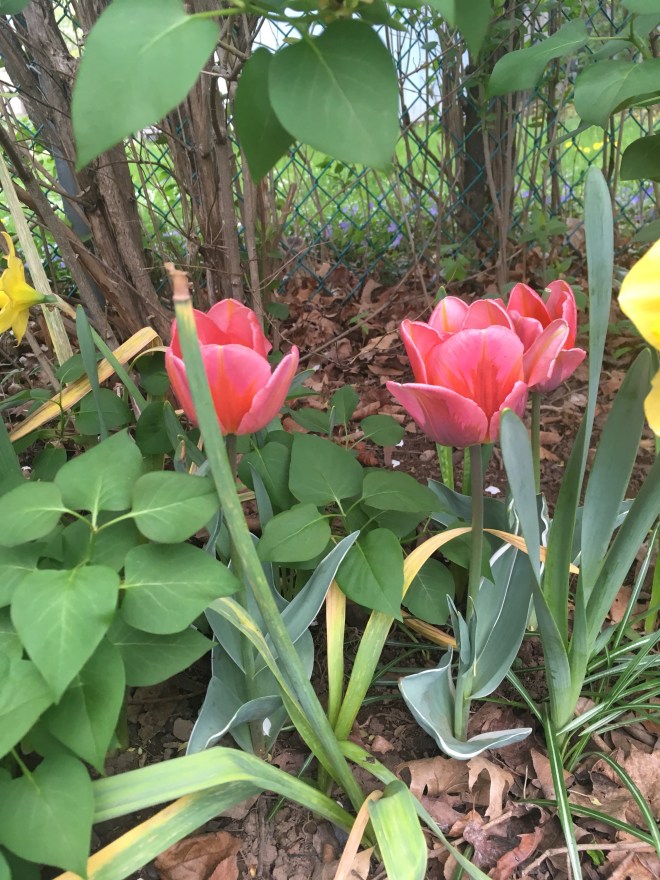
Red azalea – such a bright, beautiful color in the front flower bed. (Also pictured, tulip foliage, iris and chrysathemum daisy rose.)

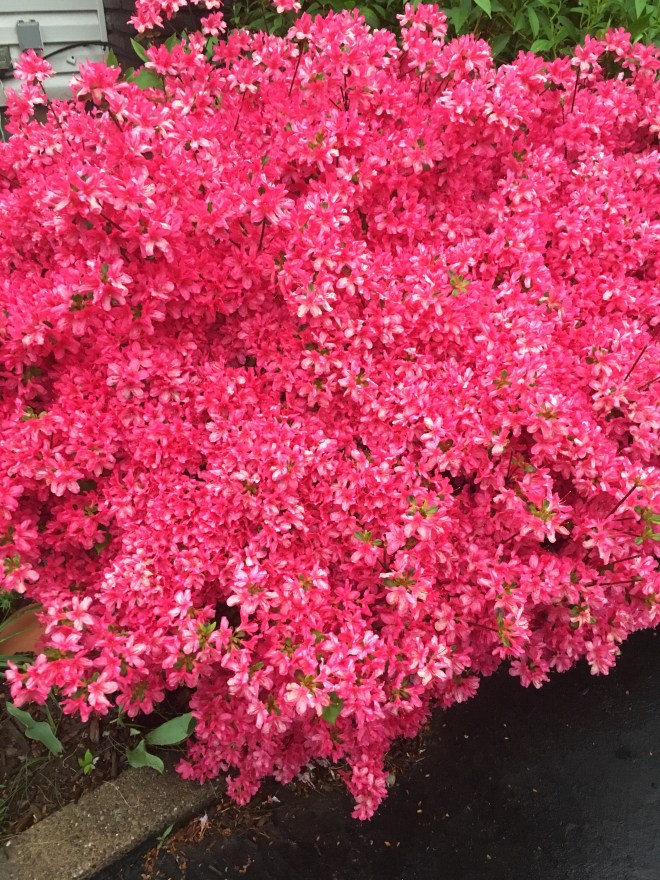
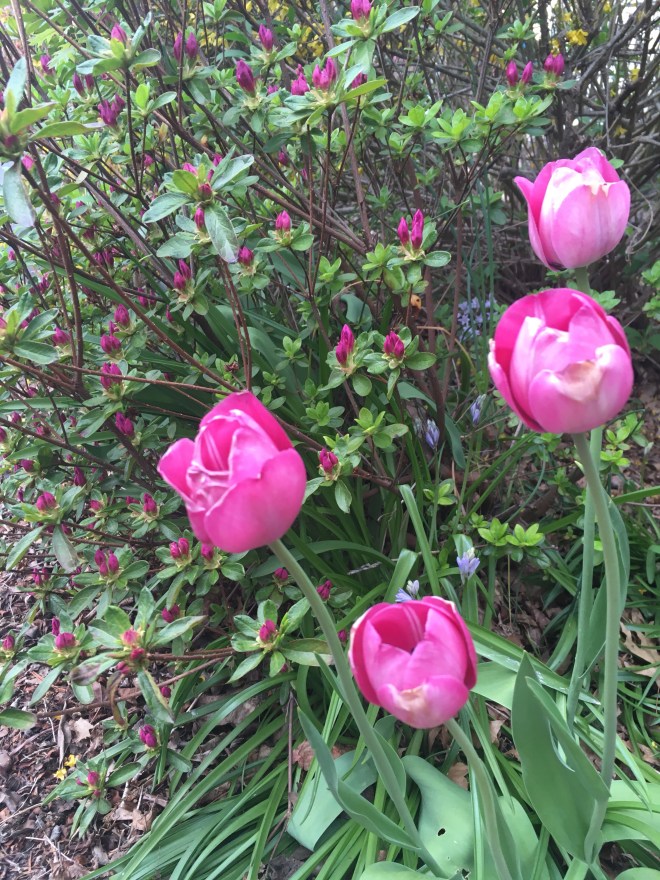
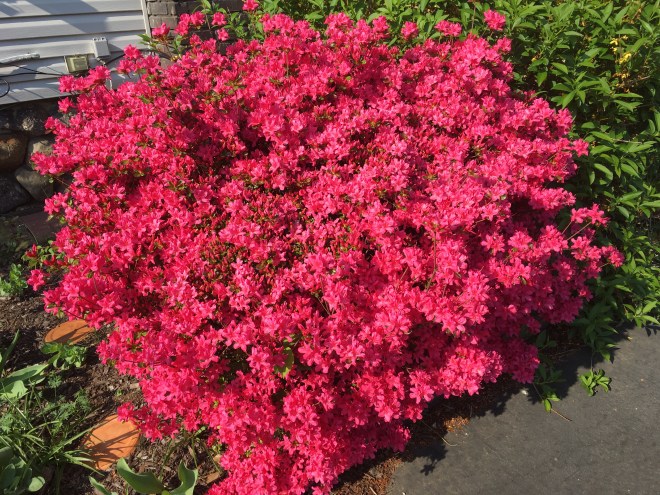
Shocking Pink Azalea – my favorite azalea color I think.

Purple azalea. My grandmother grew azaleas this color in her front yard.
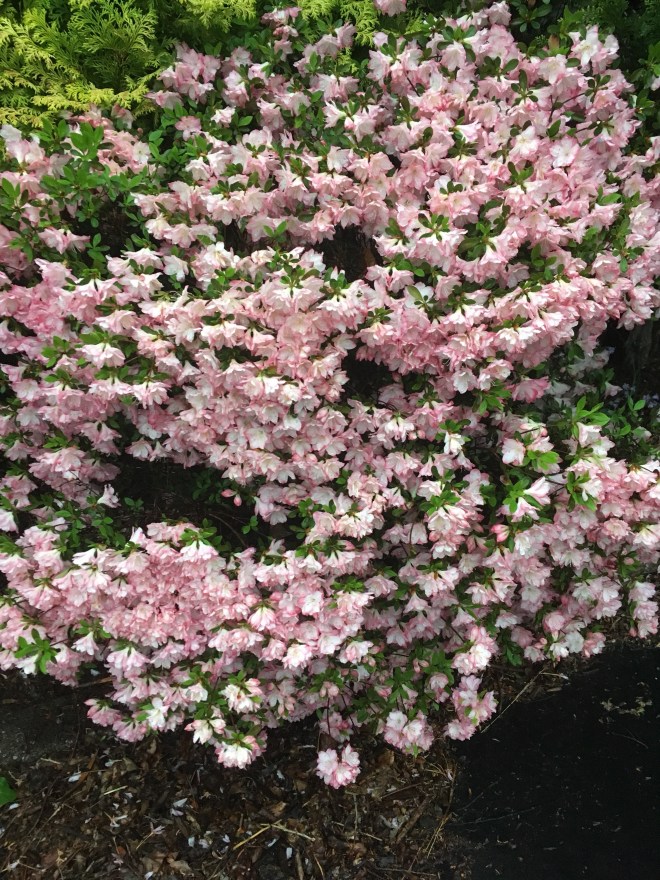
Light pink azalea.

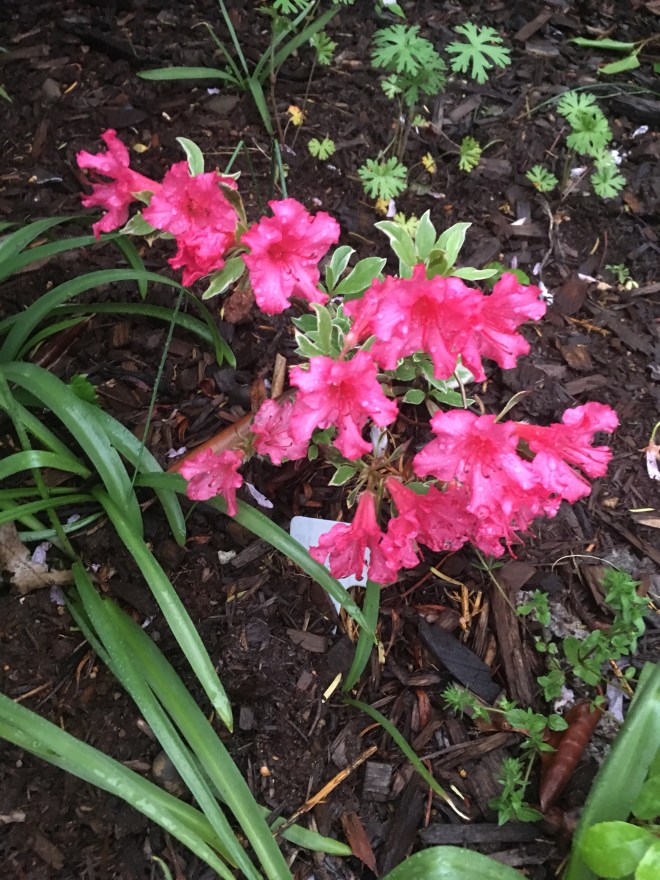
A new baby azalea to match the large shocking pink on the other side of the flower bed.

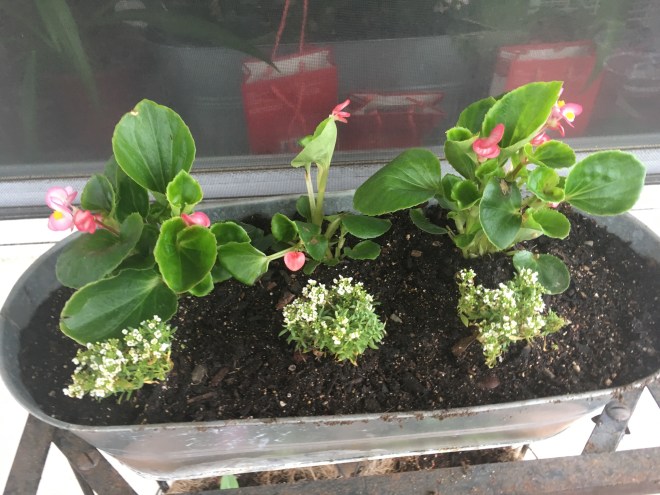
Flower box outside our front window. Pink begonias and white alyssum.

Pink begonias, white alyssum, lavender vinca on the bottom.

Annual lavender vinca.

Our pansies and orange impatiens grown from seed. They were hard to start so I’m pretty proud that they grew.

Bushel basket filled with a white begonia, white alyssum, and three mini chyrsanthemums from Trader Joe’s, one which we overwintered.

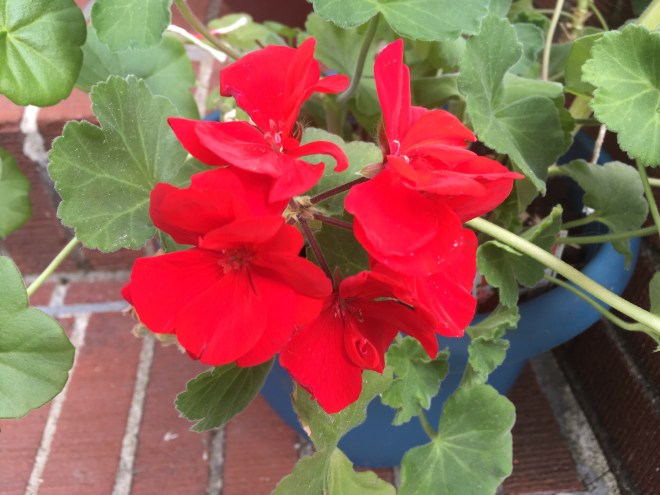
Red geraniums and white alyssum.

Begonias green basil, and purple basil in the large pot. Two lavender vincas in the little one.

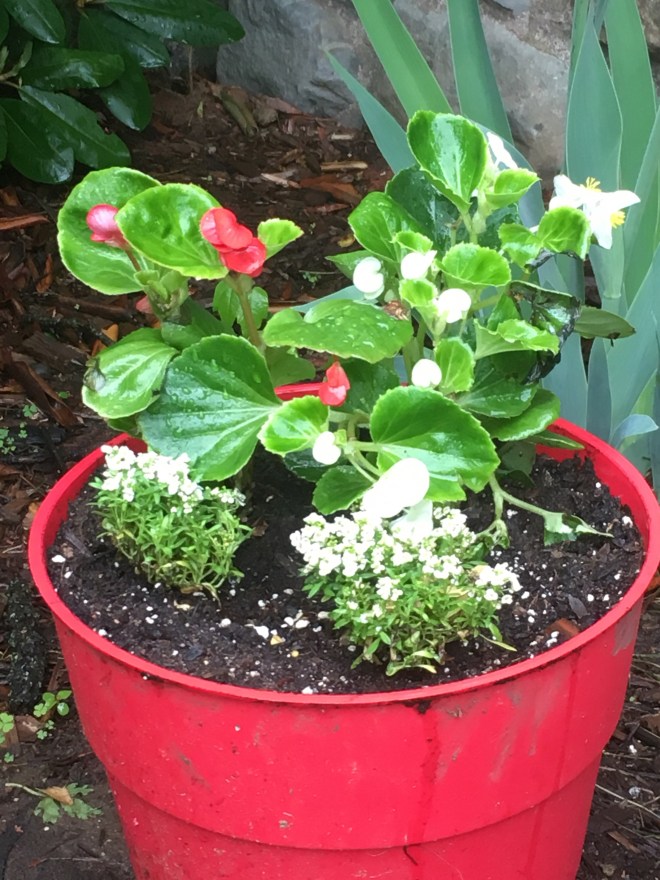
Annuals – red begonias, white alyssum. Perennial – aster coming up in the center of the pot. I transplanted the aster out of the flower bed last fall.

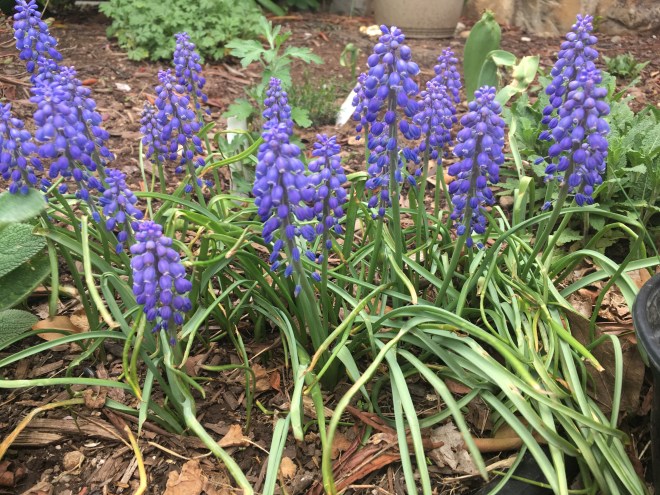
Red pot includes annual begonia and white alyssum. Perennials pictured from behind the red pot moving clockwise are iris, Echinacea Tomato Soup, Agastache Summer Glow, salvia, fading muscari, lamb’s ears, Daylily Holiday Song, Chrysanthemum Daisy Red. In the center of the bed are Coreopsis Moonbeam, Chrysanthemum Mickey, Agastache Rosie Posie.

Annuals – begonias and white alyssum.

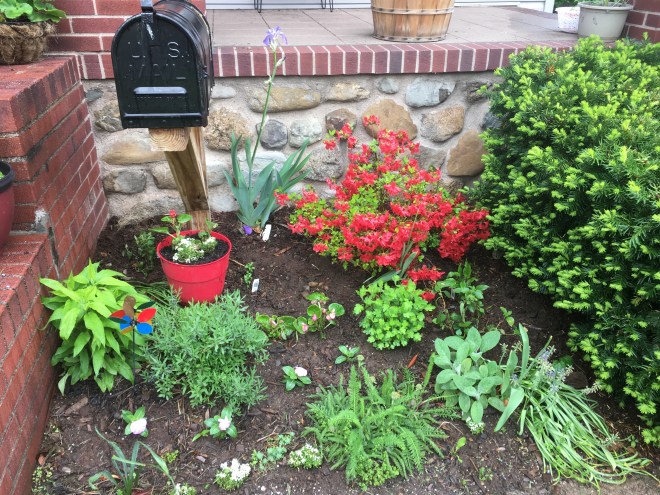
Pictured clockwise from the mailbox are iris, red azalea, Echinacea Pow-wow, lantana, fading muscari, lamb’s ears, wooly yarrow, Sedum Pachyclados, white alyssum, lavender vinca, lavender, rudibeckia, Agastache Champange. In the pot are begonias and white alyssum. In the center of the bed are red perennial salvia, begonias, chrysanthemum daisy pink, and annual lavender vinca.

Iris.

Perennial geranium.

The peony is so close to bloom.

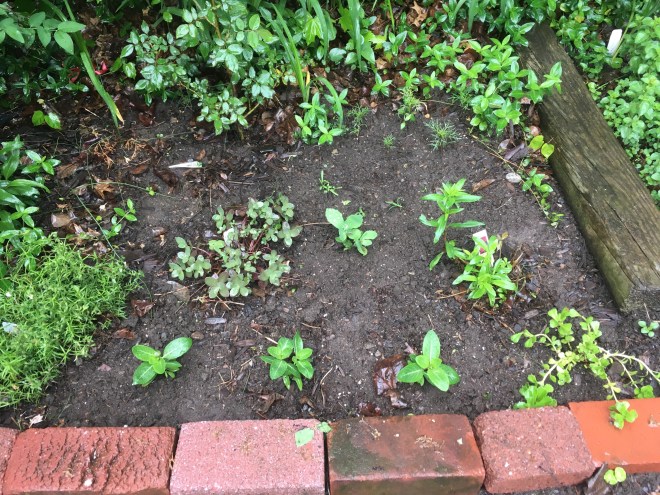
Clockwise from top: Echinacea Mama Mia, Agastache Rosie Posie, Liatris, Gaillidaria Arizona Sun, Chrysanthemum Daisy Red. Pictured on the left side are the edges of the peony leaves.

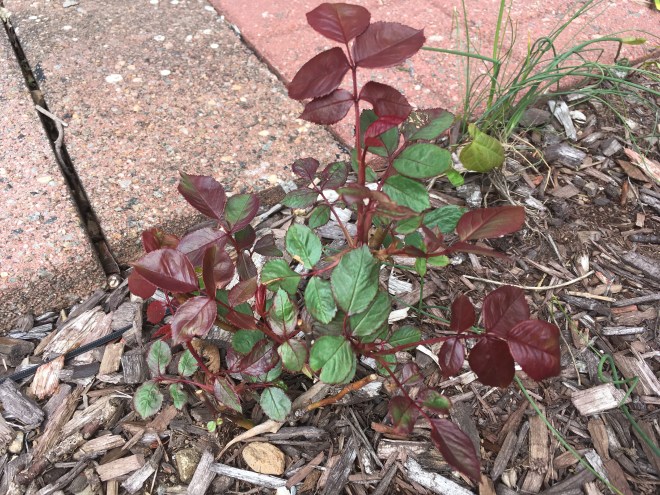
The big clump is Black-Eyed Susan, peas and tomatoes along the side, and minature roses in the front.

Begonias, lavender vinca, white alyssum, and on the far right a sprig of transplanted Chrysanthemum Rose Grenadine.

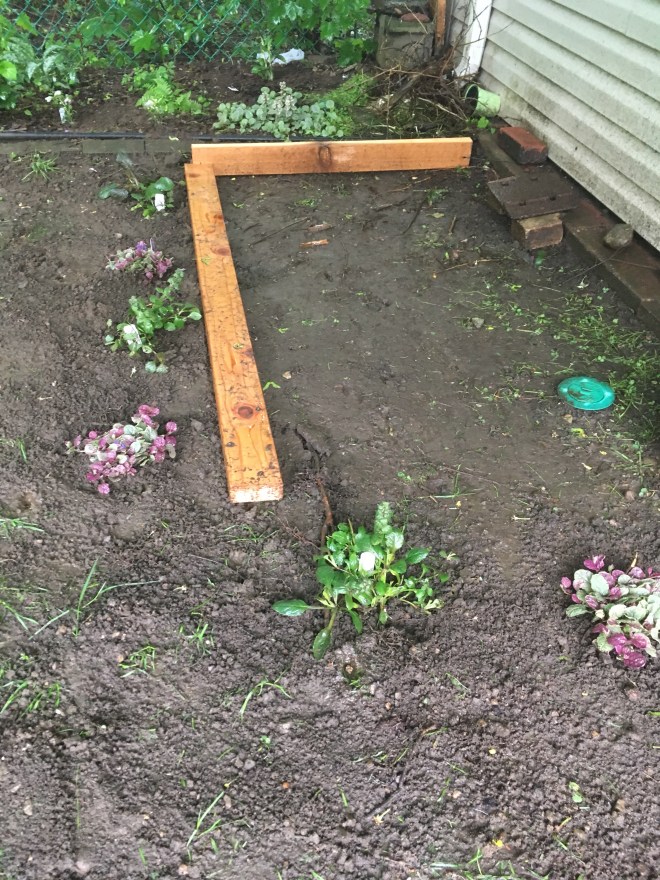
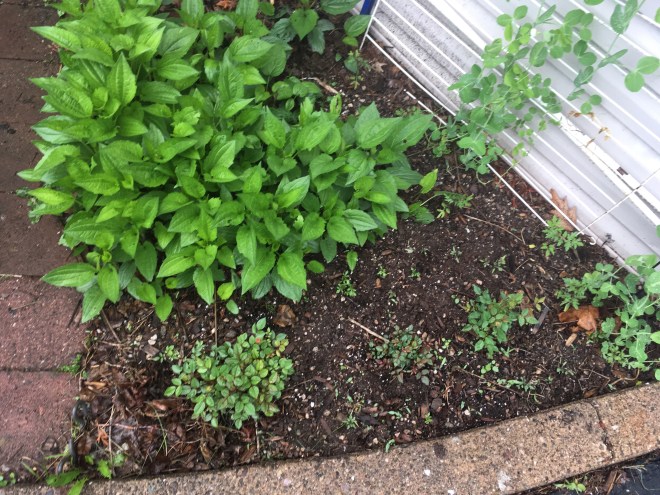
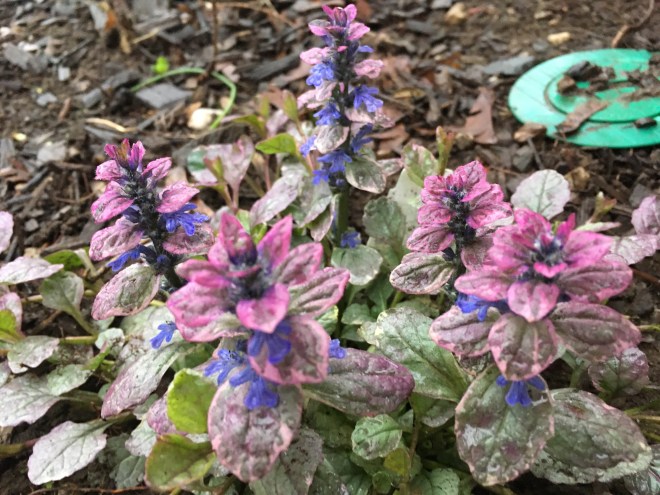
Excuse the mess, we’re preparing to build a sandbox for the kids. Along the edges I’ve planted Ajuga Burgundy Glow and Ajuga Bronze Beauty as a ground cover to fill in the dirt under this shade tree.

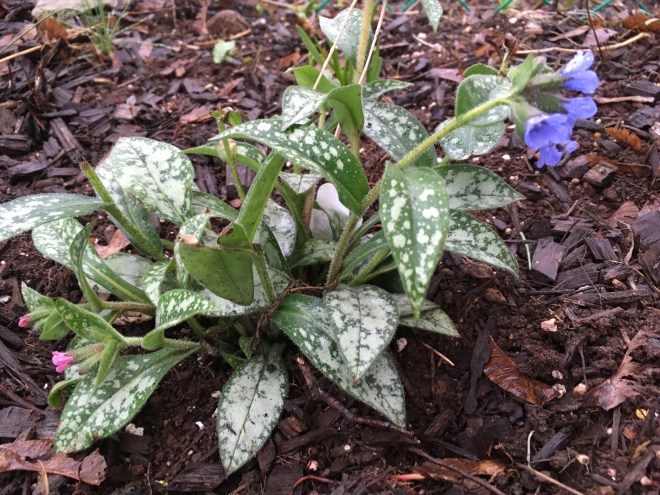
Clockwise from top left: Pulmonaria Dark Vader, Astible Plumila, Tricyrtis Tojen, Ajuga Burgundy Glow (bottom right), Impatiens, and Fern (center of bed). Two other ferns and cyclamen are planted in this bed too but haven’t woken up yet.

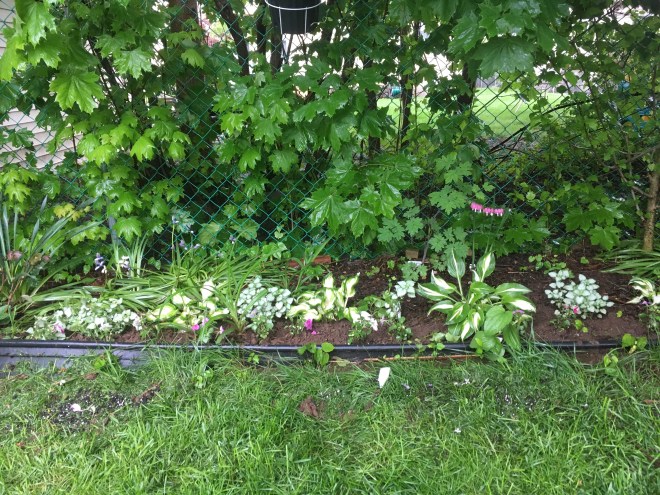
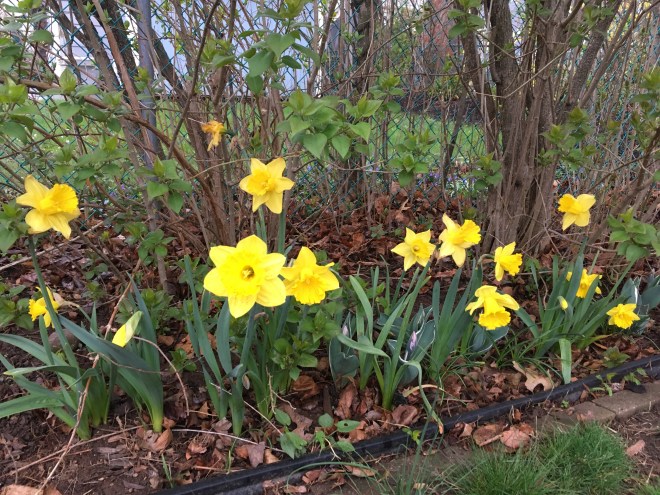
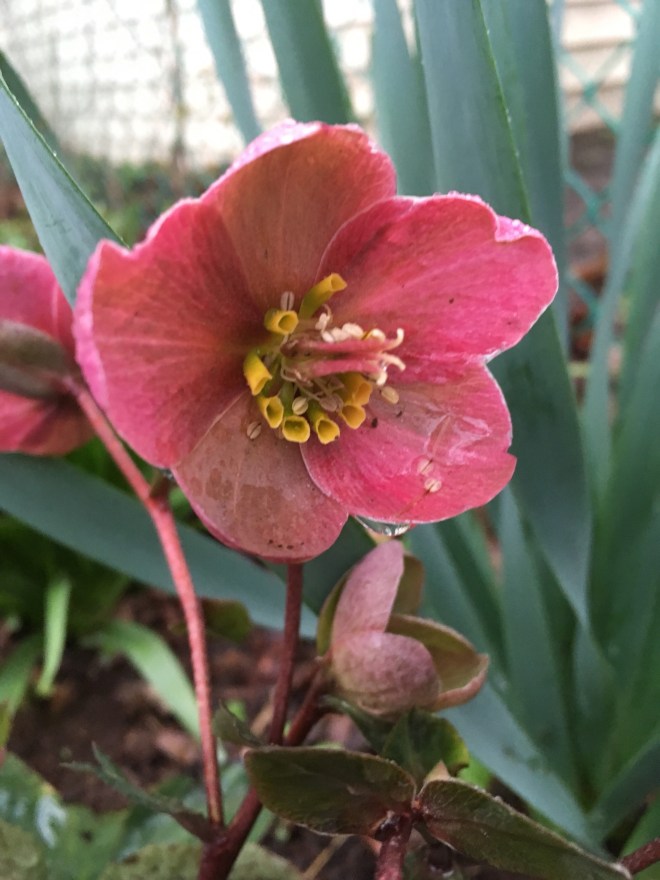
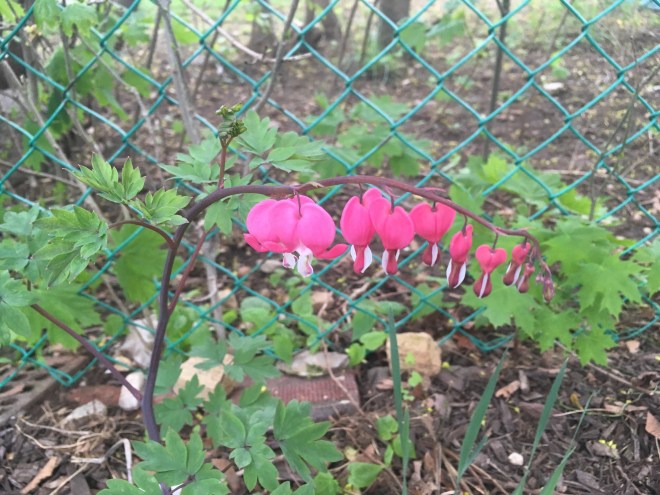
From right to left: Daffodil foliage, Helleborous Pink Frost, Lamium White Nancy and Hostas across the front mixed with annual Impatiens. Far right is Lamium Orchid Frost. In the back are Spanish Bluebells and Bleeding Heart.

Hosta, Lamium and Impatiens.

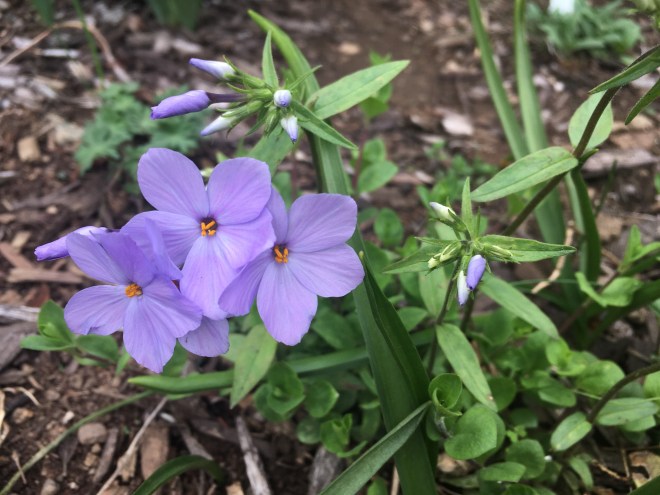
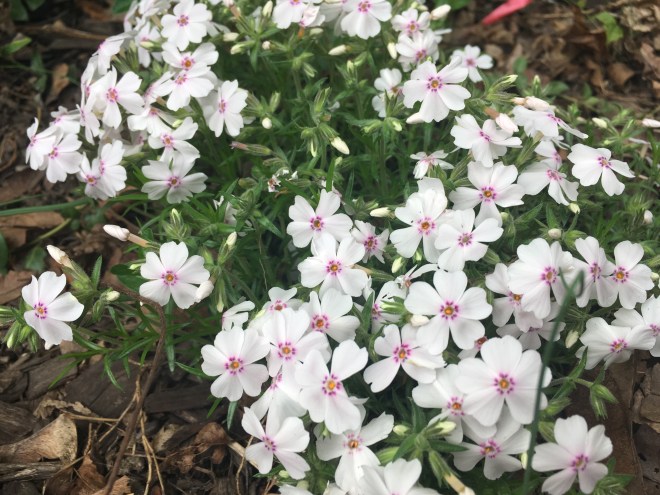
Clockwise from bottom left: Phlox Amazing Grace, Rose Quietness, Cosmos and Carnation seedlings, Sweet William Cherry Jolt, Yellow Sedum, Lavender Vinca. Center: Sedum Firecracker, Sedum Autumn Joy.

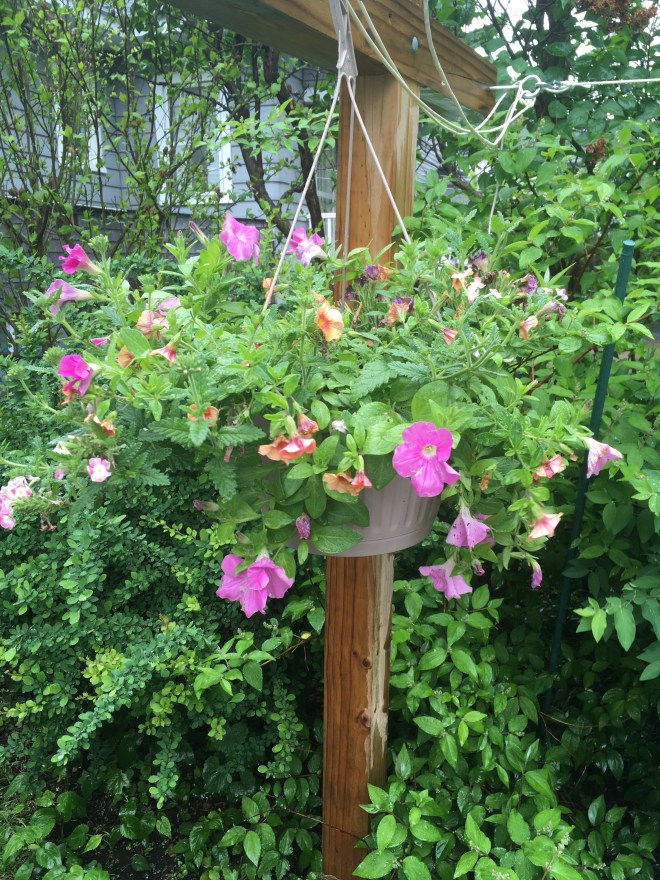
Annual basket I received as a gift full of petunias and verbena.

Purple pansies.

Our pansy and orange impatiens seedlings with our little spring bird decoration and a sweet little girl for cuteness.

My Garden – Early May 2018

Our new House has a few flower beds, so I’ve spent the last couple of years reading, experimenting, and learning about gardening. I hope to compose a few upcoming blog posts highlighting some of the things I’ve learned, mistakes I’ve made, what’s worked and what hasn’t, etc. But until then here’s some pictures of what’s growing in my garden (zone 6b) so far for Spring 2018.

Lamb’s Ears

Daffodils.

Tulips.

Hellebore Pink Frost.

Ajuga Burgundy Glow.

Plumonaria Dark Vader.

Rose Wild Ginger.

Forsythia.

Red Tulip.

Red Tulips and Peony srouts in the background.

Vinca Minor. Evergreen perennial Periwinkle.

More Periwinkle.

Overwintered red Geranium.

Overwintered pink Geranium.

Red Tulip and Muscari or Grape Hyacyinth.

Mixed Tulips with perennials coming up around them.

Phlox Blue.

Purple Tulips with an Azalea that is about to burst.

Phlox Amazing Grace.

Lettuce.

Radishes and spinach seedlings.

Tulip Pretty Princess.

Bleeding Heart.

Crabapple.

Yellow and red Tulips.

Cherry blossoms!

Bright pink Azalea.


A Week of Waffles

A Week of Waffles

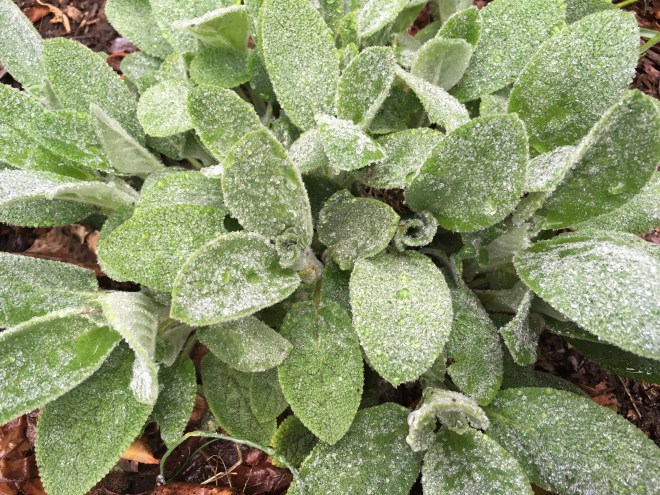
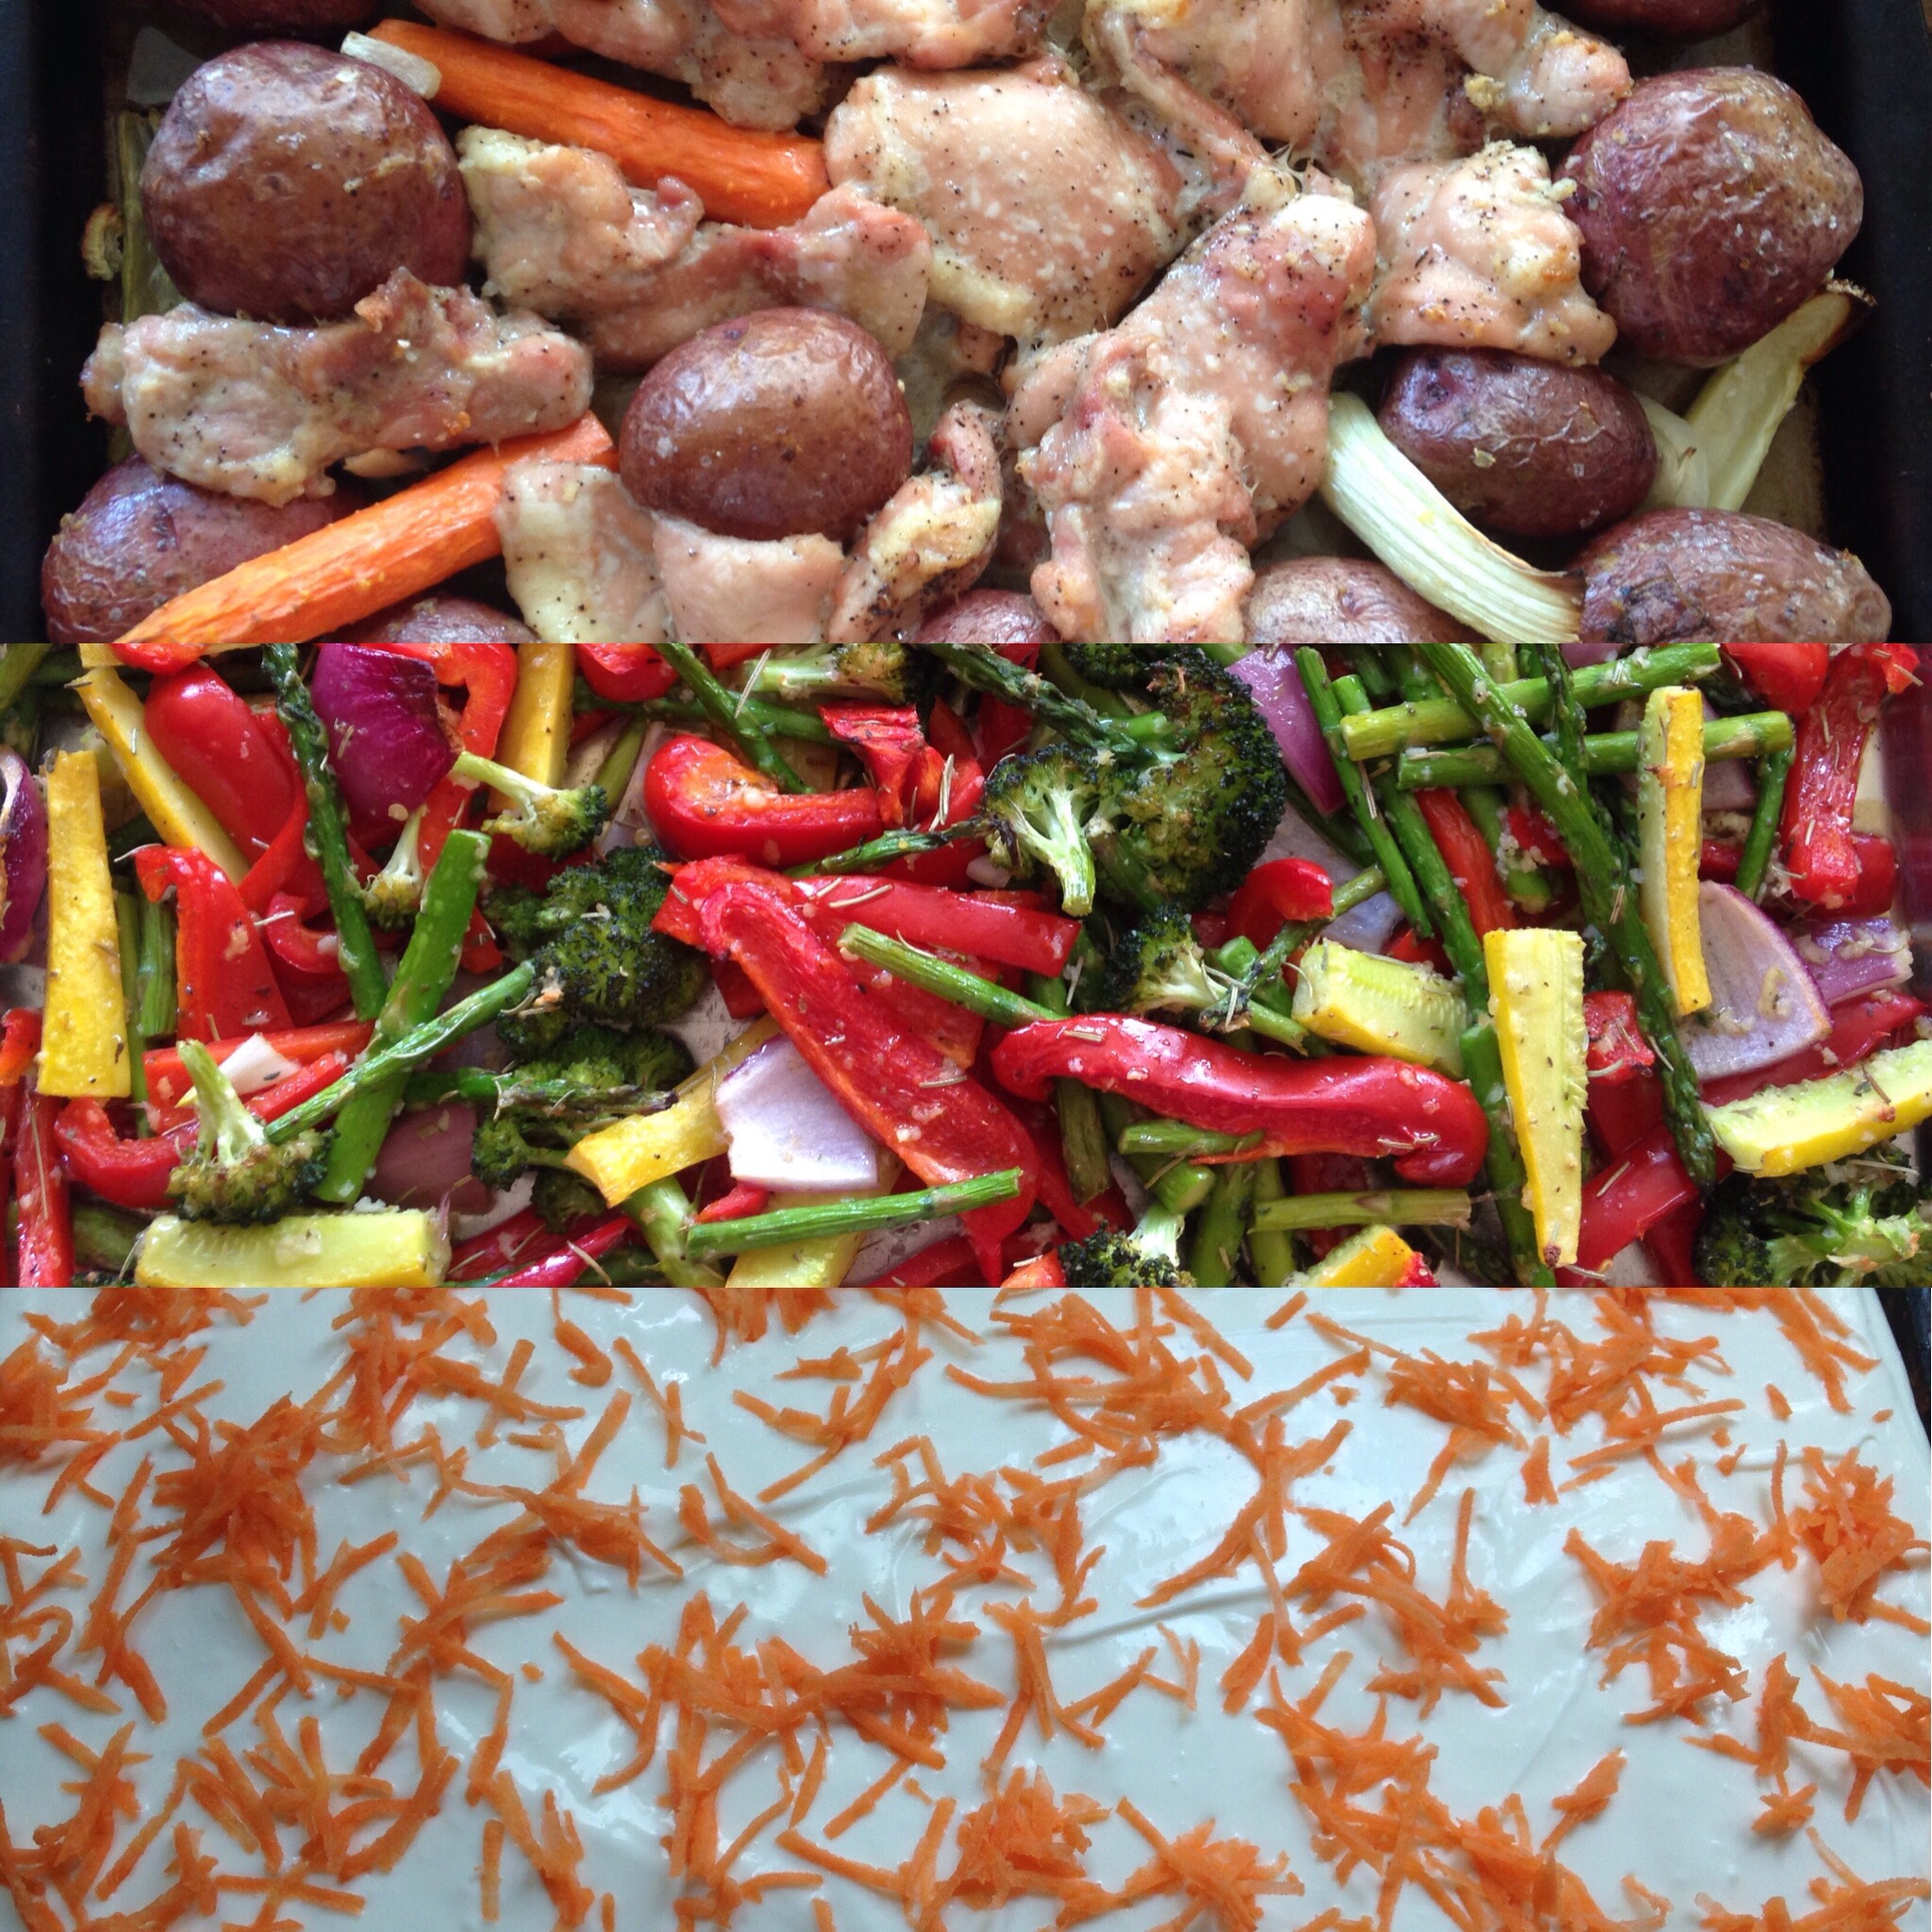
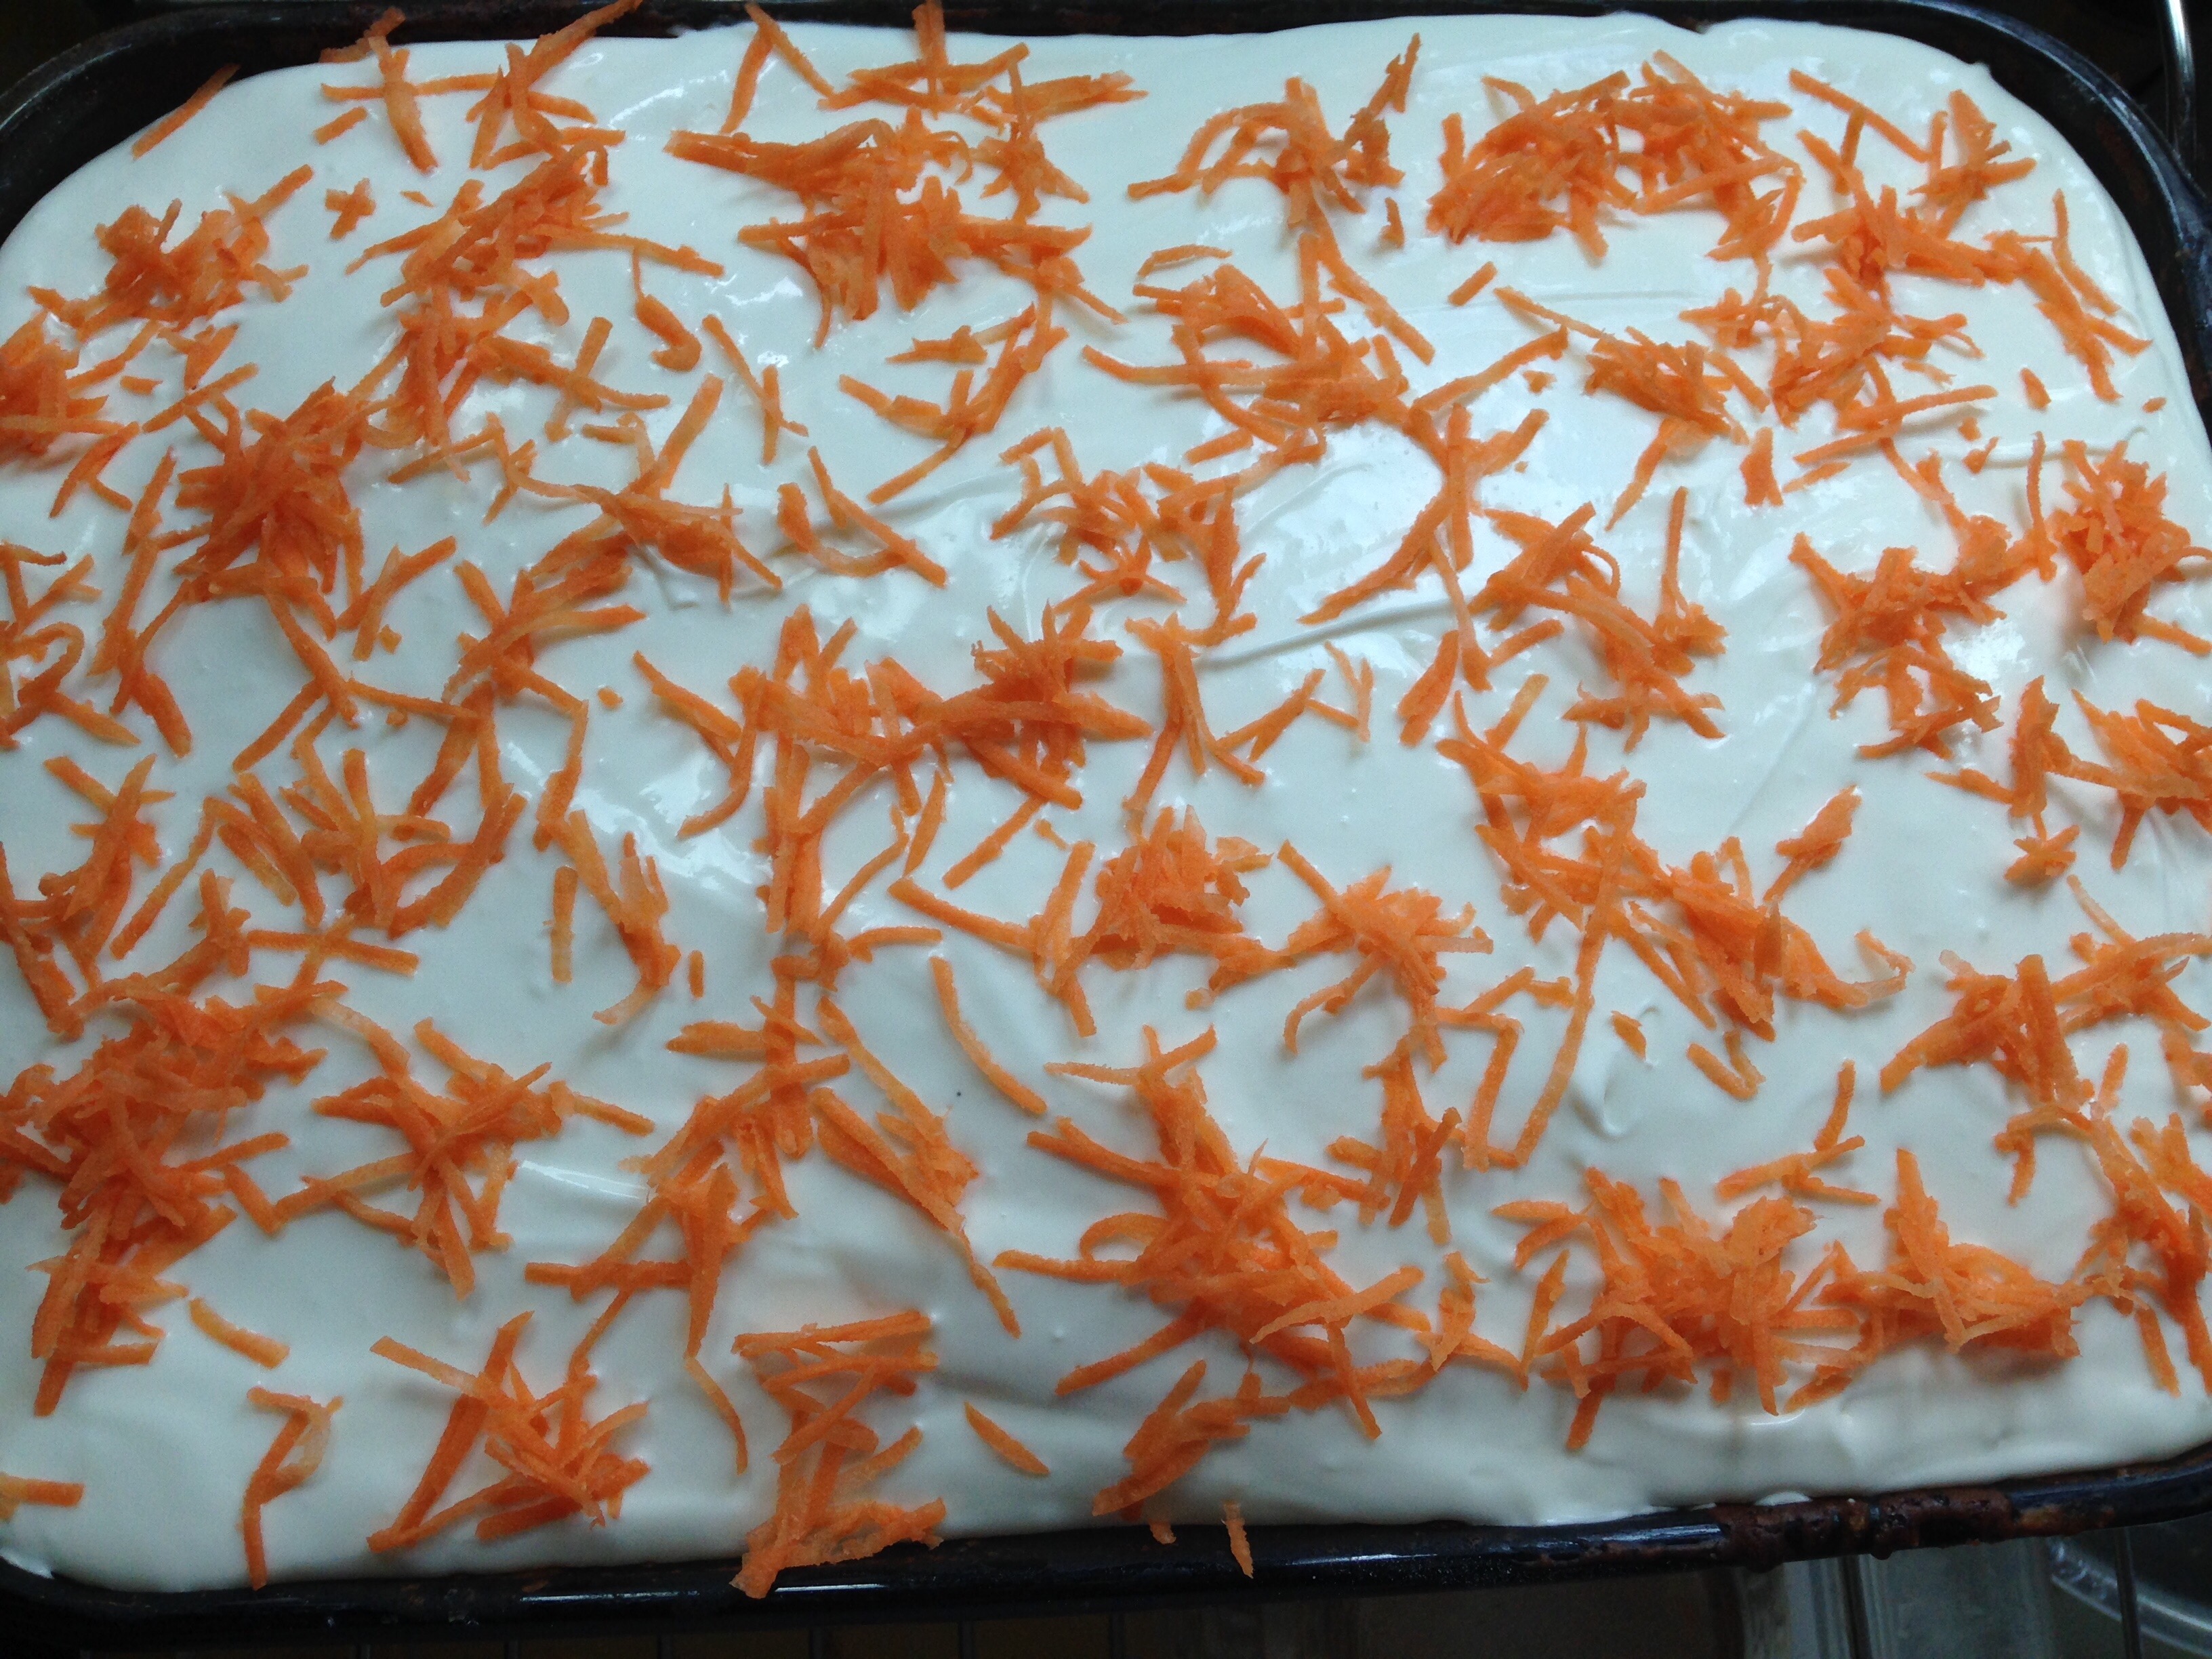
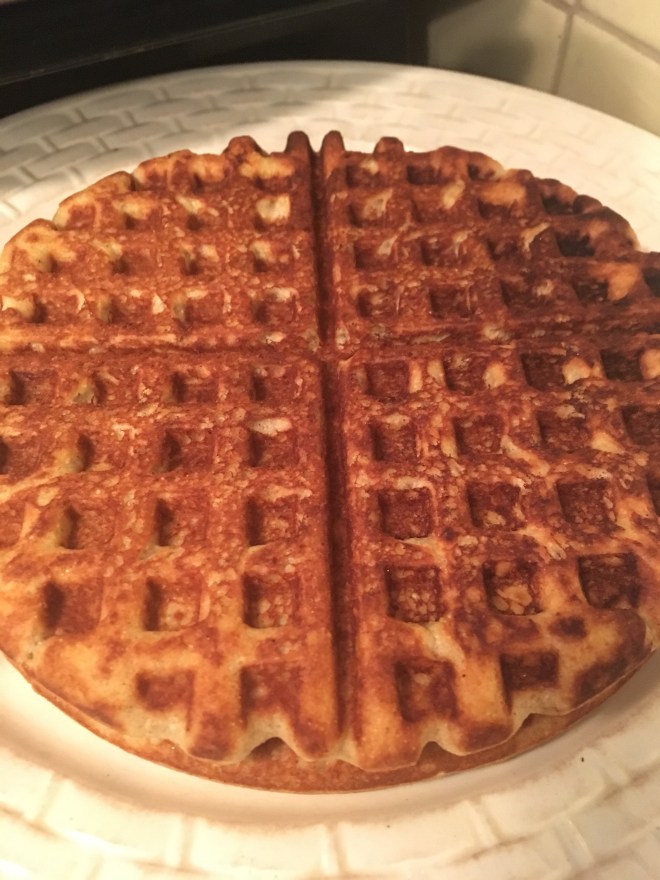
We eat waffles for breakfast every morning. Why you ask? Because when members of your family are allergic to oats, eggs, and pork you’re pretty limited on your breakfast food. This is something that I can make that everyone can eat. So, I make a HUGE batch every Saturday to last us the week. If you want a week’s worth of waffles, try this recipe.

Waffles:

4 eggs (I use 8 egg yolks as we can’t use the whites)

1 cup mild tasting oil (I use light olive oil)

1 tsp. Vanilla

1 tsp. Salt

Stir.

4 cups buttermilk (I sour milk with vinegar)

Add to egg mixture and stir.

5 – 5 1/2 cups flour (I usually use 2 cups all purpose, 2 cup whole grain spelt or whole wheat, and 1 cup millet)

1 tbls. Cinnamon

1 tsp. Baking soda

Stir. If you used whole grain flour, let it sit a few minutes so that the flour can absorb all the liquid. If your batter is still too runny add a half cup of all purpose flour.

Cook in my favorite Cast Iron Waffle makers. 🙂

Store in the fridge for up to one week, or freeze.

Enjoy your pre-made breakfast.

Click this link for some tips on using these cast iron waffle makers to their full advantage.

Easy Roasted Chicken and Veggies


I made this colorful concoction for our Easter dinner this year. It was delicious and so easy to prep ahead when you have guests.

I started the night before by washing and chopping all my veggies, and setting some minced garlic to marinate overnight in olive oil. 

In the morning I tossed about 8-10 red potatoes and a handful of carrots in a big bowl with my garlic and olive oil mixture from the night before. Then I sprinkled them with salt and pepper and put them on my baking stone. I coated the chicken thighs (boneless, skinless, about 2.5 pounds) in the same oil and garlic mixture and placed them around and on top of the potatoes and carrots. Then I threw in some chopped onion pieces and celery stalks for flavor and good measure. 


Next, I coated all my veggies. I had pre-chopped red onions, yellow squash, red peppers, broccoli and asaparagus. For this tray I chose veggies that were colorful for spring and ones that would roast quickly. (The potatoes and carrots went on the tray with the chicken because they would need a longer cooking time.) I coated them in an olive oil, garlic mix with rosemary and oregano added, and sprinkles of salt and pepper. These all got spread on a second tray.

Before roasting


I baked the chicken first. 45 minutes at 400 degrees. When it was done, I took it out to sit and put the second tray with the veggies in the hot oven (still at 400 degrees) for 20 minutes. Everything was perfectly roasted. It was an easy, delicious and flavorful meal.

Roasted to perfection. 400 for 20 minutes.


We had carrot cake for dessert, but that will have to be another recipe. 🙂

Black Bean, Sweet Potato, Turkey Chili


I’ve always used my Mom’s chili recipe. It’s Tex-Mex all the way. My allergy kid is off tomatoes right now however, so that recipe is out. Recently, I’ve been experimenting with alternatives and honestly, we haven’t like any of them….until this one.
It’s a keeper. A Facebook friend posted this recipe for a black bean, sweet potato vegetarian chili. It sounded appealing because it used many of the same spices that I typically use in chili, so I tweaked it a bit and made it my own. 

The first change was to add meat. Sorry to my vegetarian friends. I added ground turkey, omitted the tomatoes and changed a few other ingredients based on what I had on hand and what sounded good.

Black Bean, Sweet Potato, Turkey Chili:

1.5 lbs ground turkey

1 yellow onion, diced

6 cloves of garlic, pressed or minced 

1 tbl chili powder

3 tbls cumin

1 Jalepeno, seeded and diced

Salt and pepper

Brown the turkey meat adding the chopped items and then the spices.

Next add…

1 can each black and pinto beans (or 8 oz. dried and soaked beans)

2 large sweet potatoes, peeled and chopped

1 cup chopped red pepper

2 cups chopped red Swiss chard

3 cups vegetable broth

If needed, add enough water to cover all the ingredients. Simmer until heated through or until the beans are tender if using dried.

This would also make a great crock pot meal if you cooked the meat ahead and tossed all the rest in the crock pot the day of.

I like this recipe because it tastes similar to my standard chili and has a good enough base with the sauce, peppers and sweet potatoes that none of us missed the tomatoes. Eat well everyone!

Pantry Help – Organize Those Bulk Herbs and Spices


I love my herbs and spices. One of the biggest perks of living near the City is that you can get bulk herbs and spices very cheap. (See last week’s post bulk spices on the Since Your Last Visit page.)

But a cute little spice rack will not do for keeping them organized. These bulk containers were wreaking havoc with my pantry shelves. So I came up with a handy DIY solution.

Over-the-door shoe organizer to the rescue!


I labeled all the lids of my spice containers with a permanent marker and filled up all those pockets. 


I love the results. My favorite herbs and spices within easy reach and I don’t have to shuffle through my shelves looking for them anymore. Hooray for organization!

City Life: Save money buying Bulk Herbs and Spices


So much in the City is so expensive – mostly rent! But if you live in or around NYC stock up on bulk herbs and spices at the local city grocery stores. The herbs and spices are soooo much cheaper than the typical suburban grocery store chain. Trade Fair is my favorite NYC grocery store with Associated coming in second. 
If you don’t live in the NYC area there are still options other than paying $8 for a tiny jar of cloves at your local supermarket. I have actually found reasonable prices on bulk spices on Amazon. So check there. My favorite online stores for bulk herbs are Mountain Rose Herbs and Bulk Herb Store. And be sure to check your local Walmart. They have some basic spices in the $1 category. So save some money and add some spice to your life!

(Note: None of these are affiliate links.)

Freezer Biscuits

I like to keep these homemade freezer biscuits on hand when I need some quick rolls to go with dinner. Mix them up, freeze for later , and cook them up in 20 minutes when you need them.

6 cups of flour 

2 tbls baking powder

2 tsp salt

1 tbls sugar 

4 cups heavy cream

Mix. Roll out to 3/4 inch thick. Cut out. Freeze on a covered cookie sheet. Once frozen, store in a gallon freezer bag. When you’re ready to bake, cook on 400 for 20 minutes. They’re delicious and fluffy.

Homemade Ranch Dressing in minutes 

Our family LOVES Ranch dressing. Granted it may not be the healthiest of choices but it’s our favorite dressing nevertheless.

My allergy kid has had to forego his  favorite Ranch dressing of late however, so I came up with a homemade mixture that I actually like better than the regular Ranch and that he will eat. So, it’s a win, win. I make it in small batches but you could make larger batches. I’d eat it within a week.


Homemade Ranch Dressing:

1 cup mayonnaise 

1/4 tsp salt

1/4 tsp pepper

1/2 tsp garlic powder

1/4 tsp onion powder

1/2 tsp parsley 

Mix and add water until it reaches the desired consistency. If you want the dressing to have a longer shelf life then add distilled water rather than tap water. Store in a covered container in the fridge.

Make Ahead Chicken Pot Pie

We had dinner guests planned for a Sunday afternoon a couple of months ago and I needed a make ahead meal. Chicken pot pie wouldn’t normally fall into that category but I’m pleased that I came up with a version that my whole family loved! I even liked it and I’ve never been a huge chicken pot pie fan.

This would be a great meal for holiday gatherings or when you are planning to have house guests as you can do all the prep in advance.

Here’s how I implemented my make ahead plan:

(Note: This made three 9-inch pies. So these proportions will feed a crowd. I even had some filling leftover that served as leftovers on top of egg noodles.)

Two Days Ahead: I cooked up a bunch of chicken leg quarters in my crockpot overnight so that I would have plenty of good meat and broth.

The Day before: I deboned my chicken and strained my broth. Then I assembled my veggies – garlic, onions, celery, carrots, potatoes, corn and peas. I prepared the filling by sautéing the onions and celery in olive oil with salt and pepper. Then I added 4-5 minced cloves of garlic along with the carrots and potatoes. After those had sautéed for a few minutes I sprinkled on about 2-3 tbls of flour and stirred until the vegetable mix was coated and all the flour was absorbed. Then I poured my chicken broth over the mix and added 3 cups of heavy cream. I let it simmer for a few minutes until the sauce began to thicken. Then I turned off the heat and let it cool. The veggies don’t need to be cooked all the way through at this point as it will finish cooking the day of. Once cooled I poured it all in my big crockpot and stirred in my shredded chicken meat. Then it went in the fridge overnight.

Next I prepared the crust. I used a recipe for freezer biscuits that I modified to use as a pie crust topping instead. Mix 6 cups of flour, 2 tbls baking soda, 1 tsp salt, 1 tbls sugar and stir in 4 cups of heavy cream. Let the dough rest for about 10 minutes after you’ve mixed it together. Then divide it in thirds and pat it out into three rough 10-inch circles about 1/2 inch thick. Be sure that the circles are big enough to go over the edges of your pie plate. Lay the dough out on cookie sheets and cover with wax paper or greased plastic wrap and freeze overnight.

The Day of: Pull the crock pot out of the fridge and set it to cook on high for about four hours. The veggies will finish cooking and then you’ll only need about 20 more minutes in the oven to cook the dough.

About a half our before you want to eat, fill your pie pans about 2/3 full with your hot, steamy filling from your crockpot. Add your frozen dough topper and cook each pie separately on 400 for 20 minutes. It’s not a bad idea to put a jelly roll pan under your pie plate just in case you accidentally overfill the pie plate and the sauce spills over like mine did. Your chicken out pie should cook up beautiful and tasty.

Now eat up and enjoy your guests! Your work is done.