This couldn’t be easier to mix and is a great option for people that can’t use regular toothpastes due to ingredients like vegetable glycerin which can be a problem for people with coconut allergies. Ready for the recipe? Here you go….
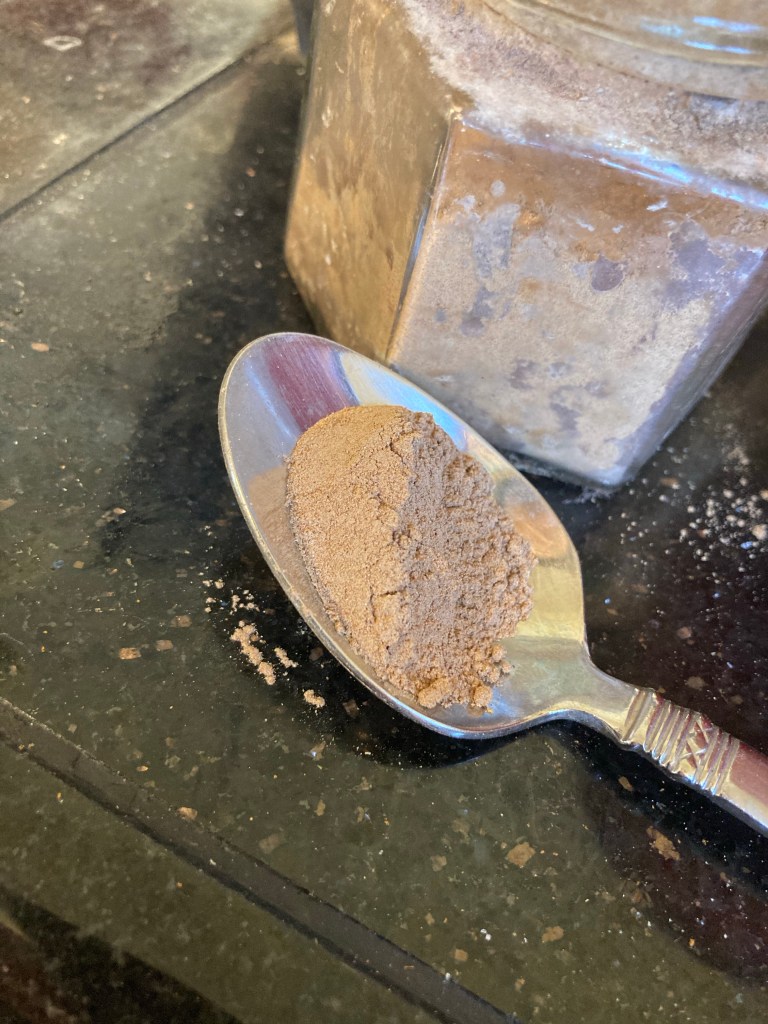
Cinnamon Spice Tooth Powder:
In a small jar mix the following…
2 tbls Bentonite clay
2 tbls cinnamon oowder
1/4 tsp sea salt
1/8 tsp cloves
I put them all my little jar and shake, shake, shake to mix.
I have tried many versions of this recipe over the years, from powders to pastes, but this has been our go tooth powder for the last several years. As long as it is kept dry, it’s shelf life is indefinite. And I find it very effective. The Bentonite clay pulls toxins, cinnamon and clove add flavor and disinfect, and the salt adds to the disinfecting properties as well.
Apply to your toothbrush using a popsicle stick or tiny measuring spoon for best results.
So, I’m picky about my teas. I’ve experimented for months to get a combination that I like. Too many herbs – too weak. Too much black tea – too much caffeine. Too many cloves – too strong. Too much black pepper – too spicy. Too much dandelion – too bitter.
This is just right. It’s sweet and spicy, hearty and robust. And it is a gentle cleanser for your liver and digestive system. The addition of dandelion, red clover, and milk thistle are gentle cleaners and liver protectors of for your liver. Dandelion, red clover, and nettle add excellent vitamins, nutrients, and minerals to your body.
These herbs are not only cleansing, but safe for pregnancy and nursing. Most are suggested herbs for using to add nutrients to your diet when pregnant and to your milk when nursing. As always, you should consult with your doctor or midwife before using any herbs especially if you take any medication.
Wanna try it…. here’s the recipe.
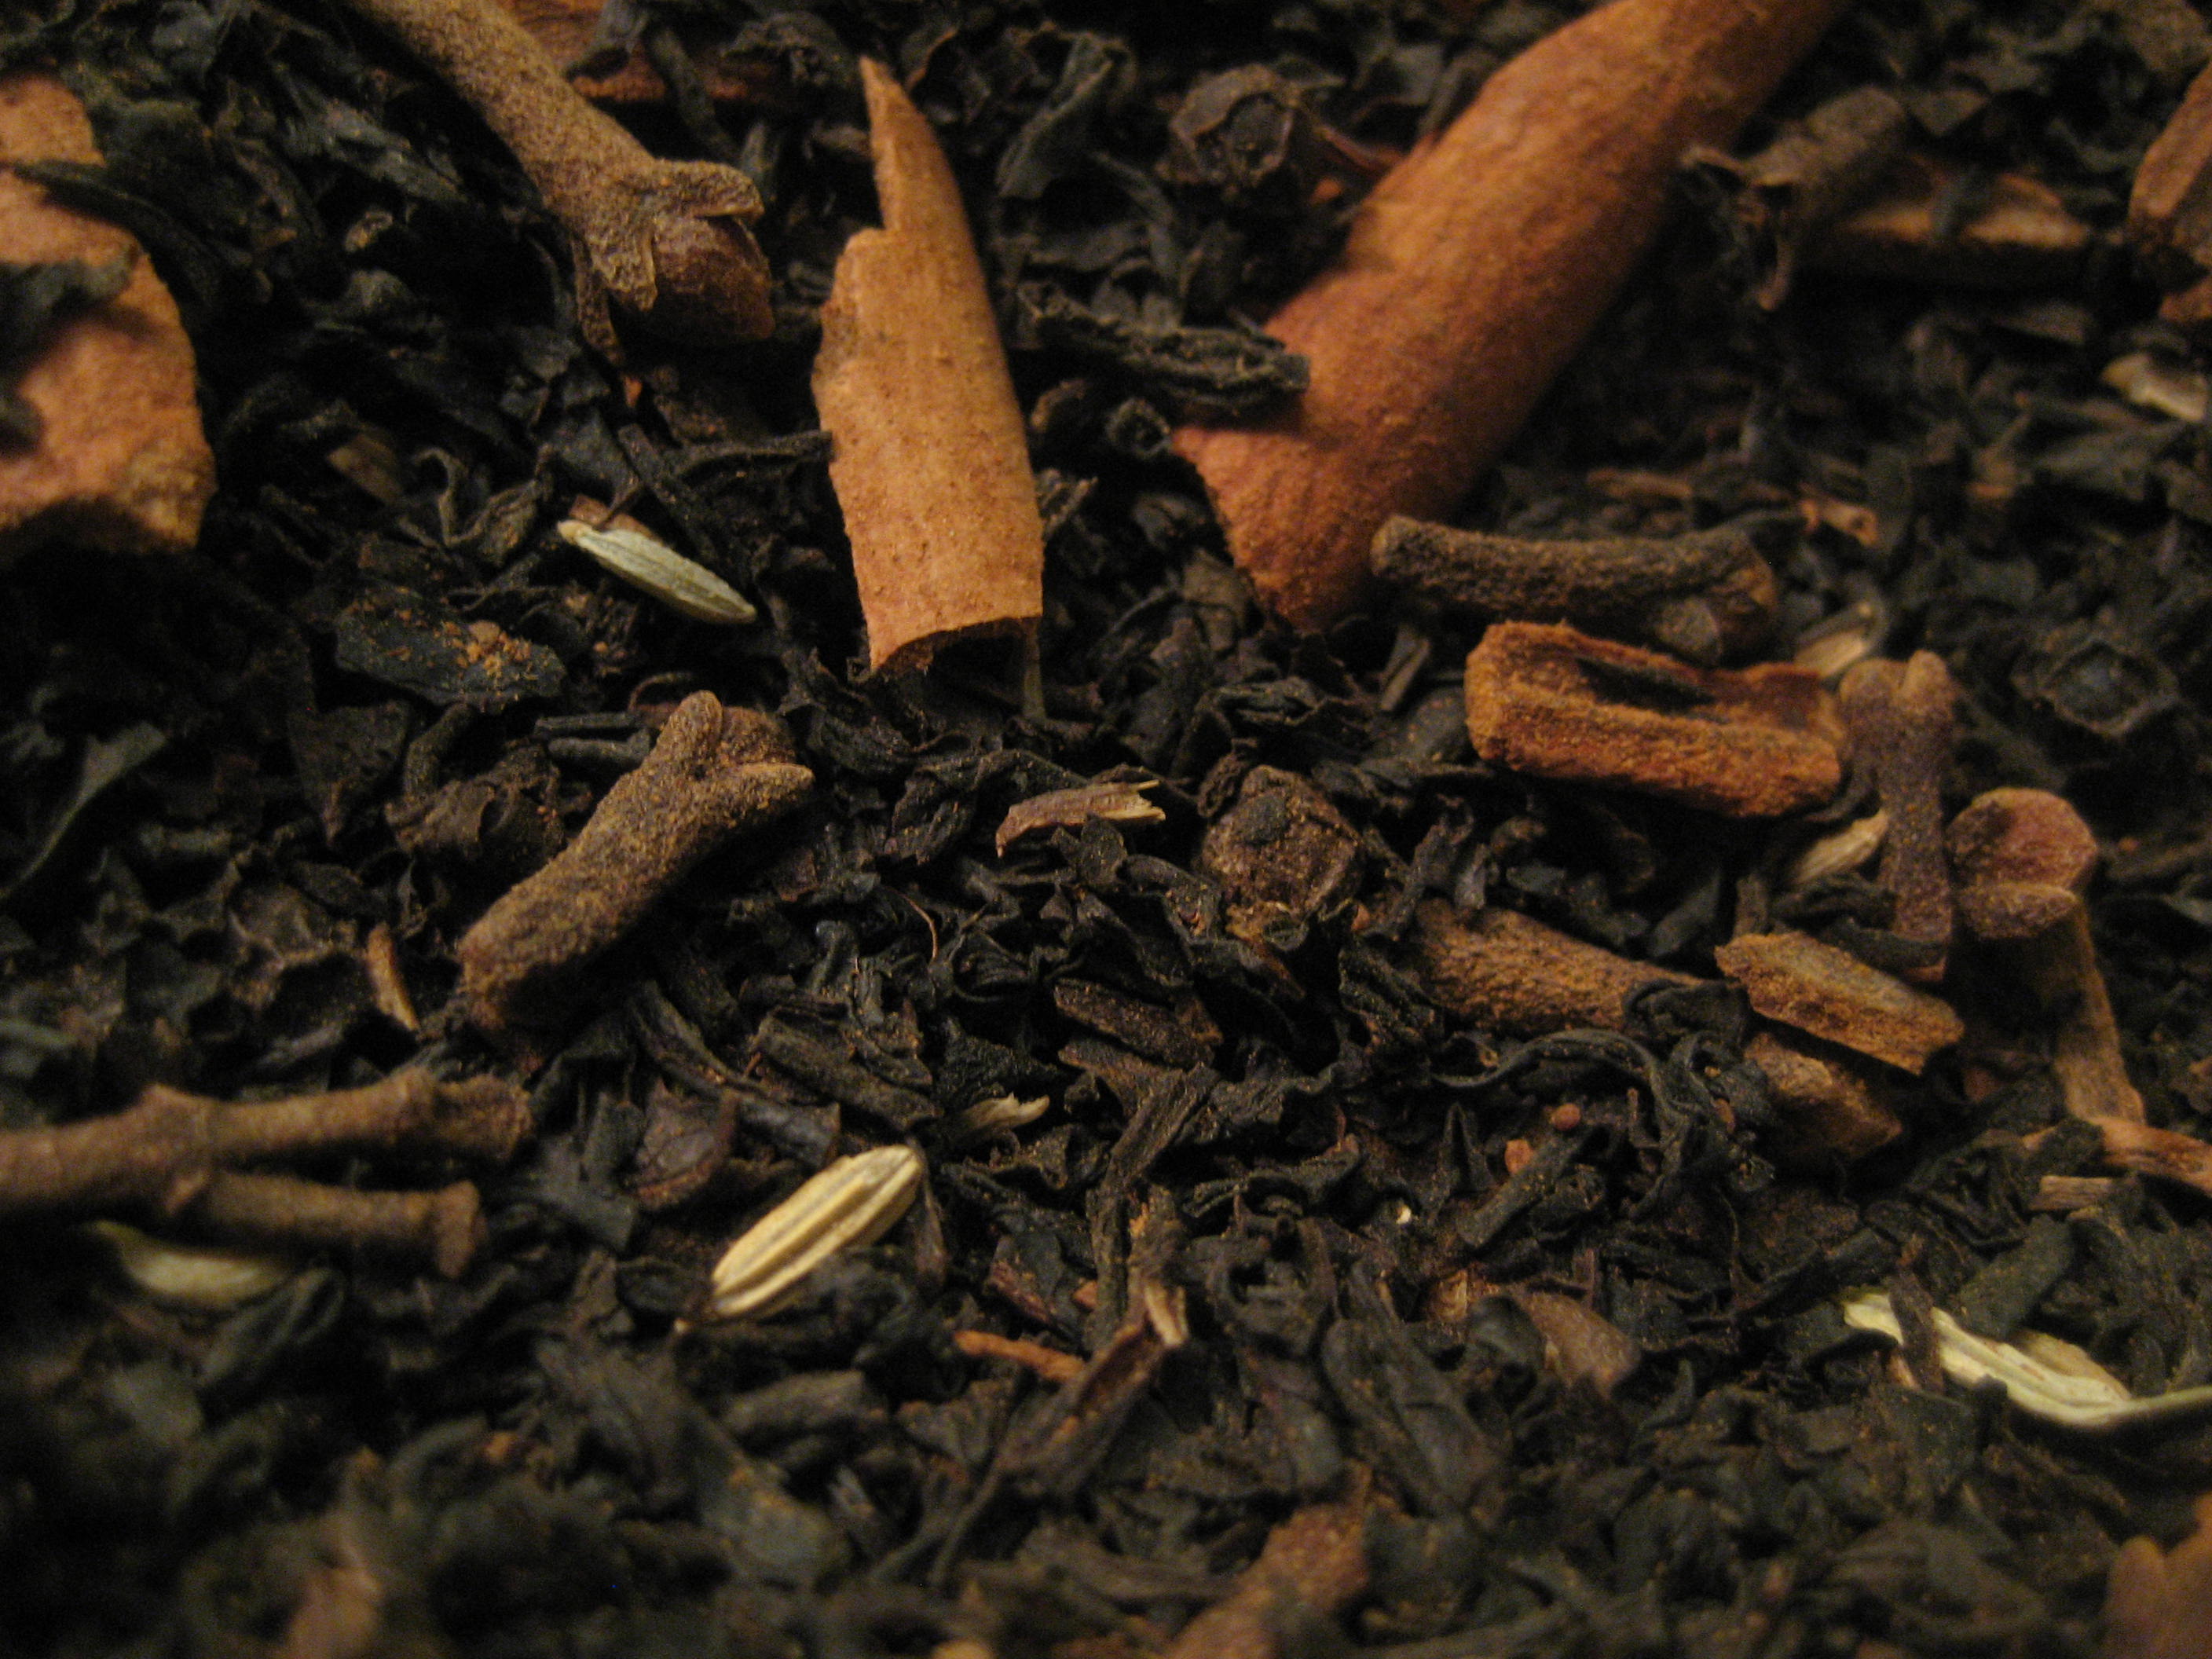
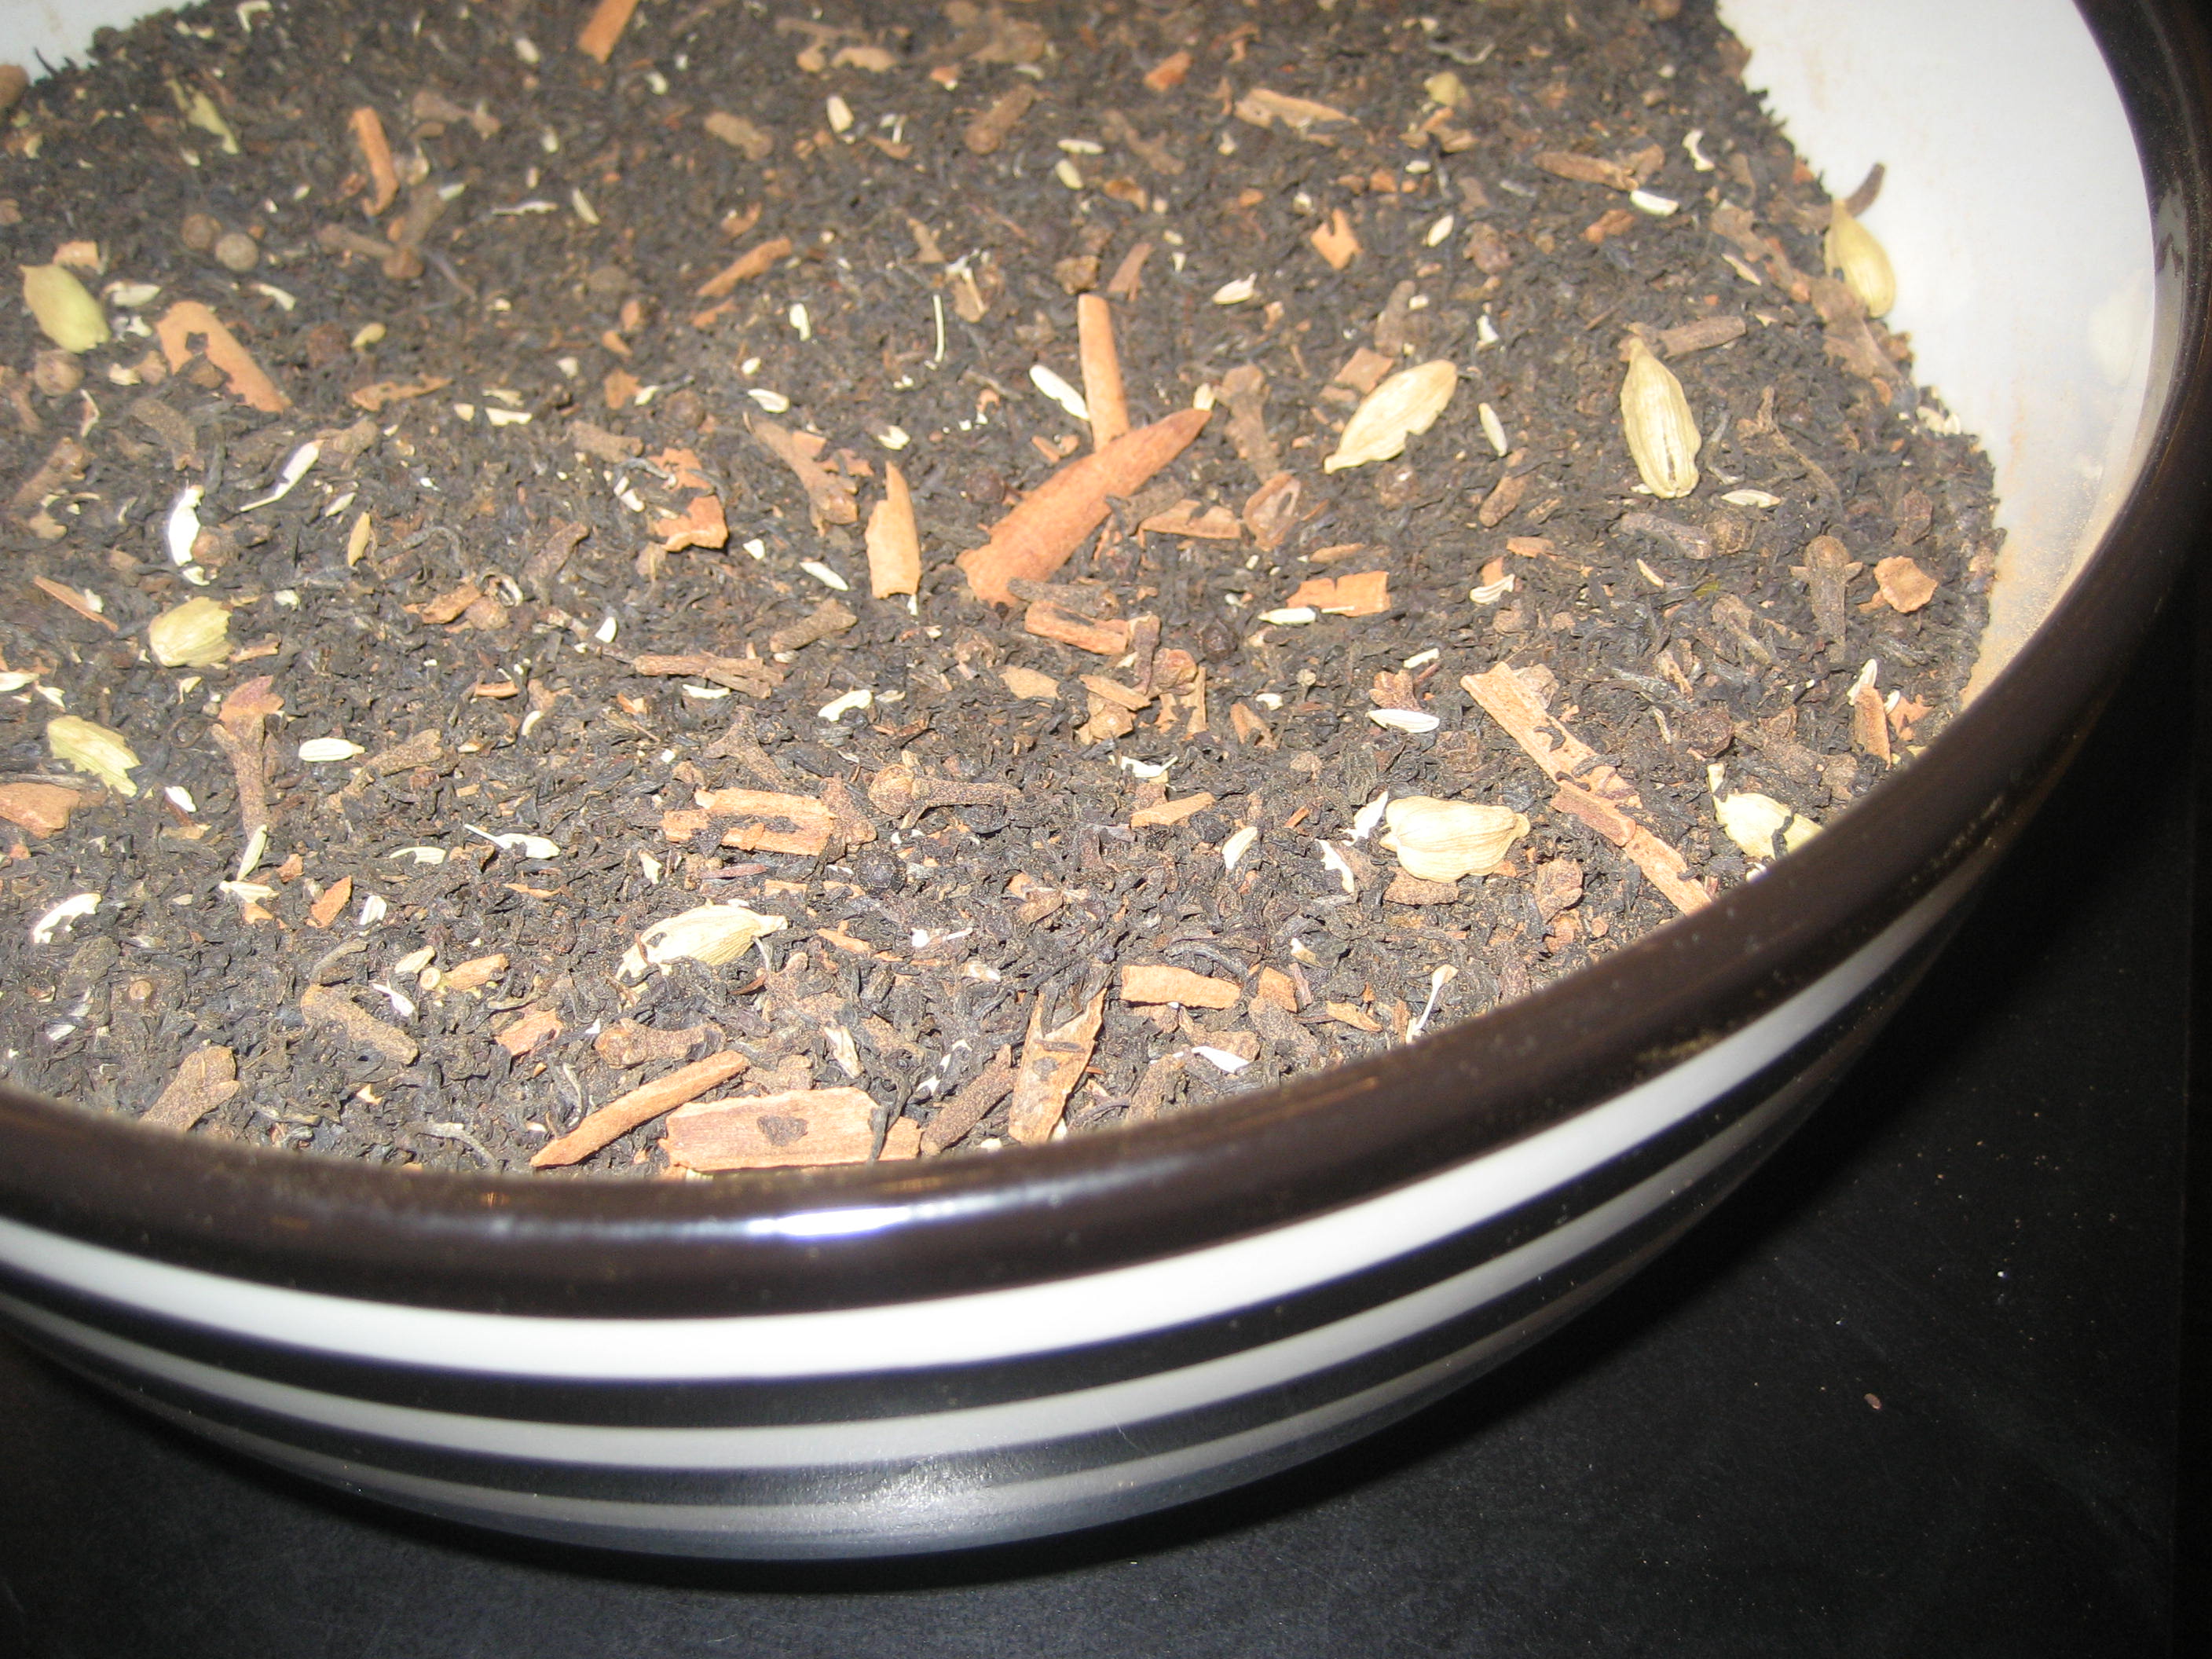
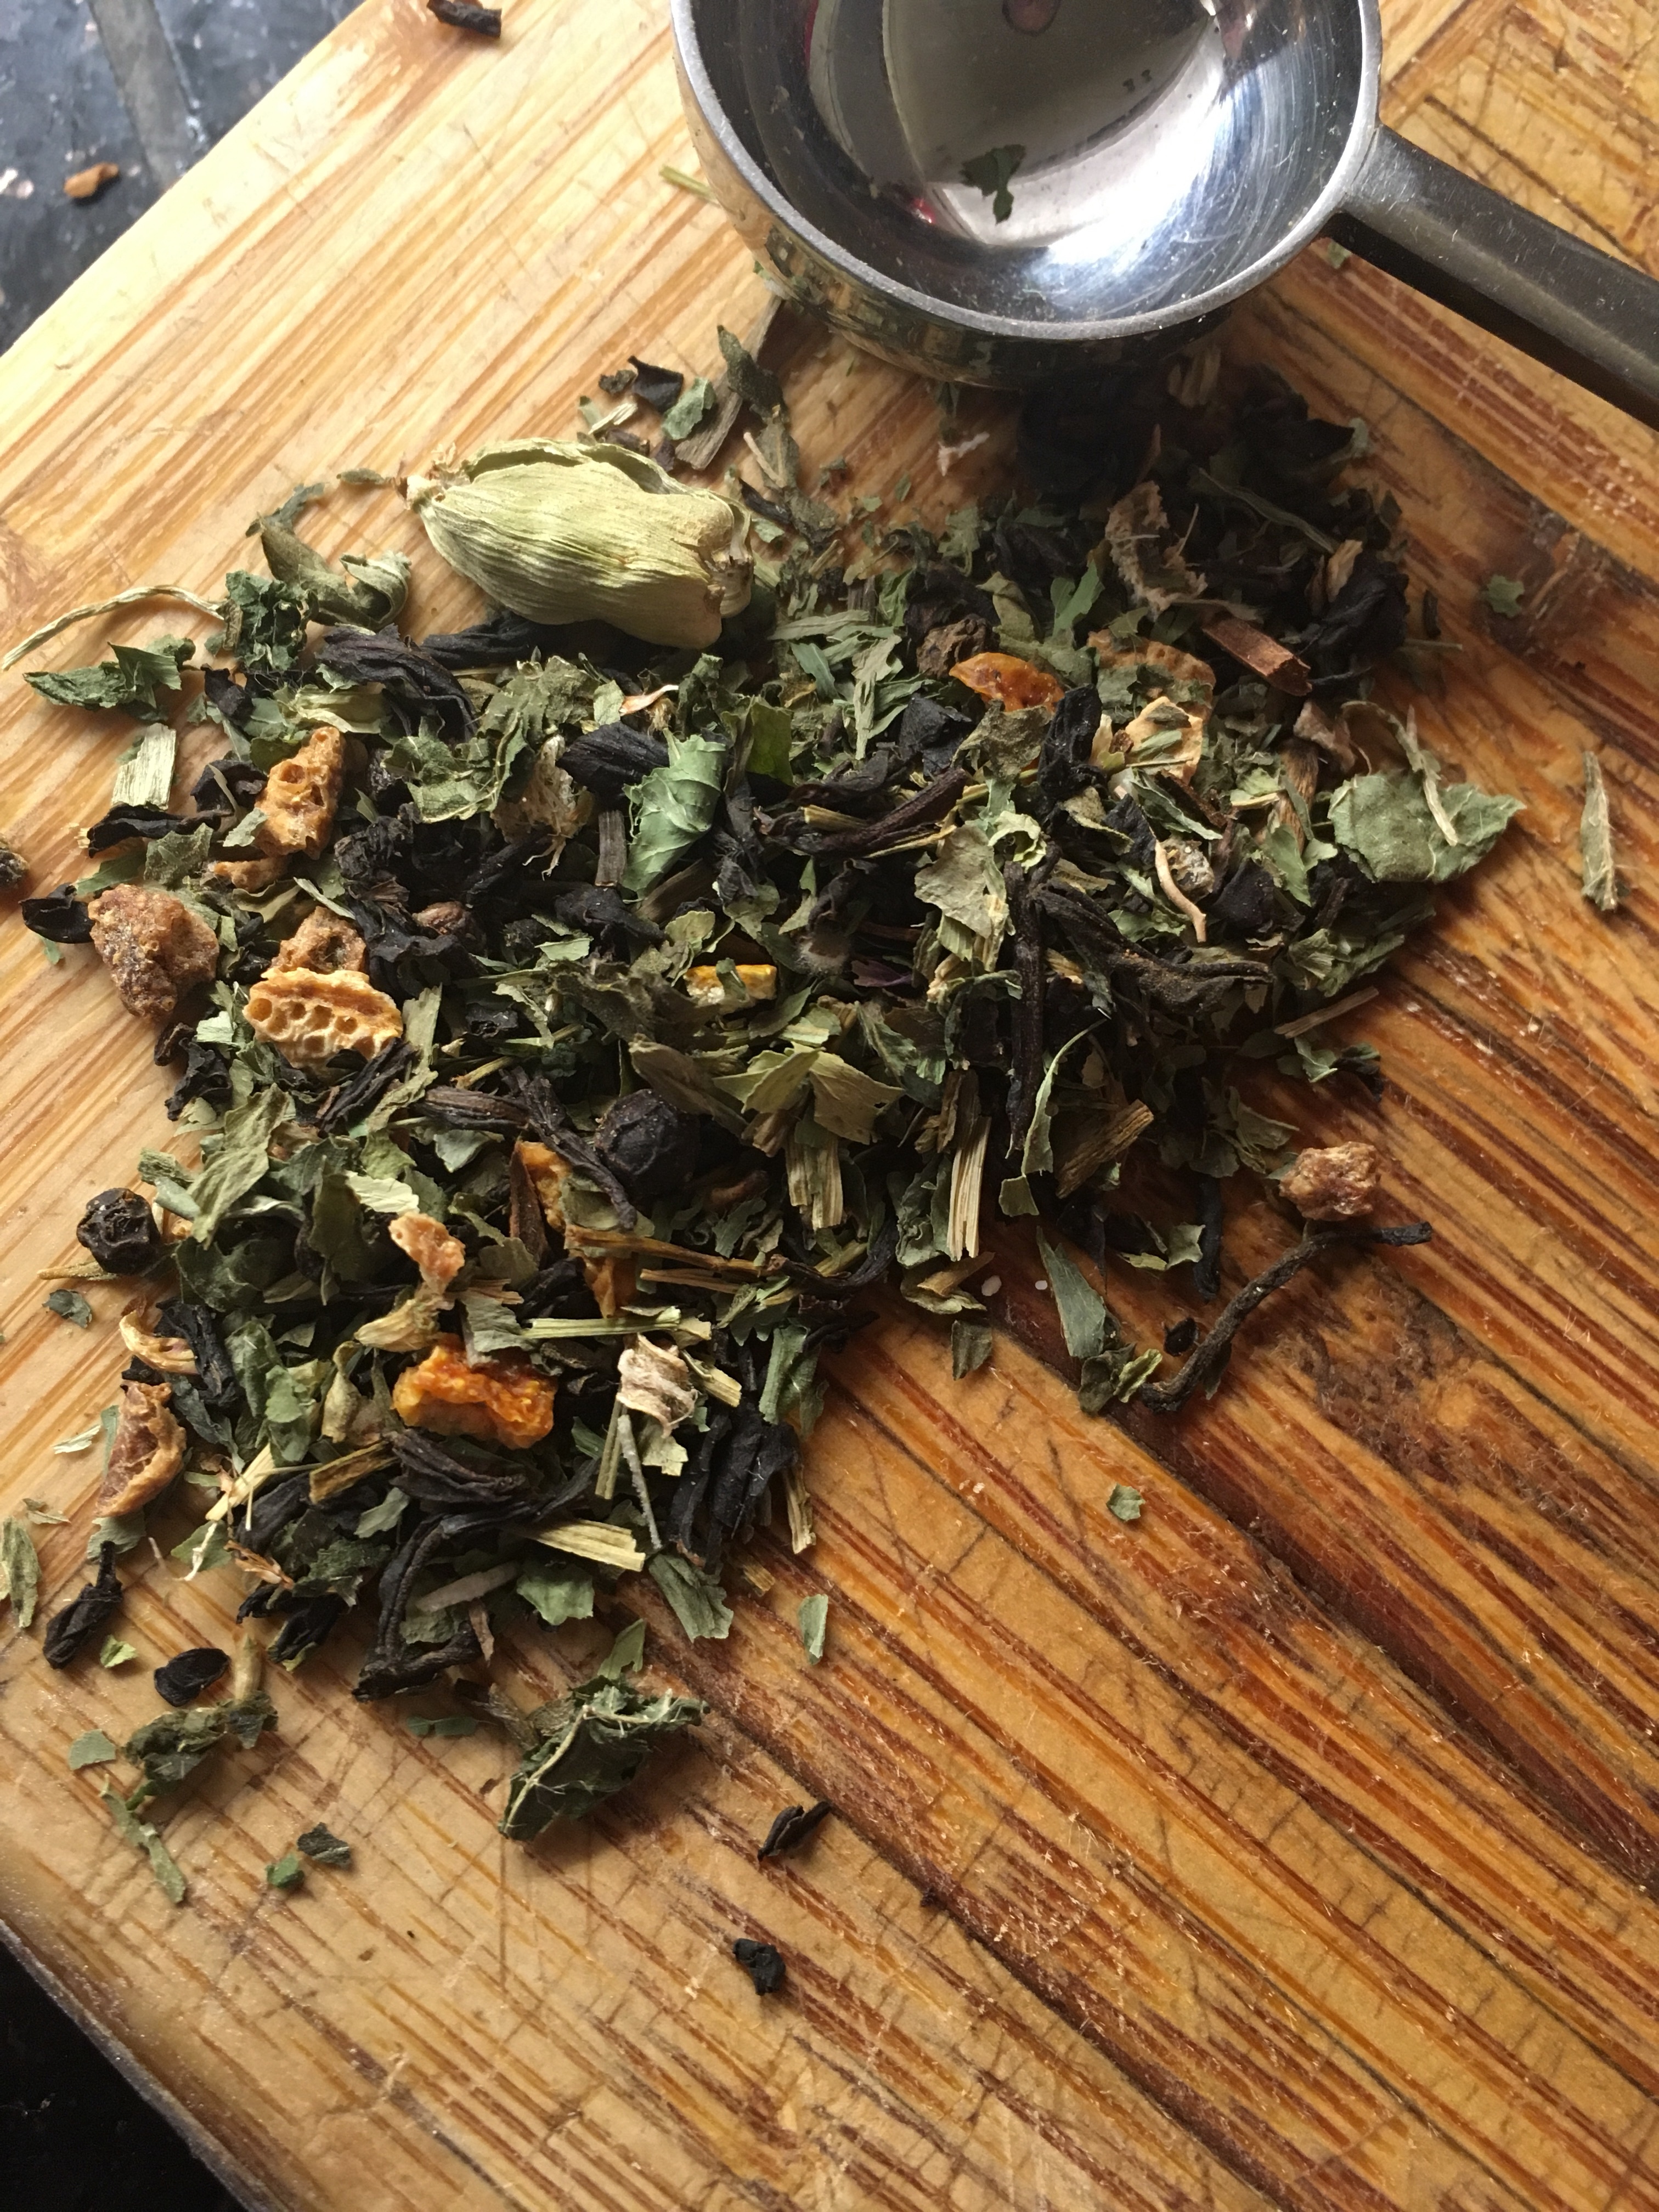
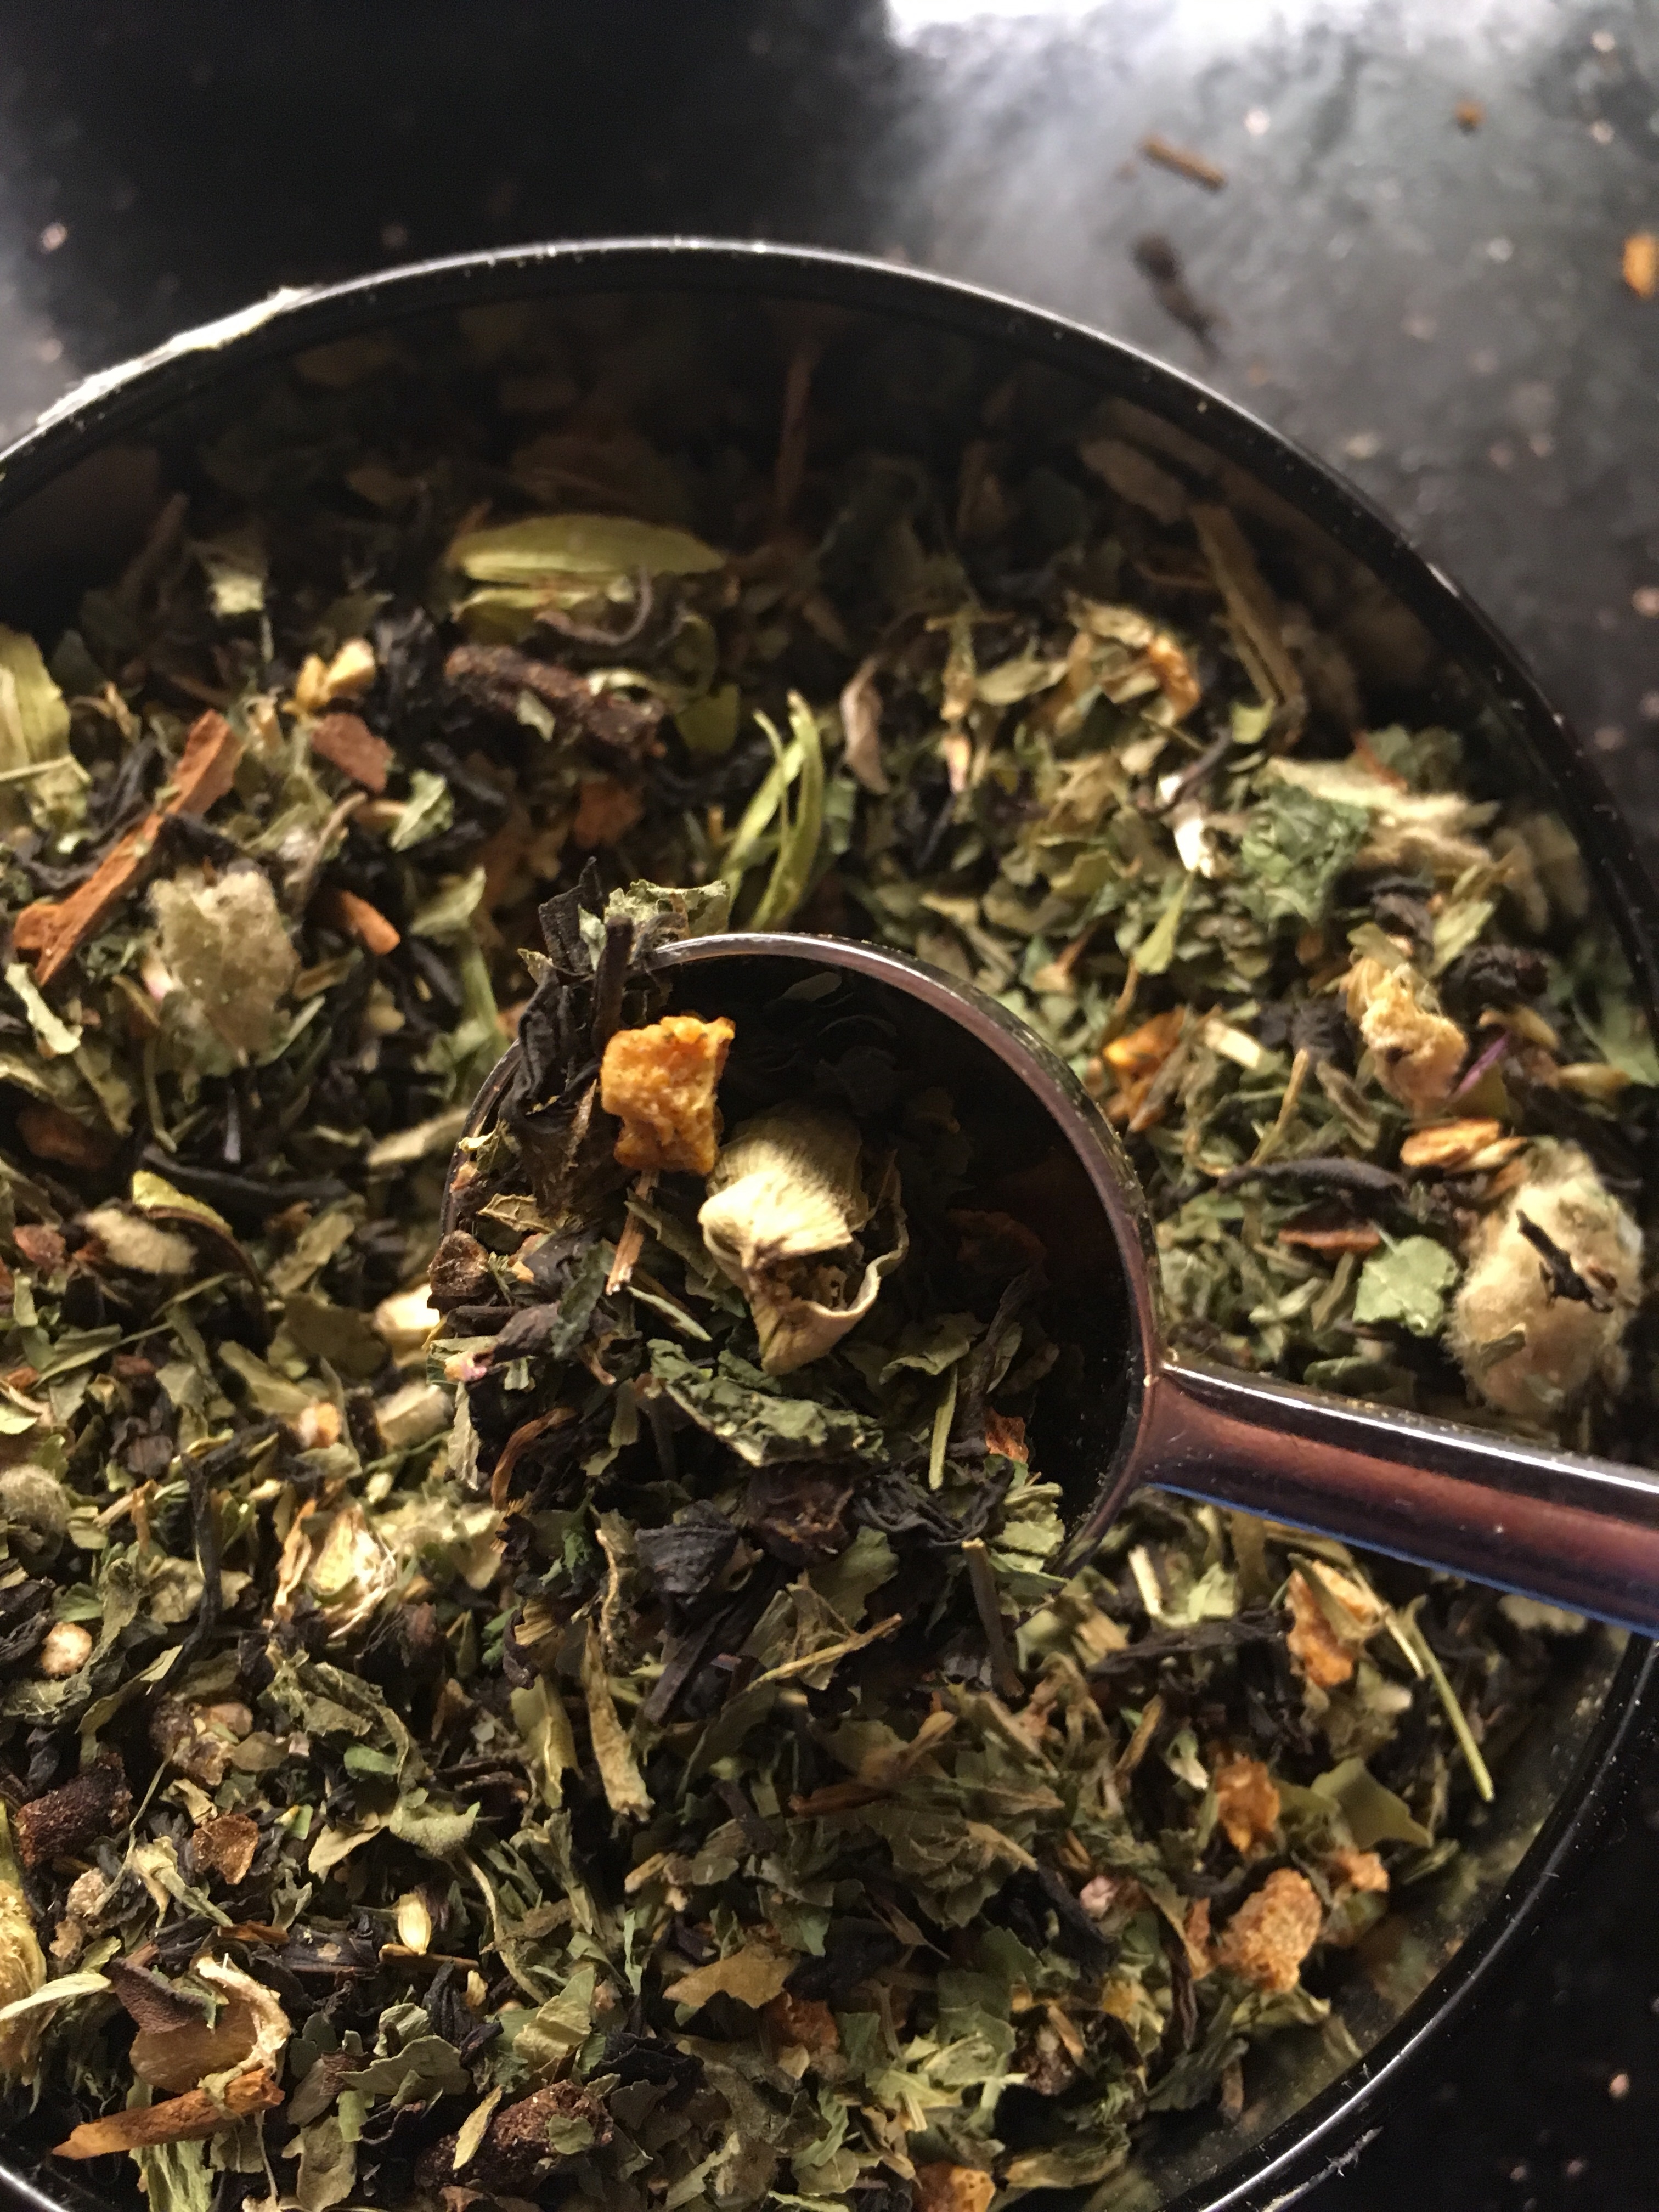
Spicy Cleansing Herbal Chai:
This recipe makes approximately 2 cups of loose leaf tea.
8 tsp loose leaf black tea
6 tsp dandelion leaf
5 tsp red clover
4 tsp nettle leaf
2 tsp mullien
2 tsp cinnamon sticks, crushed
2 tsp dried ginger
1 tsp stevia leaf
1 tsp dried orange peel
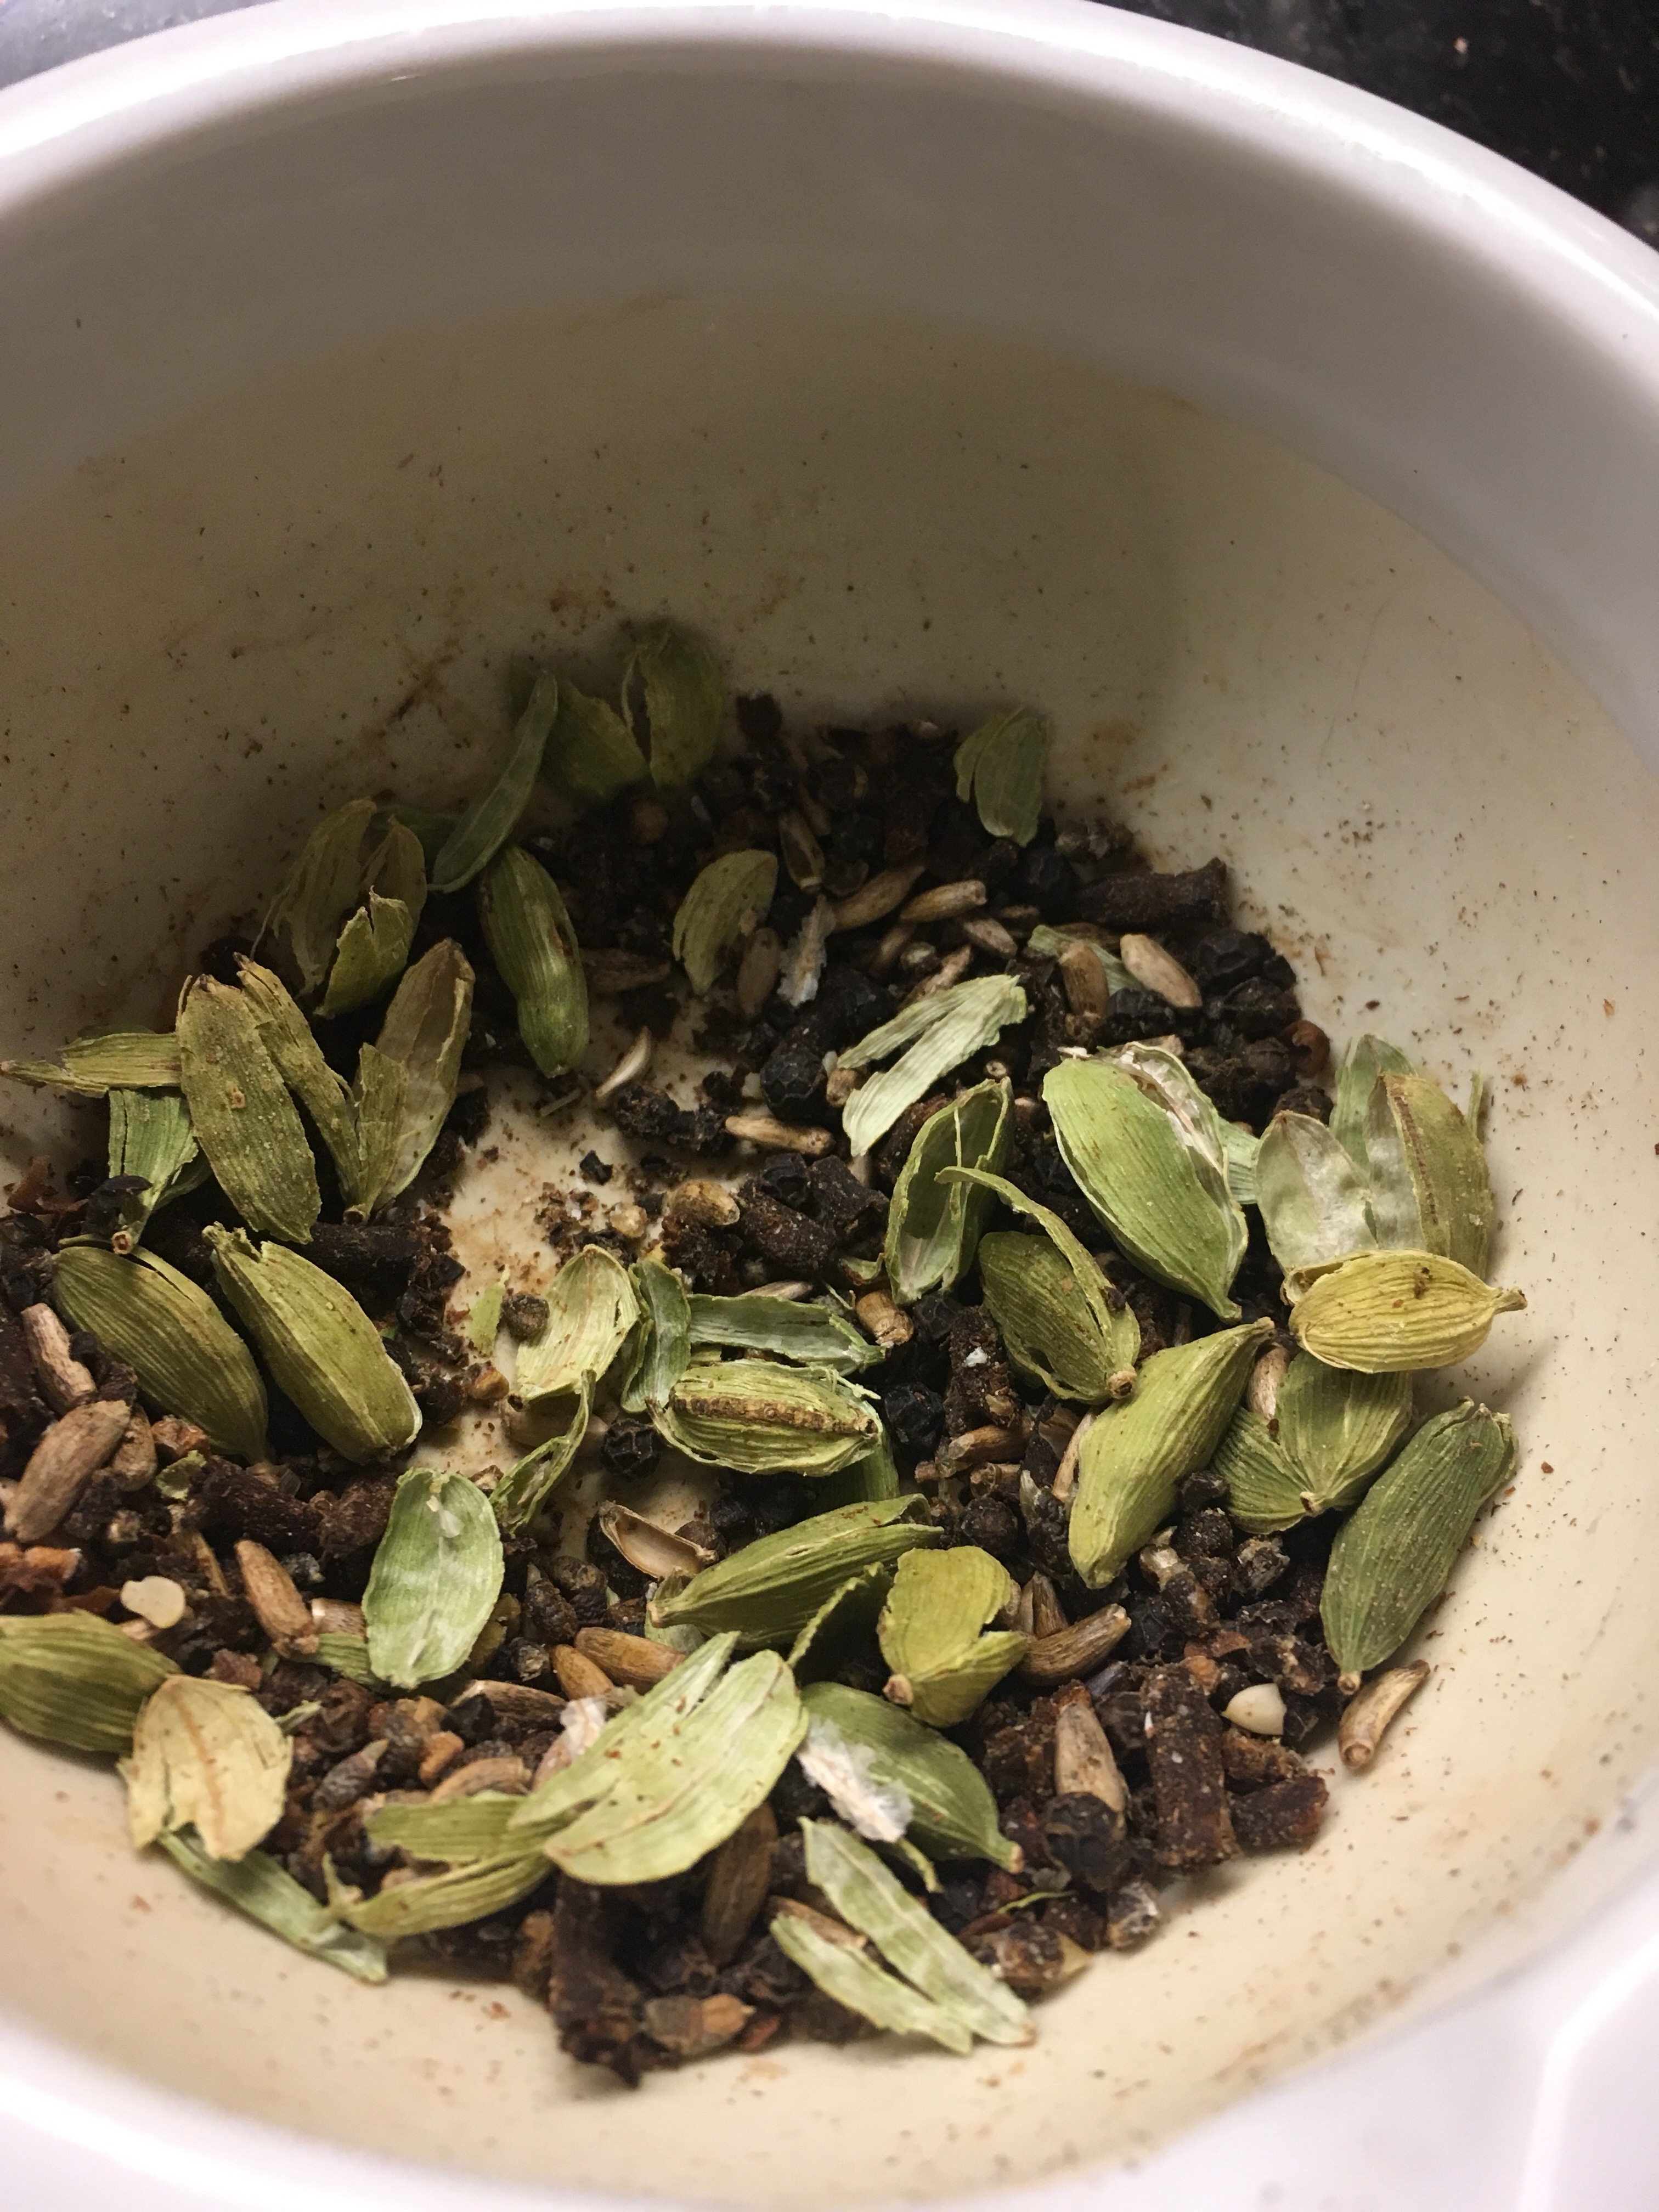
1 tsp cardamom pods, crushed
1/2 tsp black peppercorns, crushed
1/2 tsp whole cloves, crushed
1/2 tsp milk thistle, crushed
Mix all the ingredients. Add 2 tsp of tea mix to a tea strainer and steep for 5 minutes in boiling water.
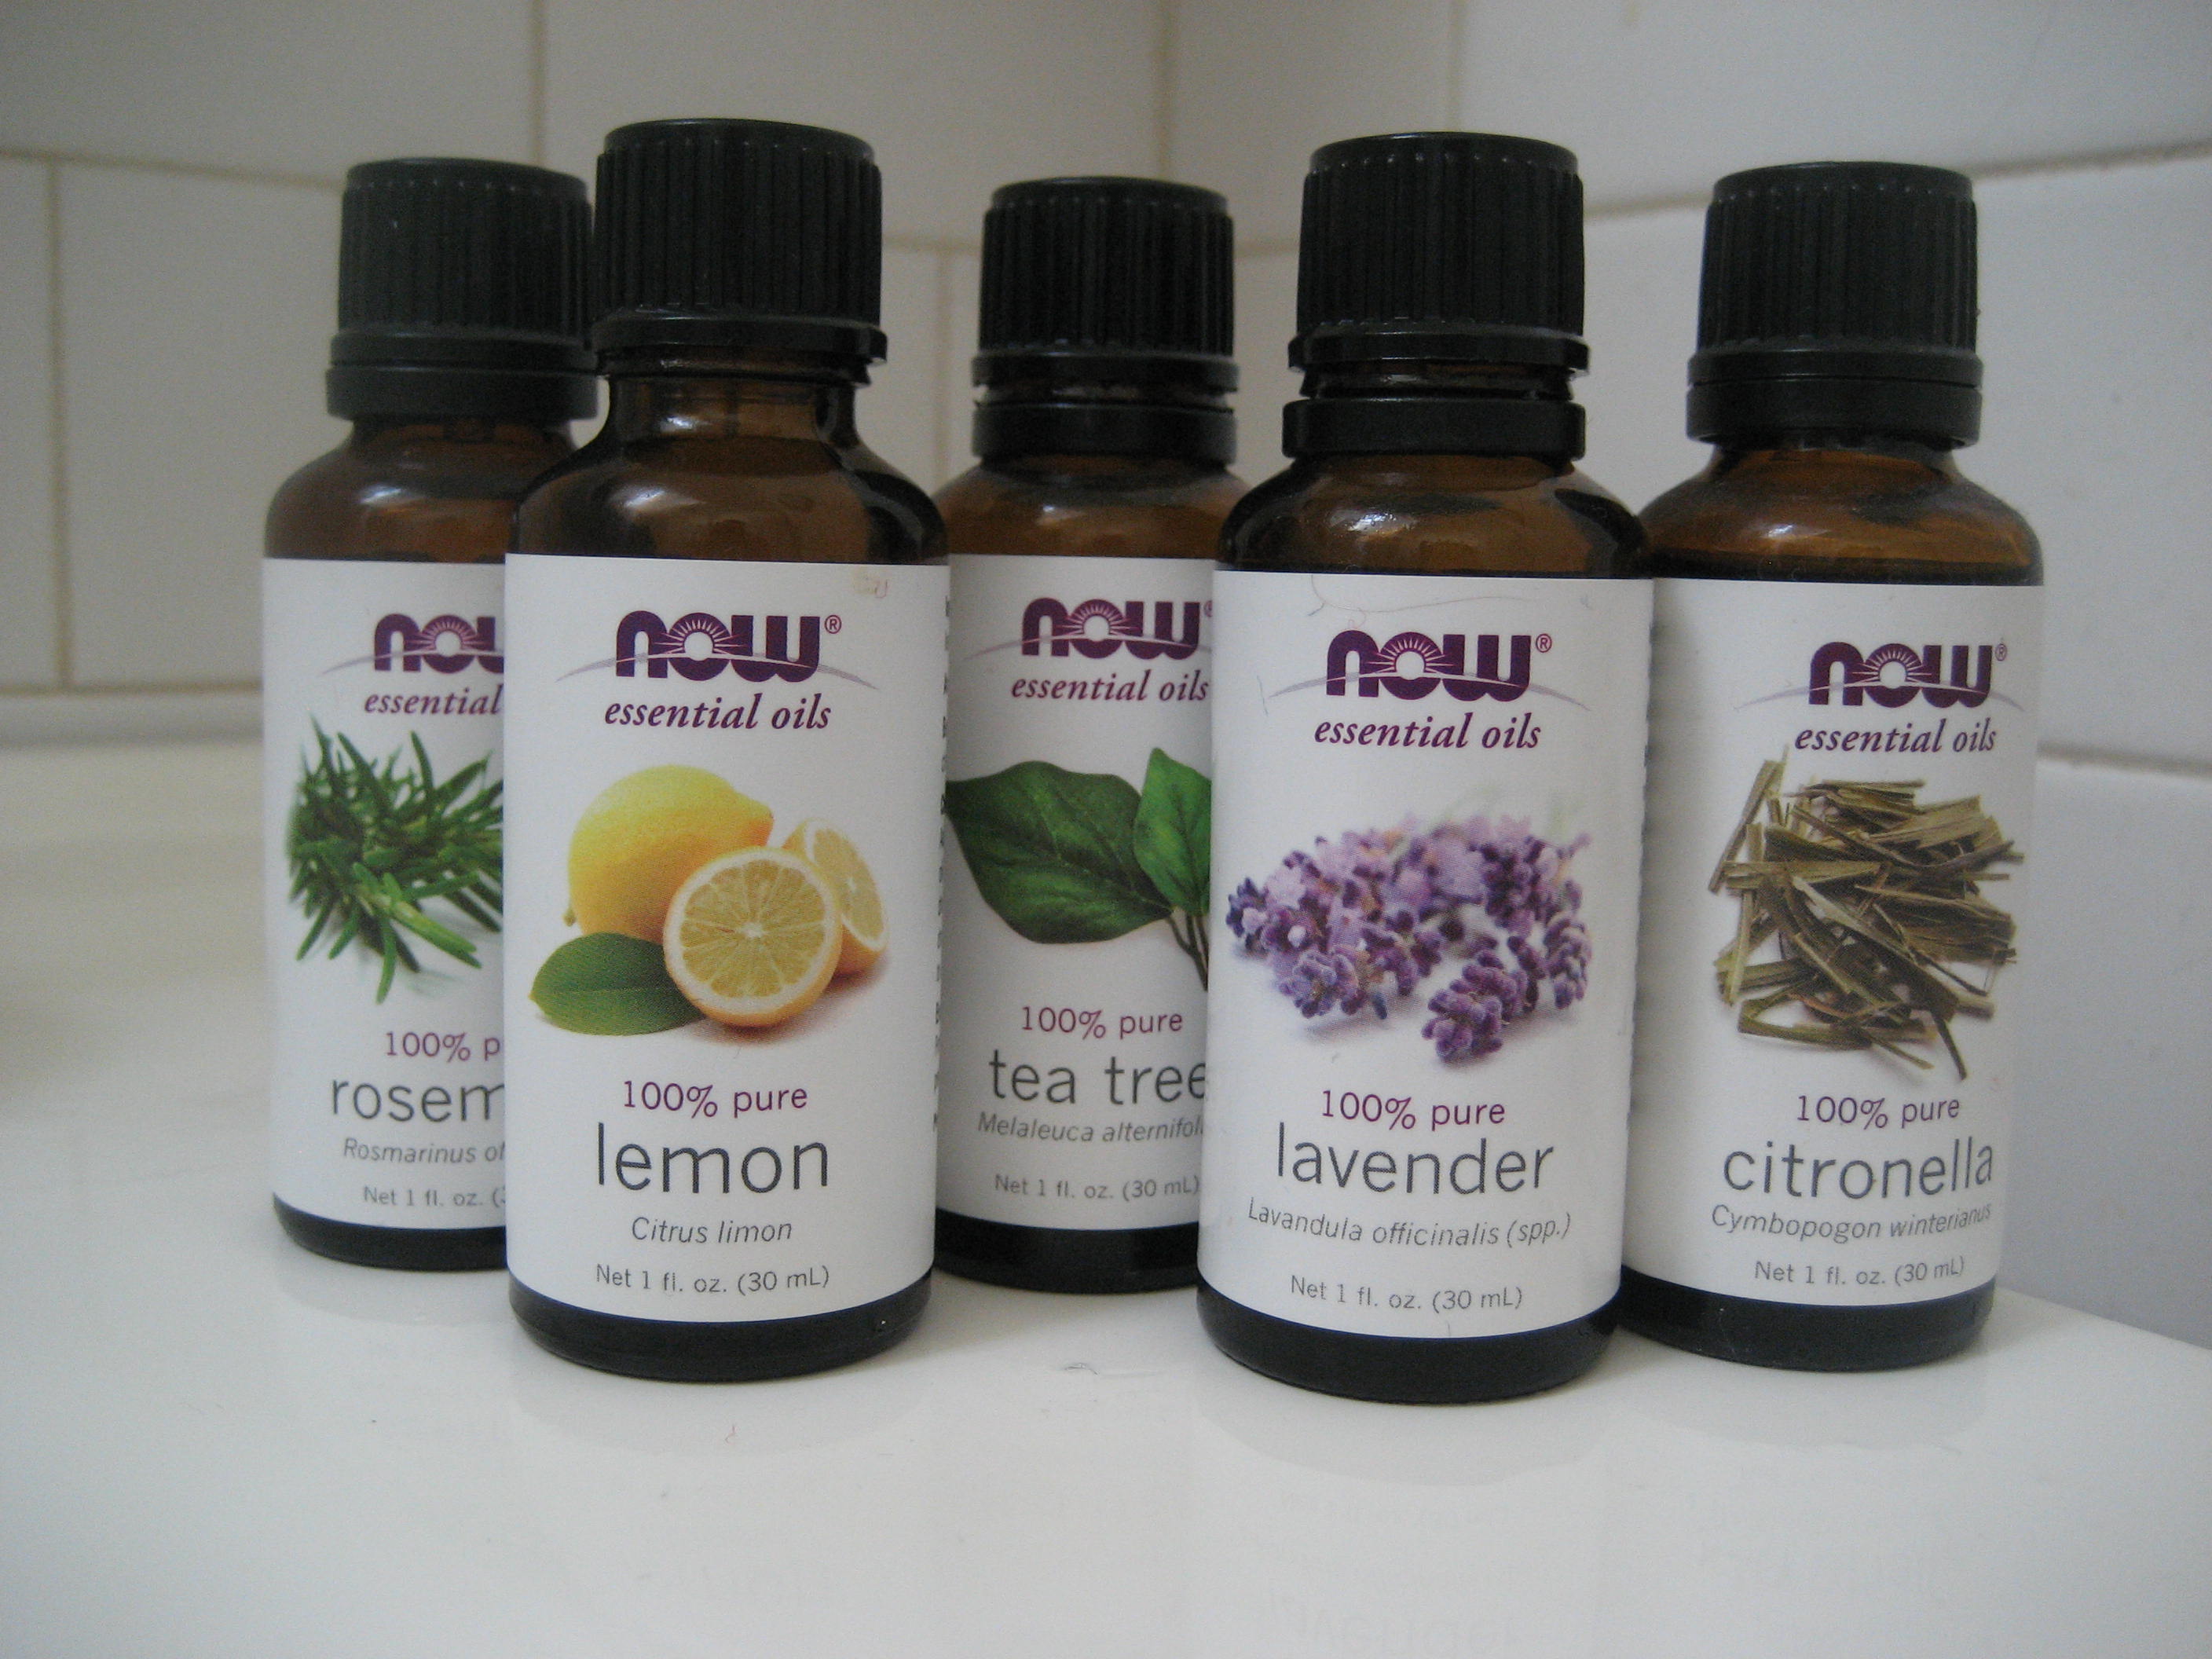
We are in the middle of another stretch of hot weather. I went out two evenings ago to water the flowers in the backyard and was immediately besieged by a swarm of mosquitoes. I could literally watch five of them land on my leg at once. I suffered through watering as quickly as I could while waving them away and swatting at the ones that actually landed on me. When I came in I counted 20+ mosquito bites on my arms and legs. The next day, I thought to put on my homemade bug spray first. I was out for longer this time and I watched to see how many would land on me. Only ONE mosquito even attempted to land on my bare legs and arms. I came in after watering for over half an hour with zero bites! Amazing isn’t it. Click the link above and then scroll down for the recipe. It’s easy. Grab a 2 oz. spray bottle from the travel sized toiletry department at Walmart, add a carrier oil, add in the essential oils of your choice, spray directly in your skin (avoiding clothing and eyes), rub in, and watch the mosquitoes stay away from you.
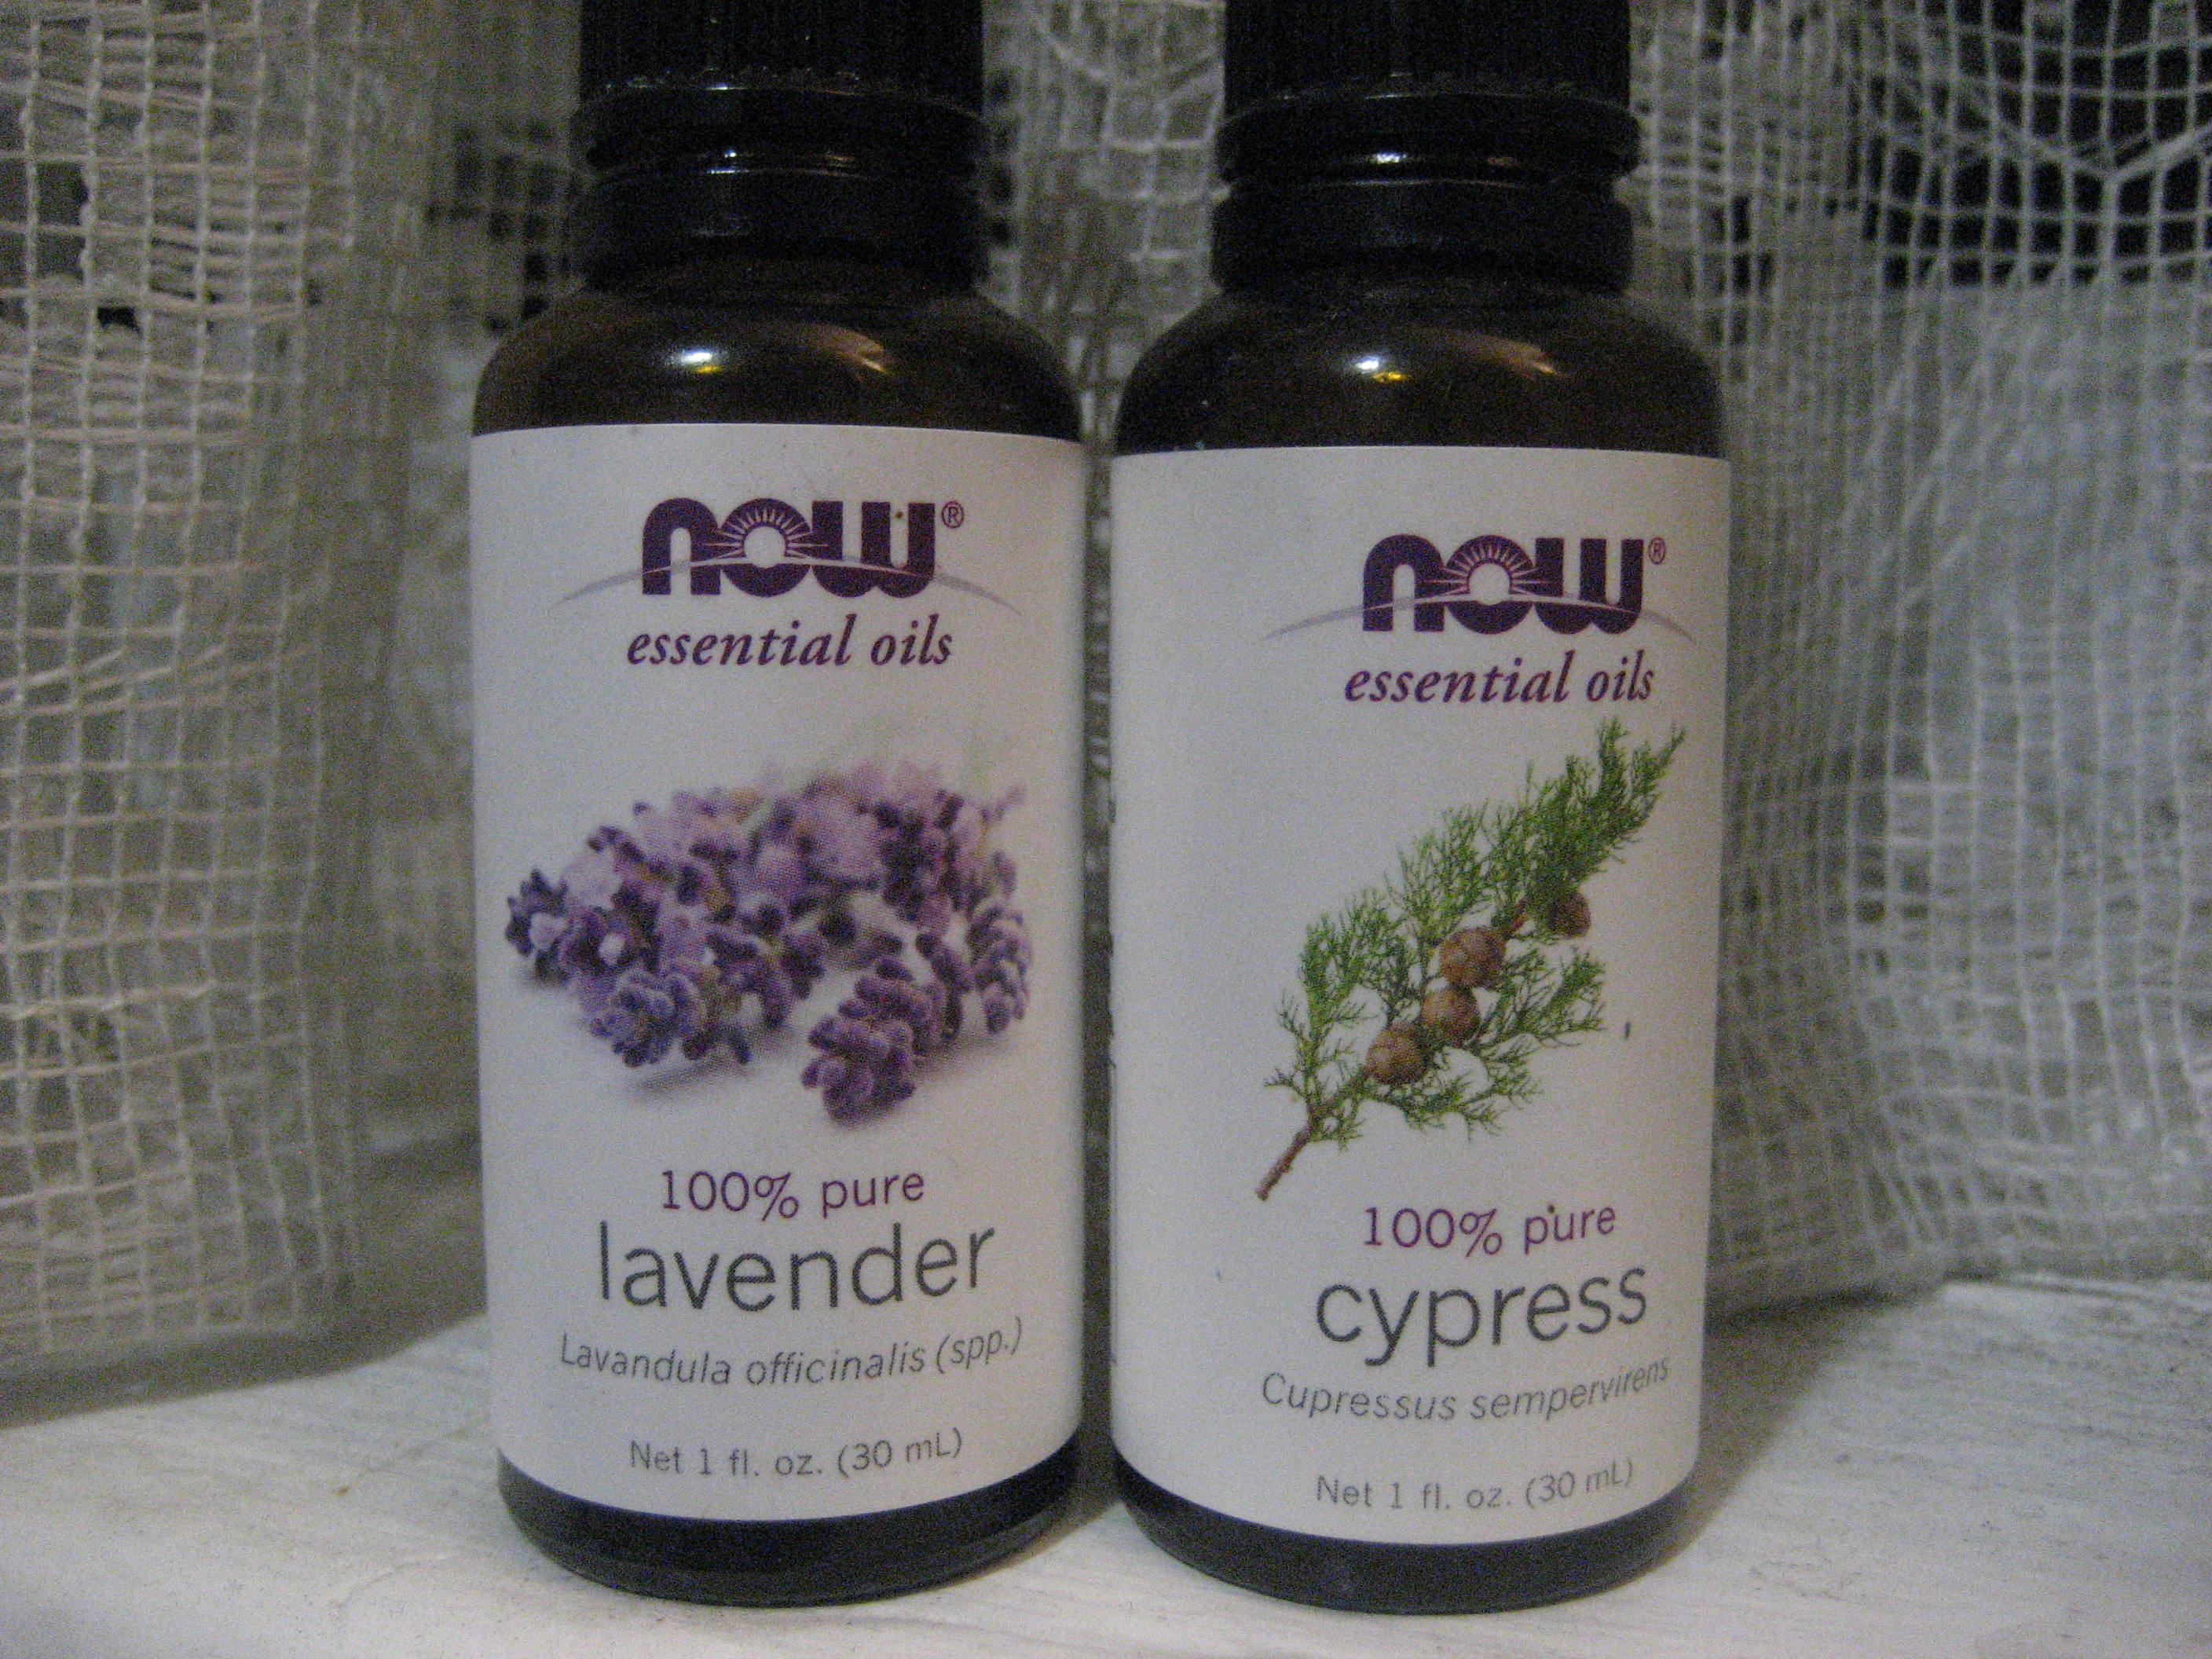
Note: The oils pictured above are the five that I find work the best at repelling mosquitoes. However, you should use Rosemary and Citronella with caution on children and young babies. Use a high dilution ratio for these oils as well as lemon as it is photosensitive and can cause sunburn when exposed to sunlight. Other safe oils to include if you would like to substitute something else for one of these oils would be geranium, catnip, cedarwood or vanilla. Visit http://www.hopewelloils.com to research safety information.
This is my favorite salve for, well, any skin condition, but we are using it up here on the dry skin that has reared its ugly head in our house this winter.
It’s simple, effective and easy to make. 3 ingredients:
Here you go….
4 tbl. Cocoa butter
4 tbl. Tallow
2 tbl. Lanolin
Melt in a double boiler and pour into your container of choice. Makes 4 oz.
During the melting, you can add essential oils for scent and therapeutic properties if desired, but I like it just the way it is.
Ingredients Measured out In double boiler Melting Poured up
Cooled. Creamy goodness.
Want to learn how to make more remedies at home?
Homesteading Family often does Free herbal trainings. There is one coming up August 2023.Click hereto see when the next training is happening!
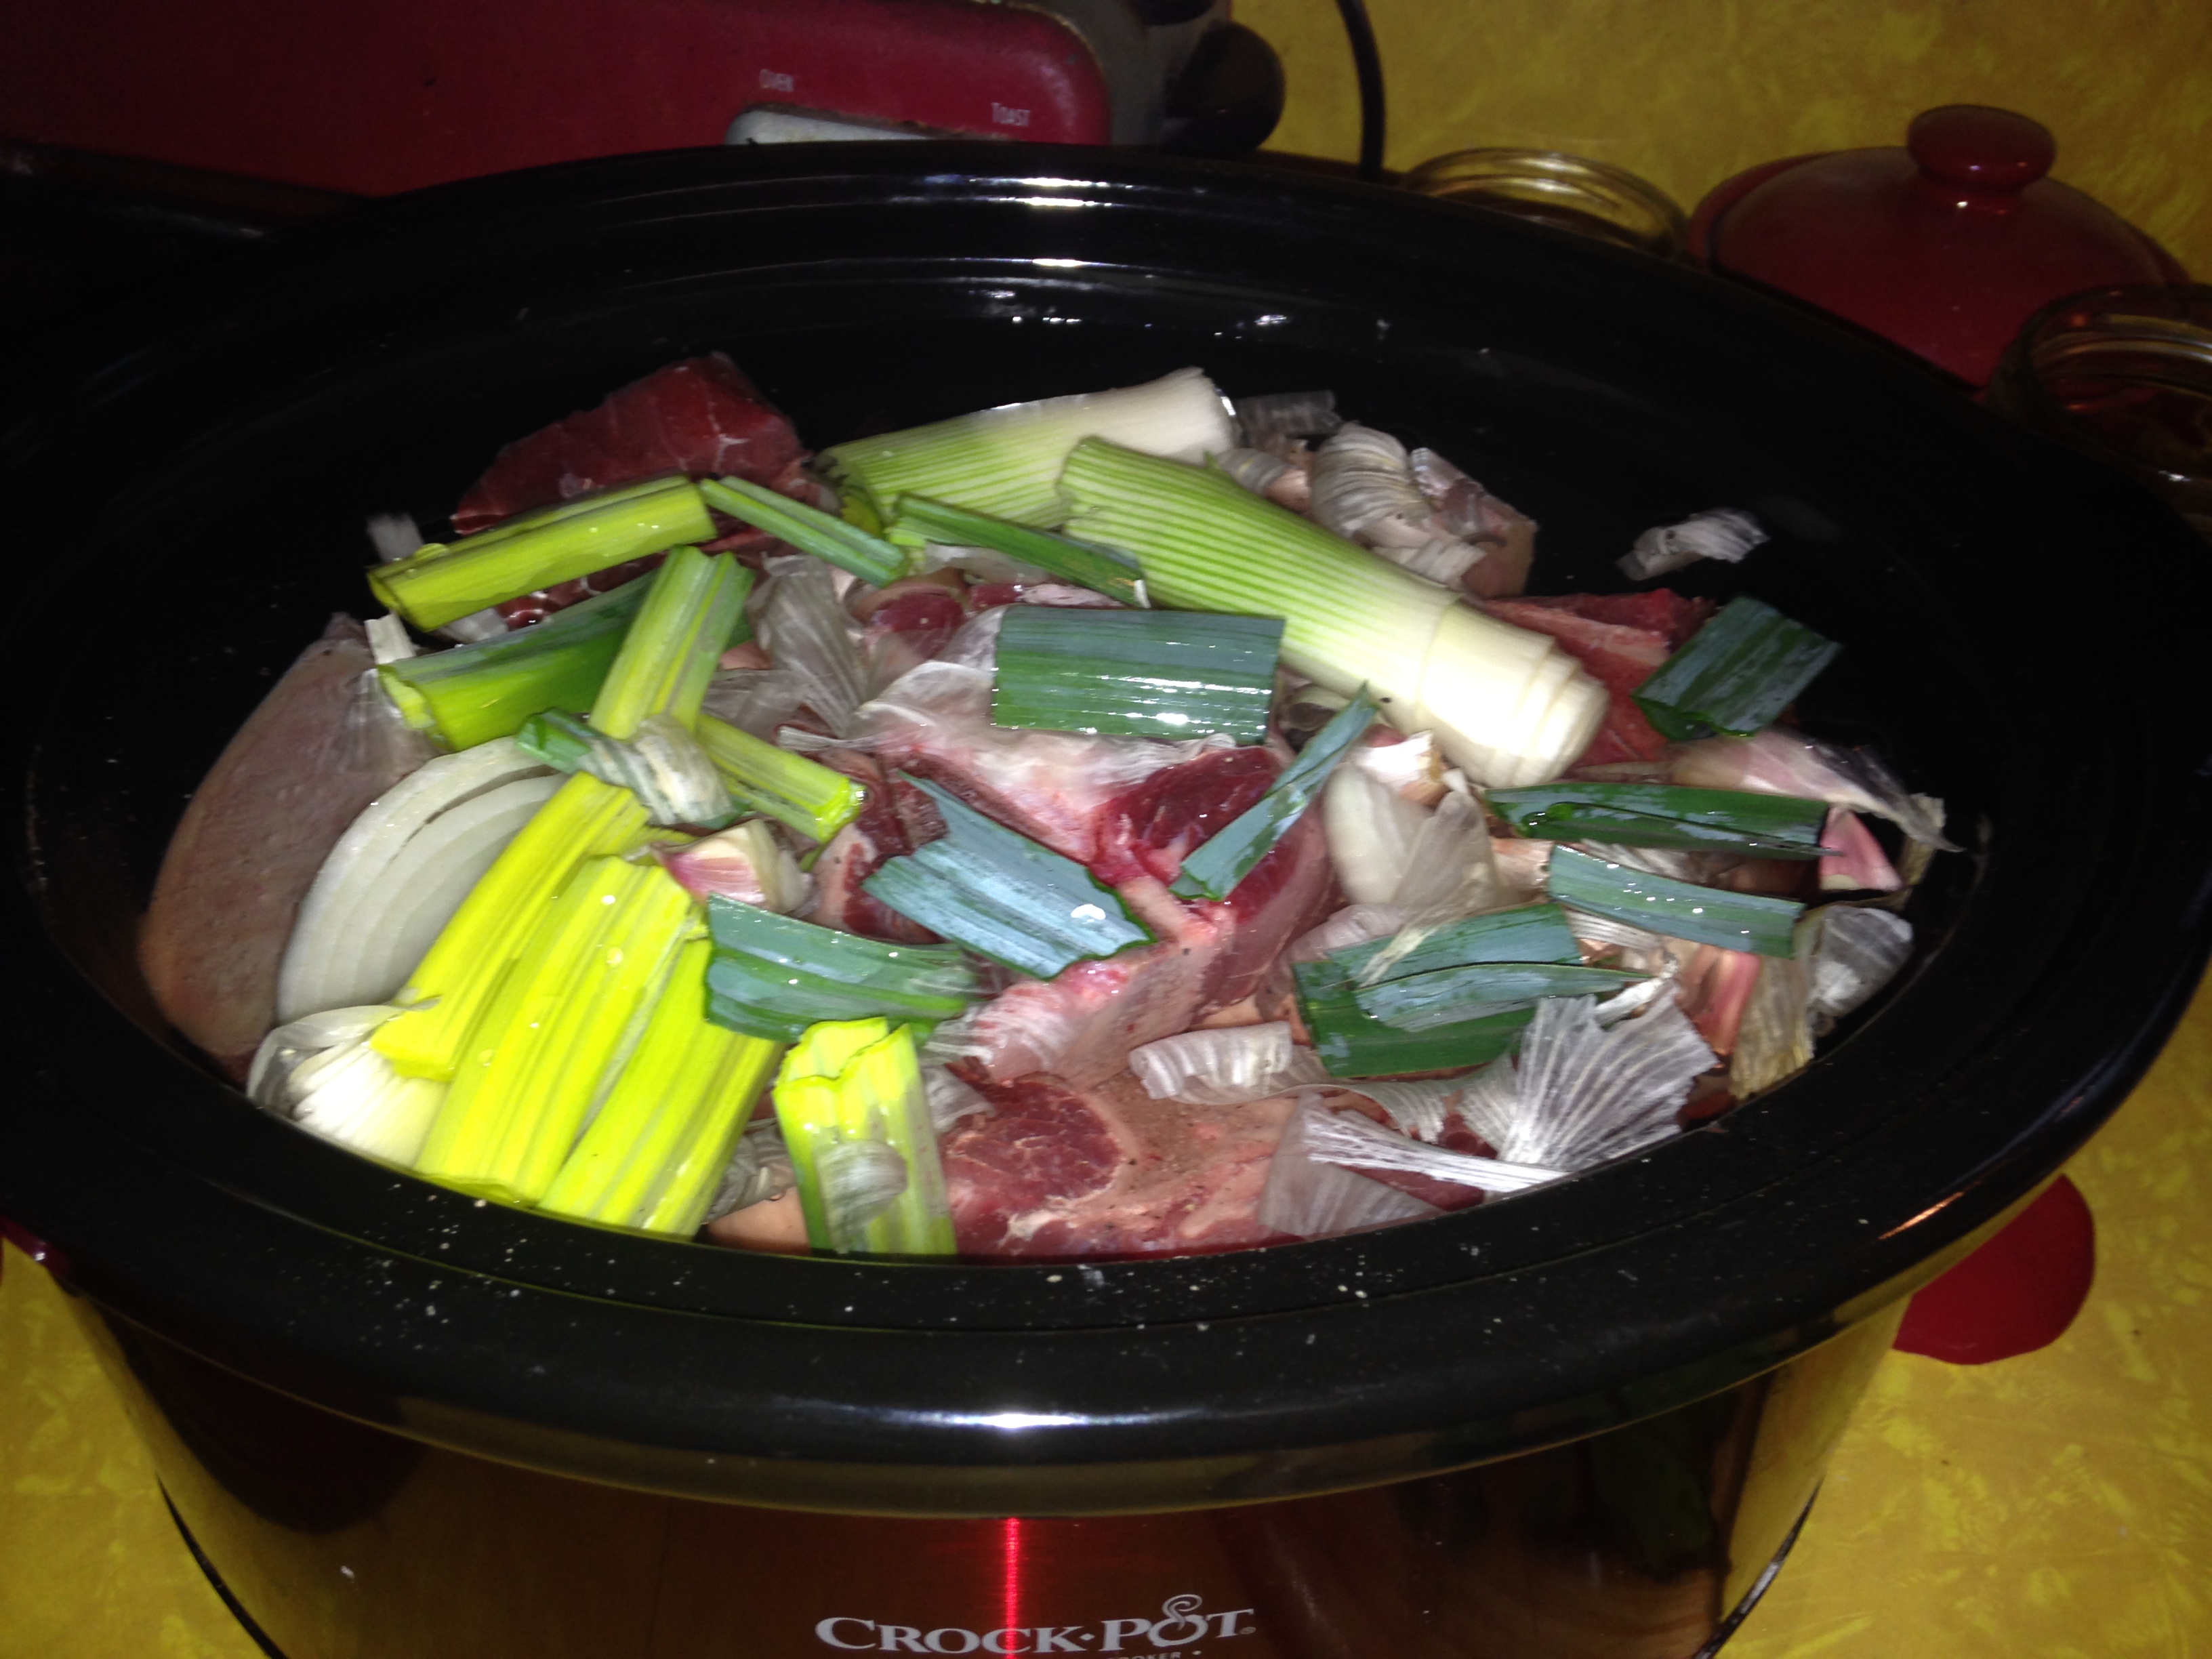
Break out your crock pots everyone! Whoever invented the crock pot has my eternal thanks. It makes what I’m about to tell you so EASY. I had a great time at the grocery store today. In part because I only had two of my four children with me which made shopping much easier. 🙂 But, otherwise, I was gathering all the fixins for some DELICIOUS broth. Ahhhh. Mmmmm.
I’m making two kinds – beef and vegetable. Let me tell you how to make your own.
Beef stock with beef bones, beef marrow, garlic, onions and leeks.
Beef Stock:
Buy about 5 pounds of various beef bones from your butcher. Many stores will have packages set out labeled as soup bones. I bought one package of “soup bones,” two packages of neck bones, and two packages of marrow bones. If they don’t have any out, ring the bell at the meat department and tell them what you want. They can cut it up for you in minutes. When you get home dump all the bones all in the crock pot and add one head of garlic unpeeled and chopped in half, one leek, 1 cup onion quartered, 1.5 tsp sea salt, 1/4 tsp. pepper. Pour cold water over it all and cook on low for 12-18 hours. When cool either strain and freeze or follow my instructions for my favorite way to preserve broth – make your own bullion cubes.
Veggie stock – beet greens, potato peels, onions with peels, garlic with peels, carrot and potato peelings, and leeks.
Vegetable Stock: I don’t know why I’ve never thought to do this before but I recently saw an idea online to save all your vegetable scraps in the freezer and when you have a full bag use them to make veggie broth. That’s what I did and it is currently simmering away. Couldn’t be easier. Dump in all your scraps, cover with water, add 1 tsp. sea salt, 1/4 tsp. pepper. In this batch I added potato peelings, carrot peelings and ends, celery tops and bottoms, beet greens, leeks, onion tops and peelings, and one head of garlic with peels. You could really add anything. If you add peelings just be sure that you wash the vegetables before you peel them. I used the bag of veggie scraps from my freezer and just from putting these batches of broth together this afternoon I almost have another full bag in the freezer waiting for next time. I would say that the essentials to veggie broth that make it great are celery, leeks and garlic. Don’t skip the leeks. I buy them just for broth. They make it that much better.
Freeze them for later.
Save those scraps!
I’m going to be spooning this into my meals and the mouth of my kids when they are sick. My allergy kid is struggling right now from some recent food reactions so I’m hoping the extra vitamins and minerals will give him the boost he needs and help his gut heal and get back to normal. The healing properties of this broth can’t be equaled. Plus they are sooooo delicious. Enjoy.
Have any of you tried the Magnesium Oil recipe from Wellness Mama? I’ve been using it for several years now and recently loaned my friend a bottle to use on her husband’s sore back.
She started using it and found that really helps the muscle cramps that she gets during pregnancy. She says that it’s magic. As soon as she sprays it on she says that the muscle releases. I’ve also used it during pregnancy and though I don’t typically get muscle cramps, I struggle with restless legs and sore ligaments. I’ve found to be especially helpful with my sore muscles with my last pregnancy and in terms of mobility – the aches and pains disappeared and I didn’t even feel like I was pregnant. So, make up your own magic potion for sore muscles. Why suffer? Give your muscles what they need – extra magnesium! (Note: magnesium oil can sting when first applied. Do not use on broken or cut skin or apply after shaving.)
Last summer my two-year old got a nasty bump on her cheek right along her cheekbone from running full force into the corner of a table. Even after forcing her to hold ice on it I could tell it was going to develop into a horrible bruise. We were out of town at the time, so I pulled out my travelling essential oil kit and essential oil quick reference chart to see what I had that might help. I immediately applied a bit of diluted lavender and cypress oil. Lavender is healing to the skin and cypress is good for circulatory issues so I thought it might help. I tell you, I was shocked! The bruise barely developed and after about 3-4 applications in the morning and at bedtime over the next two days it had healed so that it was hardly noticeable. This is my go-to remedy for bruises now. It’s the most effective remedy that I’ve found for healing a bruise. If you get a bad bump mix 2 drops of lavender and 1 drop of cypress in 1 tsp. of olive oil and apply directly to the affected area. Use wisely (read my full Disclaimer here).
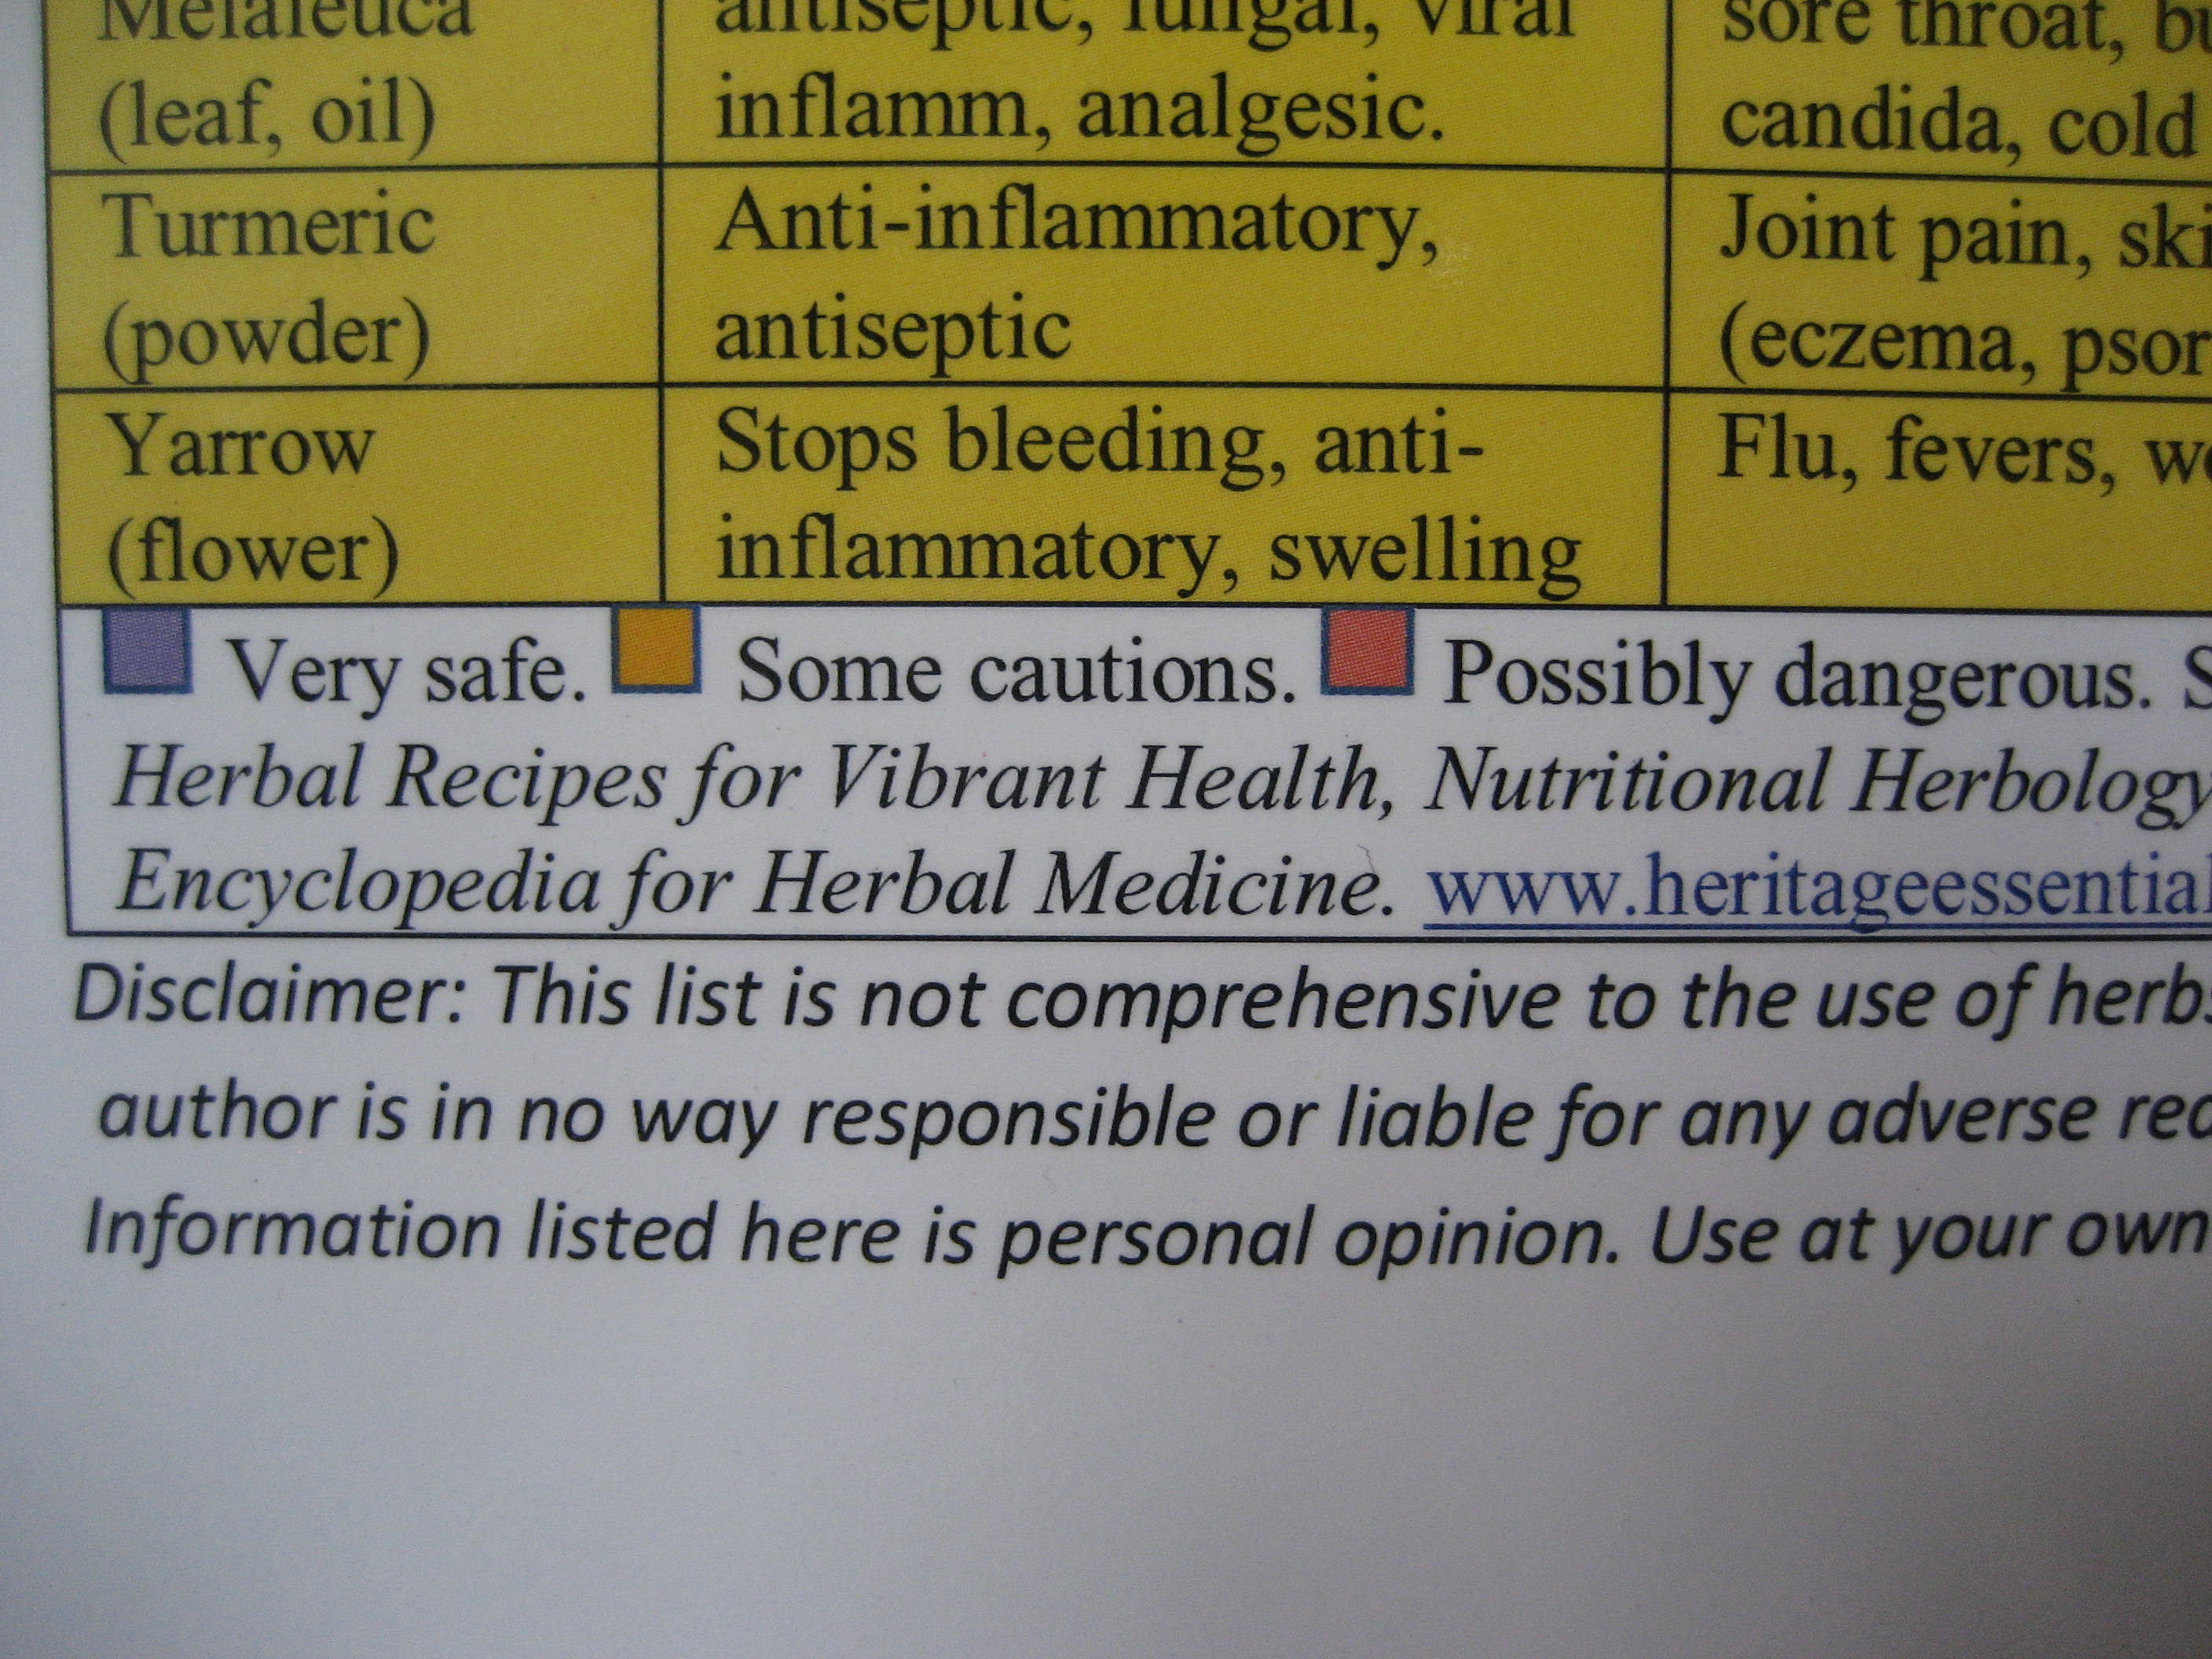
Last spring I created this chart for a class I was teaching on herbal first aid. The chart covers commonly used herbs and essential oils and their properties and gives suggested remedies for common first aid situations and illnesses. This laminated chart is two-sided. The front side is color coded based on the safety of the herb or oil and covers 17 herbs/oils. The back side of the chart is covers 66 ailments and conditions listing the herbs/oils that are good for them. Cautions are listed on the front of the chart.
The chart measures approximately 7 x 4 inches. It is printed on heavy cover stock and laminated so that you can take it with you so that you’ll know what to do when you are out and about or travelling away from home. If you find it helpful be sure to comment here and let me know.
Back side of the chart.
Color-coded by safety level.
Disclaimer: By purchasing this chart, you take full responsibility for any outcomes based on it’s use and release the author from any liability either real or perceived. The author makes no claims as to expected results and takes no responsibility for either positive or negative results. This chart should be considered to be personal opinion and is based on personal research and should be taken as such. It should be used with common sense, your own personal research and should not be considered medical advice. See full Disclosures/Disclaimers here. By requesting to purchases this chart you release the author from any liability and agree to all the terms and conditions in the Disclaimer linked above.
Herb and Oil Quick Reference Chart
Laminated quick reference chart. Great for your first aid kit.
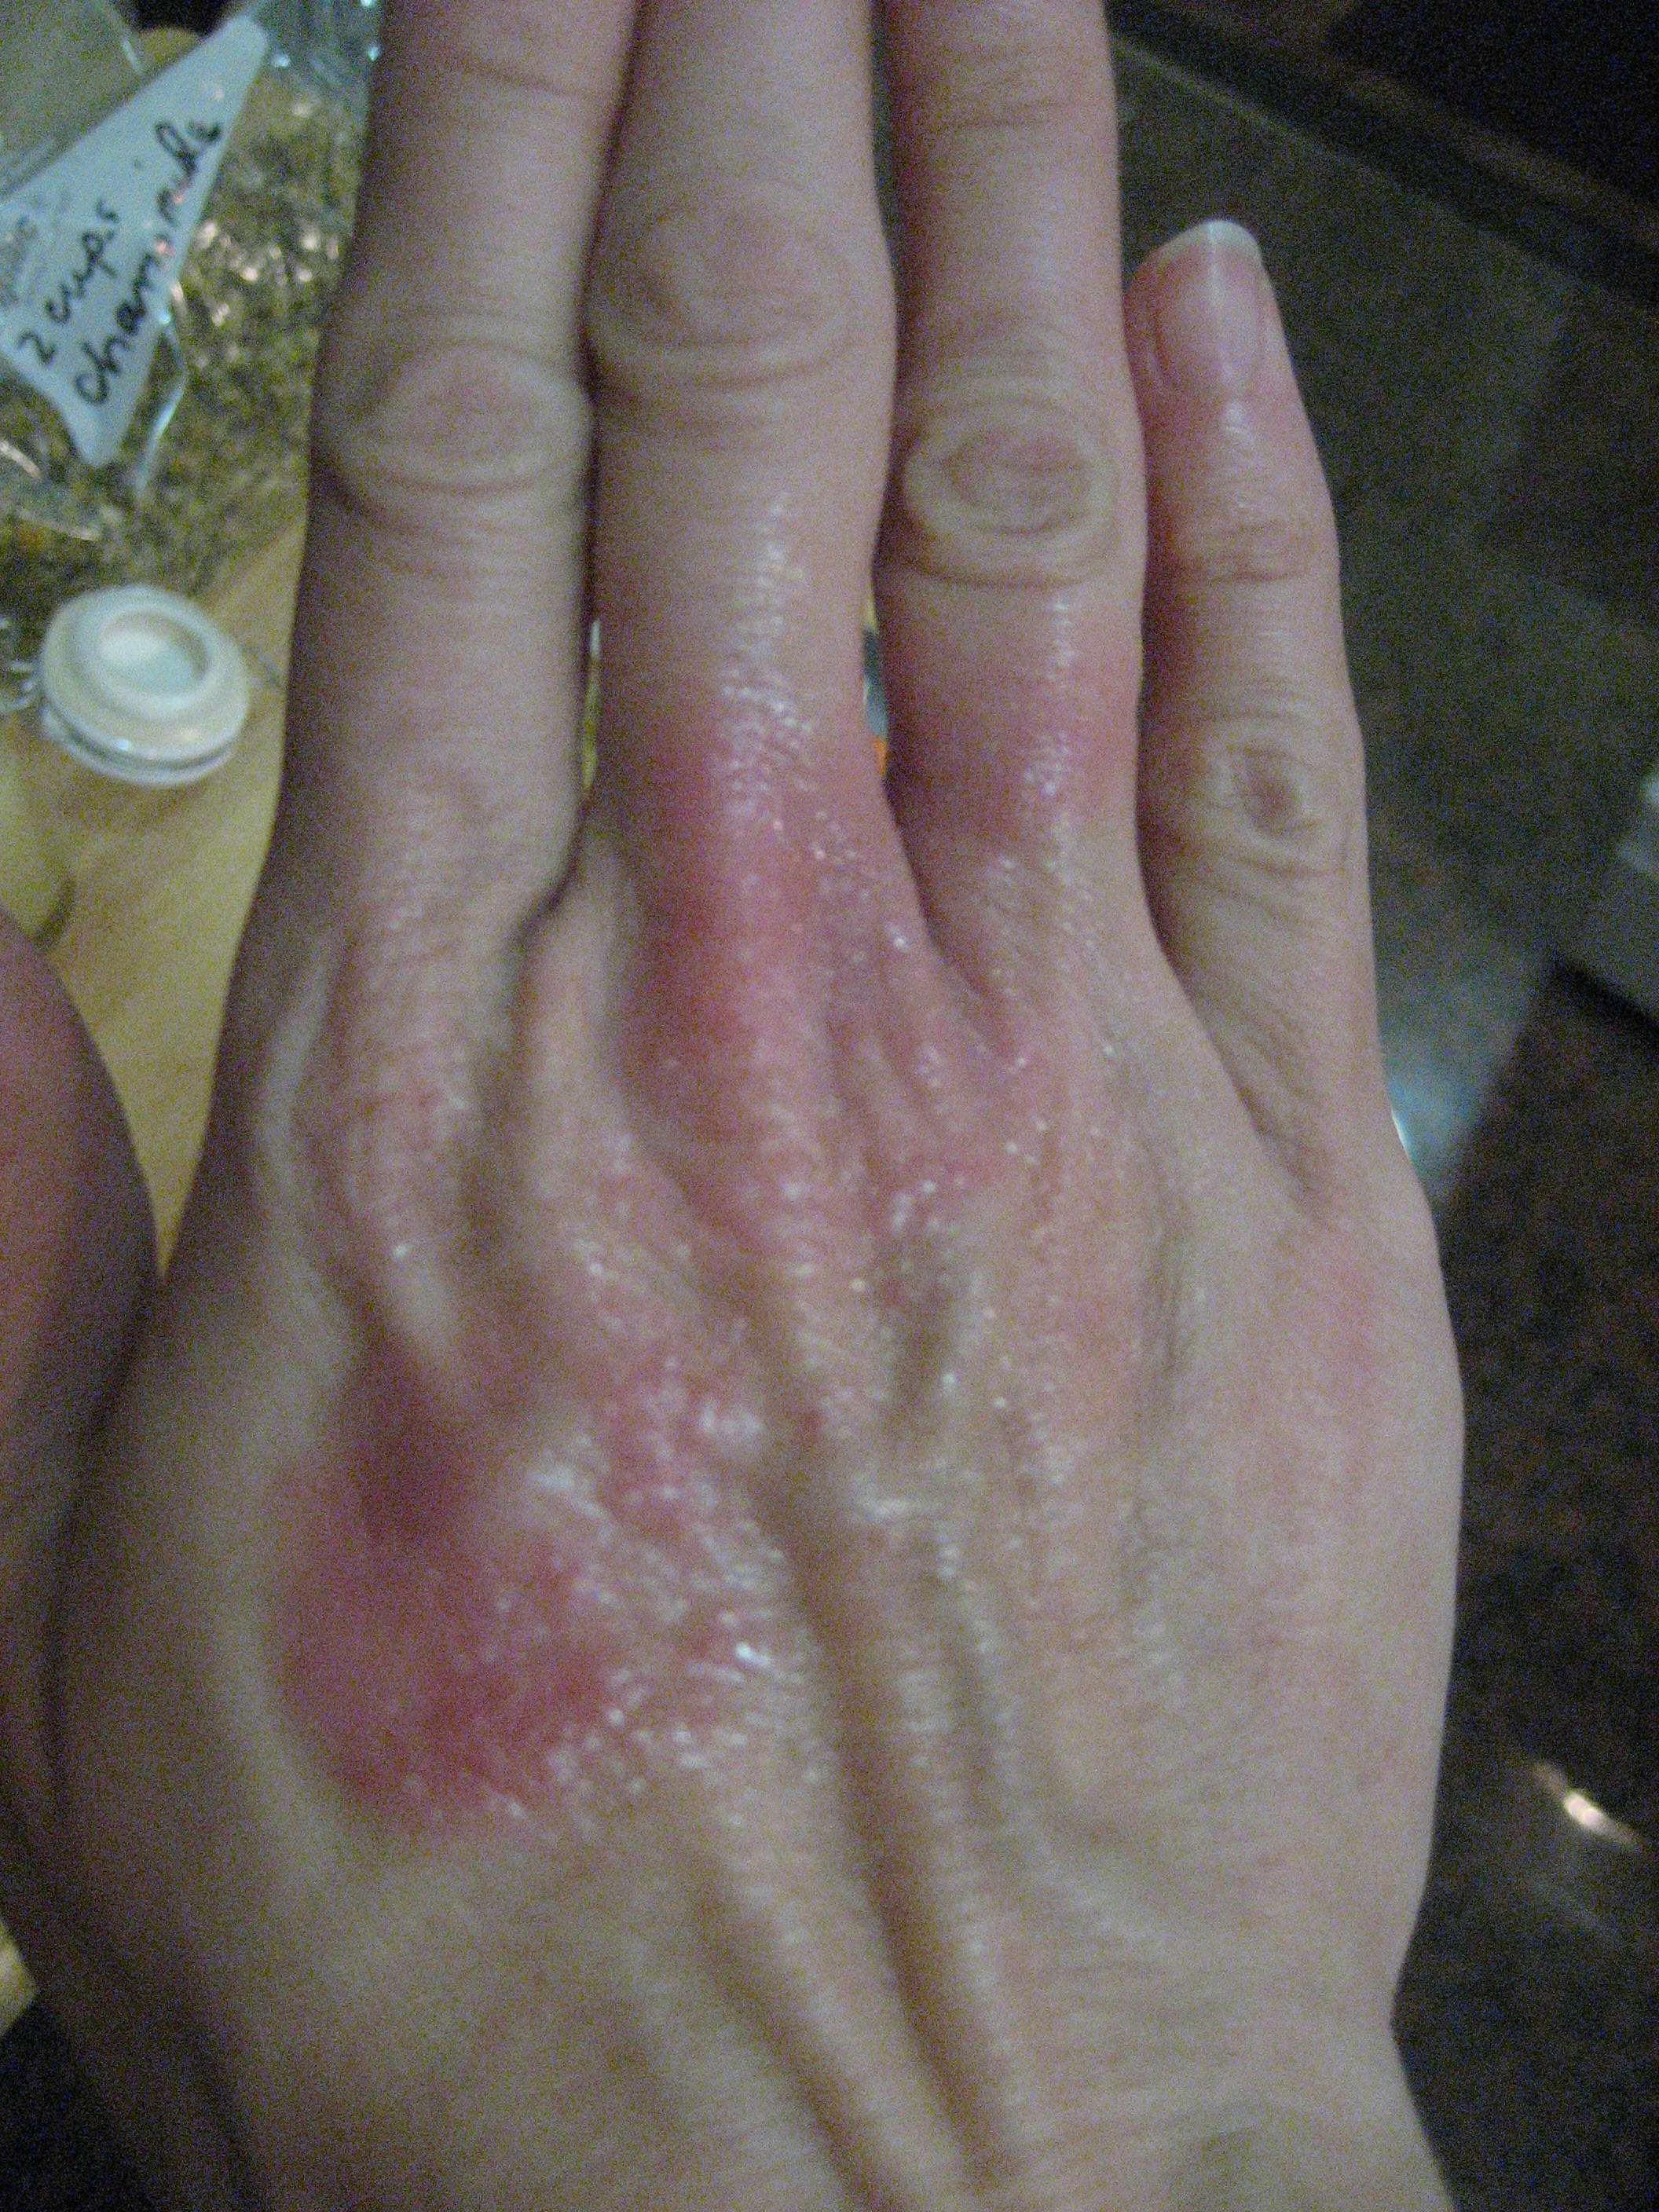
I have some pretty bad eczema that flares up during times of stress. It’s been a problem on and off for the past year. If didn’t know it was eczema at first. Actually, I thought based on my symptoms that I might have an auto-immune disease. I had coin shaped red patches that flared up on my legs, arms and hands. I struggled and struggled for a long time to find a remedy that would help it and found nothing. That’s when I broke down and finally went to the dermatologist. They identified it as “numular eczema” and gave me a prescription for a low-level steroid cream to use when it flares up. I used it initially to get a handle on it as it was getting out of control and the spots were spreading to new places. Since then I’ve tried to only use it during particularly bad flare ups but I’ve still been at a loss to find a remedy that actually helps it besides the steroid cream the doctor gave me. Most natural remedies I’ve tried have actually inflamed it and made it worse. Particularly oils. Any type of oil or oil based remedy makes it worse and not better. This is particularly true of essential oils but also of very basic oils like olive oil, almond oil, coconut oil, etc.
In the past year I’ve tried pretty much everything you can think of to help improve this eczema from topical remedies to diet changes to traditional medicine. My particular form of eczema is stressed based. I admit – it’s been a stressful year. So, my eczema comes and goes and waves but since this ailment began it has never completely disappeared. It’s gotten better for periods of time and then worse again. I eliminated various foods (sugar, caffeine, etc.) to see if that made a difference. It didn’t. In fact, the doctor told me that this particular form is not related to diet like many forms of eczema is, but instead is the body’s direct response to stress.
While it was relieving that my condition was only eczema, it was not particularly encouraging that it was related to stress since I can’t exactly eliminate that from my life. Life is life right? It’s stressful sometimes and you can’t always remove those stressors. I also suspect that my flare ups are related to hormone fluctuations. Also I thing that I can minimally control. So, I kept trying things and I think I’ve finally landed on a couple of things that are causing my eczema to actually heal and improve.
As I started researching further I looked specifically for herbs that have steroid-like actions and properties. I found three. Then I started experimenting with a medium that I could use to apply these herbs that wouldn’t aggravate my eczema. I found two. Here are my solutions that seem to be helping my eczema.
1. Powdered Herbal Paste: yarrow flower powder, lavender flower powder, turmeric powder, bentonite clay. Yarrow is a very powerful healing herb. Lavender has anti-histamine and healing properties. Turmeric has strong anti-inflammatory properties. Bentonite clay is cleansing and toning to the skin. Mix all the powdered herbs and the clay. Store the combined powder in a glass jar. When ready to apply, remove a small amount of powder and mix with a small amount of water in a glass container to make a medium textured paste (not watery, but not like mud). Apply with a popcsicle stick to affected areas of eczema and leave until it dries. Gently remove with a washcloth and warm water. If this paste feels too drying to your skin, remove the bentonite clay and make a paste with just the powdered herbs. This paste can calm a flare up that is dry and scaly. Note: Turmeric stains clothing yellow so avoid getting the paste on your clothes.
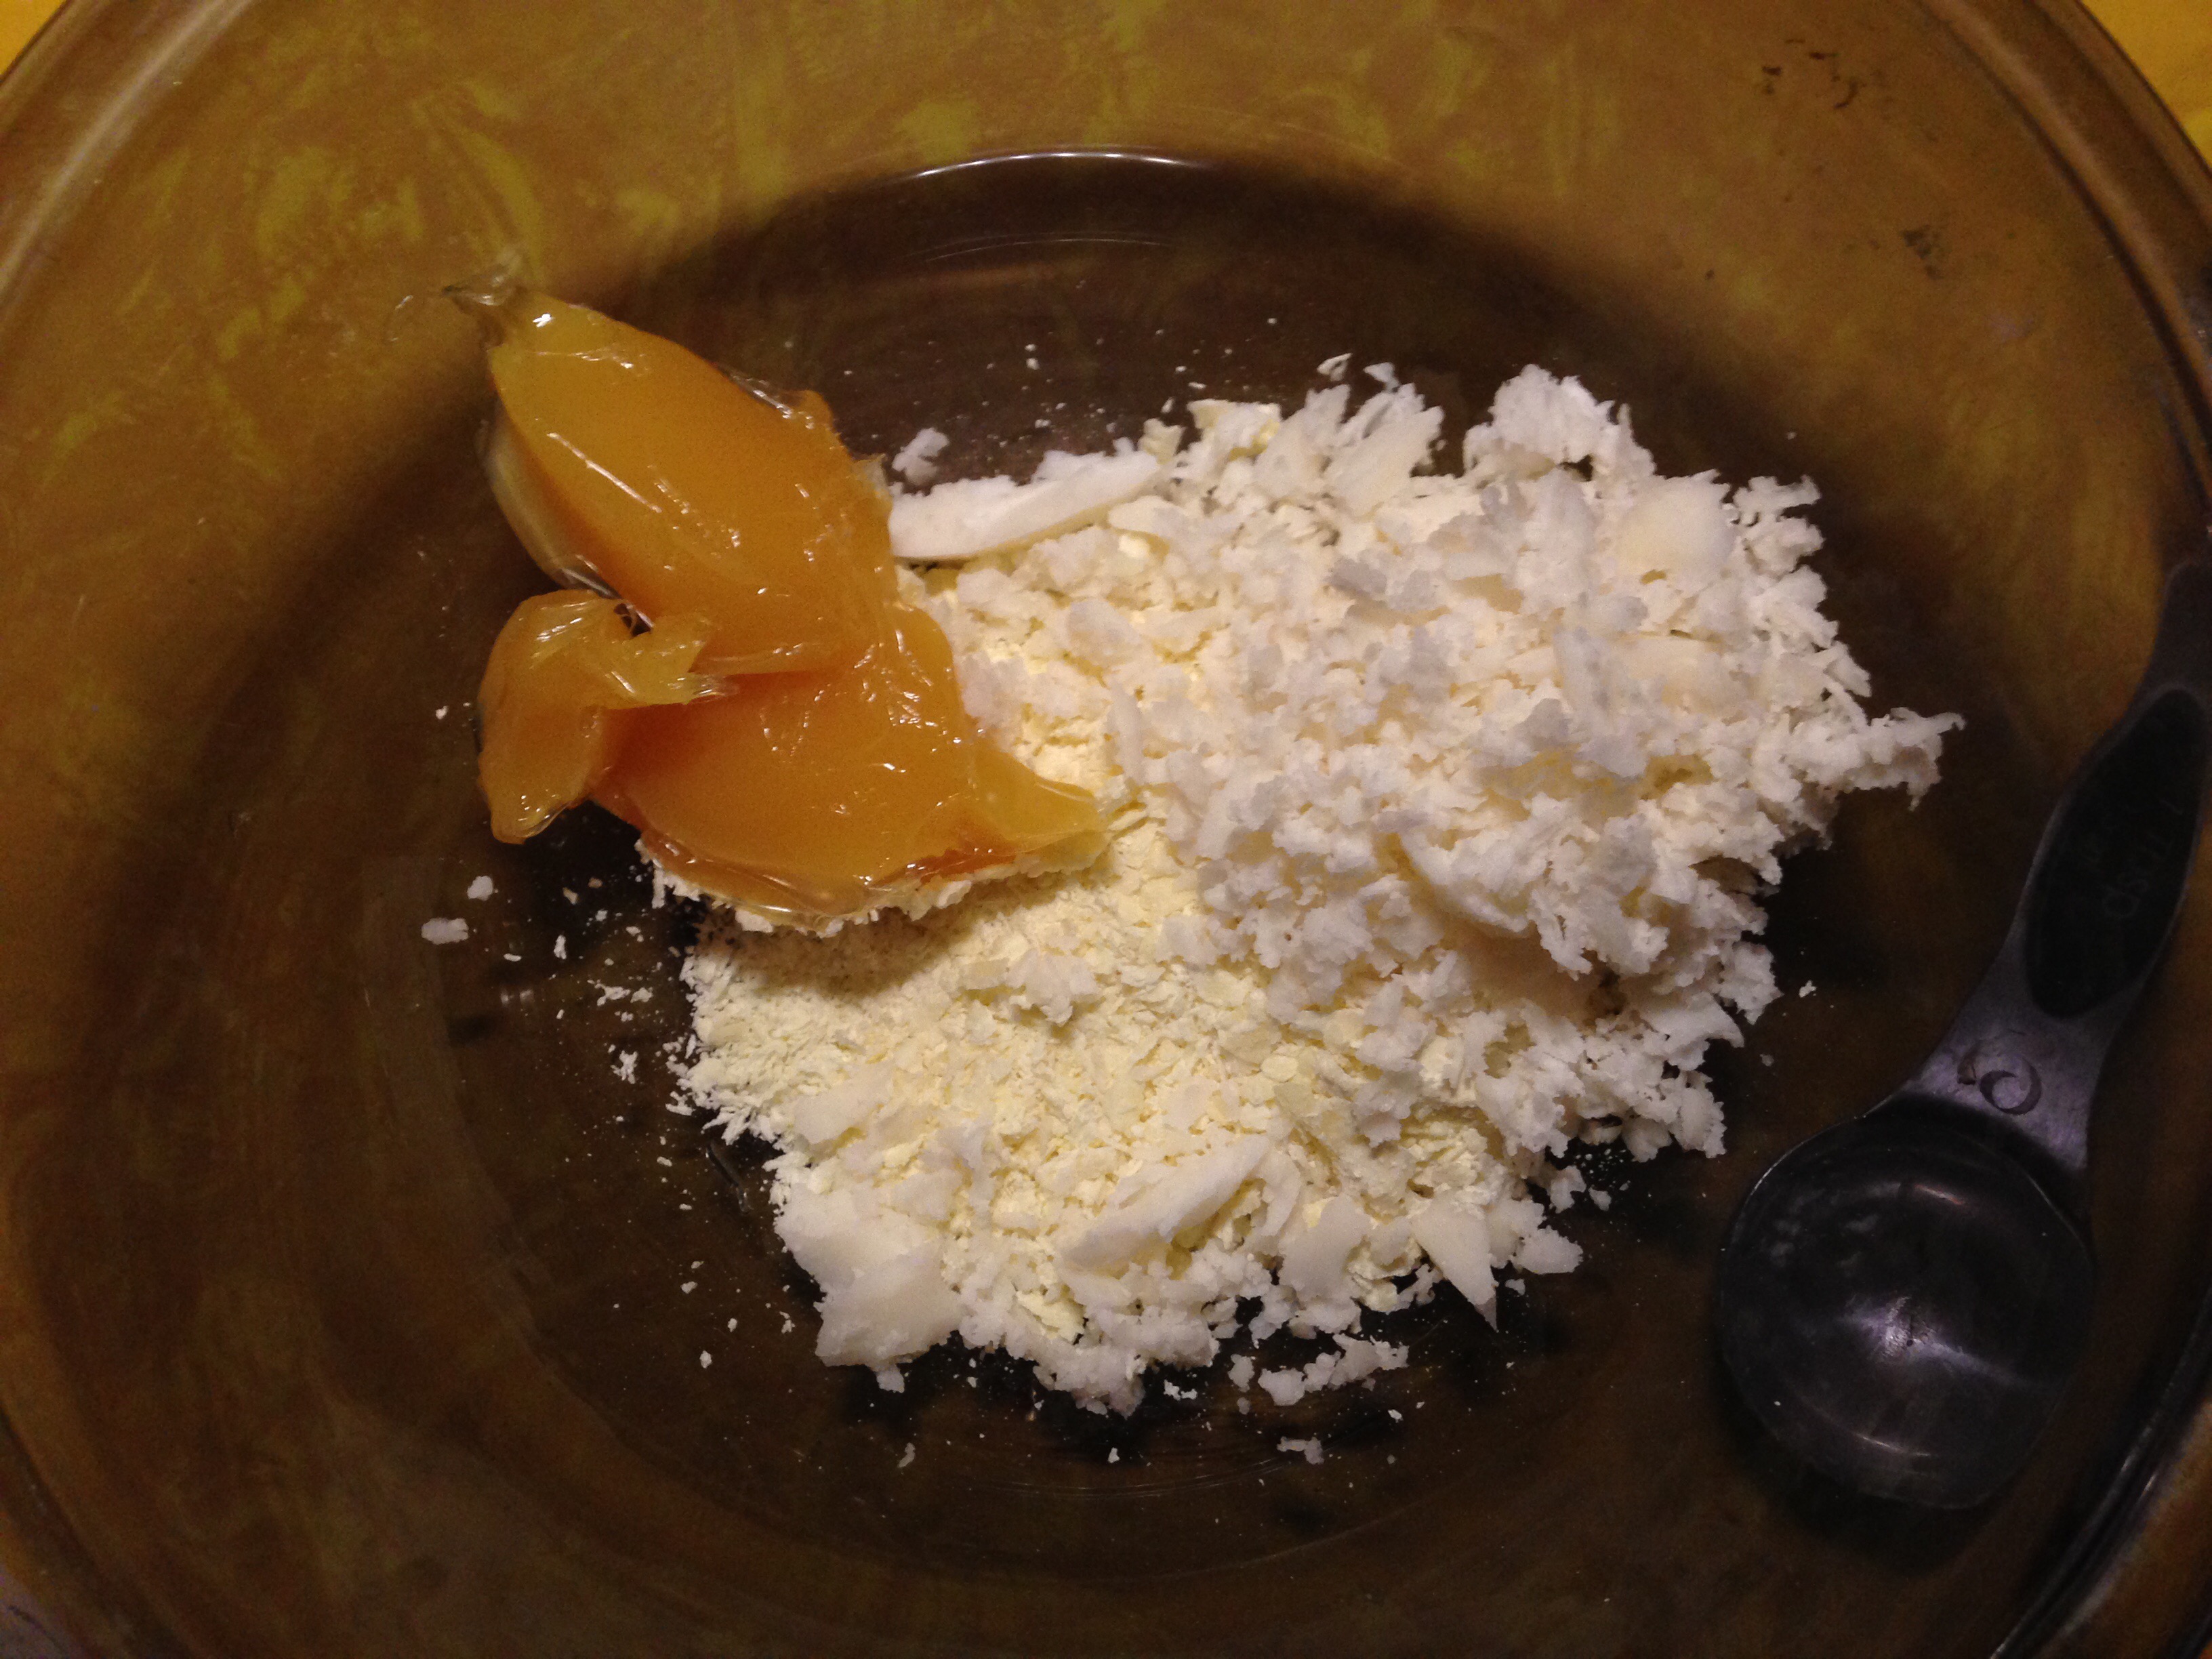
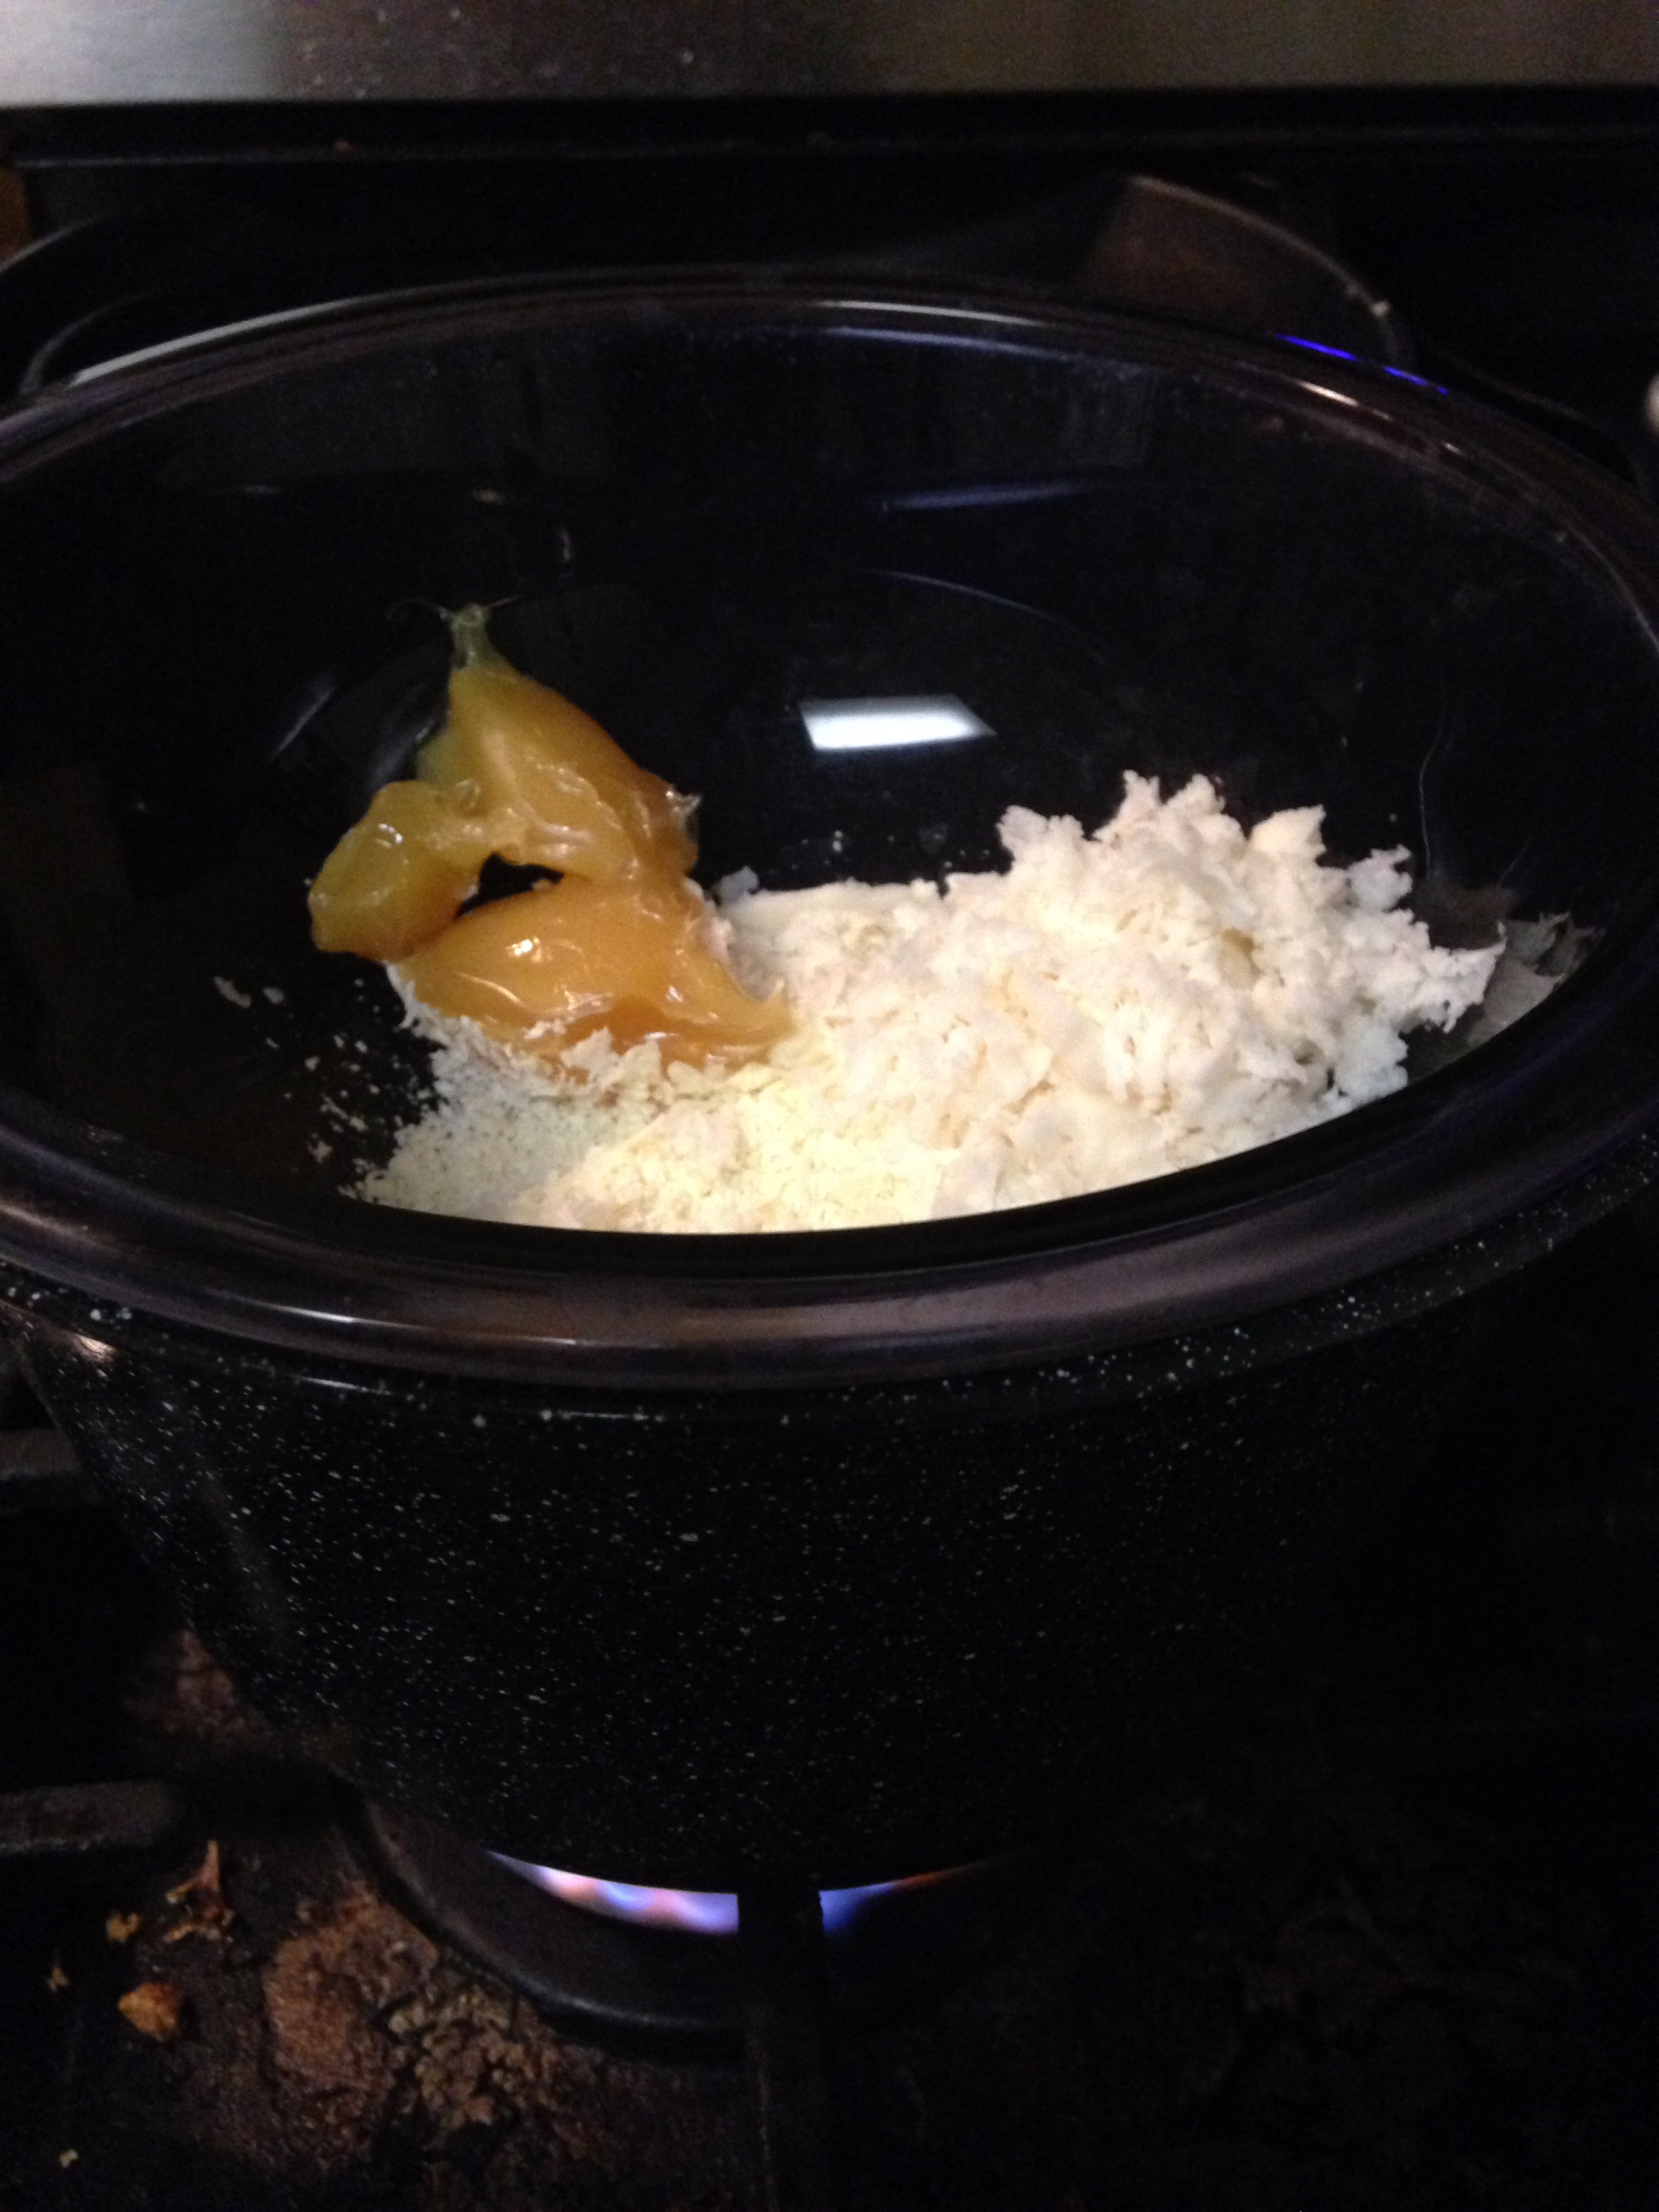
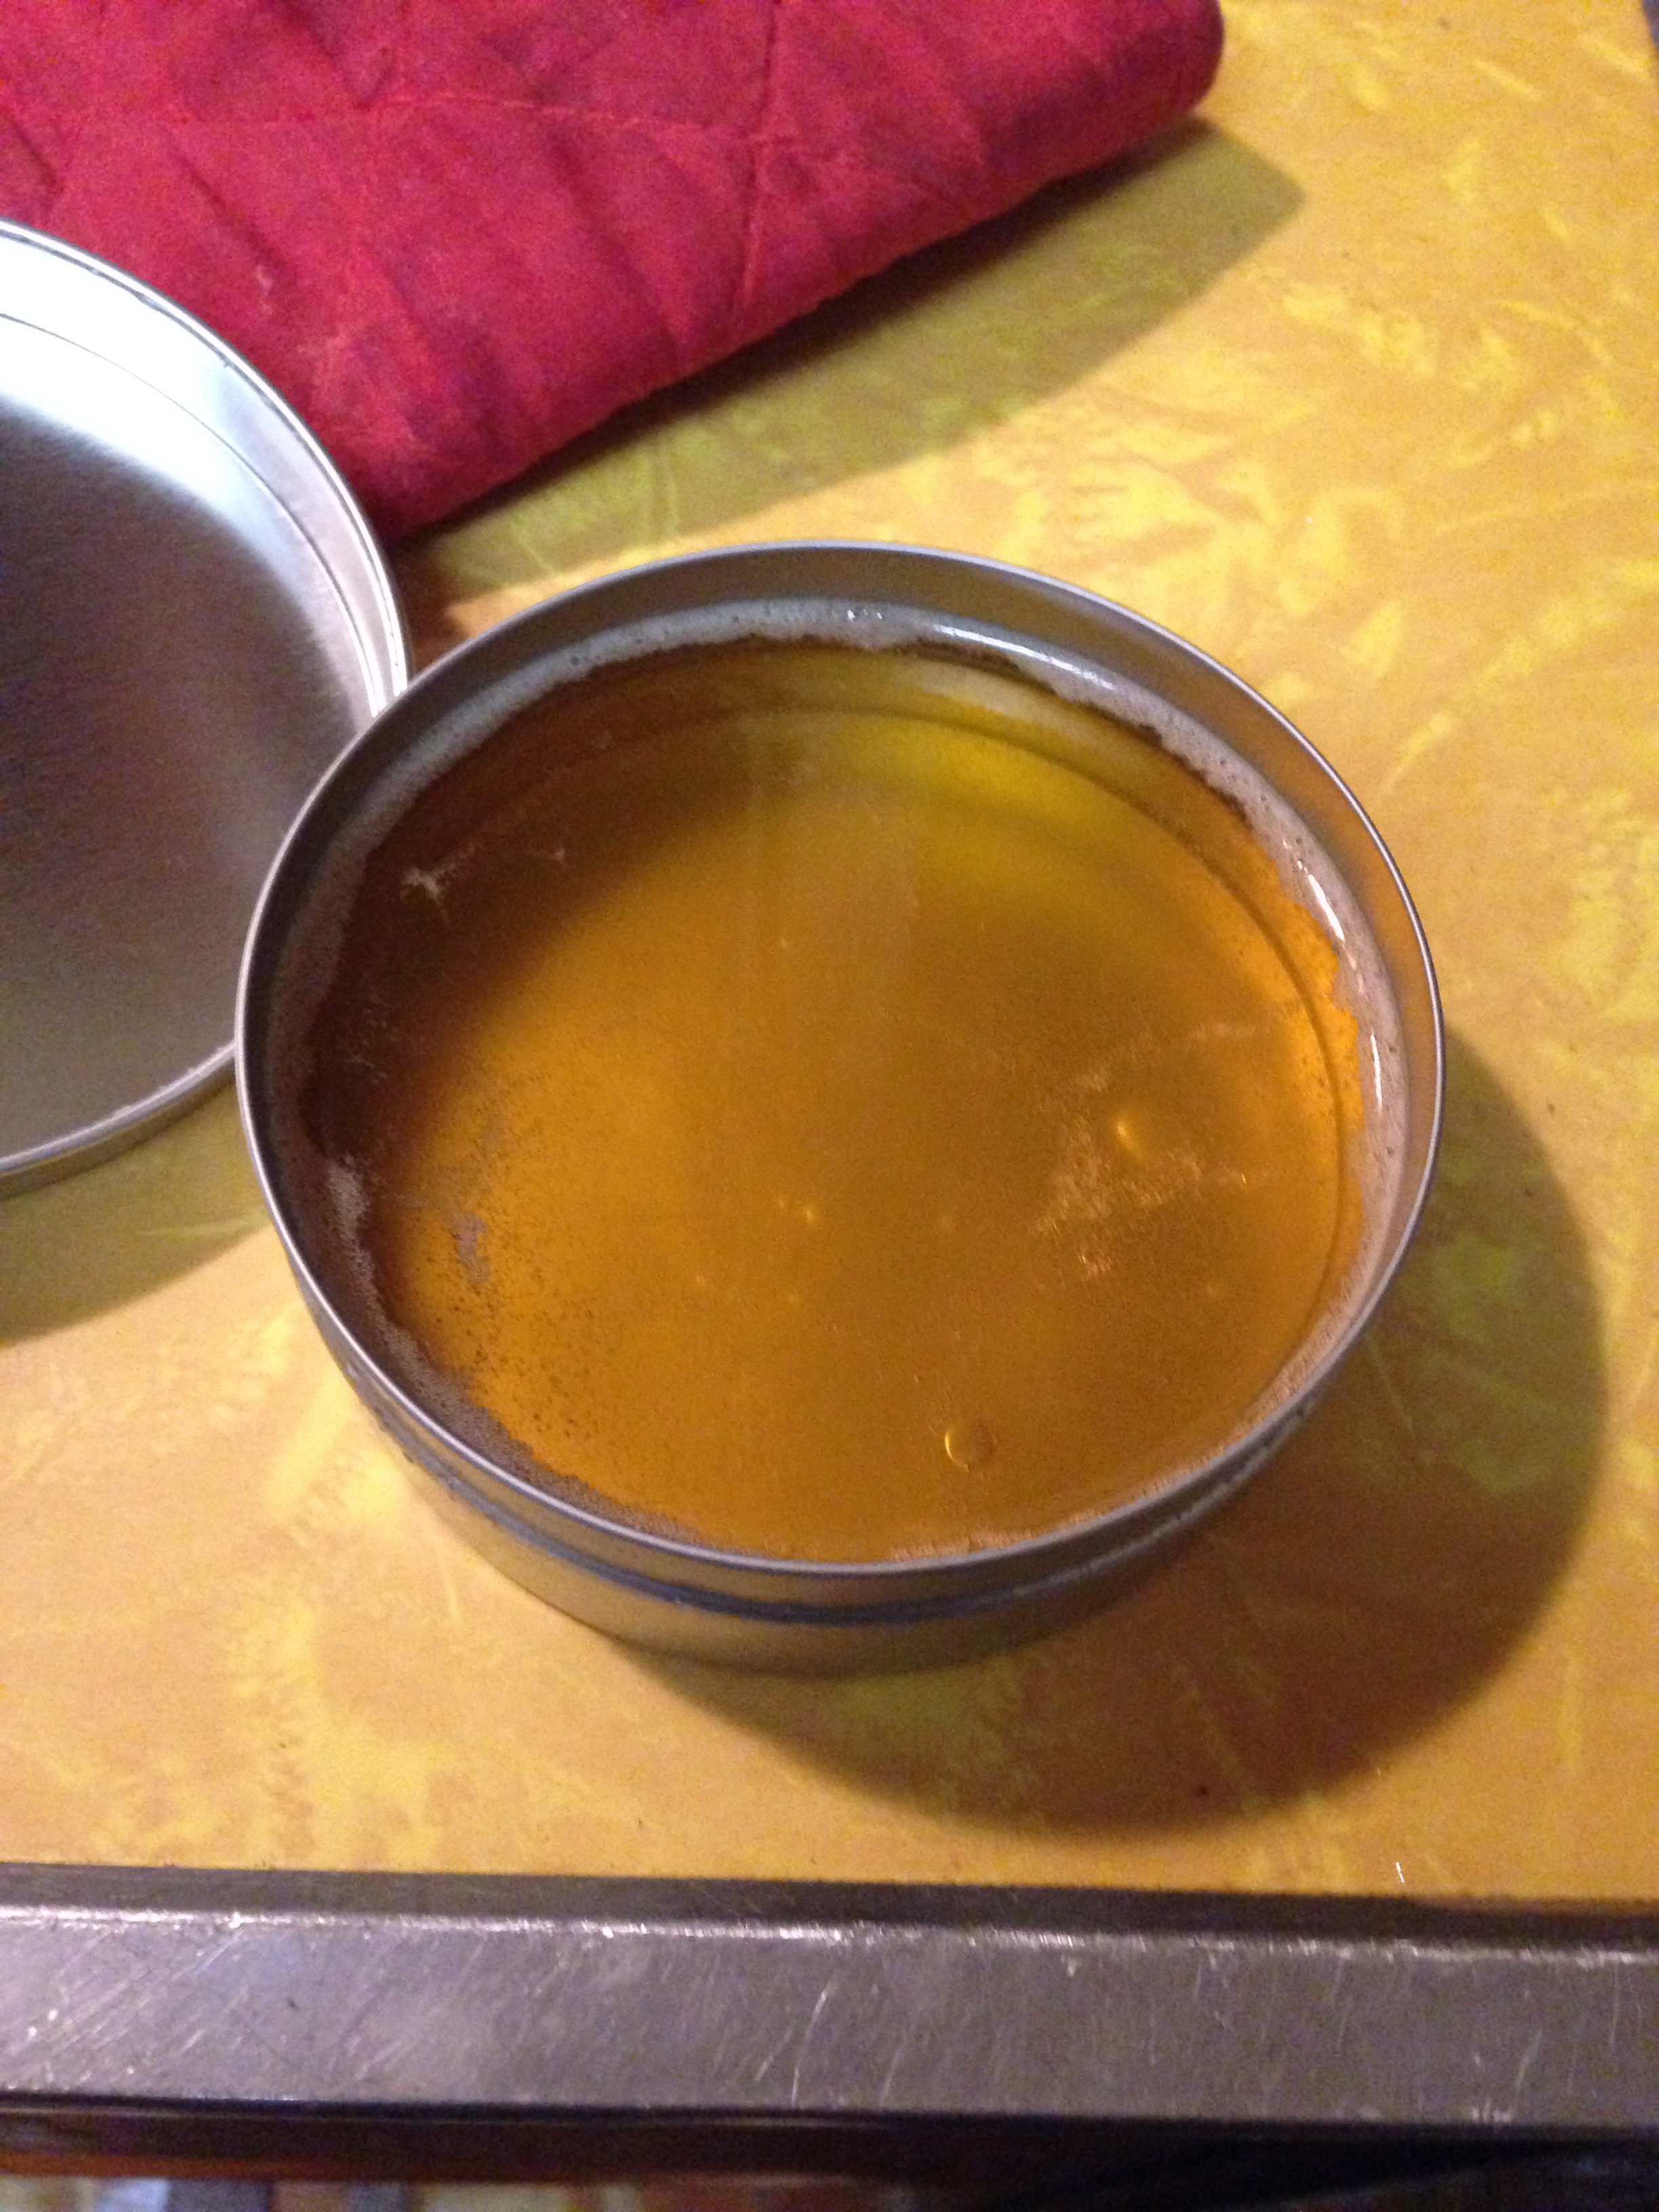
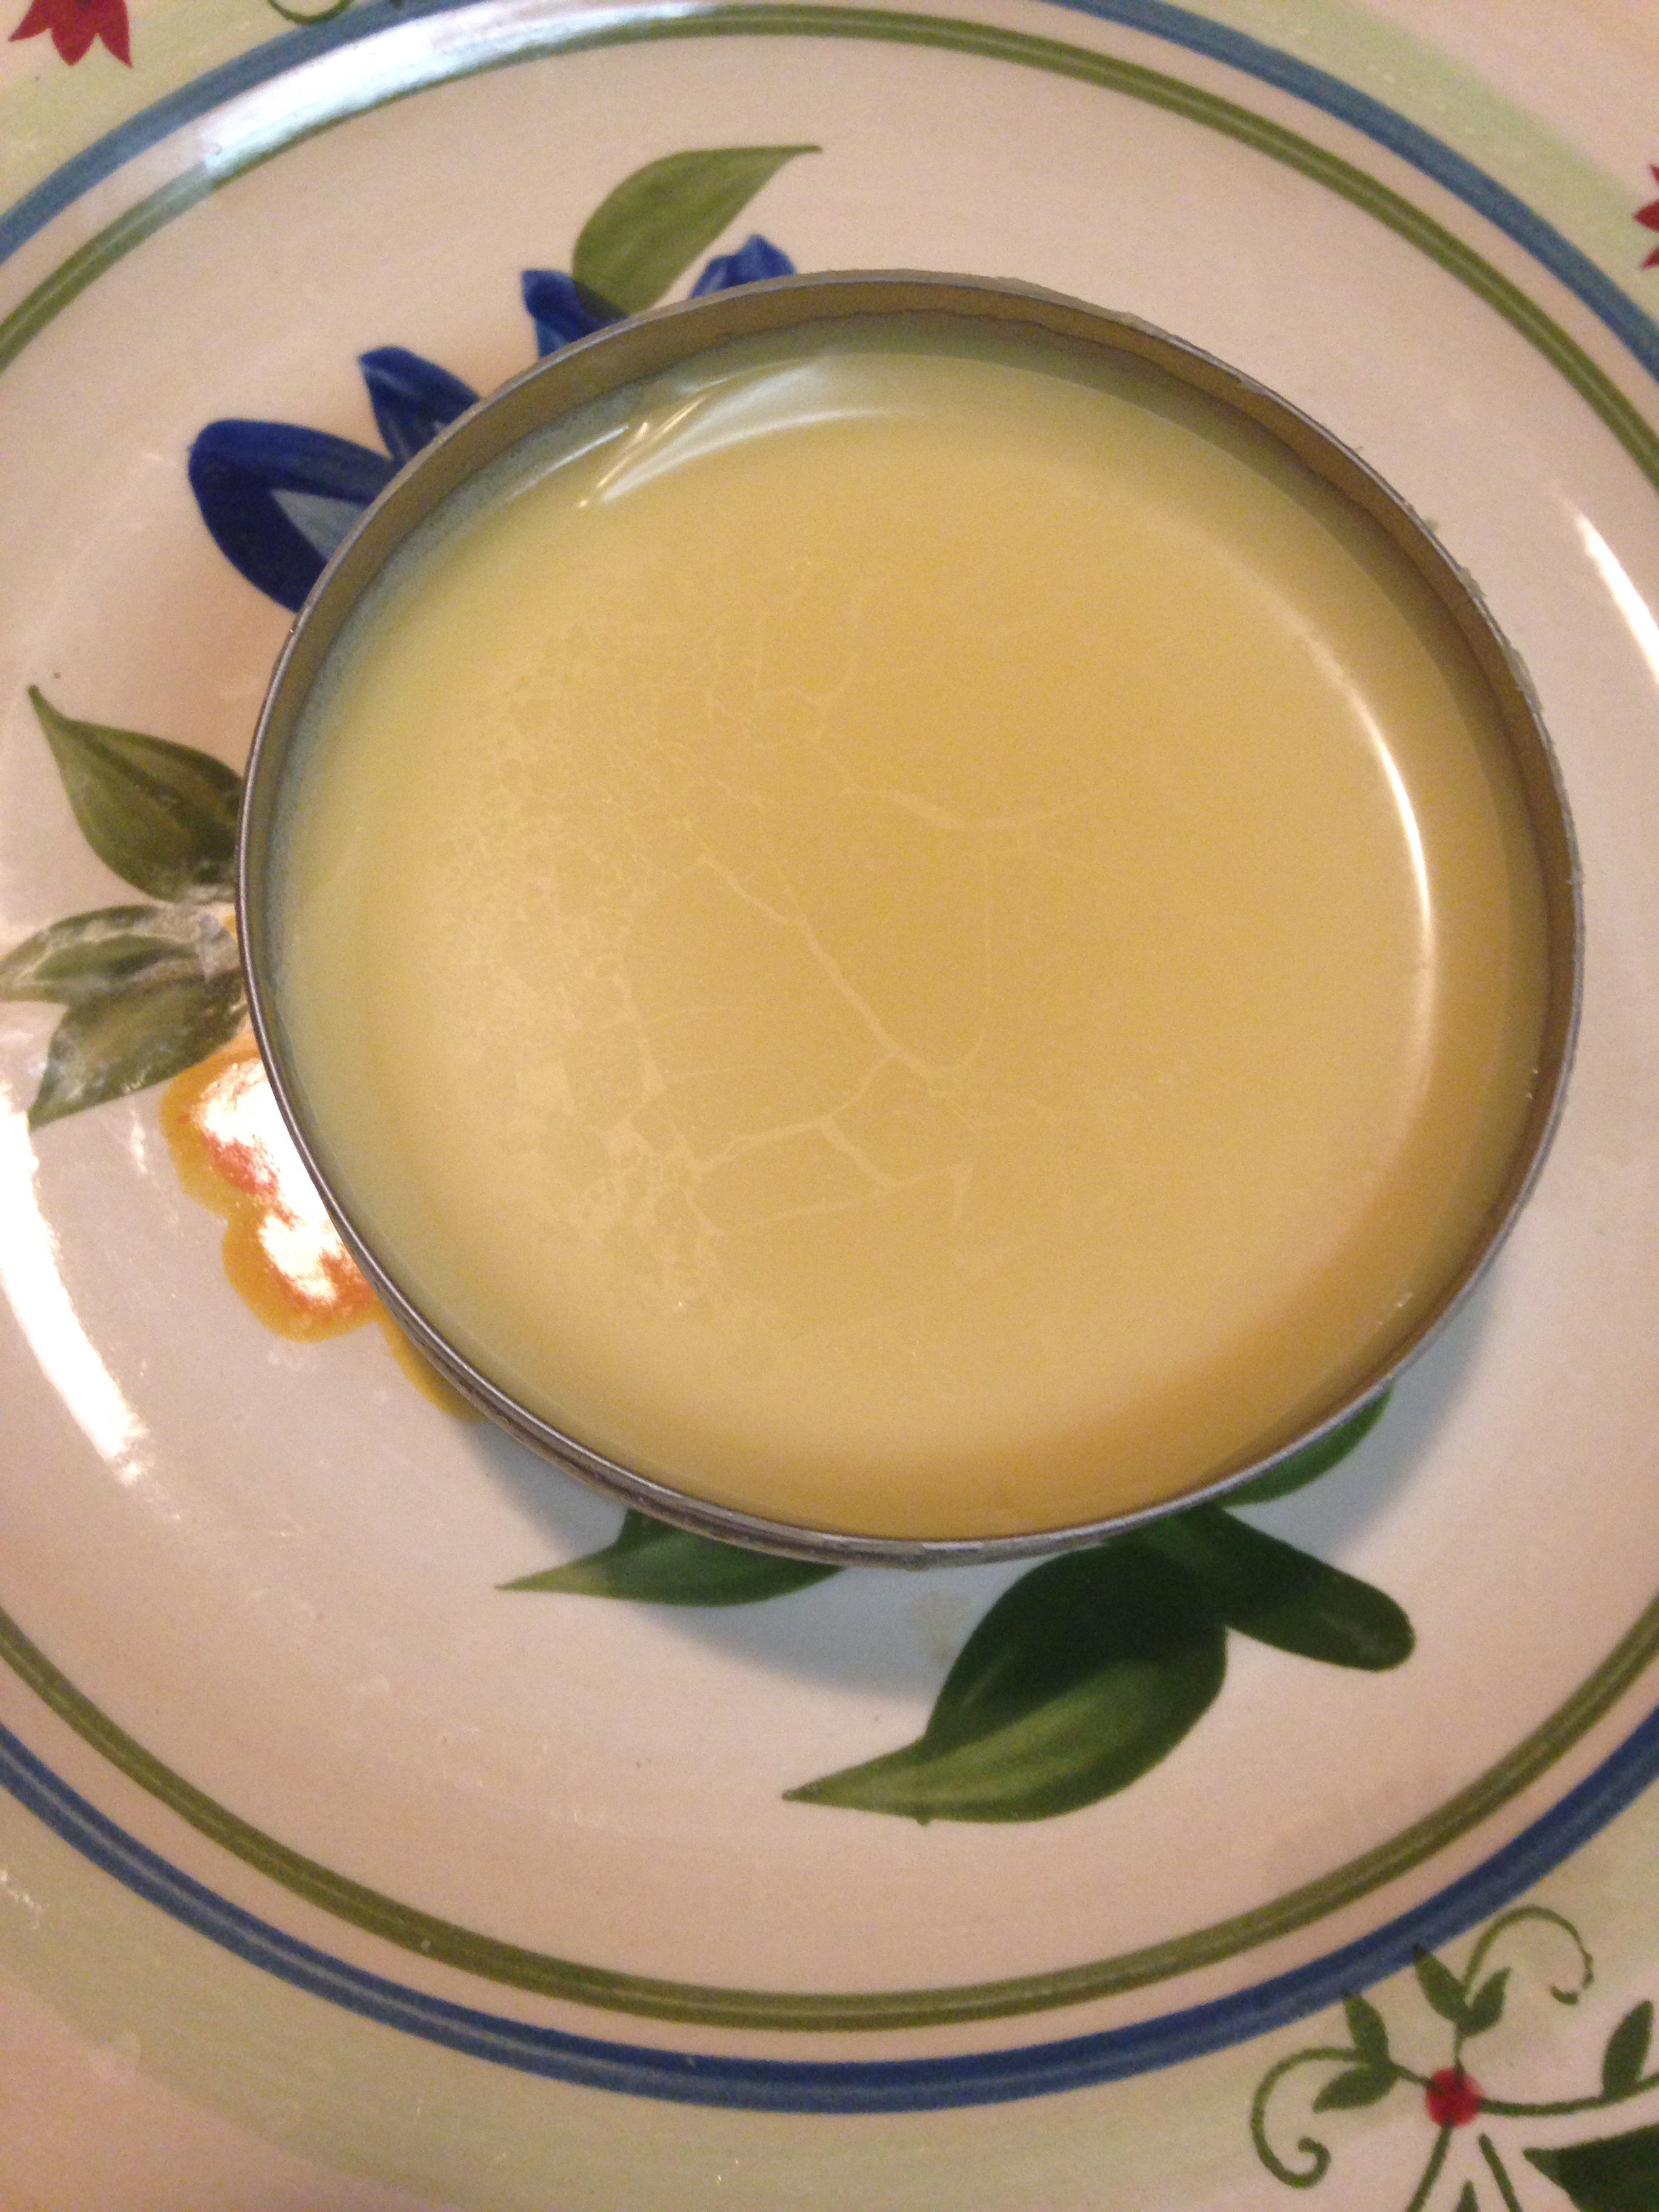
2. Natural “Hydrocortizone” Cream: I know, I know…. Combining the words “hydrocortizone” and “natural” in the same sentence is an oxymoron right? Well, here we will combine the three herbs that have naturally occurring “steroid-like” properties with the two mediums that did not aggravate my eczema – tallow and lanolin. Tallow is the rendered fat of beef. It is a fat that is solid at room temperature and has historically been used for skin ailments. I had heard and read that it was good for eczema but had never had an occasion to try it. Well, I finally was able to get my hands on some grass-fed soup bones and I made some. I was pleased to see that it did not aggravate my eczema like all the other oils and fats did. However, alone it did not particularly improve it either. I also found that lanolin was not aggravating. I saw some improvement from applying lanolin overnight on the worst spots and putting a cotton glove on my hand so that the lanolin didn’t rub off while I slept. I was always better in the morning but then would flare up during the day from washing my hands, heat from cooking ,washing dishes, etc. So, for this remedy a combination of lanolin and tallow will be the medium in which we are going to infuse the steroid-like herbs. Those are chamomile, licorice root and calendula flowers. To make this cream, put your lanolin, tallow, chamomile, calendula and licorice root in a jar and loosely cover with the lid. Use 1 part lanolin to 3 parts tallow. For the herbs use a 1:2 ration of dried herbs to fat/lanolin. Set the jar in a sauce pan on top of a washcloth and fill with about 2-3 inches of water. Simmer until the tallow and lanolin have melted. Swirl the herbs around in the jar to cover them all. The herbs should be fully immersed in the tallow/lanolin mixture. If they aren’t add some more tallow and lanolin. When everything is melted, simmer for about 5 minutes more. Turn off the heat. You how have infused the herbal properties of the chamomile, calendula and licorice root into the tallow and lanolin. Strain immediately while hot through a wire mesh strainer into a glass storage container. For convenience, I also poured some into some old, empty lip balm tubes so that I can easily take this with me when we are out. I find that environmental factors make my flare ups worse. We took the subway the other day and something down there made the eczema on my hand flare up from being almost completely clear to a red, itchy mess. So I plan to apply this all day even when we aren’t at home. Allergy Note: If you have allergies to ragweed, dandelion, sunflower or safflower you may want to omit chamomile as it is in the same family.
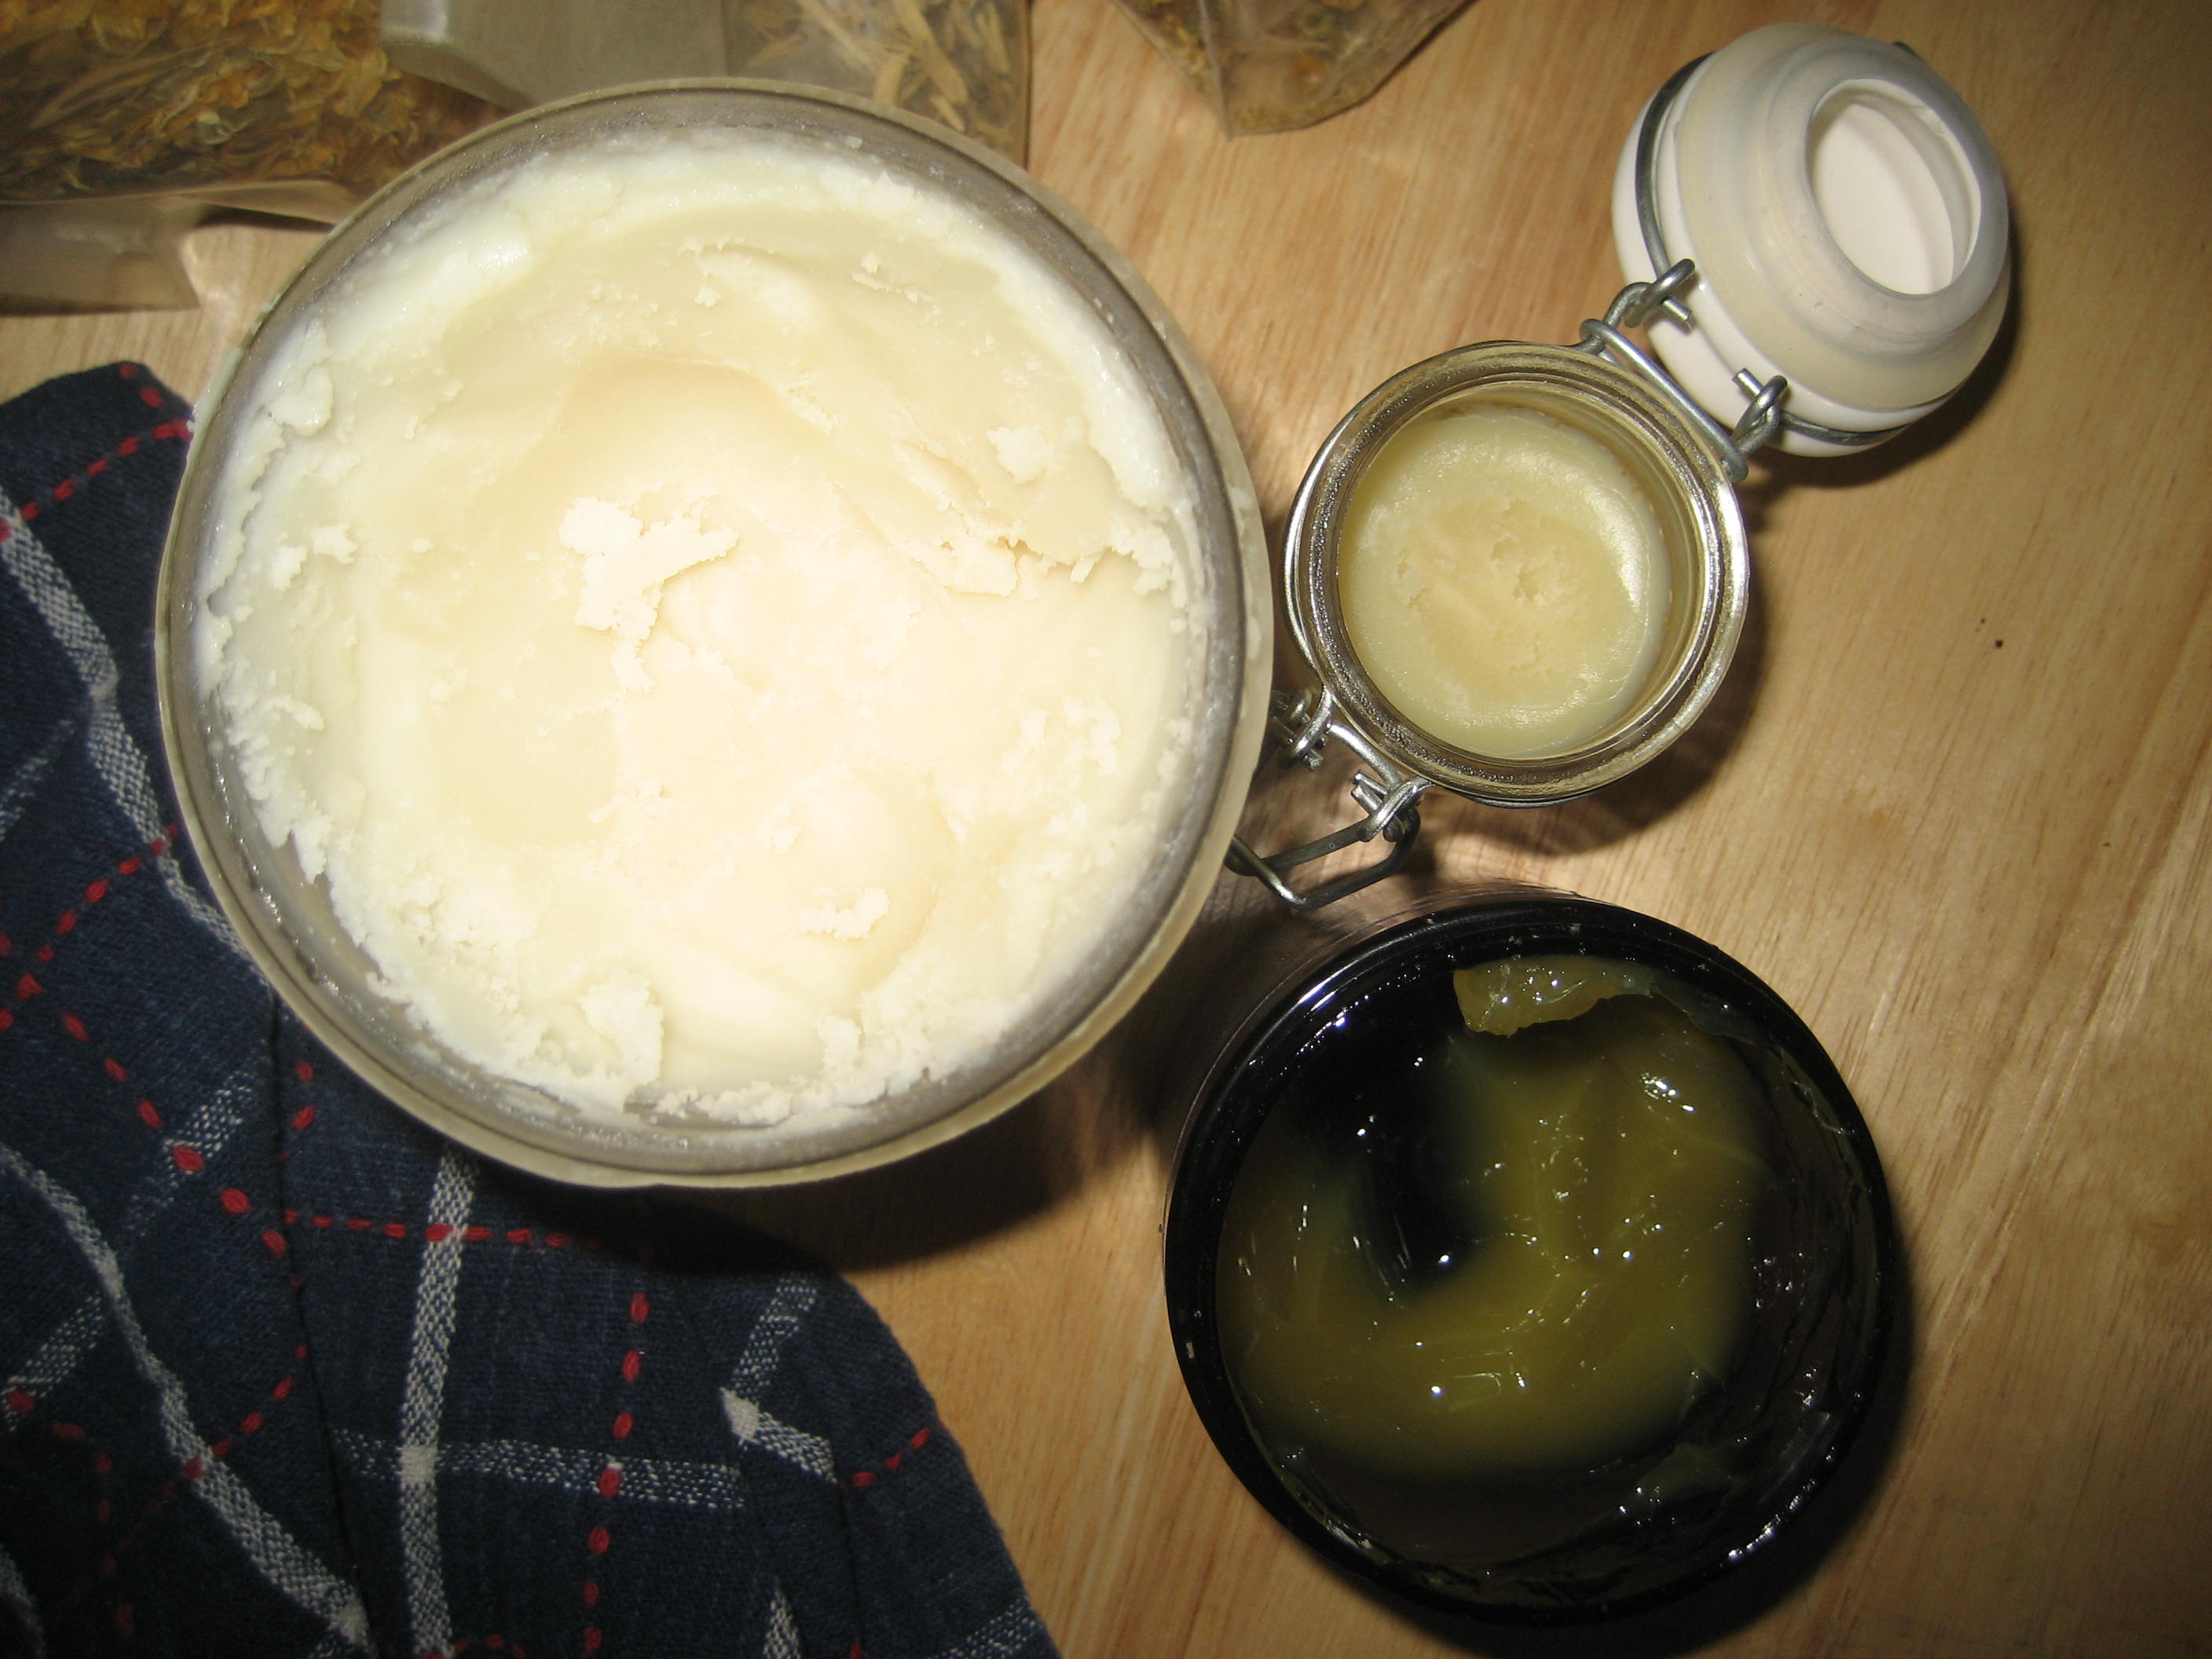
tallow and lanolin melting and herbs infusing
tallow, lanolin and my little jar of eczema salve
I hope these remedies help your eczema stay clear. It’s making mine better already.
Disclaimer: This is not medical advice. Use at your own risk. Author takes no responsibility for the results of using these remedies. Read full Disclaimer here.
Note: Some links in this post are affiliate links.
I ran across this Fire Cider recipe from Mommypotamus this week. I decided immediately that I wanted to make it mostly because I was curious as to how spicy it would be. So, sick kids got me to thinking about it again. I decided to make while all my sick ones were napping yesterday afternoon. I couldn’t find all the ingredients (like turmeric root) and some (like horseradish) are ones that I’m not a big fan of. So, I changed it up a little and made my Fire Cider – Texas style with flavors and ingredients that I love from my native Texas. And I promise, it will be just as spicy and beneficial towards fighting off the bugs and viruses as the original. Here’s what I did.
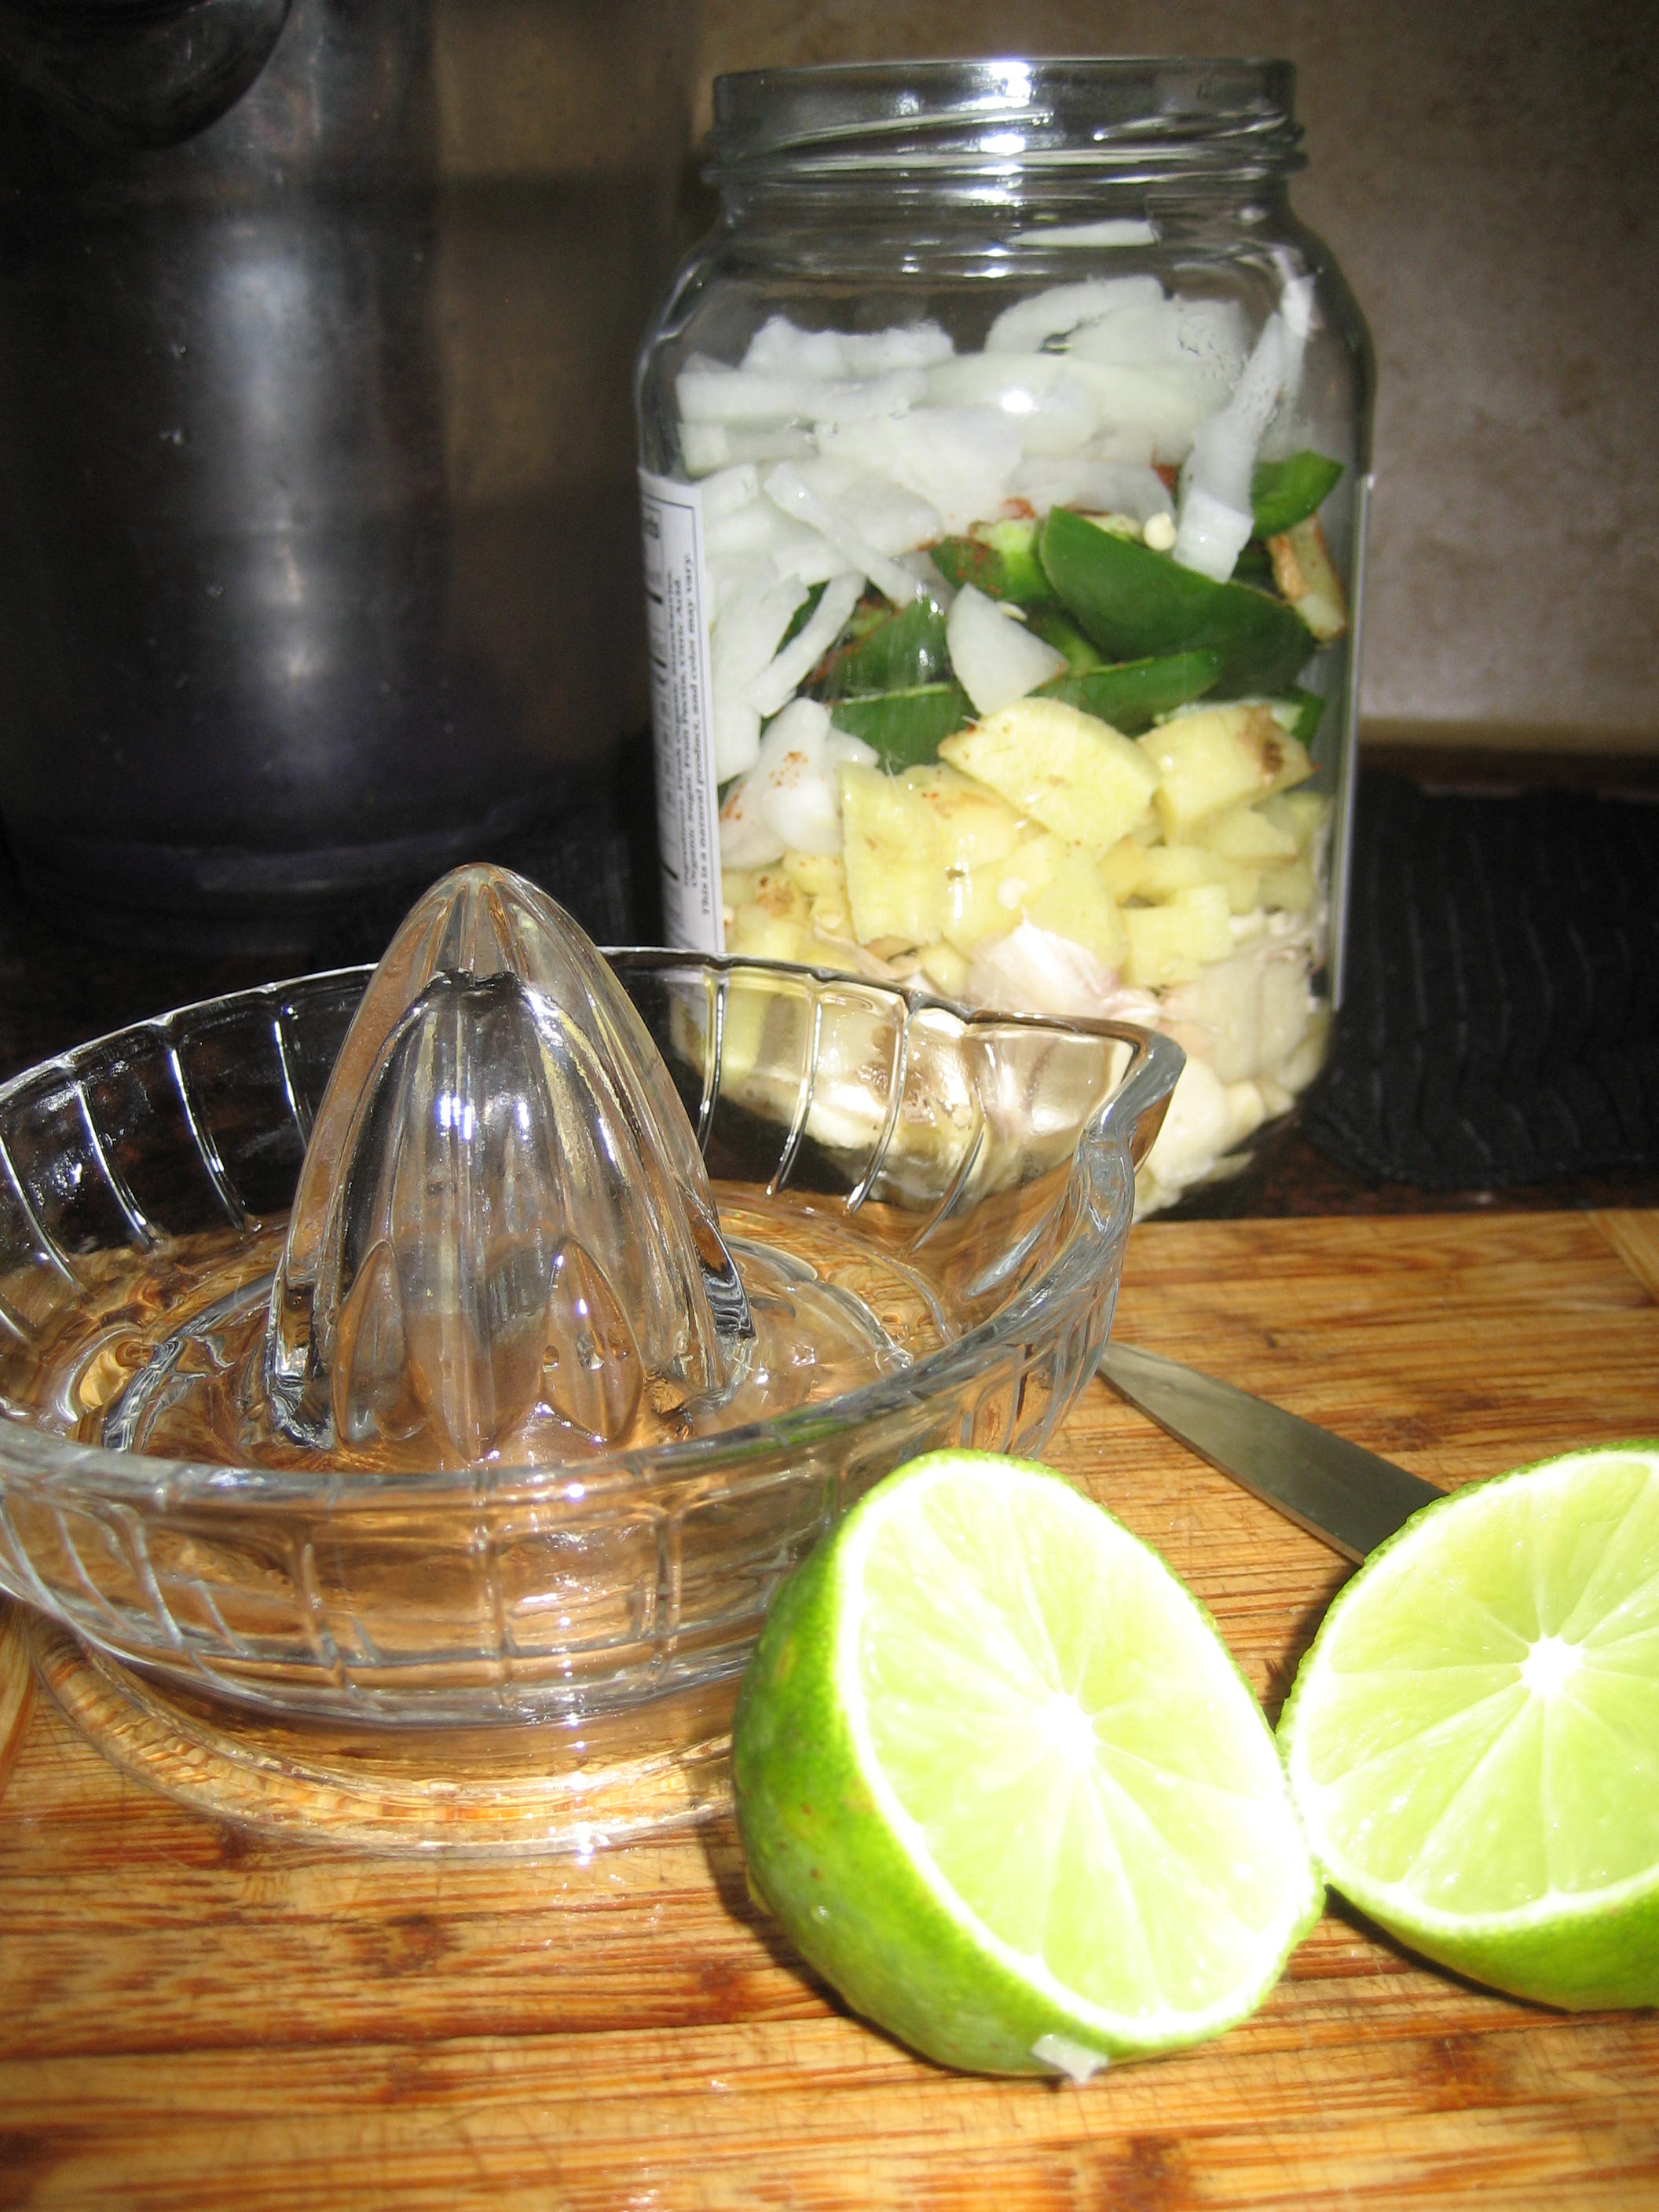
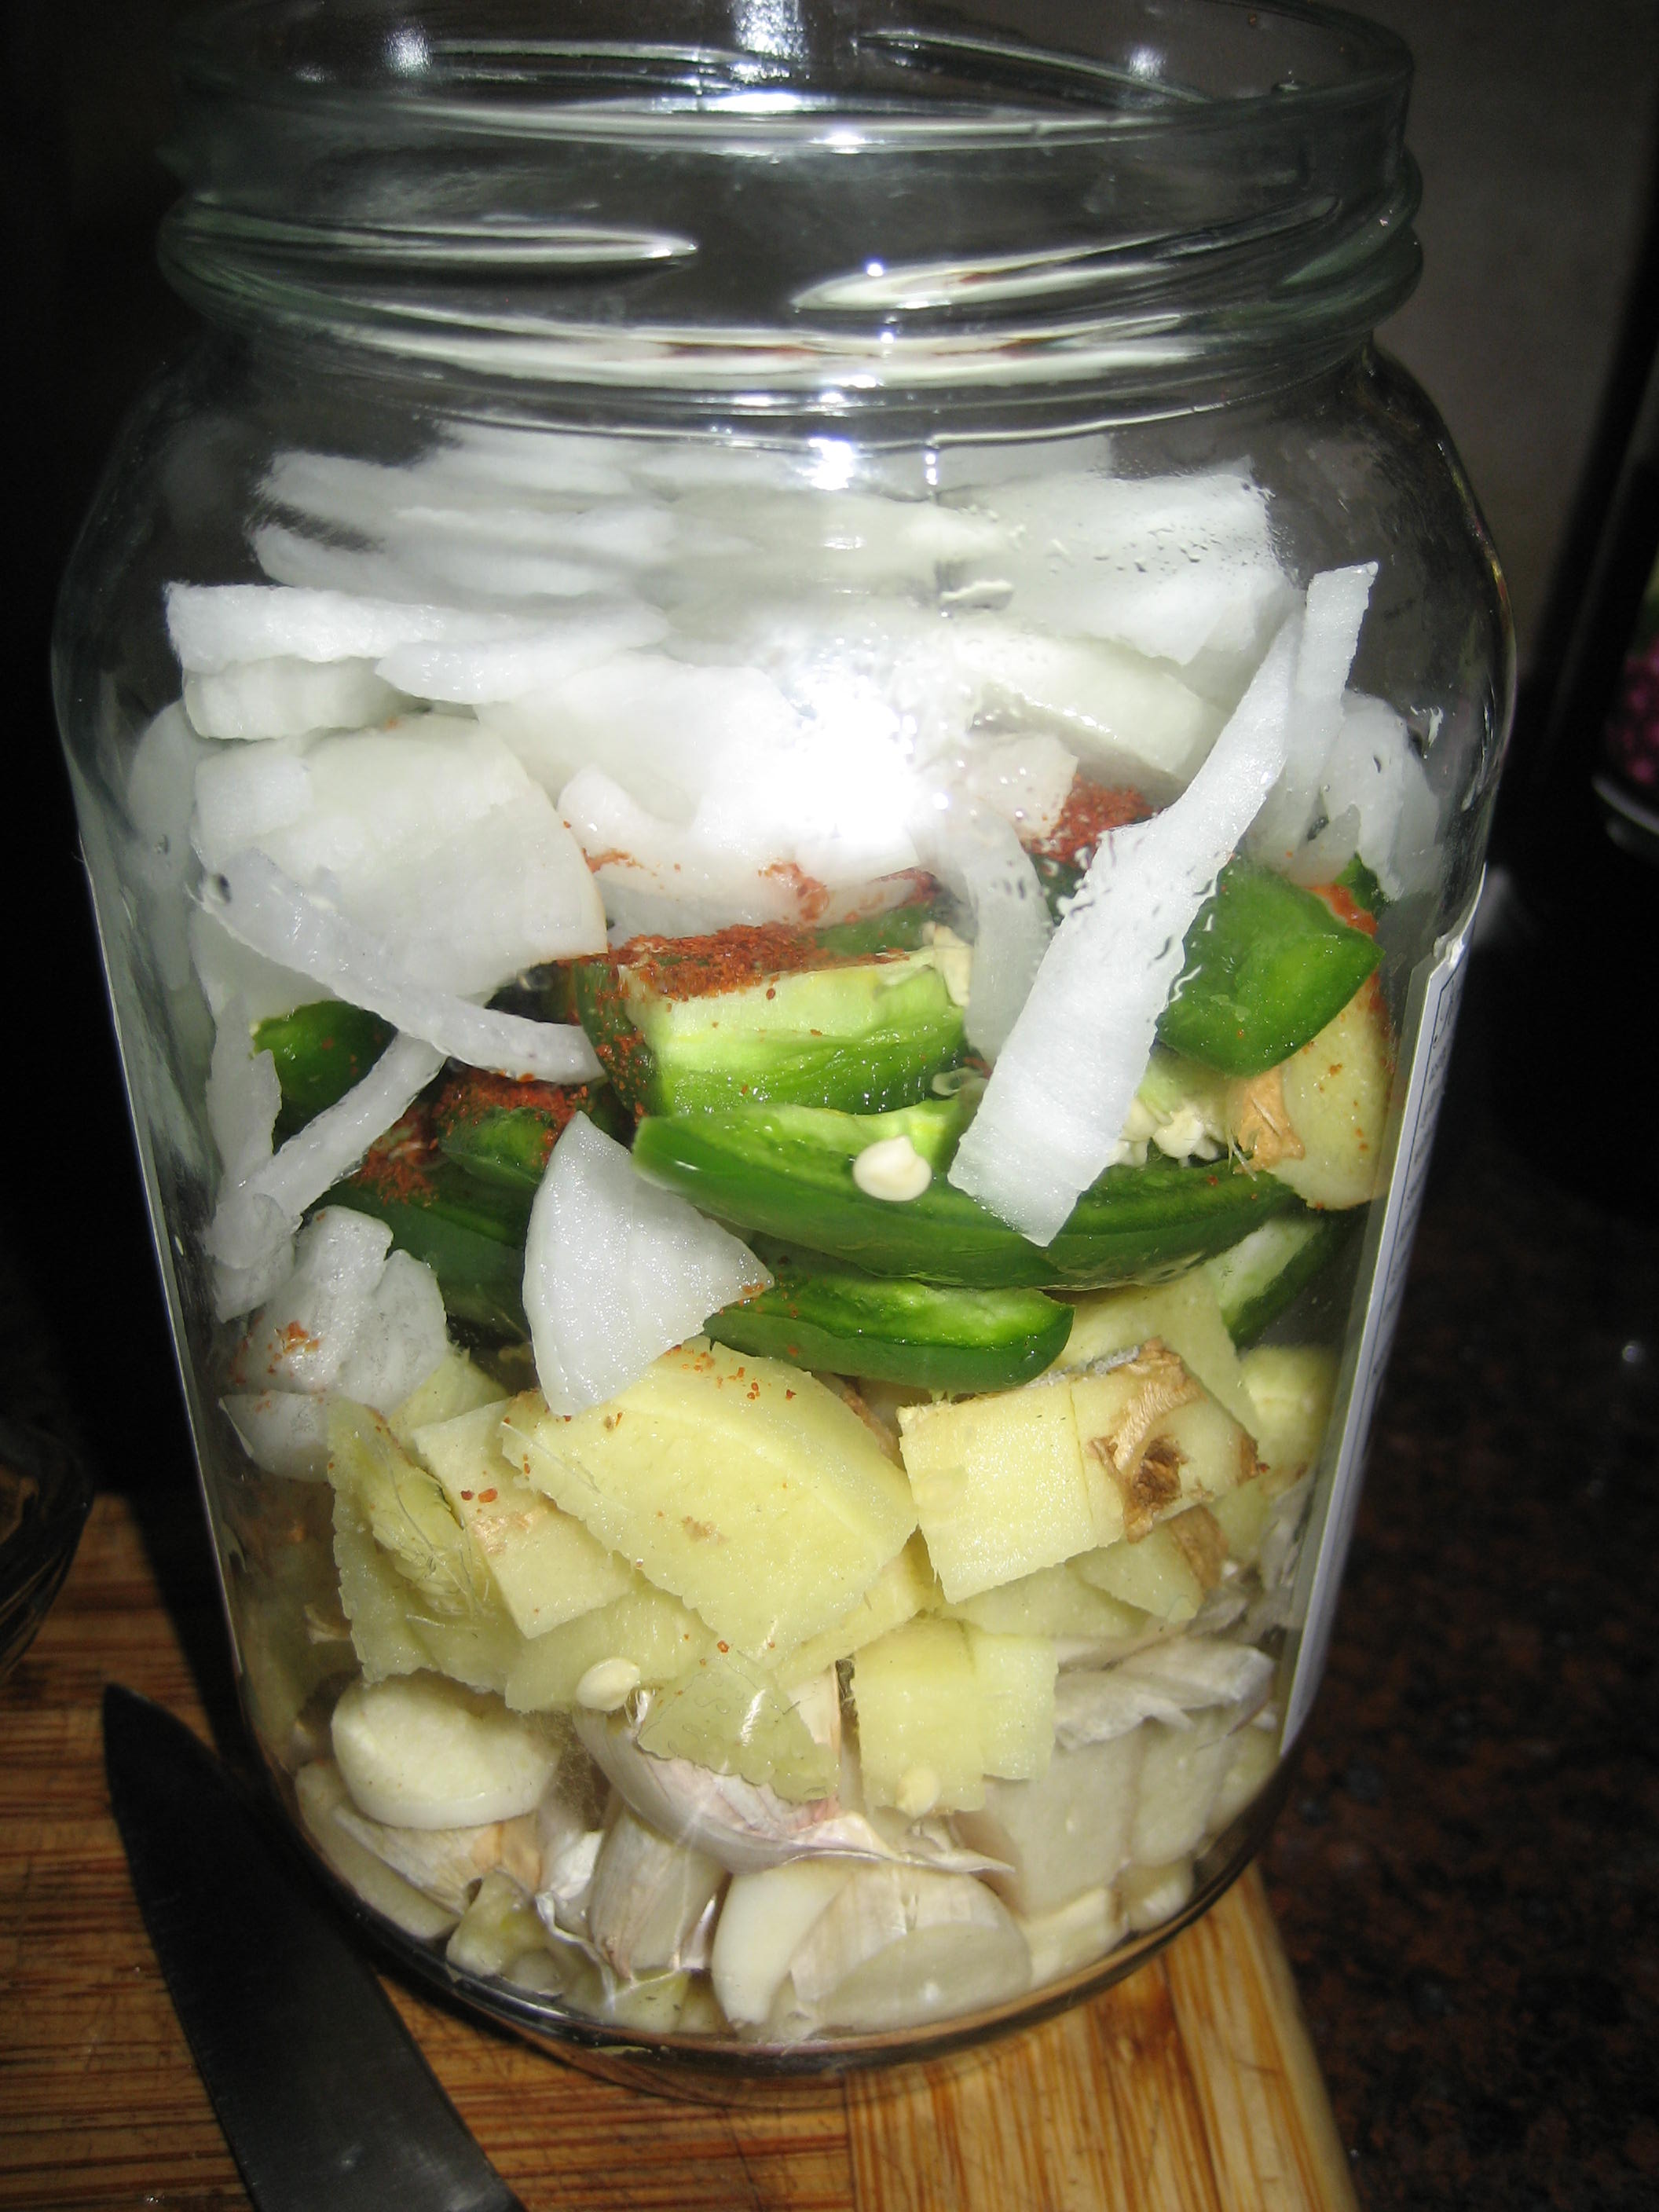
Start with quart size jar and throw everything in.
Texas Fire Cider:
2 heads of garlic, coarsely chopped (I left the skins on they are a good source of quercetin)
2 tbl. ginger root, peeled and chopped
3 jalepenos, quartered
1/2 cup white onion, sliced
3 limes, juiced along with some zest
1 tsp. black peppercorns
dash or two of cayenne pepper or crushed red pepper (I used some of both – I know, crazy right?)
Fill the jar and cover with raw apple cider vinegar (Bragg Apple Cider Vinegar is good – don’t use the grocery store brand) covering everything. You may want to use a fermenting weight if your items float to keep everything below the liquid. This will prevent spoilage. Put a lid on. If the lid is not plastic you can put some wax paper under the lid before you put it on to prevent the vinegar from coroding the lid. Let it sit for 2-4 weeks. Strain and drink as shots or dilute in water.
I’ll let you know how spicy mine is. Are you brave enough to try it?
If you’ve read my blog at all then you know that I have a kid who reacts to lots of things – including sunscreen. A fun-filled day trip to Coney Island resulted 2 weeks of no sleep due to the itchy rash that he got where ever we had put sunscreen on him. What does that mean? No more sunscreen for us! So, what’s a mom to do? Make her own of course.
I immediately went to the internet and researched all the homemade sunscreen and sunblock recipes. I came away knowing that I wanted to go with a zinc oxide based sunblock since that seemed to have the best safety profile and effectiveness ratings. However, I didn’t want to spend the money on a huge bag of zinc oxide powder from Amazon. (Note: It is much more affordable now than it was when I was looking 3 years ago and available in smaller bags.) So, necessity breeds creativity here. I was in the drug store and realized that Desitin is 40% zinc oxide. Immediately I knew I had instant sunscreen here.
Now, you may be thinking, “Wait a minute. There is no way I’m rubbing that white gooey stuff all over myself and my kids. What a mess!” And you would be right. Yet, never fear. All you need is 2 minutes to turn that Desitin into a smooth, lotiony sunblock.
Most zinc oxide sunblocks with an SPF of 30 are 20% zinc oxide. Which means that if you mix equal parts Desitin and your favorite lotion, it cuts the percentage of zinc oxide in the mixture by half and you have an instant SPF 30 sunblock! It’s that easy.
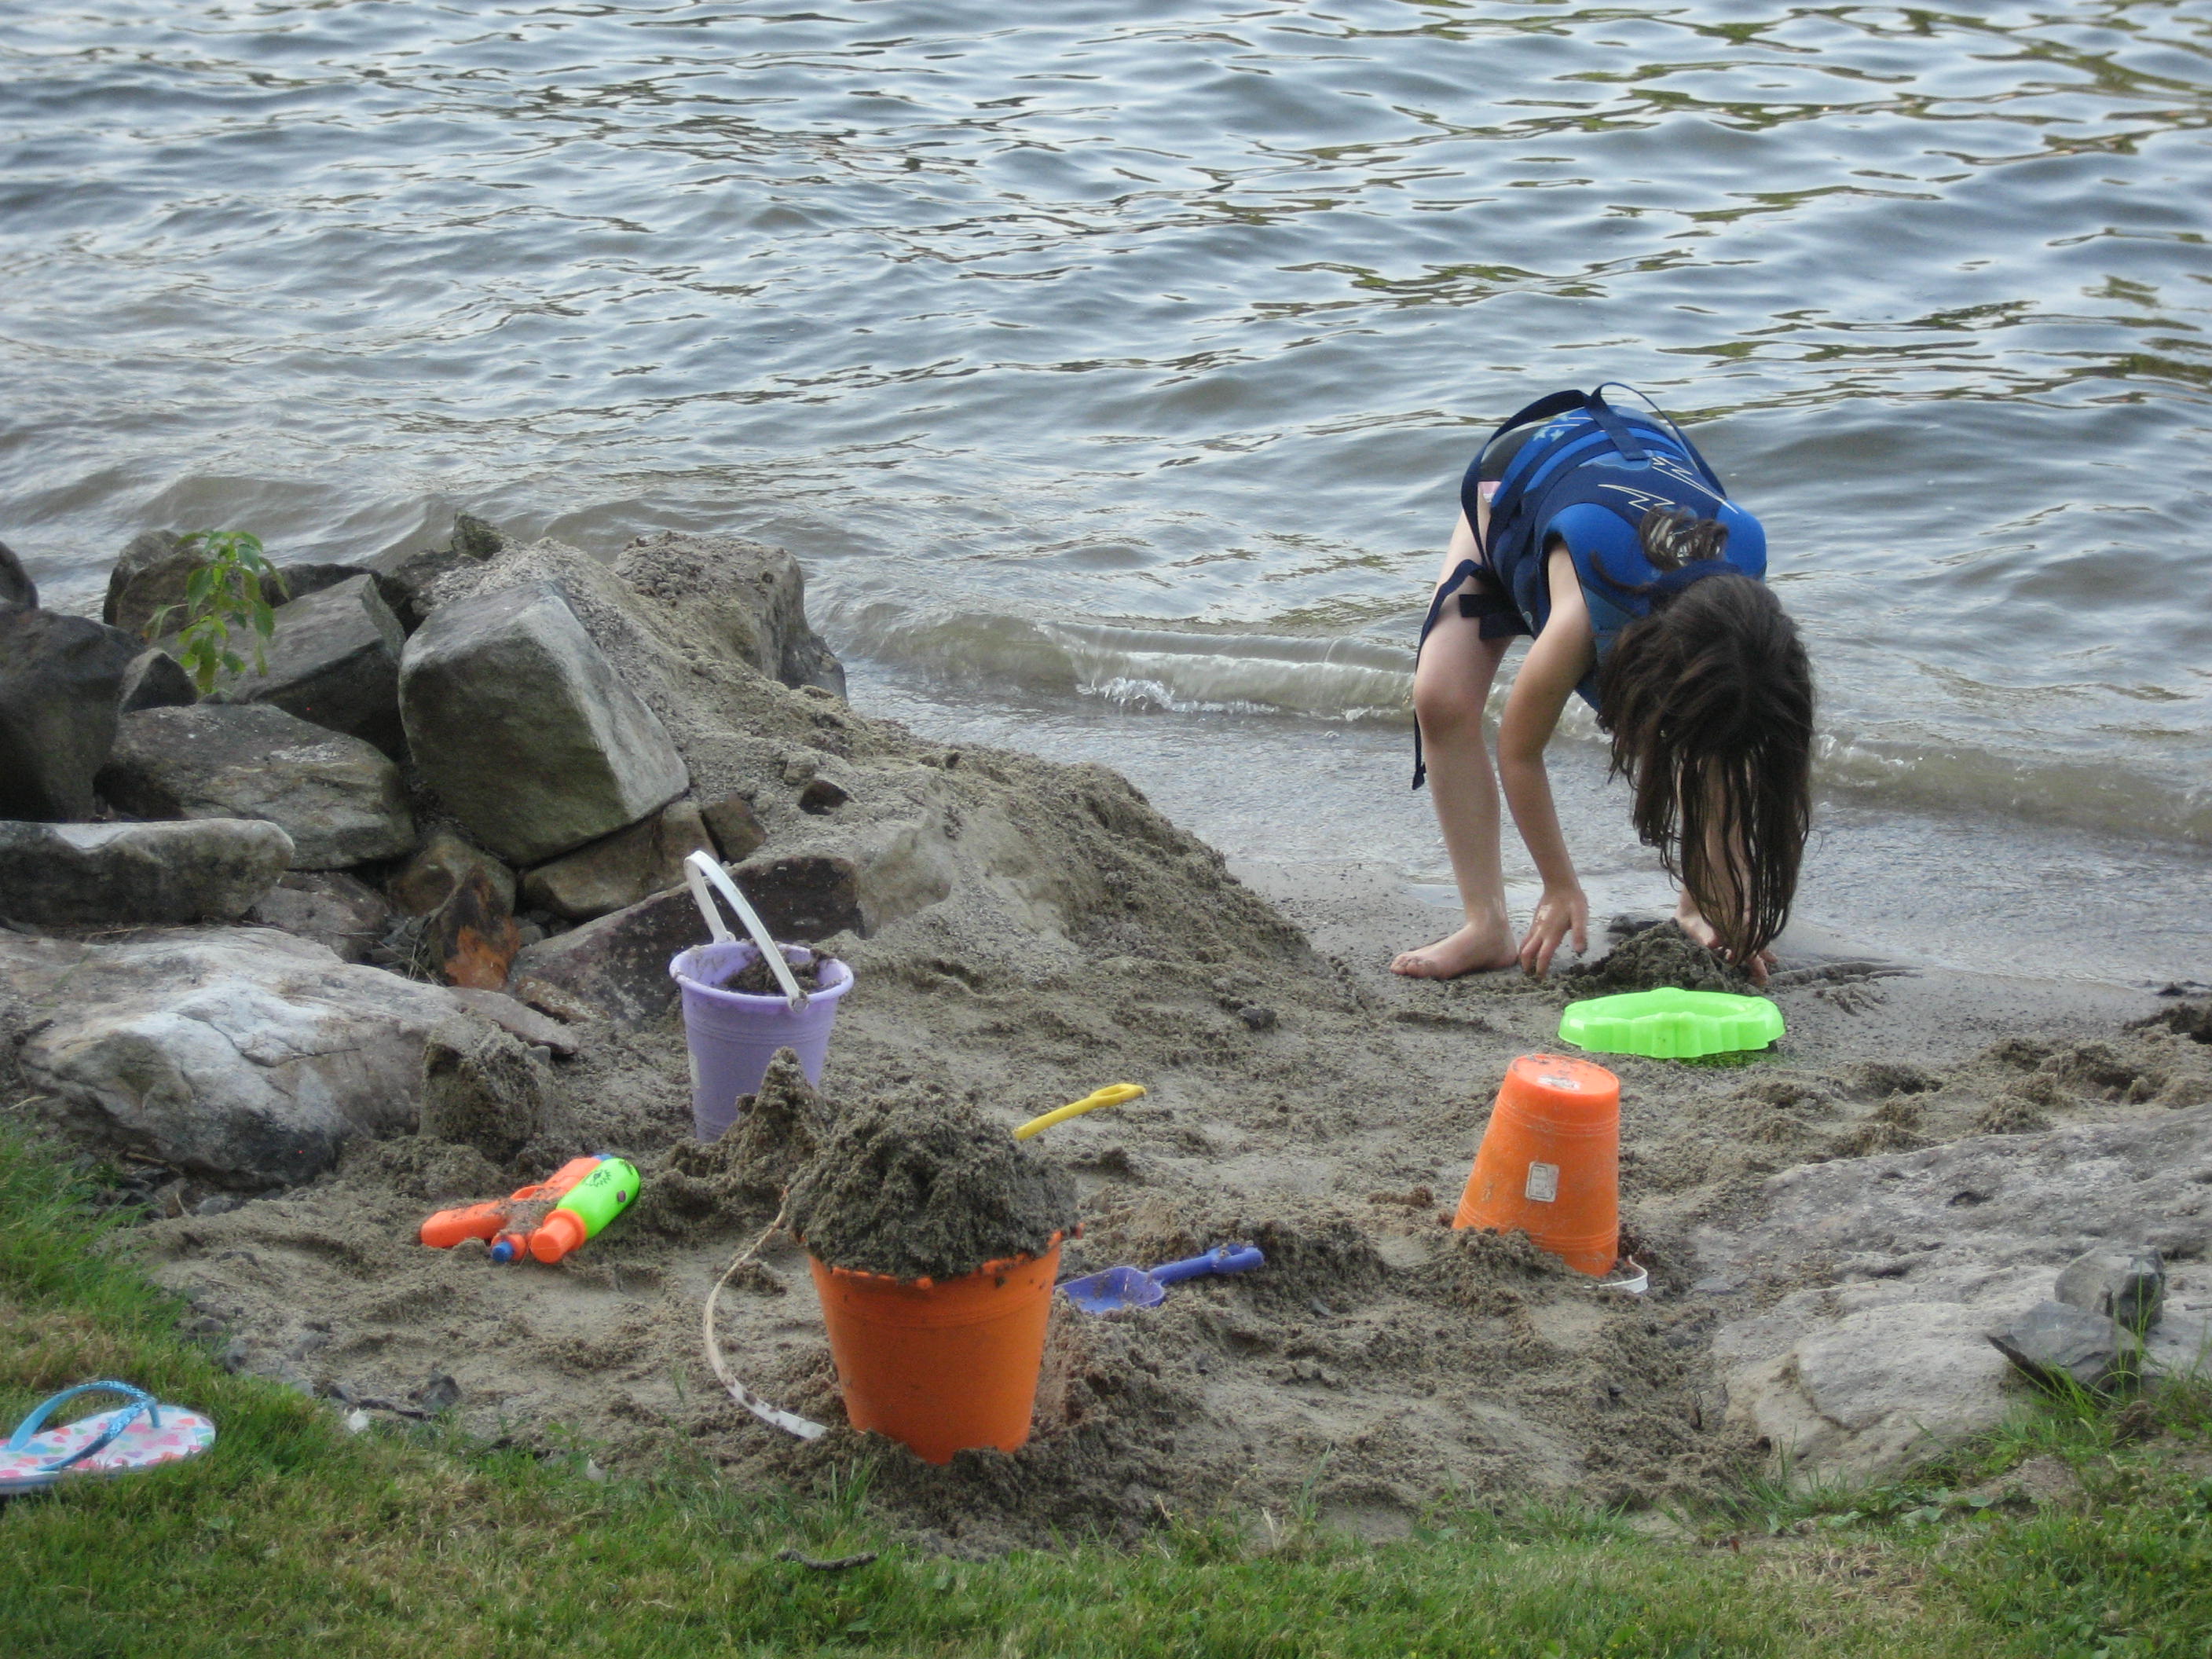
Playing at the lake. She would play there all day if we would let her.
I’ve used this Desitin sunblock with my homemade lotions for the past three years and it works great. I find that this sunblock is fairly waterproof, but if you want to improve that “waterproofness” of your mixture then add a little bit of liquid lanolin to it. Our oldest loves the water and has played for hours in the full sun without a sunburn. So, what are you waiting for? Everyone run to their medicine cabinet and pull out that tube of Desitin and start mixing!
If you want to make your own lotion first to mix the Desitin with, you can visit the Herb Shed and scroll down for directions and more sunscreen tips and recipes. If you use regular lotion and find that you can’t get the Desitin to blend well, then melt the two ingredients (lotion and Desitin) in heat proof bowl over a small saucepan (double boiler technique) until it is blended. I like to mix it with a popsicle stick so that I can just throw it out when I’m done and don’t have to worry about cleaning the mixture off of my spoons. The other nice thing about this recipe is that you can make small batches easily so that you don’t have to worry about unused sunscreen, or you can make a large batch if your family goes through a lot of sunscreen.
Here’s to a happy and sunburn free summer!
Note: Zinc oxide can stain dark clothing so take care when applying it. Also, individual results can vary so use with care and common sense. The author is not responsible for any adverse reaction or sunburns if you choose to use the recipe recommended here. Read my full Disclaimer here.
Visit the Herb Shed if you want to make a homemade lotion to mix with your Desitin.
You don’t have a to be a tea master to come up with your own tasty herb and tea blends. It just takes a little experimenting to figure out what tastes go well together and what combinations taste good to you. Here are some of my favorite. These are ones that the flavors blend particularly well together. As with any herb, be sure you know the herb you are using if you begin using one that is new to you. My favorite research resources are listed at the end of this post. Take responsibility for your herb use and do your own research (see my Disclaimers page here). Please make note of any cautions that I list on these blends, but keep in mind that this is not a complete list. You should always research it further if you aren’t sure that an herb is safe to use or consult with your doctor or an herbal practitioner.
My favorite herb and tea blends:
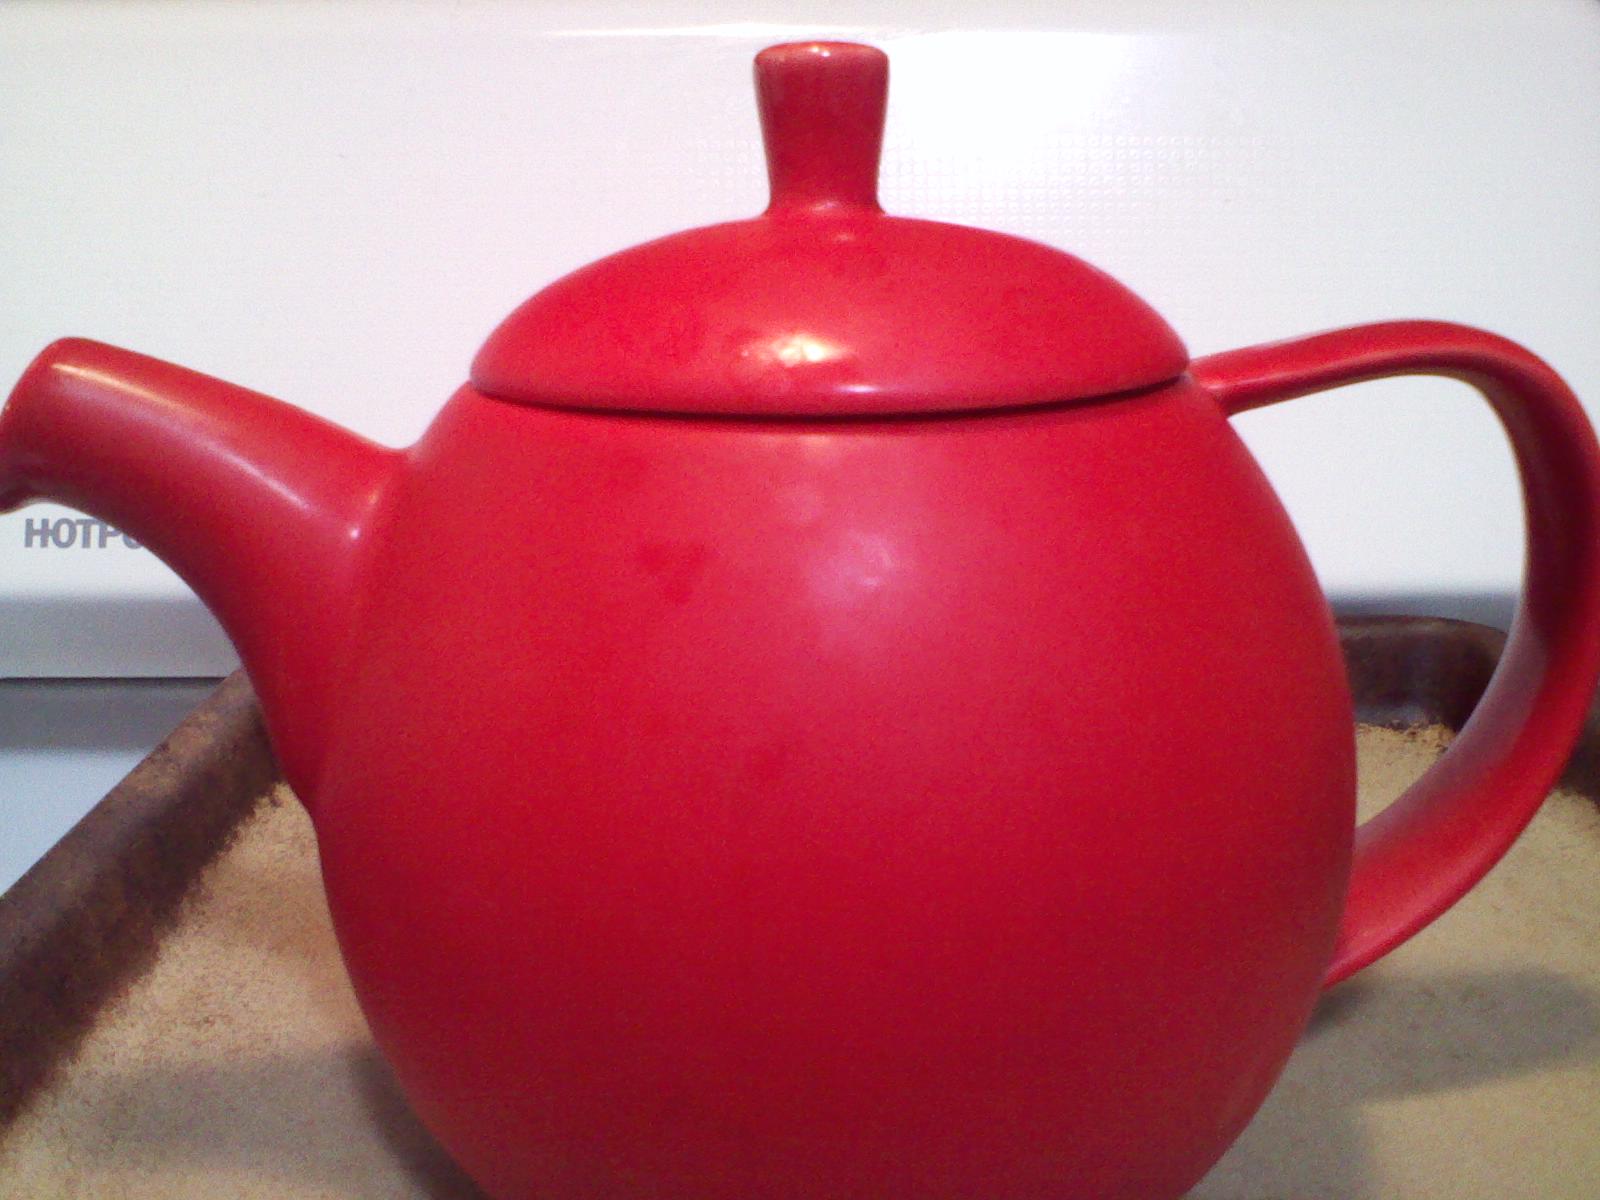
Christmas Chai – A great robust, flavorful chai. Click for recipe
Dandelion/Red Raspberry Leaf/Red Clover – Ironically, I don’t much like the taste of these herbs individually, but put together they are quite delicious. All three herbs are very nutritious and dandelion and red clover work very well together as a gentle blood purifier and liver cleanser. Please note that Red Clover is an estrogenic herb and should be avoided if pregnant or nursing.
Chai/Nettle/Chastetree Berry/Milk Thistle – I came up with this blend when I started to use chastetree berry to help balance my hormones and I think I like this blend of flavors better than plain chai tea. The chastetree berries have a light peppery flavor that really accentuate and blend well with the chai and nettle. Mmmm. Another cup please. Chastetree berry is safe and beneficial to use while nursing but not during pregnancy. Milk Thistle is a good liver support herb.
Chai/Nettle/Turmeric/Cocoa Powder – If you do your reading, you’ll find turmeric has many health benefits (read more here and here). Turmeric has many anti-inflammatory and antioxidant properties and is great for any issues of inflammation and joint pain. You may want to avoid turmeric if pregnant or trying to conceive. As for the rest, who could ever object to chocolate, and then nettle is my favorite herb of all time. This blend is tasty and delicious if blended with a little sweetener and cream. For best results, brew your dried herbs as a tea and then blend 1/4 tsp of each powder with your favorite sweetener and cream in an immersion blender. If left to sit the powders may settle to the bottom a little. Caution: Turmeric is not for long-term use. Consume no more than 1 tsp. per day and use with caution if pregnant or nursing.
English Breakfast/Nettle/Yellow Dock/Tumeric/Cocoa Powder – This may seem like a strange combination but it is a variation on the previous recipe and quite tasty in it’s own right. Yellow Dock is a good liver cleanser and blood purifier. This (or the recipe above) is my substitute when I feel like coffee is getting to me and I need to take a break from it. Simmer 2 tsp. of English Breakfast, 3 tsp. Nettle and 1/2 tsp. of Yellow Dock in a sauce pan in 2 cups of water until you have a strong tea. Strain and rinse the pan. Return the tea to the pan and add 1/2 tsp. cocoa powder and 1/4 tsp of turmeric. Stir and heat until combined. Sweeten with maple syrup and cream to taste. Caution: Turmeric is not for long-term use. Consume no more than 1 tsp. per day and use with caution if pregnant or nursing. Yellow dock is a cleanser and laxative. Not for long-term use (8-10 days at most). Do not use if pregnant or nursing.
Turmeric/Ginger: Continuing on the turmeric theme, I found this recipe just yesterday for “Golden Milk.” It’s made with coconut milk and sounds delicious.
Nettle/Raspberry flavored black tea – This may be my all time, most basic, go-to blend that I never get tired of. I find something about the flavor of the nettle and raspberry flavored black tea (I purchase mine here or here) to be very satisfying and delicious. I like to drink this blend straight with no sweeteners or added milk or cream.
Nettle/Garlic/Cinnamon/Ginger: This is my go to tea when I’m feeling like I’m coming down with something or that I need a little extra immune boost. I can’t say enough about the health benefits of nettle and garlic (my two favorite herbs). And one of the thing that I like the most about the herbs and this blend is that it is very safe for anyone to consume. Steep using a tea infuser/strainer: 1 tsp nettle, 1-2 cloves coarsely chopped garlic, 1 tsp. chopped fresh ginger root, 1 cinnamon stick. Sweeten with honey. You could even add some black tea to the mix if you wish.
Black Raspberry Tea/Lime: This one is easy. Brew some raspberry flavored black tea and squeeze in some fresh lime juice. Mmmm. Refreshing.
Experiment with your own blends. What do you like?
(Note: All external links on this site are for informational purposes only and not affiliate links. I receive no compensation for any purchase made through these links.)


 We are in the middle of another stretch of hot weather. I went out two evenings ago to water the flowers in the backyard and was immediately besieged by a swarm of mosquitoes. I could literally watch five of them land on my leg at once. I suffered through watering as quickly as I could while waving them away and swatting at the ones that actually landed on me. When I came in I counted 20+ mosquito bites on my arms and legs. The next day, I thought to put on my homemade