So, the kids have been tasked with making a soup for lunch each Saturday. Here is this week’s recipe.
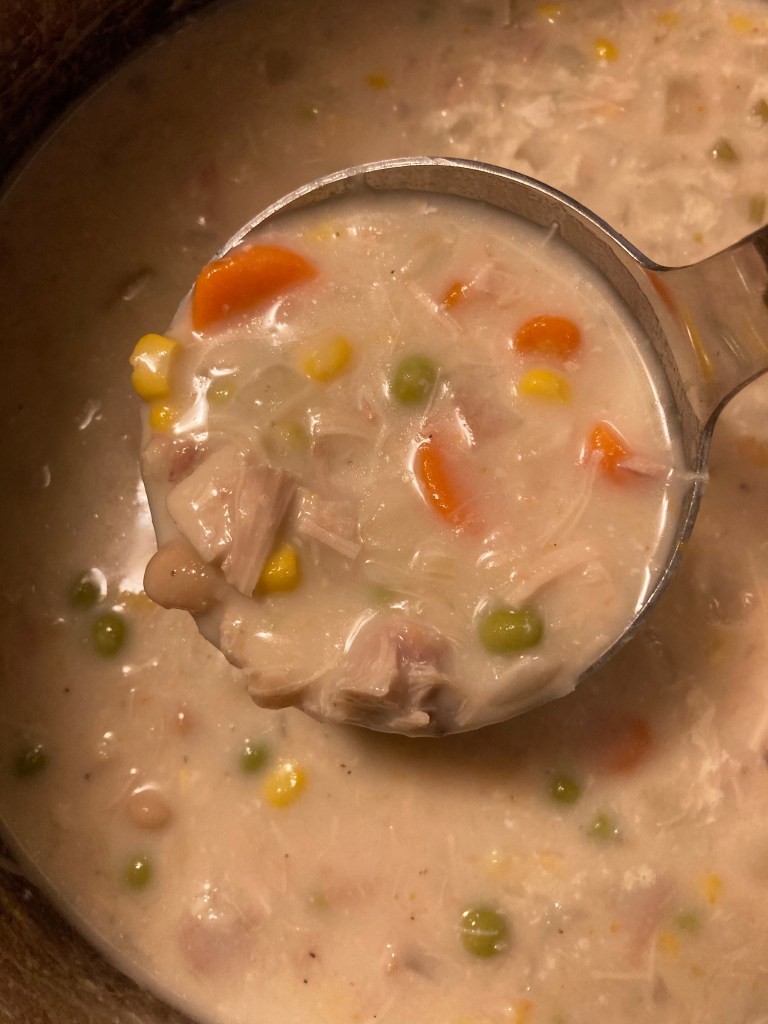
Chicken Corn Chowder:
This meal works best with leftover, cooked chicken.
2 hours before meal time cook 1 pound of great northern beans with 1 tsp salt, 5 cups of water, 8 homemade chicken bullion cubes (5 cups of home canned, or store bought broth would work too) on High Pressure for 38 minutes. Quick release when done. Then add….
3-4 peeled, chopped carrots
3-4 ribs of celery, diced
1 cup diced onion
5 cloves of garlic, diced
1 cup frozen corn
½ cup frozen peas
1 tsp salt
4 shakes of black pepper
Dash of Cayenne pepper
Add 2-4 cups of water depending on how “soupy” you want your soup.
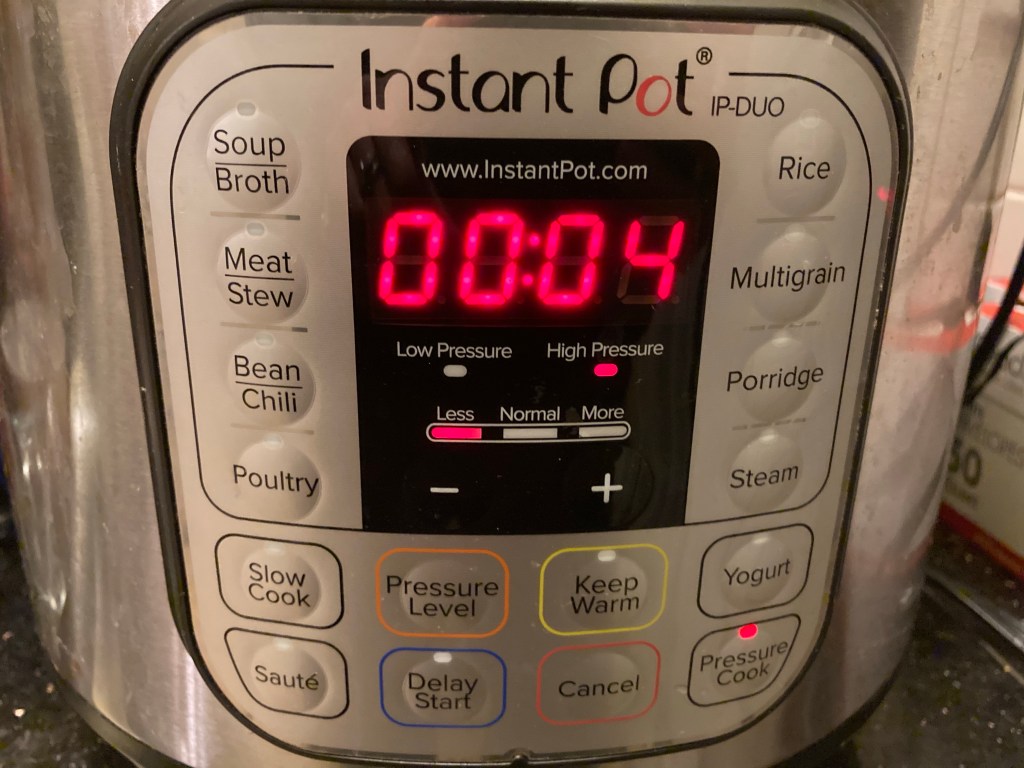
Cook High Pressure for 4 minutes. Quick Release.
Stir in chopped, cooked chicken and ½ cup heavy cream.
You could also add other optional vegetables like chopped kale, chard, or spinach.
This is NOT your canned chicken soup. I cringe when I think of the difference in taste of canned soup when compared to this hearty, soothing, comfort food. This is a recipe that falls into our regular meal rotation. It’s a must have whenever anyone is sick, and it’s easy enough, that I can ask the kids to make it if needed.
This recipe is works best if you have leftover chicken meat that is already cooked. I’m also partial to it when used with my homemade chicken bullion cubes. These bullion cubes are still one of my favorite things to make, and dissolve so well in the Instant Pot. But, fresh or canned homemade broth or in a pinch store broth works too.
This recipe is written for an 8 quart Instant Pot. For a six quart, reduce all the ingredients slightly. For example, rather than four carrots, use three, rather than three celery ribs, use two, etc, etc.
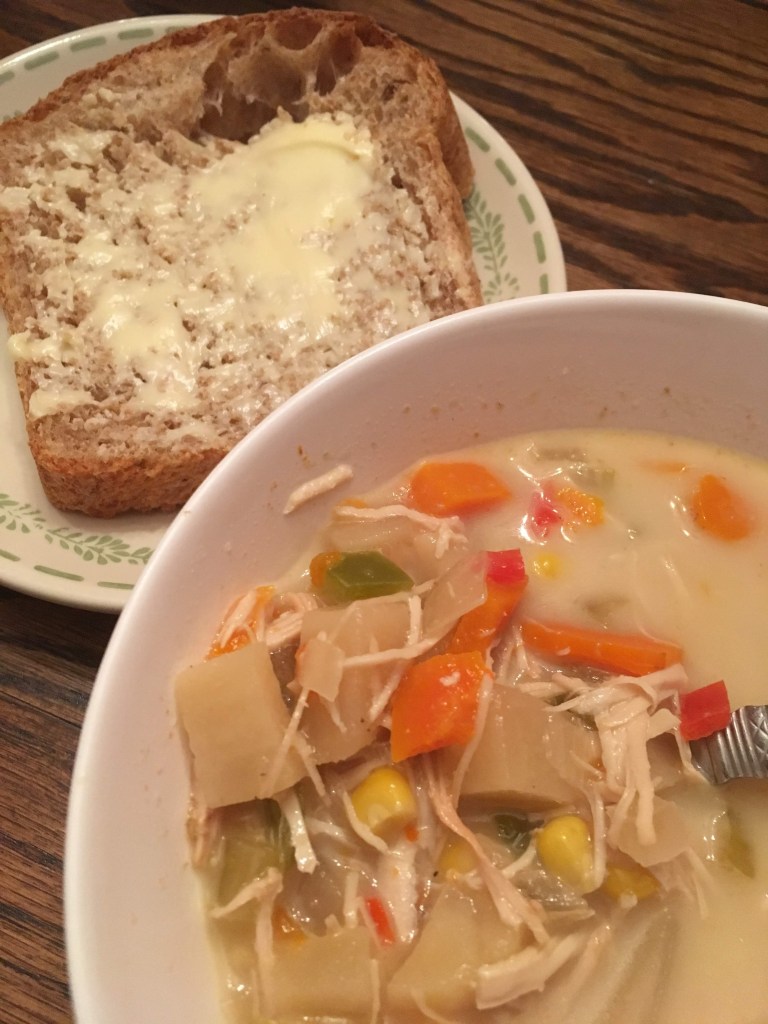
Instant Pot Chicken Noodle Soup:
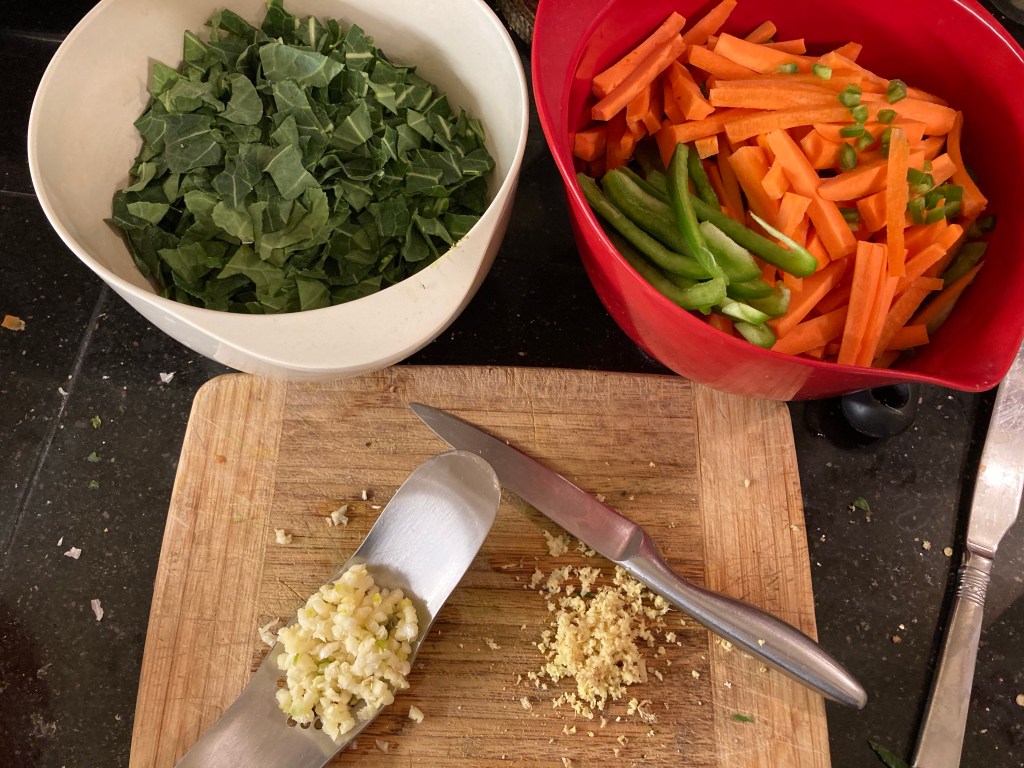
Chop the following vegetables….
1 medium onion
3 ribs of celery
4 large carrots, peeled and chopped
4 cloves of garlic, minced
3 medium potatoes, peeled and diced
Turn the IP setting to Saute on the Medium setting. Add 1 tbls of oil and saute the onions, celery, and carrots for about 5 minutes until the onions are translucent and aromatic. Add the garlic and stir. Saute for 1 minute. Don’t let it burn. Turn off the Saute setting and add the potatoes.
Add 1 tsp sea salt, 1/4 tsp black pepper, a dash of cayenne, and 5-6 homemade chicken bullion cubes (if using). Stir.
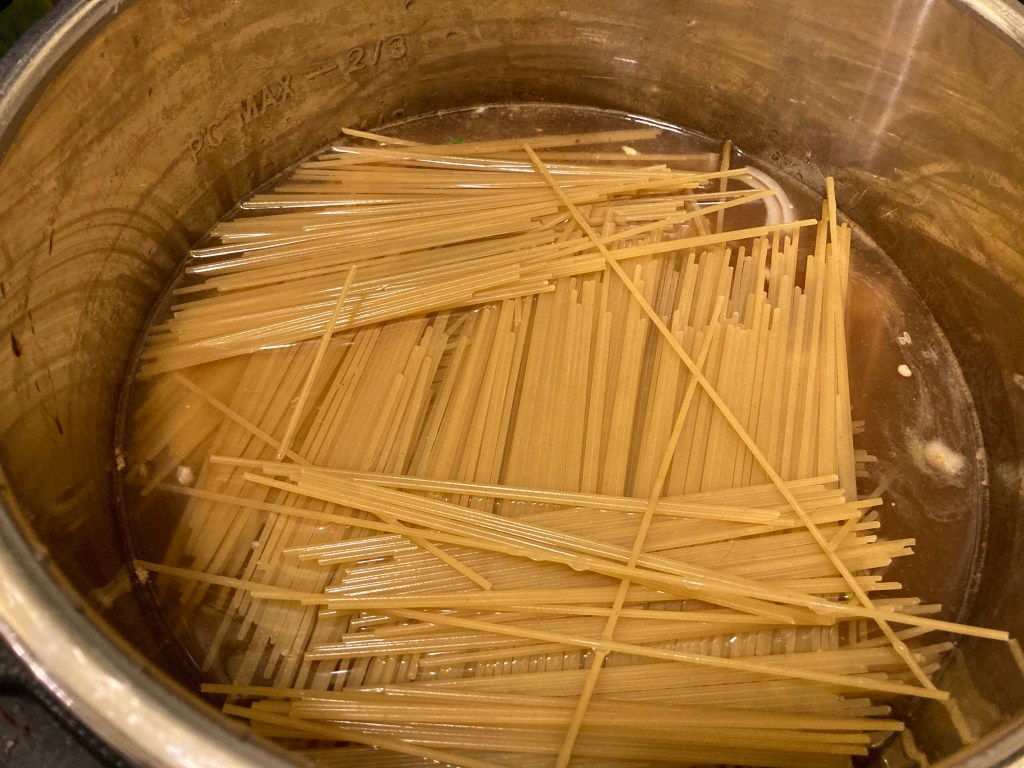
Next add 1 package of egg noodles. Do not stir to mix. This is important. It’s better to leave the layer of veggies on the bottom so that the noodles don’t stick and activate the Burn setting.
Now, add 10-12 cups of water (if using the homemade bullion cubes), or 10-12 cups of chicken broth. You want the level of the liquid to be just below (about 1 inch) the level of the noodles or about how to the 2/3 line. Again, don’t stir.
Lock the lid on the pot, set the valve to the Sealing position, and set the IP on High Pressure for 4 minutes. Keep Warm button should be off. Quick Release when done.
Stir in your shredded or chopped cooked chicken, serve with some biscuits or homemade sourdough bread, and dinner is done!
If you want a creamy sauce add 1/2 cup of heavy cream when you add your chicken. You can also add other vegetables at this point if you choose, chopped kale is a good choice, as is frozen green beans, corn, or peas.
We love Trader Joe’s spice grinders. We like the Lemon Pepper, Everyday Seasoning, and Garlic Salt. If you haven’t tried them, you really should.
What what do you do when you find yourself smack-dab in the middle of a pandemic, and you can’t run out and buy more? You get creative and make your own.
Garlic Salt is the seasoning I use the most. It’s basic and I find it to be the most versatile. I use it on the kids chicken strips that they eat every day for lunch, and I REALLY like it on our sourdough crackers. If you want to try to craft your own, save an empty grinder and mix the following together.
Homemade Garlic Salt:
3 tsp parsley flakes
3 tsp dried minced garlic
2 tsp onion flakes
2 tsp salt
If you’re interested in making your own spice blends and seasoning mixes, check out Homesteading Family’s Homestead Kitchen Membership. They recently did Pantry Challenge and have whole workbooks full of DIY baking and spice mixes that you can make yourself for pennies.
You might also be interested in their Home Management class which gives common sense, every day tips and systems for keeping your busy, productive household running smoothly.
I’ve been making good use of quinoa for breakfast in the Instant Pot lately. This is the latest and the easiest so far.
It is true that “necessity is the mother of invention.” The only reason that I came up with this recipe is because I was going to make the Pumpkin Spice Breakfast Quinoa, but I was out of pumpkin so I had to come up with another flavor.
This ended up being ridiculously simple.
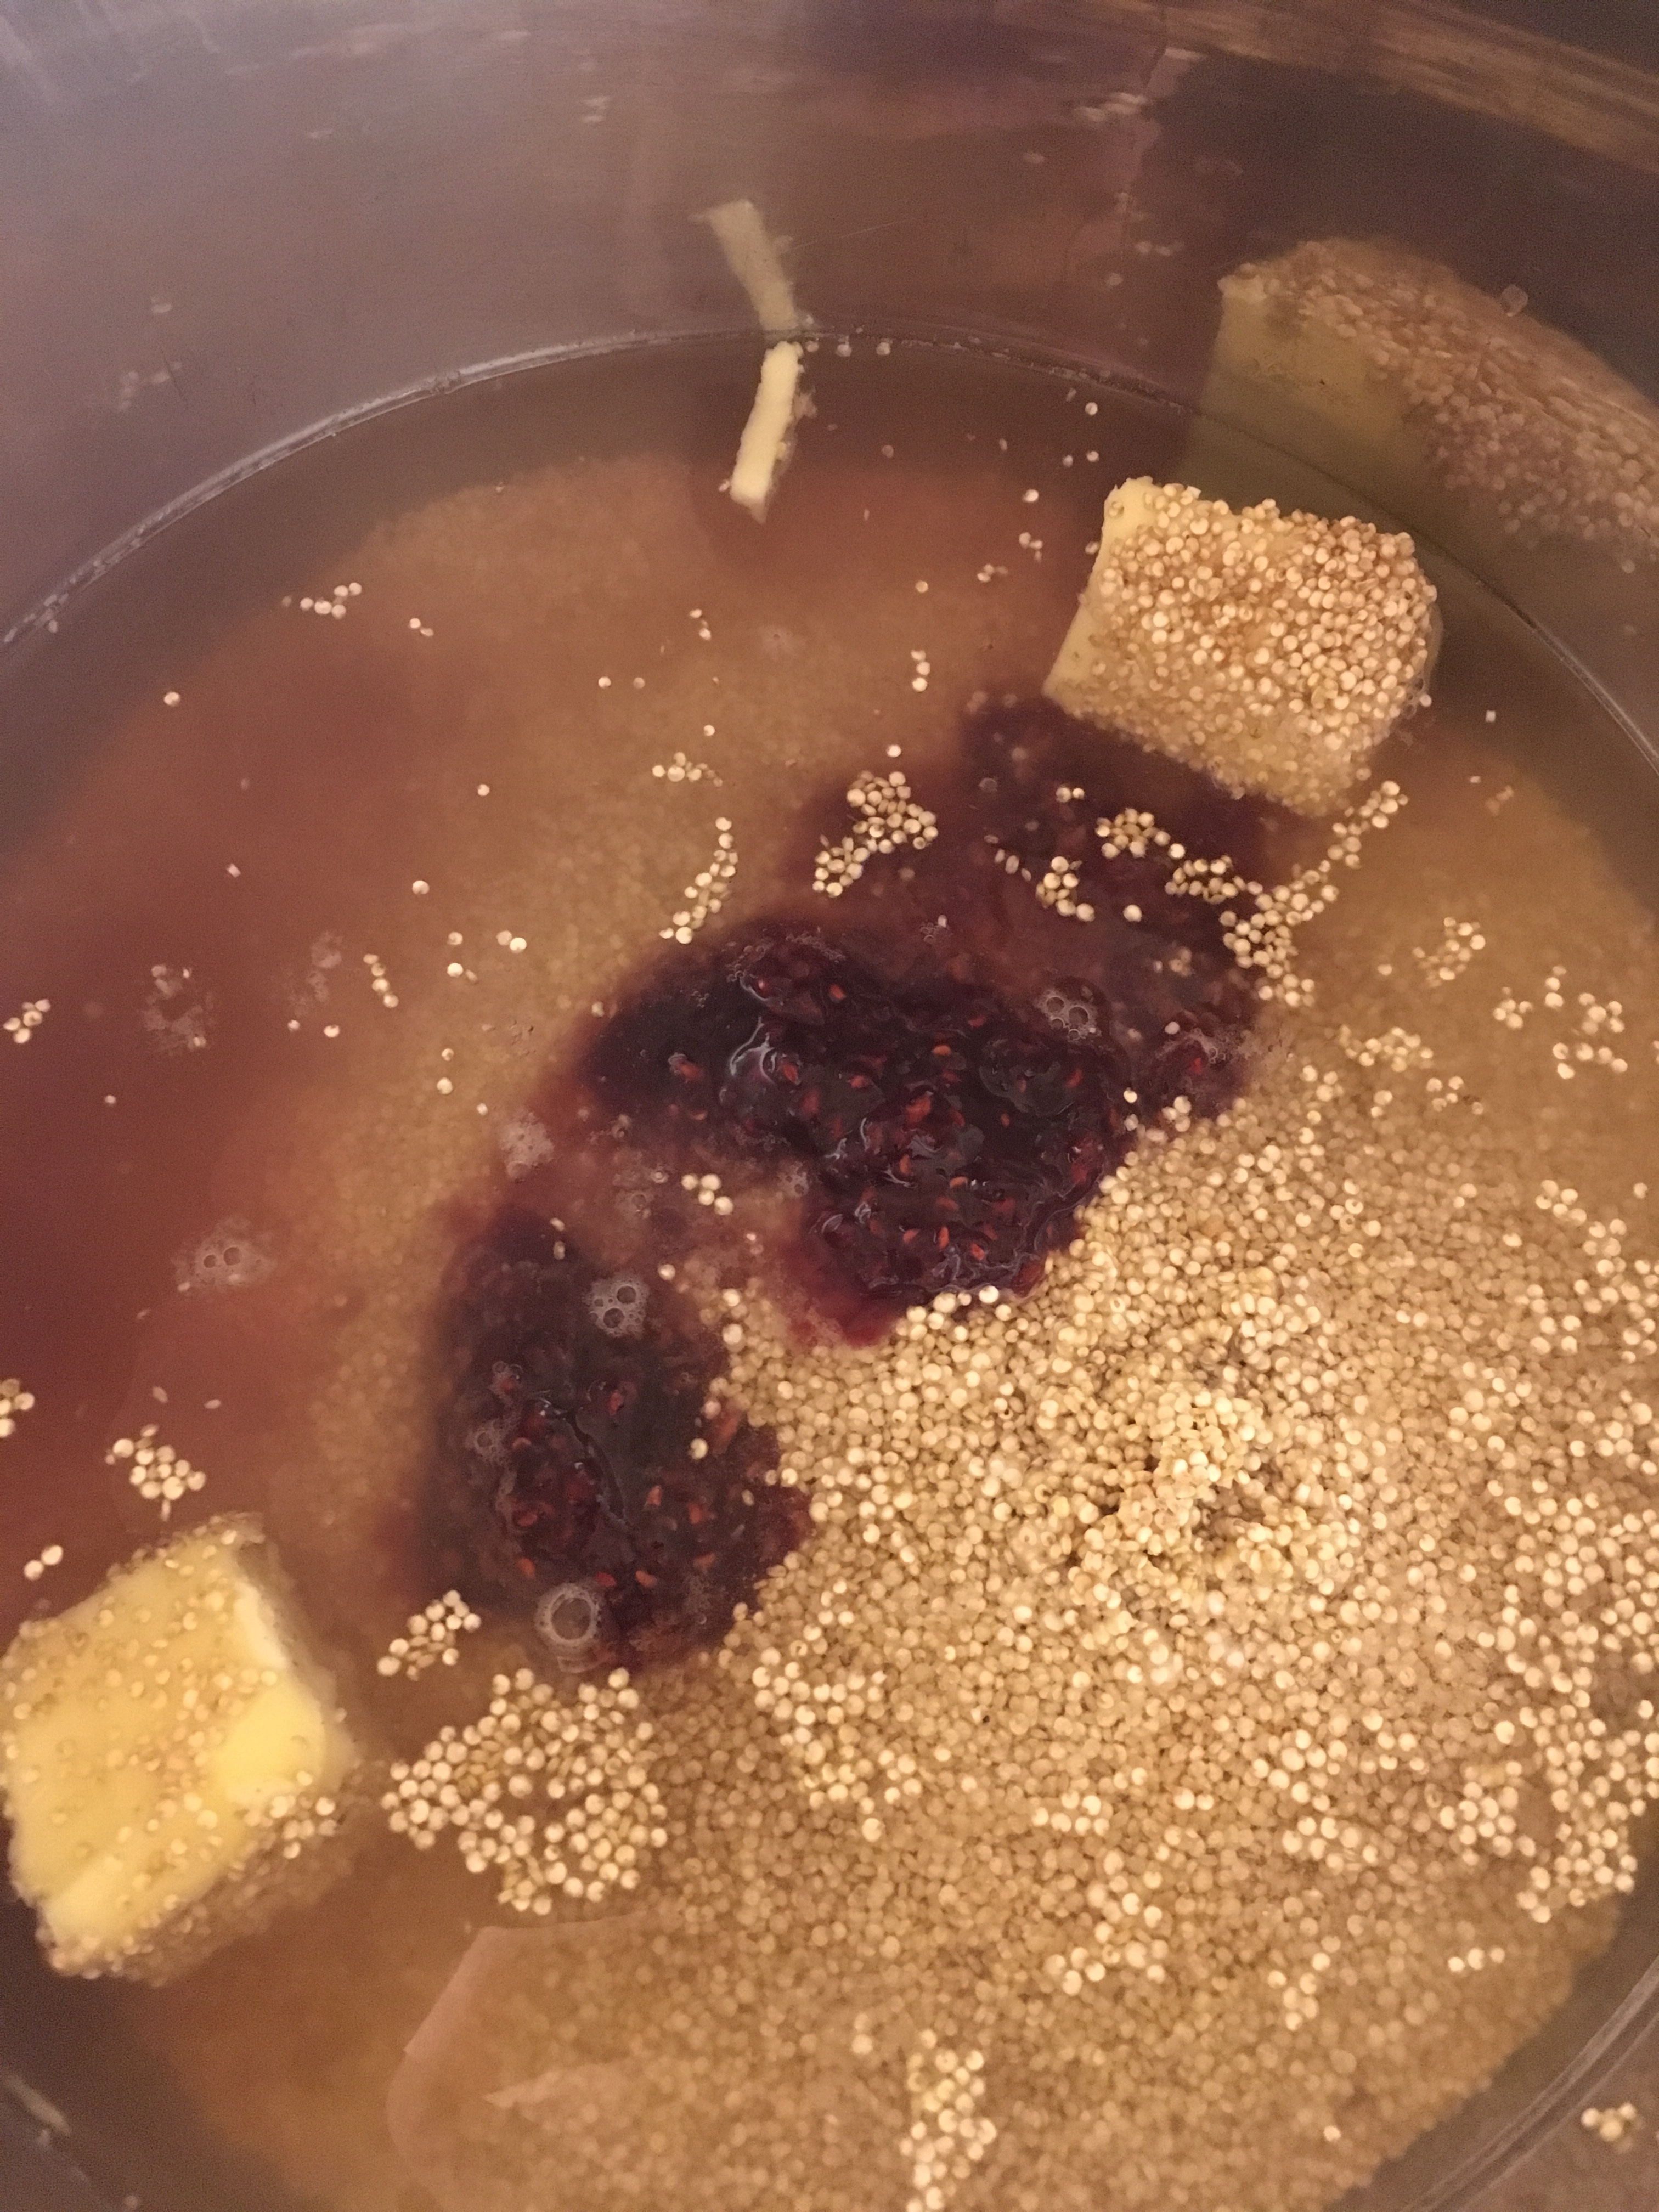
Chocolate Raspberry Breakfast Quinoa:
2 cups quinoa, rinsed
1/2 tsp salt
4 tbls butter (or coconut oil if you can use that)
1 tsp vanilla
1/2 cup raspberry jam (or really any favorite jam flavor)
3 1/2 cups water
Cook in the Instant Pot on high pressure for 1 minute with natural pressure release. You can also use the Delay Start feature and set this up the night before to come on and be warm and ready when you wake up in the morning.
Serve warm sprinkled with sliced almonds, chocolate chunks and a dash of cream.
So, we got home from a trip over New Year’s and I had 30 minutes to come up with something for dinner based on what was in the pantry and freezer. I quickly consulted my new cookbooks to see if I could get any ideas. I had just gotten the Instant Pot Bible before Christmas when I got my new Instant Pot. And over the holidays I found One Pot Wonders on clearance while browsing at Barnes & Noble. (Note: These are non-affiliate links by the way.)
After flipping through both these books, I found one recipe in each that I had about half of the ingredients for. So, I combined the two, threw it all in the Instant Pot and everyone loved it! I wasn’t sure how the lentils were going to go over as we don’t eat them very often, and you know how kids can be when they are presented with a food that they don’t recognize. But, no one even noticed. The only complaint I got was that the 3-year old didn’t want to eat the corn. But, she never eats that anyway. So, it was a bit hit. Everyone asked for seconds, and thanks to my 8-quart Instant Pot we had enough leftover for the next night (which I re-warmed in the IP as well for 2 hours on the normal slow cook setting).
If you want to give it a go, grab that bag of brown rice and lentils. It’s really an easy recipe.
Mexican Brown Rice & Lentils:
(Note: I used my 8-quart Instant Pot for this recipe. It made enough to feed eight, or 4-6 with a modest amount of leftovers.)
3 cups brown rice
1 cup lentils
3/4 cup yellow onion, diced
6-8 cloves of garlic, minced
1 tsp salt
1/2 tsp pepper
1/2 tsp season salt (I like Tony’s)
dash of Cayenne pepper
1 tbls cumin
1 can diced tomatoes
1/2 cup salsa
6 cups water/vegetable broth (I used half water, half broth)
1 lb. cooked chicken (I used chicken that I had in the freezer, but you could use frozen uncooked chicken strips as well.)
2 tbls light olive oil (or other mild tasting oil)
1 can whole kernel corn, or 1 cup frozen corn
lime juice (optional)
cilantro (optional)
Saute the onion and garlic in a little olive oil in the Instant Pot. Add the salt, pepper and spices. Cook the onions and garlic until they are aromatic, but be careful not to let them burn. That Saute setting can get hot. Then add the lentils and rice to Instant Pot stirring to coat all the grains with the oil and seasonings. Add the diced tomatoes and water/broth. Set the chicken in the center of the grains. Close the lid and set to sealing position. Cook on high pressure for 30 minutes with natural pressure release. Total cook time to come to pressure, cook and release naturally was just a little over one hour.
When the food has cooked, remove the lid and add the corn and squeeze a little lime juice in and stir. Serve sprinkled with fresh or dried cilantro and chopped red onions. Enjoy!
I’m continuing with my breakfast theme using quinoa. This time with Apple Cinnamon Quinoa. I served this with soft boiled eggs for Christmas Eve breakfast this year. They all cooked nicely together in the Instant Pot at the same time. The quinoa nestled nicely on the bottom, and the eggs happily sitting on their trivet above.
* Note: I have an 8 quart Instant Pot. Adjust the recipe as necessary for smaller sizes.
Apple Cinnamon Breakfast Quinoa:
2 cups uncooked quinoa, rinsed
3-4 apples, peeled and chopped (I like Gala)
3 tbls butter
1 tbls Cinnamon
1/2 tsp salt
1/2 cup agave nectar (or honey, brown sugar, or maple syrup)
3 cups water
Place all these ingredients in your Instant Pot. Cook at high pressure for 1 minute with natural pressure release. This is yummy served warm with a bit of cream on top.
If you want to cook eggs at the same time, place a trivet which will hold eggs in the pot so that it sits above the other ingredients. Stack your eggs on the trivet. Seal the lid. For soft boiled eggs cook for 1 minute at high pressure with natural pressure release. For hard boiled, cook at high pressure for 4 minutes with natural pressure release.
I got an Instant Pot about a month ago and have been watching out for recipes that we can try given all our food restrictions. I was overjoyed to find this Pumpkin Quinoa Porridge recipe from Allergy Awesomeness. With a few tweaks I made it doable for all our allergies and even better, I can set it on delay start in the Instant Pot the night before and it’s ready first thing in the morning for the early risers, which means I get to lounge in bed longer with the baby. Win, win for me.
Make Ahead Pumpkin QuinoaPorridge:
2 cups uncooked quinoa, rinsed
1 can pumpkin (regular 15 oz size)
2 tsp pumpkin pie spice or Allspice
1/2 tsp salt
1/2 cup brown sugar
3 1/2 cups water
2 tsp Vanilla
3 tbls butter
Once all the ingredients are assembled in the pot, put the lid on in sealing position, and set it to cook at high pressure for 1 minute with natural pressure release.
If you want to make it in advance, use the Delay Start to set the number off hours that you want the pot to sit before it starts the cooking program. I like to assemble everything the night before and then use the Delay Start so that it is ready for my early risers when they get up. I love that I don’t even have to be out of bed yet and breakfast is ready for them. It’s great served warm with a bit of cream and some sliced almonds and chocolate chips sprinkled on top. You can also enjoy it leftover as a cold cereal. Eat up everyone! And stayed tuned. I have several more breakfast quinoa recipes coming up – Apple Cinnamon, Chocolate Raspberry, and Chocolate Custard to be exact.
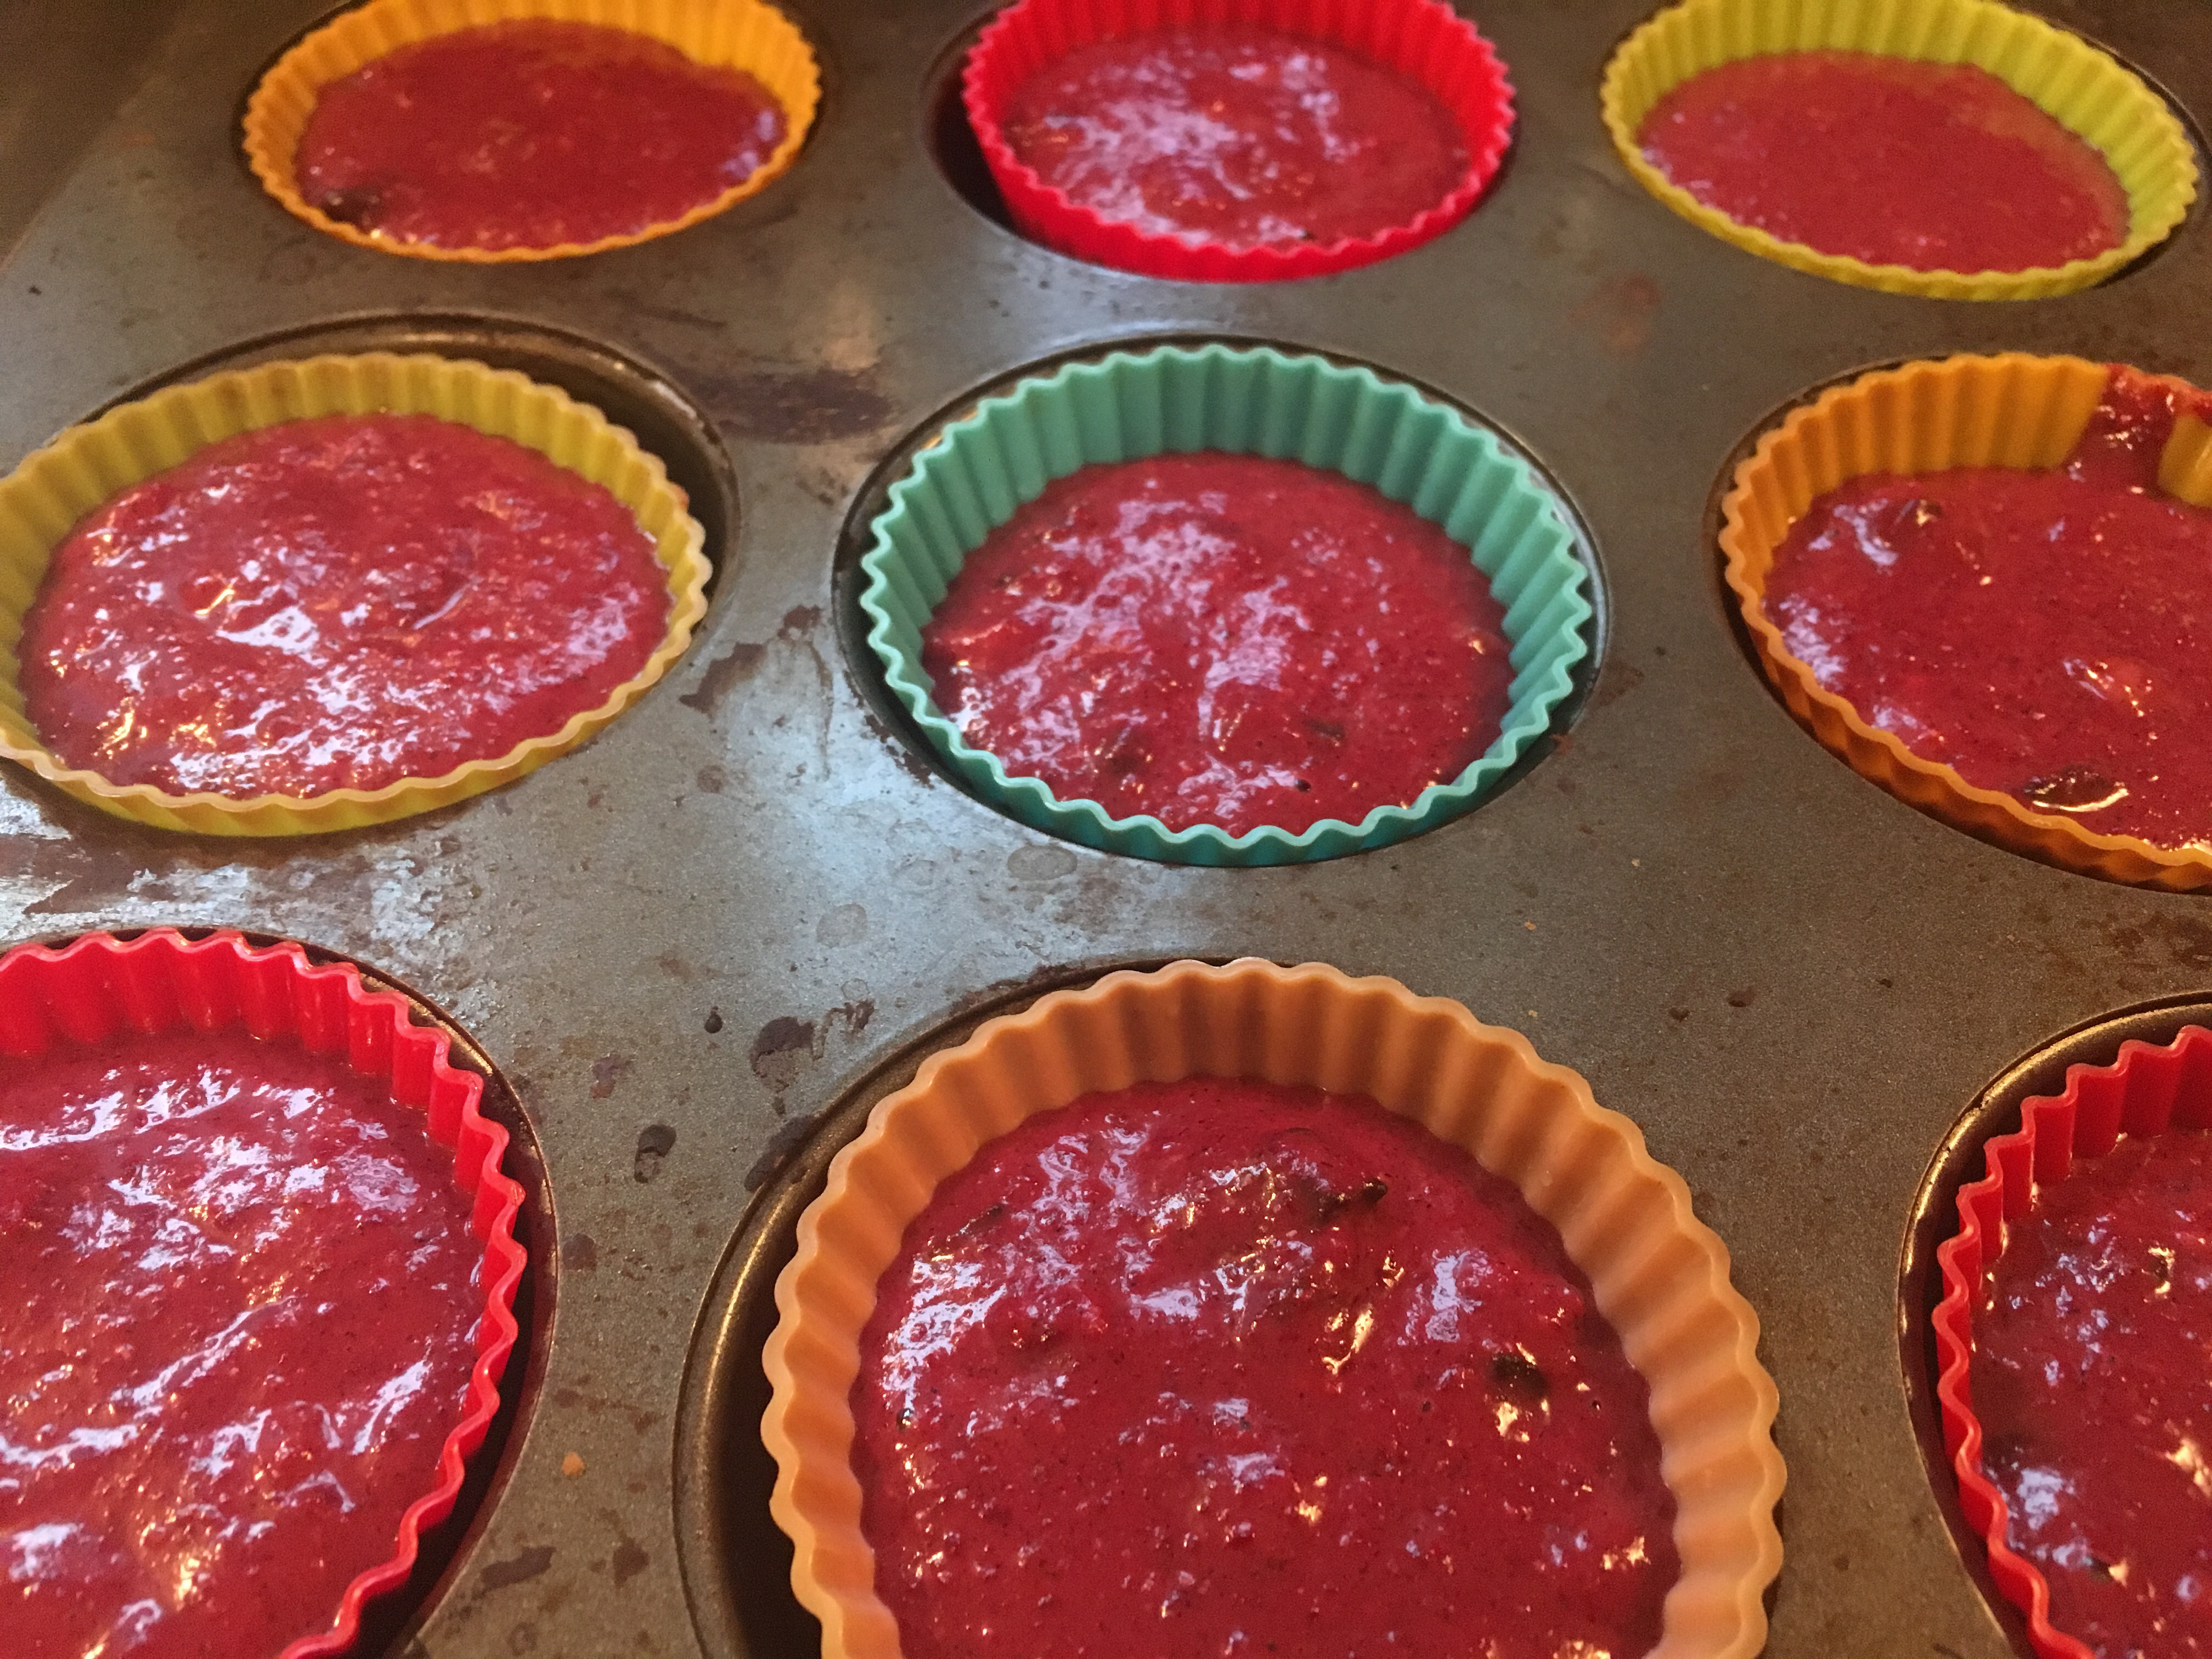
I wanted to make something festive for Christmas. So, I took my normal banana chocolate chip muffins that I make every week for snacks and dressed them up a bit. This is basically a healthy version of red velvet cake using beets to add some fun color, nice texture and extra vitamins. The result: I had something special for Christmas week for the kids to eat for snack time. Here’s what I did if you want to give it a try.
Merry Muffins:
Steam 4 medium beets. I used my new Instant Pot. Cook however you prefer until tender. I cooked mine with the skins on and then they peeled right off when I took them out of the Instant Pot. In the Instant Pot, I cooked them on low pressure for 15 minutes with natural pressure release. Total time from locking on the lid to finish was about 40 minutes total.
Reserve the cooking liquid from the beets to add a little extra color. You can easily reduce to concentrate the color by setting the Instant Pot to sauté after you have removed the beets while you assemble your other ingredients.
Peel the cooked beets and purée in the food processor.
Prepare your dry ingredients. Adjust the flours to suit your tastes and dietary needs.
2 cups all-purpose flour (I like King Arthur or Trader Joe’s)
1 cup whole grain spelt (or whole wheat flour)
3/4 cup millet
1/2 cup buckwheat flour
1 tsp salt
2 tbls baking powder
5 tbls cocoa powder
2 1/2 cups chocolate chips
Next, add some sweetness. Choose your sweetener. Below is what I used. Substitute what you like.
3/4 cups honey
1/2 cup maple syrup
1/4 agave
Get your liquids ready.
2 tsp vanilla extract
2 1/2 cups of milk (minus the volume of liquid from your reserved beet juice)
6 egg yolks (we avoid egg whites, use 3 whole eggs if you like)
beet puree
1/2 cup light olive oil (or other tasteless oil)
3 very ripe mashed bananas
Mix the dry ingredients. Add the sweetener to the wet ingredients, and the combine the wet and the dry together, stirring until just combined.
Spoon into muffin cups. I like reusable silicone muffin cups.
Bake at 400 for 20 minutes.
This recipe made about 2 dozen regular size muffins, and about 3 dozen baby muffins. These are best enjoyed fresh. For best texture, freeze if you are not planning on using them within two days.
I made this colorful concoction for our Easter dinner this year. It was delicious and so easy to prep ahead when you have guests.
I started the night before by washing and chopping all my veggies, and setting some minced garlic to marinate overnight in olive oil.
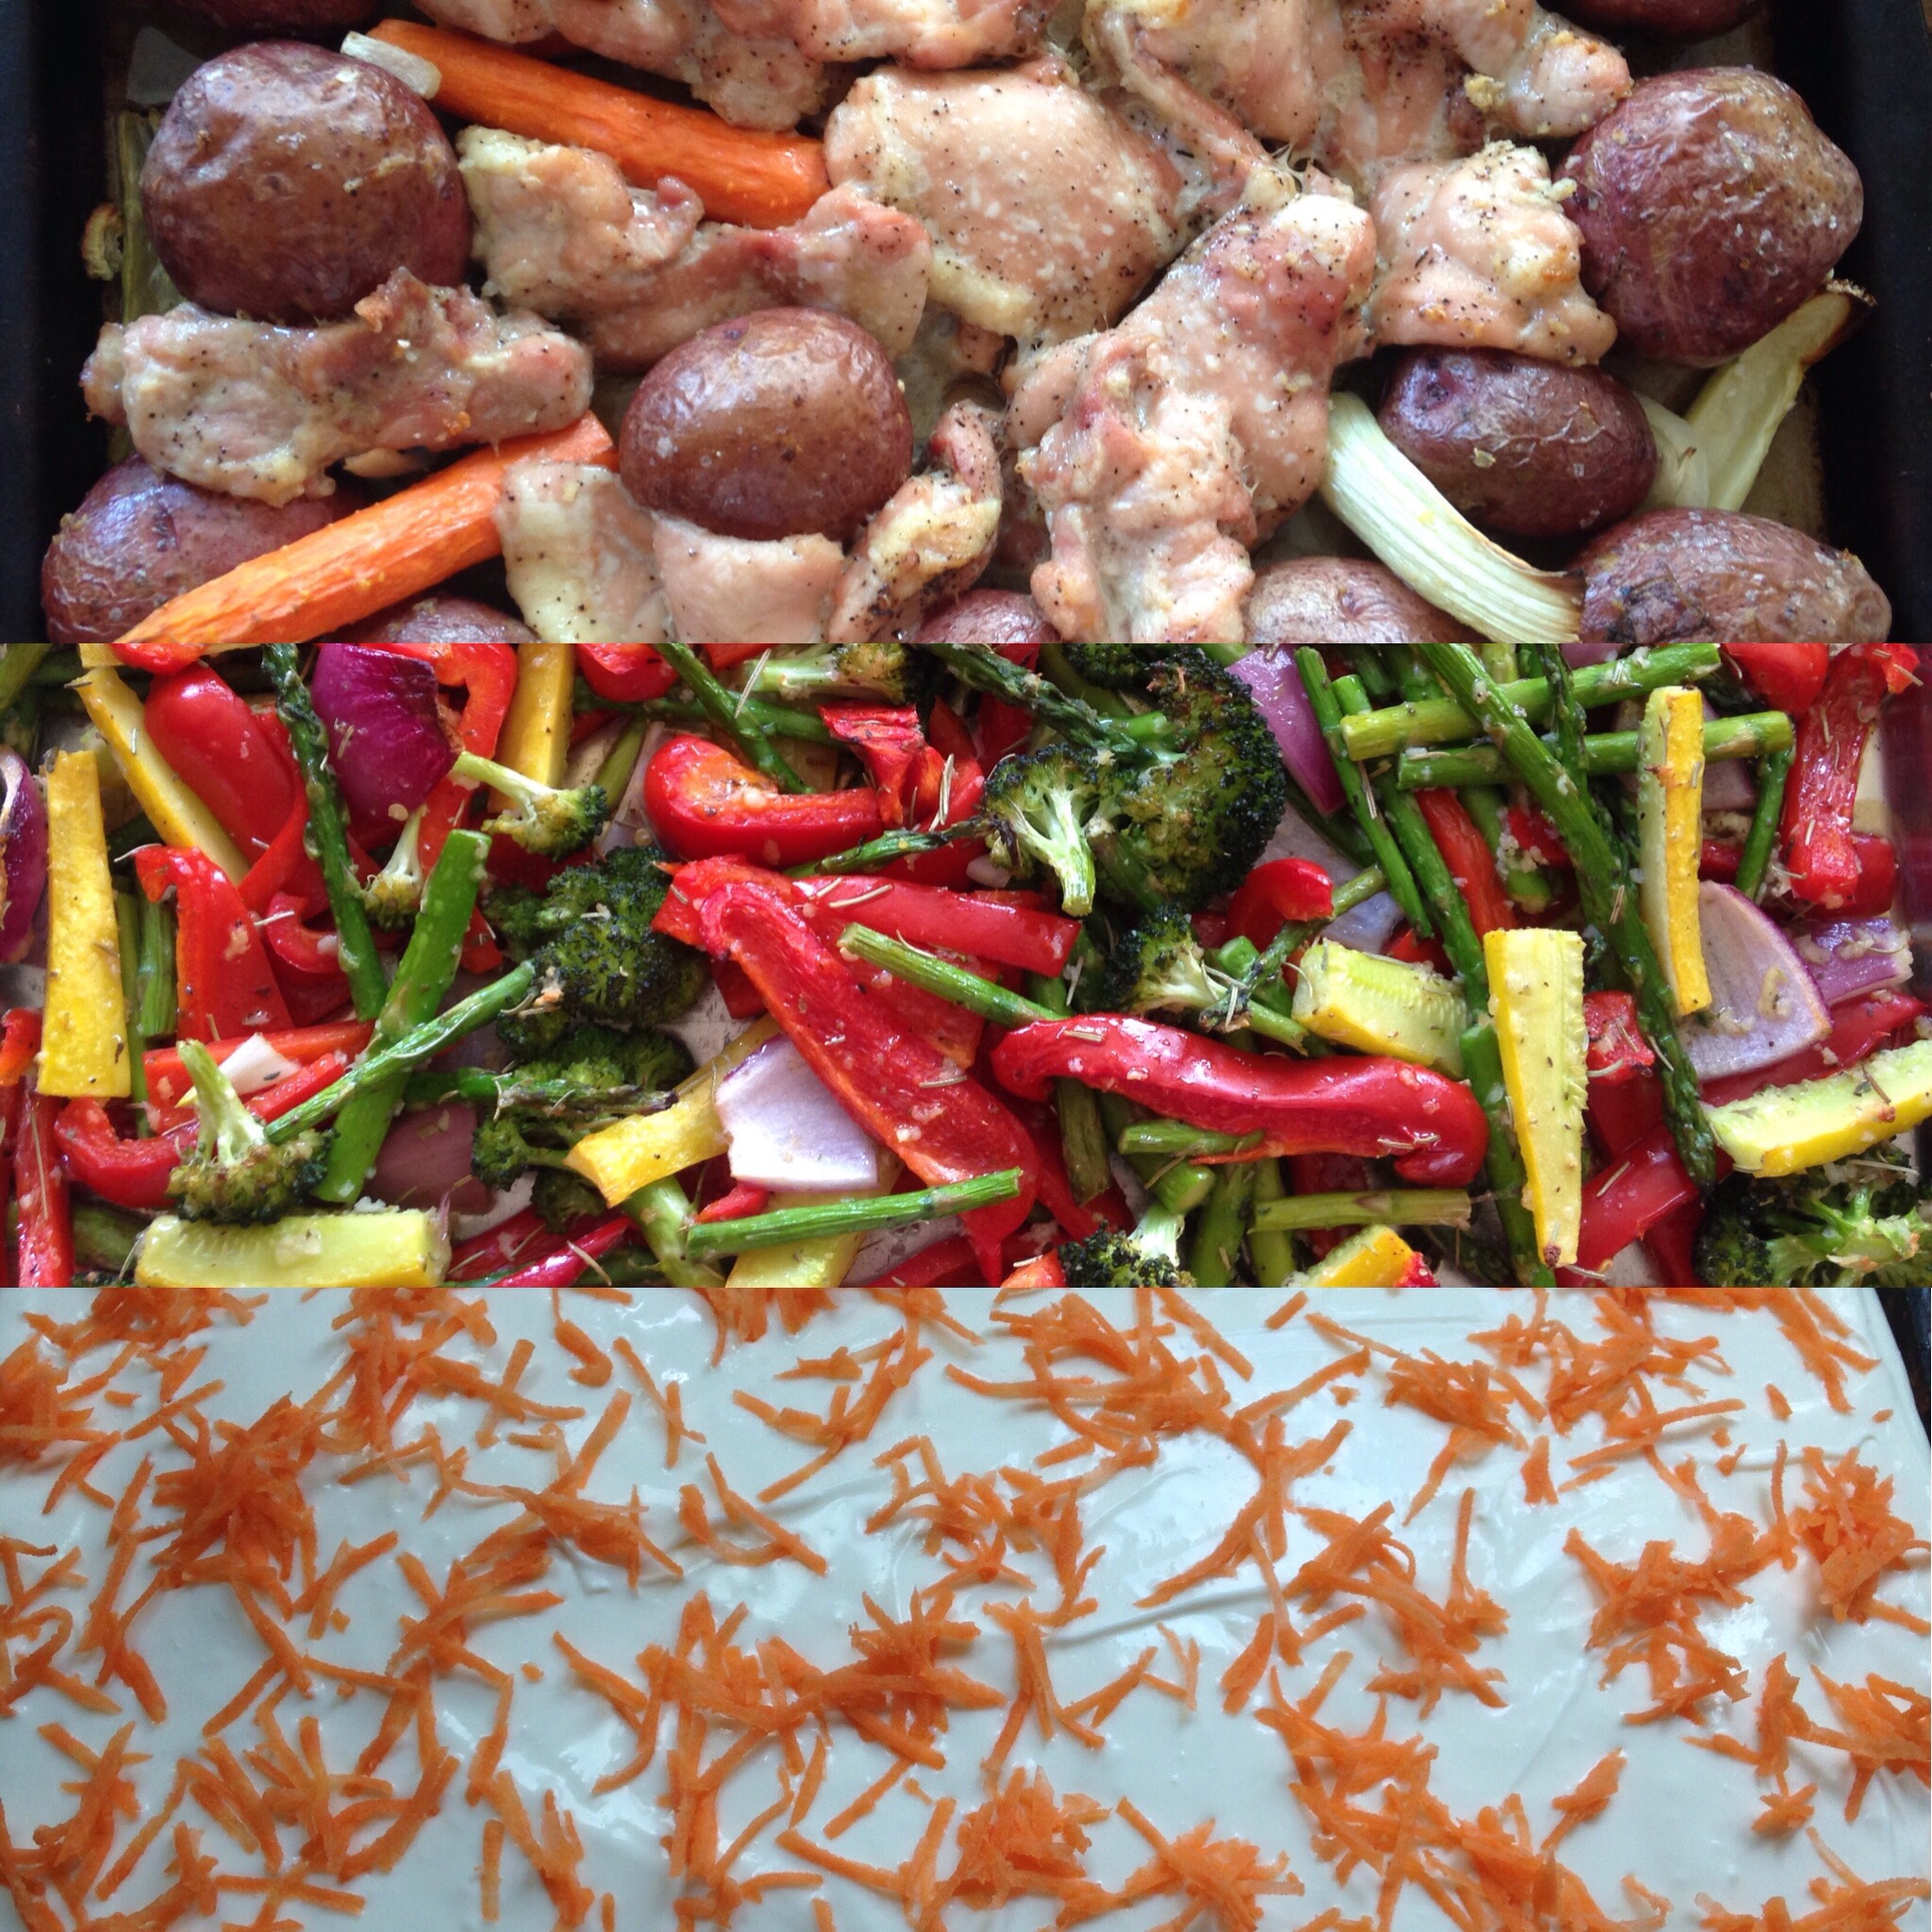
In the morning I tossed about 8-10 red potatoes and a handful of carrots in a big bowl with my garlic and olive oil mixture from the night before. Then I sprinkled them with salt and pepper and put them on my baking stone. I coated the chicken thighs (boneless, skinless, about 2.5 pounds) in the same oil and garlic mixture and placed them around and on top of the potatoes and carrots. Then I threw in some chopped onion pieces and celery stalks for flavor and good measure.
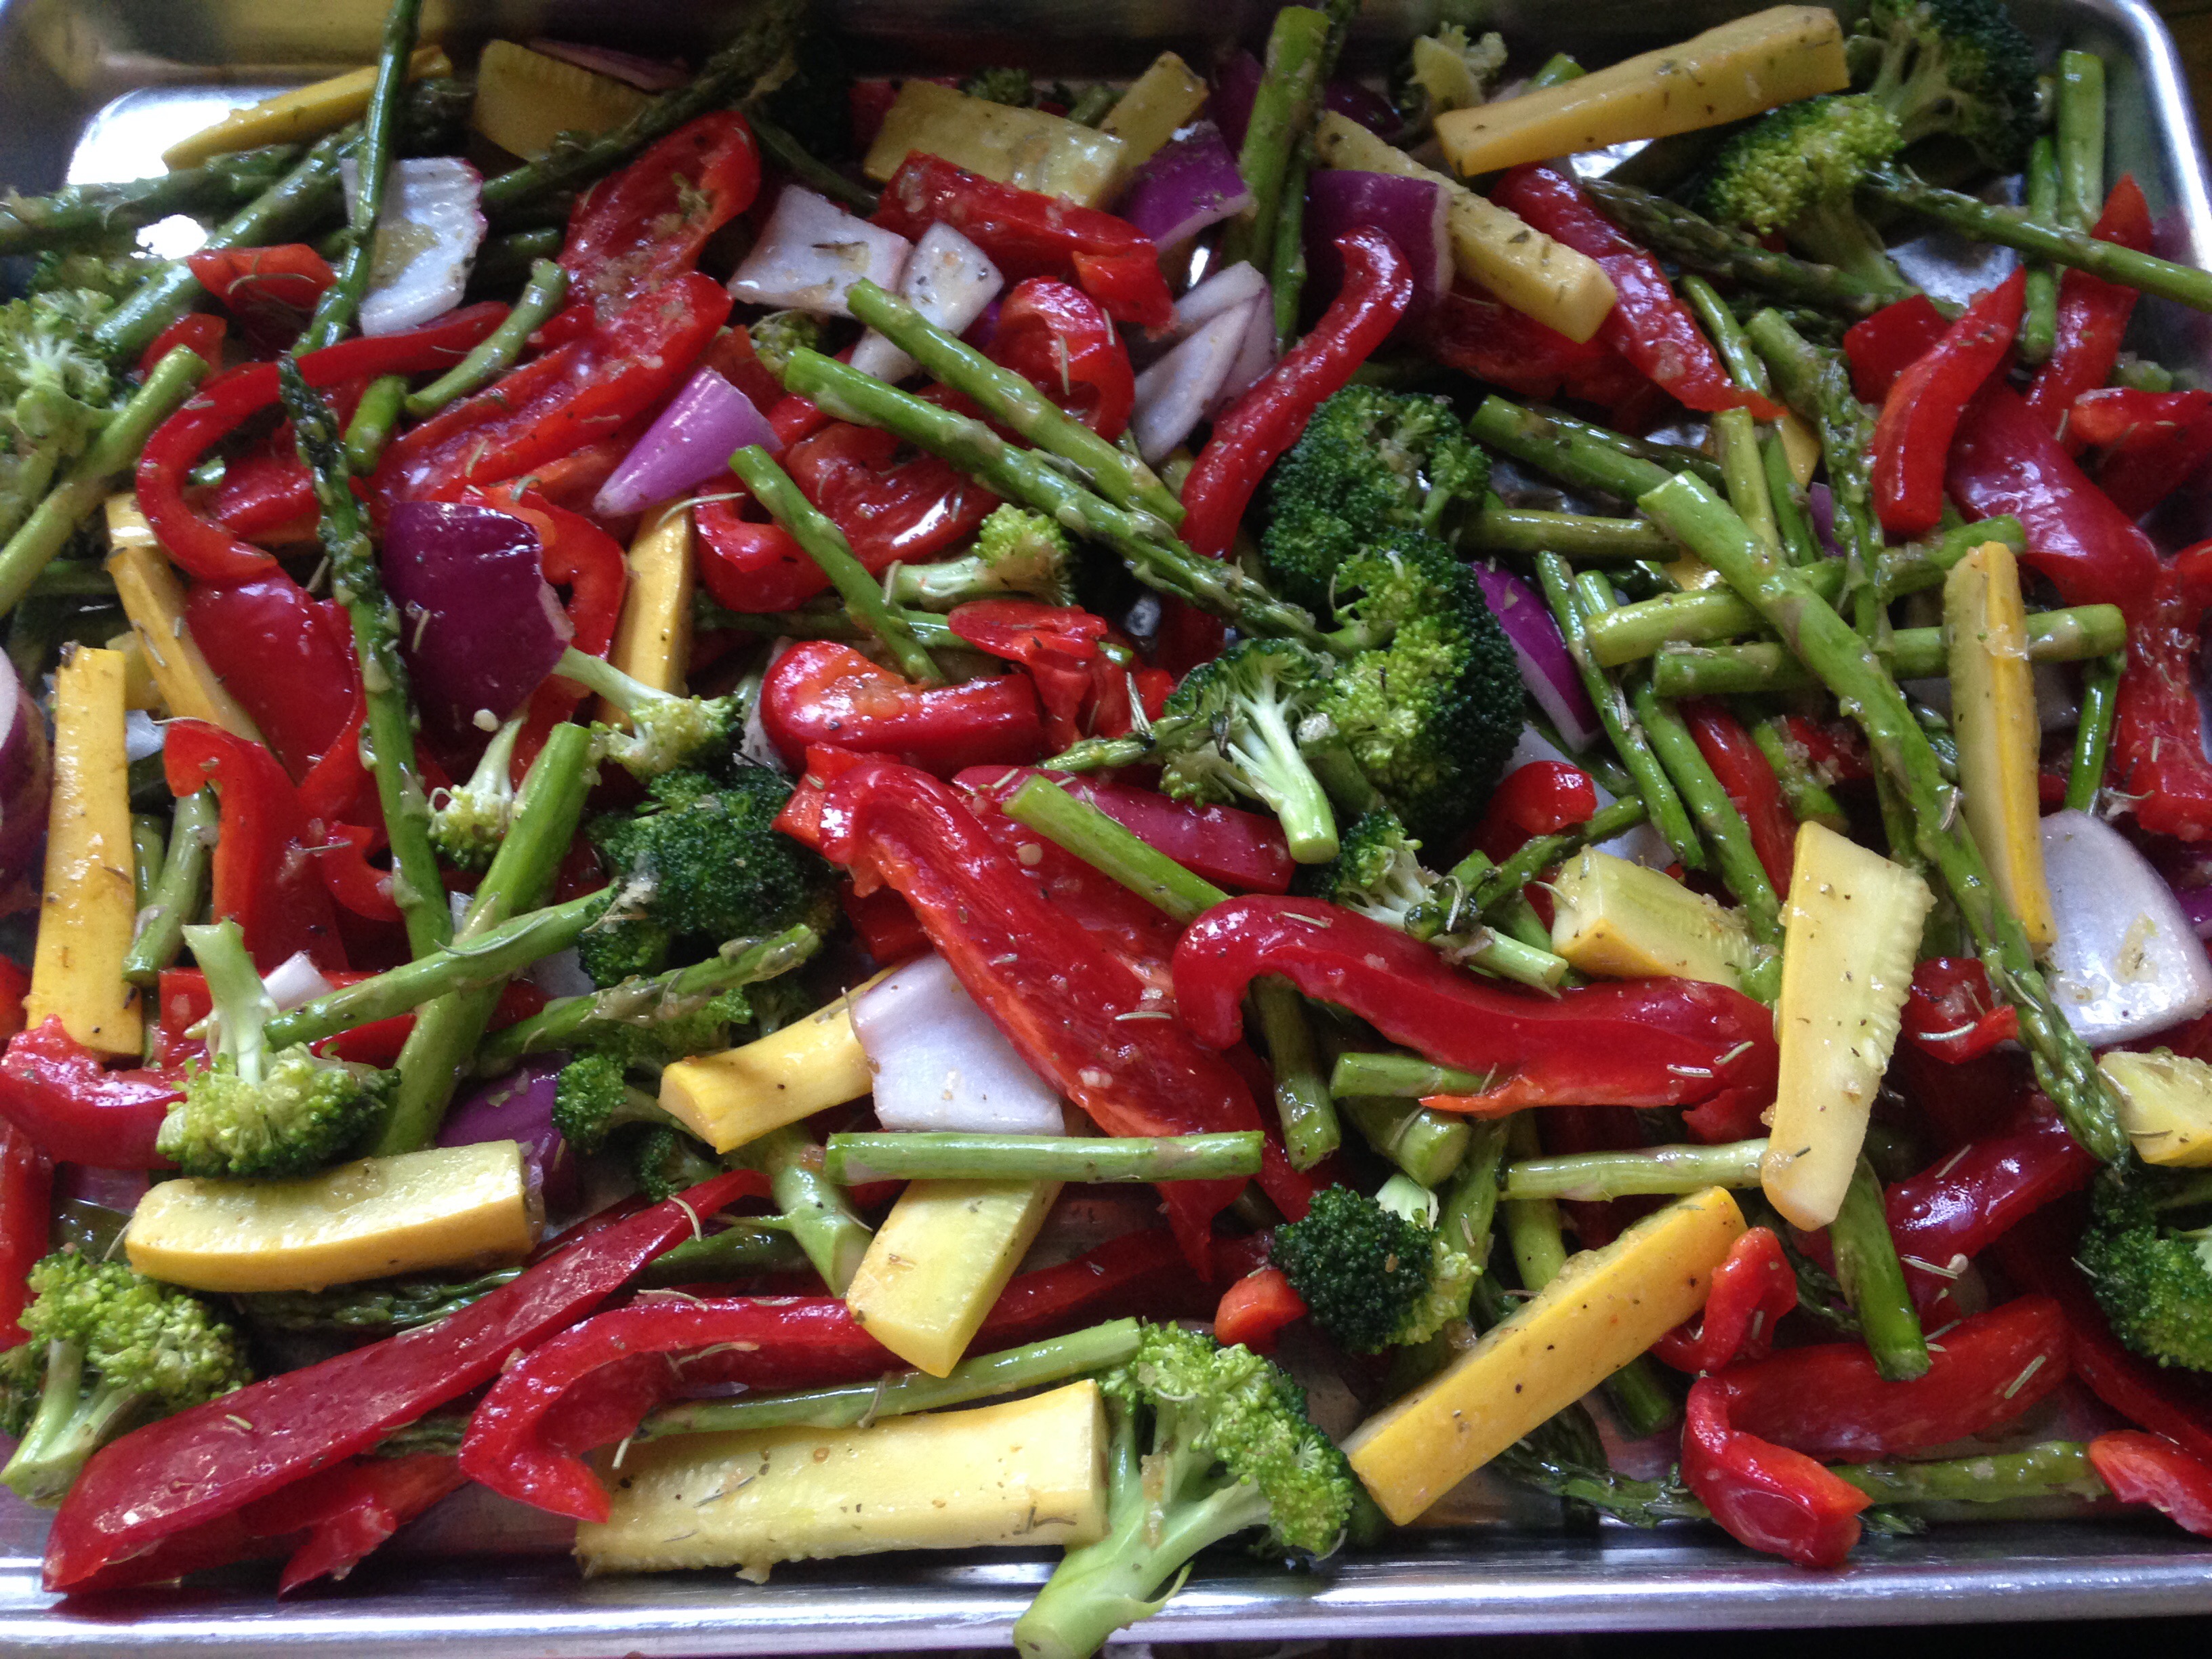
Next, I coated all my veggies. I had pre-chopped red onions, yellow squash, red peppers, broccoli and asaparagus. For this tray I chose veggies that were colorful for spring and ones that would roast quickly. (The potatoes and carrots went on the tray with the chicken because they would need a longer cooking time.) I coated them in an olive oil, garlic mix with rosemary and oregano added, and sprinkles of salt and pepper. These all got spread on a second tray.
Before roasting
I baked the chicken first. 45 minutes at 400 degrees. When it was done, I took it out to sit and put the second tray with the veggies in the hot oven (still at 400 degrees) for 20 minutes. Everything was perfectly roasted. It was an easy, delicious and flavorful meal.
Roasted to perfection. 400 for 20 minutes.
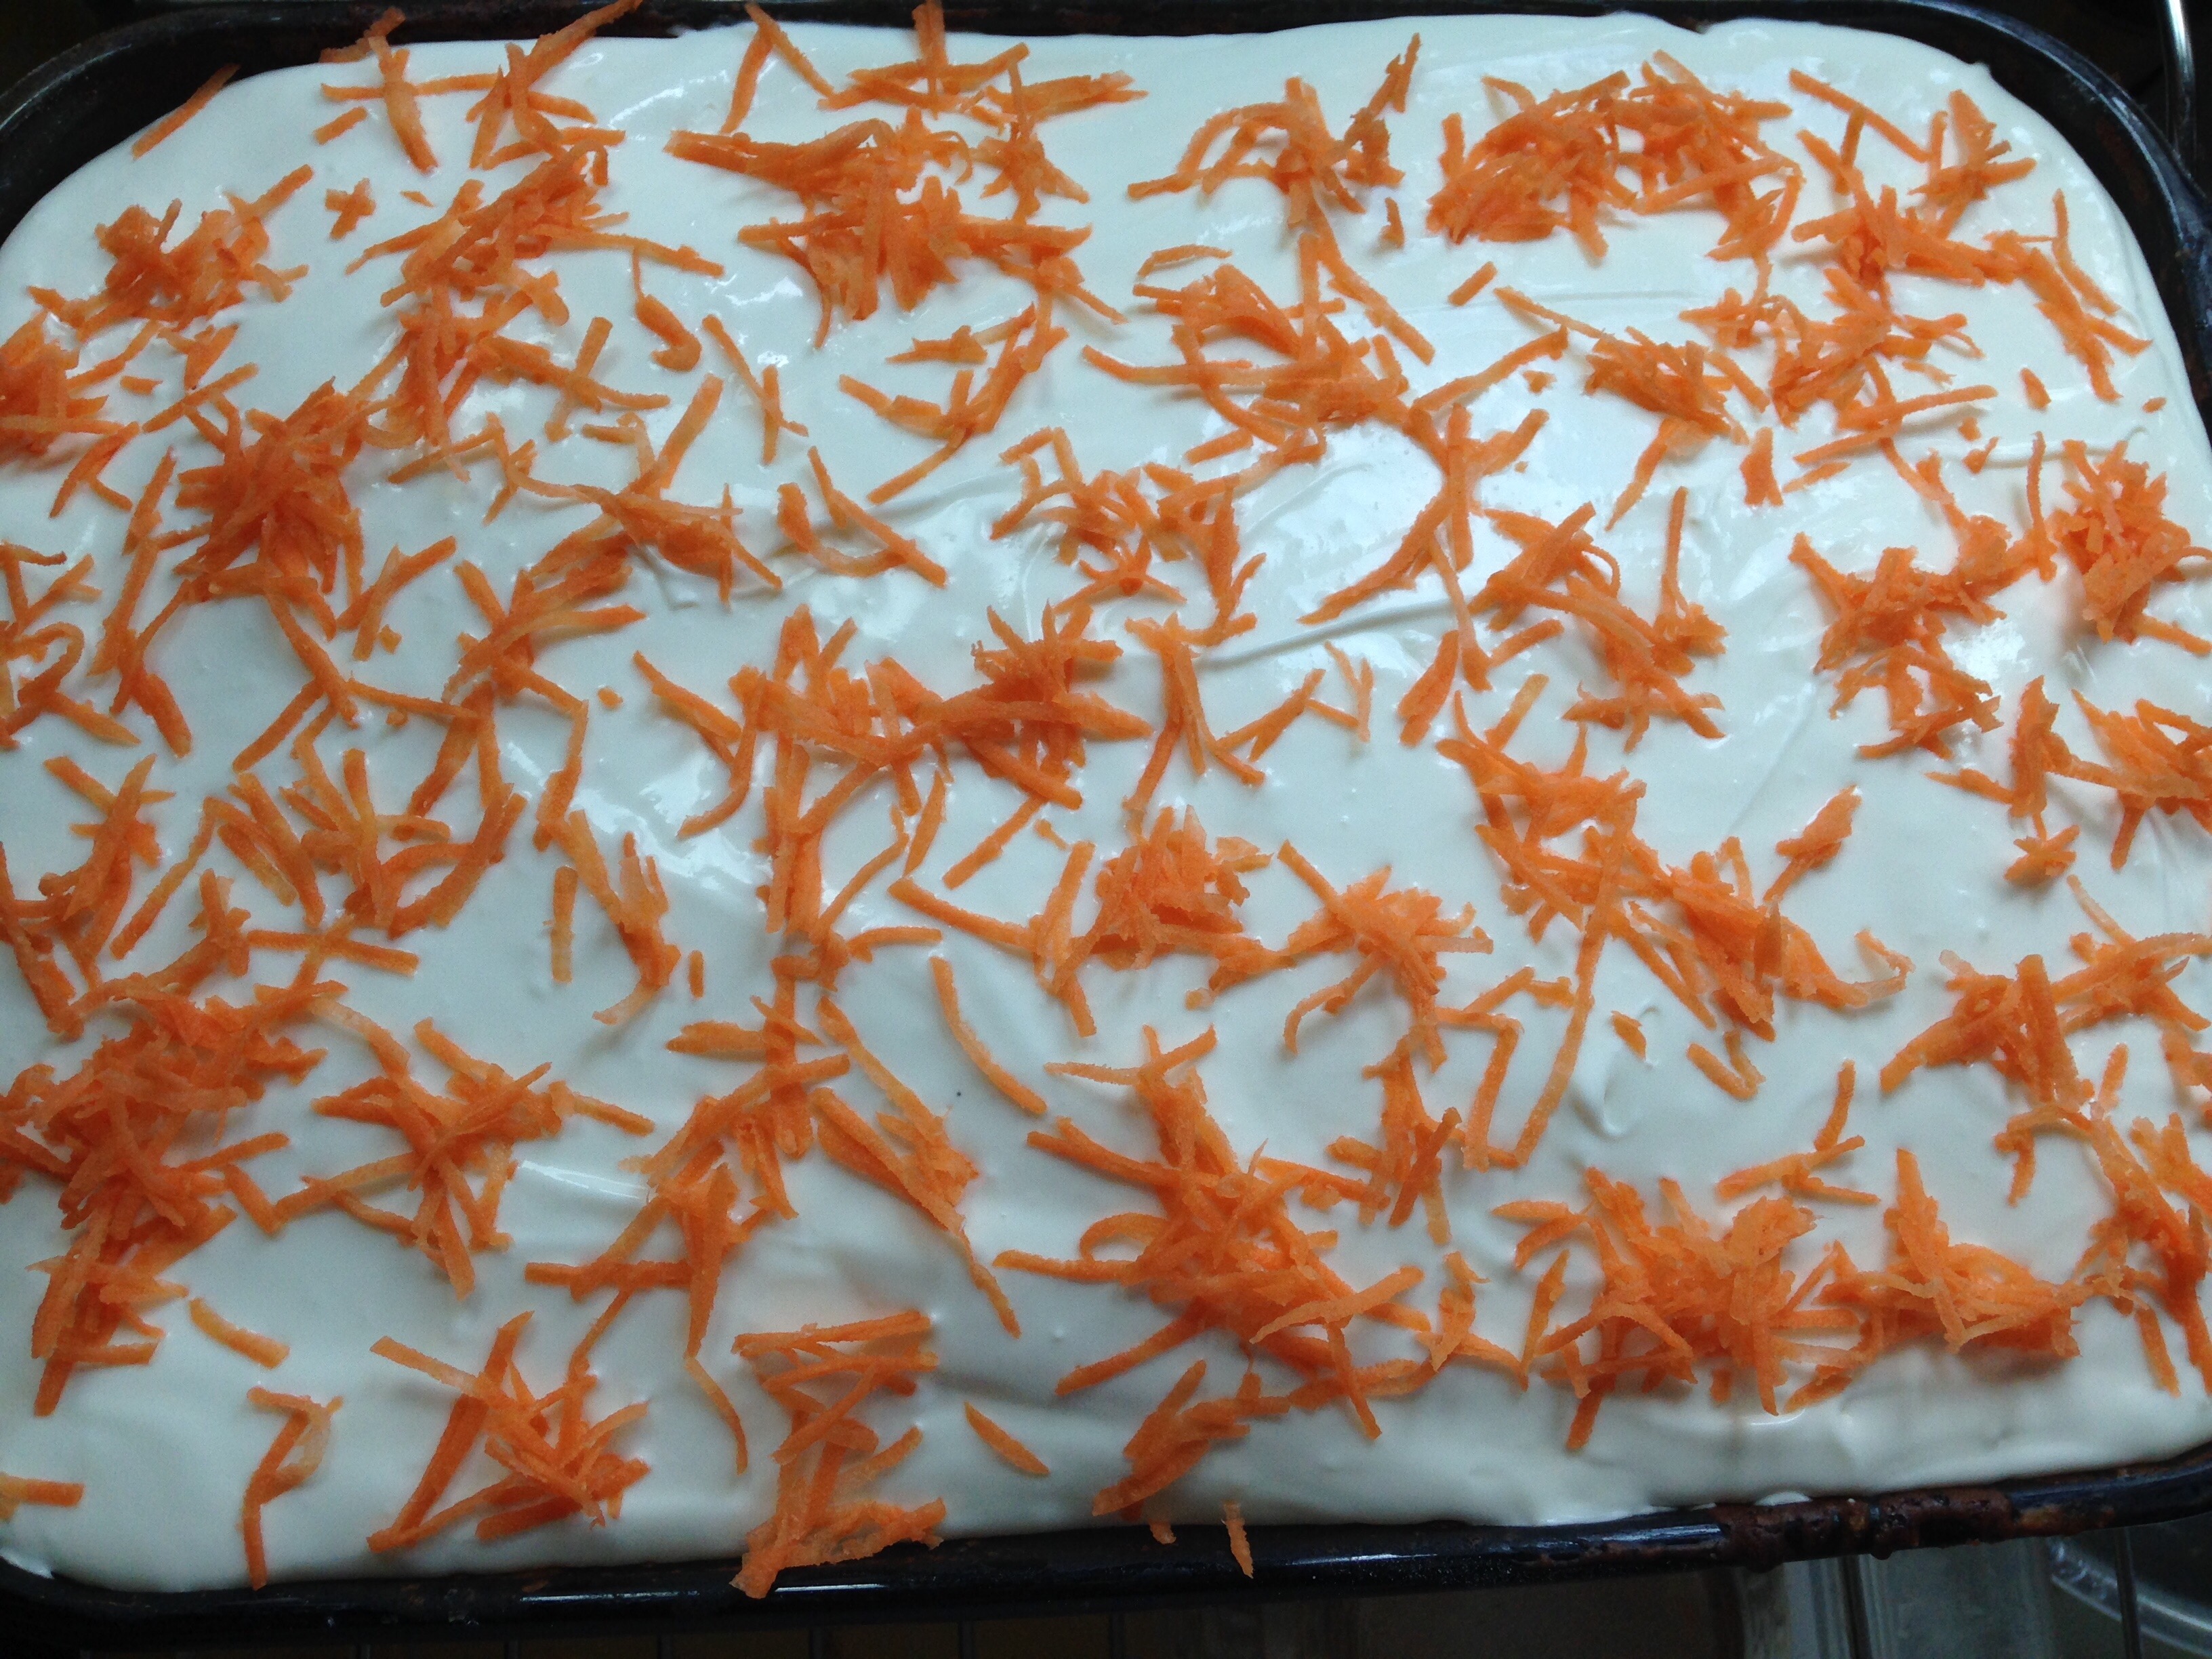
We had carrot cake for dessert, but that will have to be another recipe. 🙂
I’ve always used my Mom’s chili recipe. It’s Tex-Mex all the way. My allergy kid is off tomatoes right now however, so that recipe is out. Recently, I’ve been experimenting with alternatives and honestly, we haven’t like any of them….until this one.
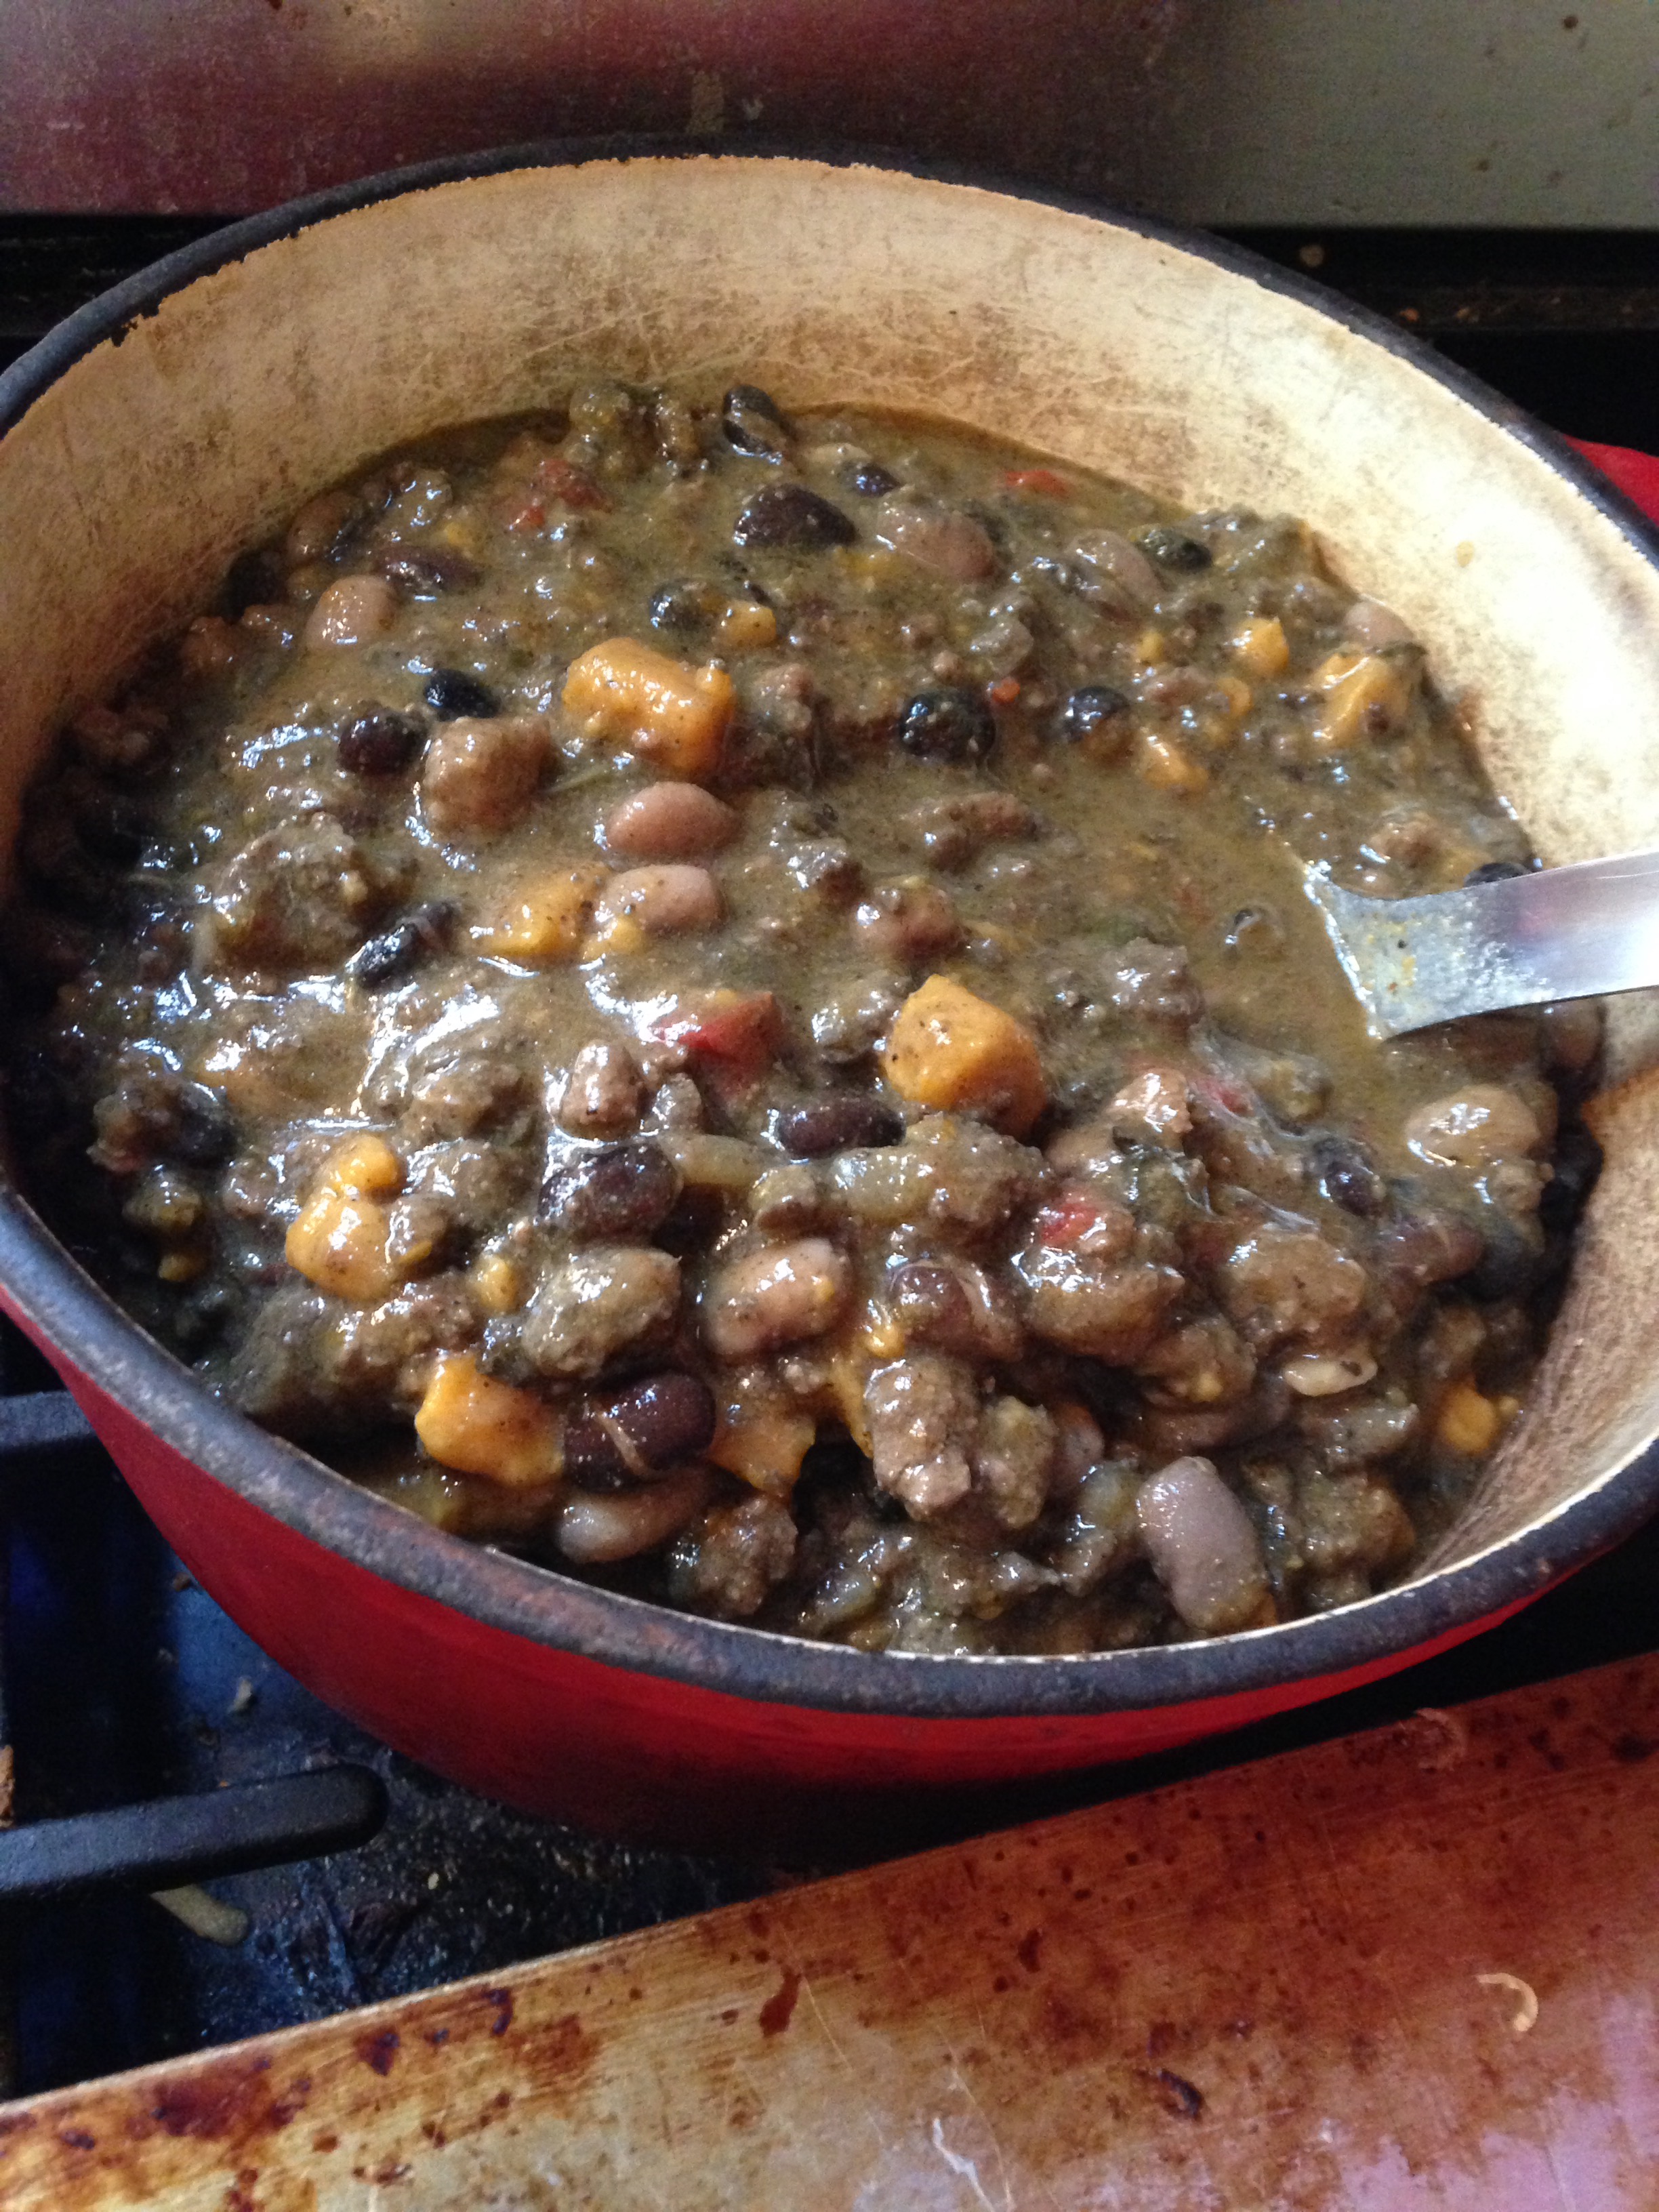
It’s a keeper. A Facebook friend posted this recipe for a black bean, sweet potato vegetarian chili. It sounded appealing because it used many of the same spices that I typically use in chili, so I tweaked it a bit and made it my own.
The first change was to add meat. Sorry to my vegetarian friends. I added ground turkey, omitted the tomatoes and changed a few other ingredients based on what I had on hand and what sounded good.
Black Bean, Sweet Potato, Turkey Chili:
1.5 lbs ground turkey
1 yellow onion, diced
6 cloves of garlic, pressed or minced
1 tbl chili powder
3 tbls cumin
1 Jalepeno, seeded and diced
Salt and pepper
Brown the turkey meat adding the chopped items and then the spices.
Next add…
1 can each black and pinto beans (or 8 oz. dried and soaked beans)
2 large sweet potatoes, peeled and chopped
1 cup chopped red pepper
2 cups chopped red Swiss chard
3 cups vegetable broth
If needed, add enough water to cover all the ingredients. Simmer until heated through or until the beans are tender if using dried.
This would also make a great crock pot meal if you cooked the meat ahead and tossed all the rest in the crock pot the day of.
I like this recipe because it tastes similar to my standard chili and has a good enough base with the sauce, peppers and sweet potatoes that none of us missed the tomatoes. Eat well everyone!
I like to keep these homemade freezer biscuits on hand when I need some quick rolls to go with dinner. Mix them up, freeze for later , and cook them up in 20 minutes when you need them.
6 cups of flour
2 tbls baking powder
2 tsp salt
1 tbls sugar
4 cups heavy cream
Mix. Roll out to 3/4 inch thick. Cut out. Freeze on a covered cookie sheet. Once frozen, store in a gallon freezer bag. When you’re ready to bake, cook on 400 for 20 minutes. They’re delicious and fluffy.


 So, we got home from a trip over New Year’s and I had 30 minutes to come up with something for dinner based on what was in the pantry and freezer. I quickly consulted my new cookbooks to see if I could get any ideas. I had just gotten the