Our seeds are sprouting. Have you started your seeds yet? Spring is just around the corner. This year I’m most excited about having some heirloom tomatoes – red and green, that I saved seeds from last year and rainbow chard. I found a new trick this year of using my old bread pans to set starter pots in. Makes keeping them moist much easier. I’m also going to experiment with mixing some veggies in my flower beds this year since I don’t have space for a dedicated garden spot. What’s are you planning for your garden this year?
Author: maggielane
Winter Shepherd’s Pie
This is an alternate take on Shepherd’s Pie. I used a mix of chicken, chard and cauliflower with sweet potatoes on the top.
I wasn’t sure how it would turn out but it was quite good and flavorful. It’s a good way to use up meat from a leftover roasted chicken.
If you want to give it a try, here’s what I did….
Start by boiling 4 medium sweet potatoes in their skin (I like to cook mine ahead in the crock pot ). Next sauté a small chopped onion in light olive oil. When the onions are slightly translucent add six cloves of minced garlic and salt and pepper to taste. Cook for 1-2 minutes more. Add finely chopped chard and cook until wilted. Then add chopped cauliflower. Add 3 cups pre-cooked shredded chicken. Sprinkle with 2 tbls of flour and stir until the flour has been absorbed by the oil. Then add 2 cups of chicken broth. Cook about 4-5 minutes or until thickened. Transfer the meat mixture to a casserole dish. Remove the skins of your cooked sweet potatoes and mash a fork adding 1/2 tsp of salt and 1 1/2-2 cups heavy cream. Spoon on top of your meat mixture and heat at 350 until heated through.
Eat up! Even my one year old loved it.
My favorite homemade bread
My favorite homemade bread couldn’t be easier. Get out your mixing bowls. It only takes a few minutes.
3/4 tbl. Active dry yeast
3/4 tbl. Sea salt
1.5 cups warm water
3 cups all purpose, whole wheat or spelt flour, plus a little extra for kneading later
Measure out the salt and yeast. Pour in the warm water and stir to dissolve. Measure out your flour and stir with a wooden spoon until the dough is combined.
Cover with a dish towel and let rise for 1-1.5 hours. Empty dough onto a floured surface and knead until the dough forms a smooth ball. This dough does best as a free form peasant loaf. Transfer the ball to a baking stone or cookie sheet sprinkled with cornmeal. If time allows cover with a tea towel and let rise for another hour. When it’s baking time, preheat the oven to 400. Slit the top of the loaf several times with a serrated knife before putting in the oven. Bake for 30-35 minutes until golden brown.
Let the loaf cool some before serving. If you try to slice before it has cooled it will not hold it’s shape and will squish down as you cut into it.
Dinner is done! Hearty beef stew and homemade bread.Â

Dinner is done. And the best thing is that it’s only 10:00 in the morning.
Homemade bread is thawing on the counter just waiting to be devoured this evening. The beef stew is simmering in the crock pot full of chunks of beef, red potatoes, carrots, onions, broccoli, celery, 8 cloves of garlic, and my home made beef stock and vegetable broth.
I can’t wait to eat tonight. The meat, veggies and broth are going to make for a delicious and flavorful dinner full of good nutrition, vitamins and minerals. Mmmmm.
What’s for dinner at your house tonight?
DIY Simple Salve
This is my favorite salve for, well, any skin condition, but we are using it up here on the dry skin that has reared its ugly head in our house this winter.
It’s simple, effective and easy to make. 3 ingredients:
Here you go….
4 tbl. Cocoa butter
4 tbl. Tallow
2 tbl. Lanolin
Melt in a double boiler and pour into your container of choice. Makes 4 oz.
During the melting, you can add essential oils for scent and therapeutic properties if desired, but I like it just the way it is.
Ingredients
Measured out
In double boiler
Melting
Poured up
Want to learn how to make more remedies at home?
Homesteading Family often does Free herbal trainings. There is one coming up August 2023. Click here to see when the next training is happening!
Homemade Flour Tortillas
Mexican and Tex-Mex food is a staple in my cooking rotation. But even something as basic as packaged flour tortillas are out for us right now where food reactions are concerned.
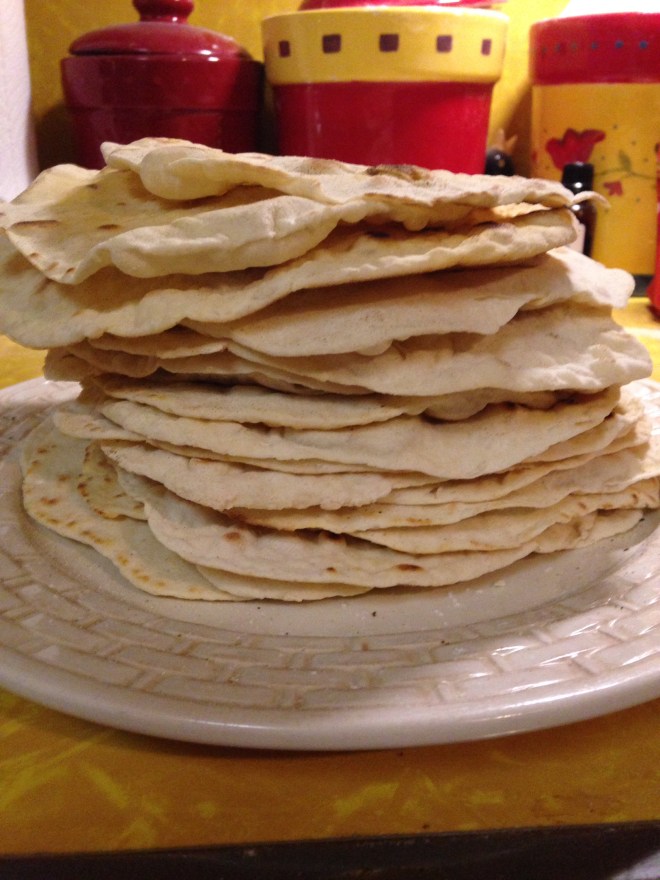
So for the first time ever I made my own. The actual cooking time took me about 30 minutes. Total prep time probably 1 hour 15 minutes, but most of they was time for the dough to rest.
It’s not hard but it is a bit labor intensive. But it gives you control over the ingredients so it’a a win.
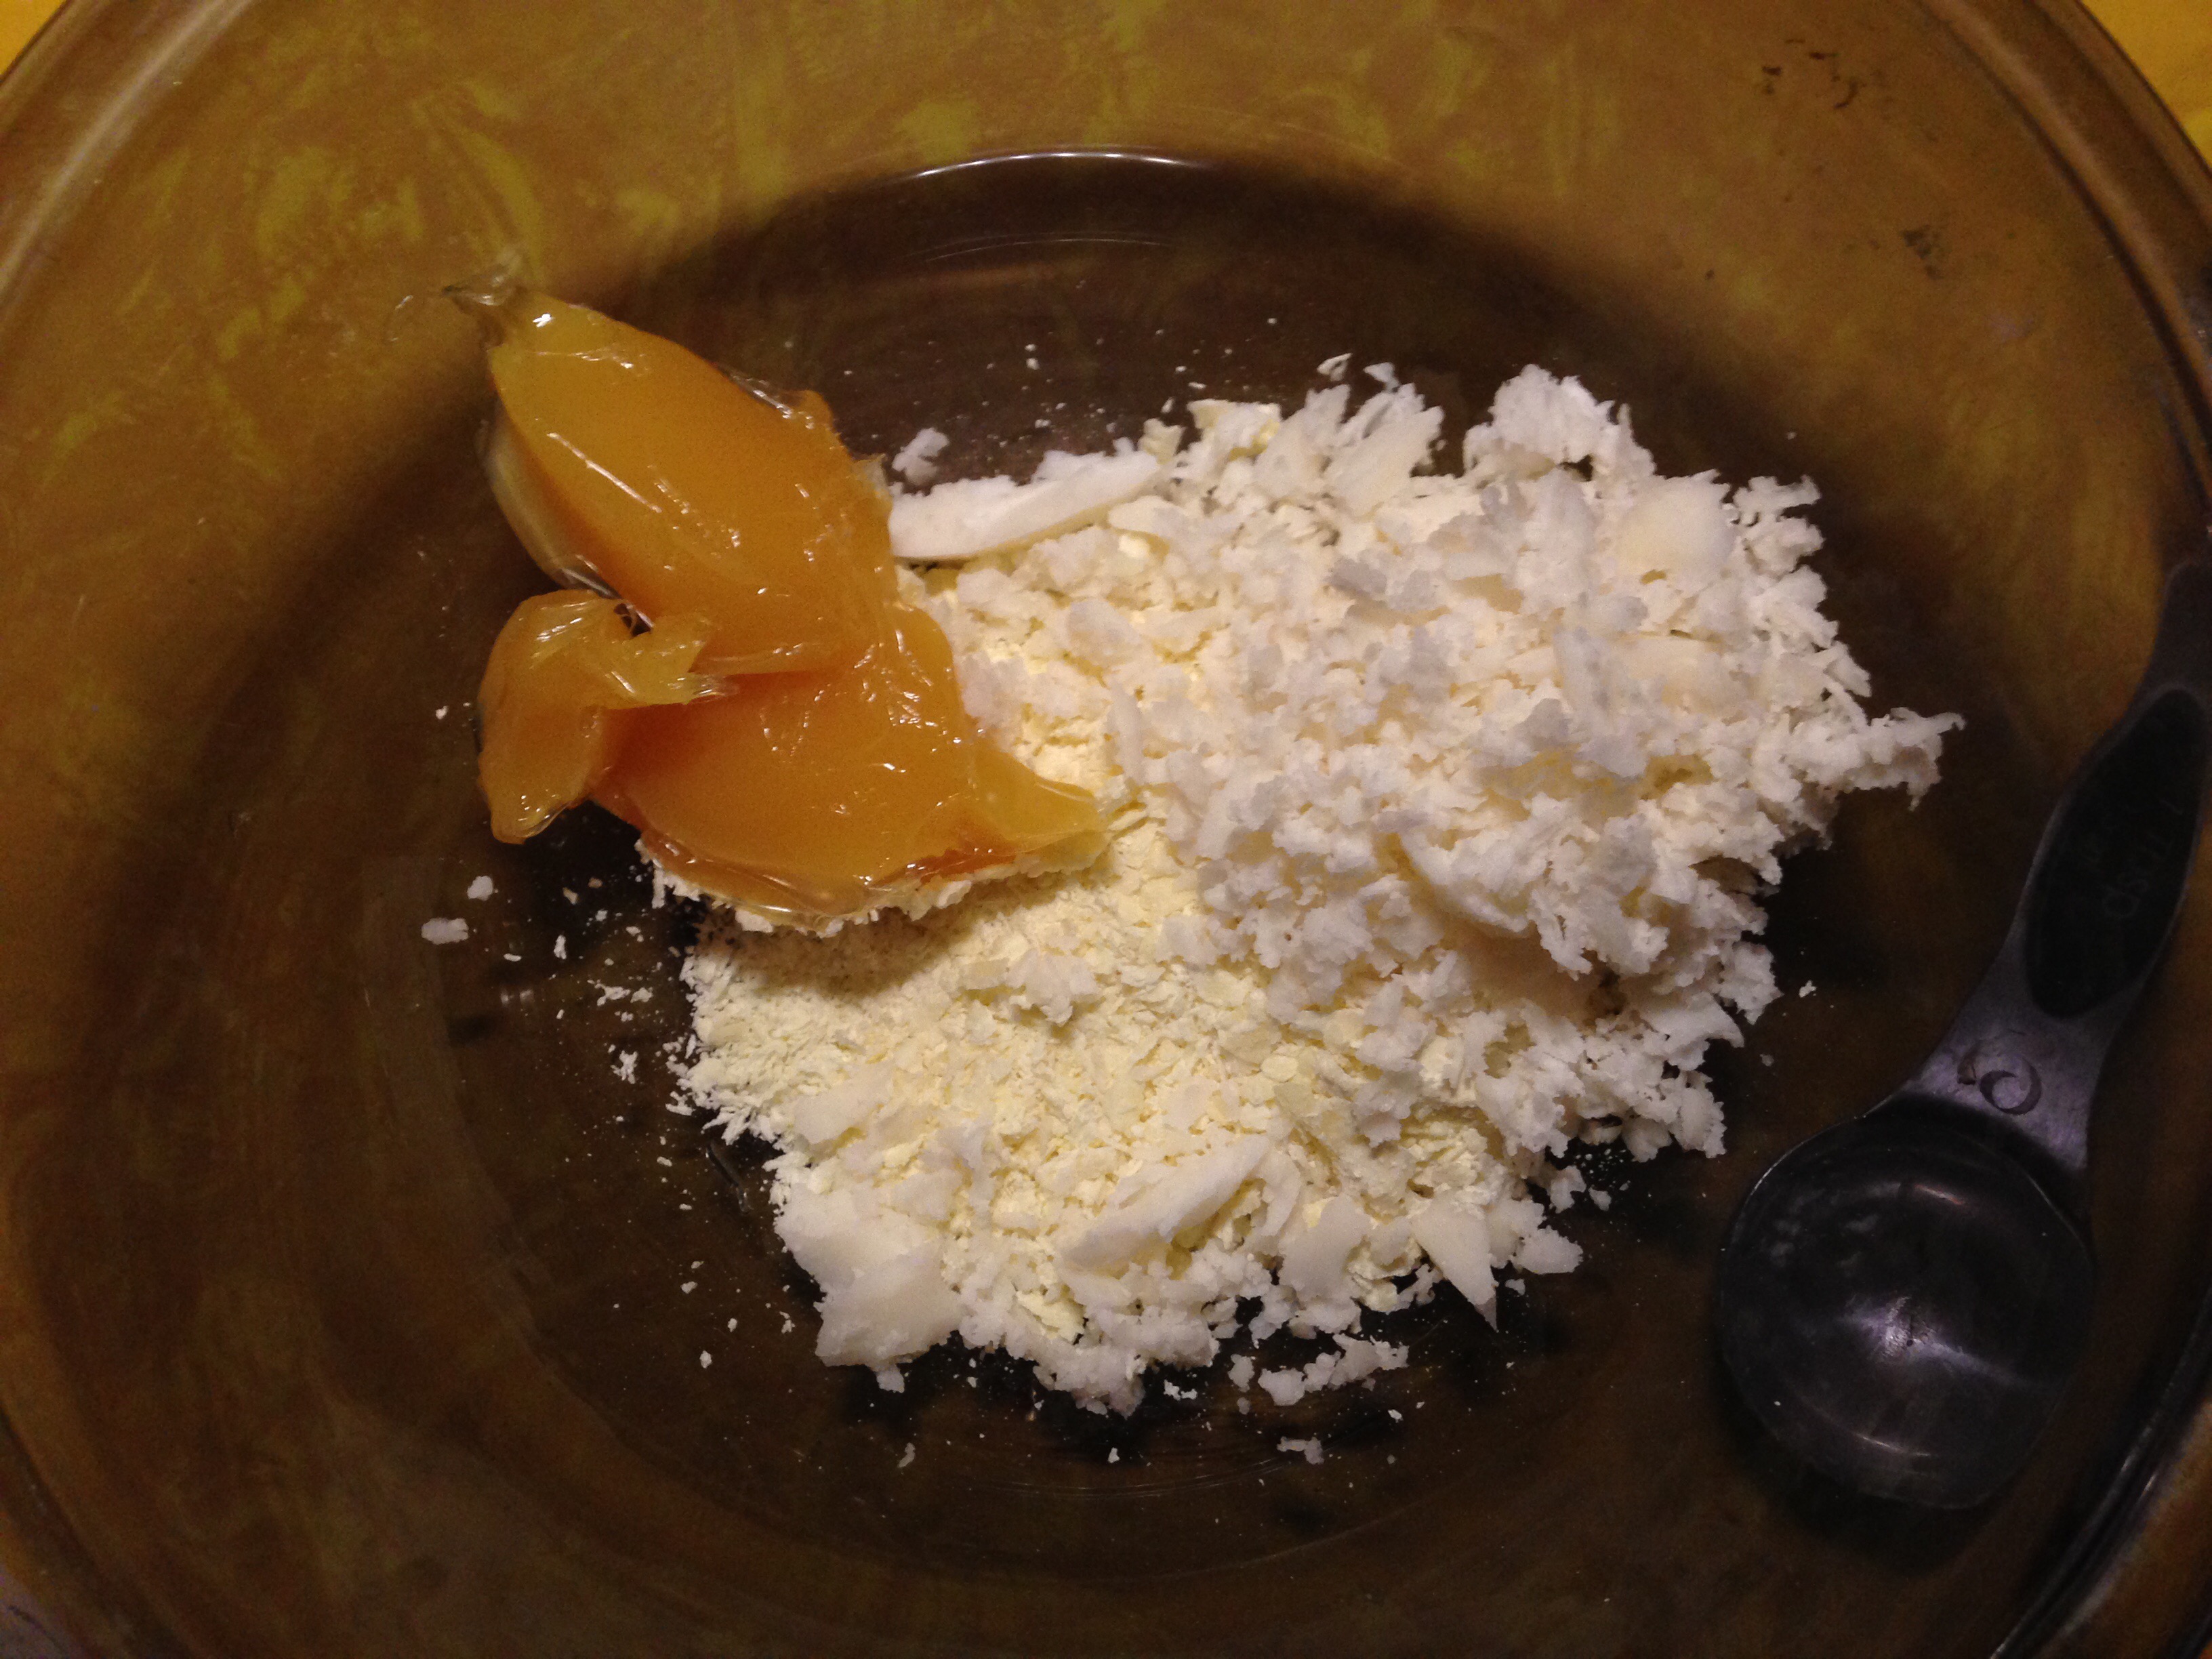
First mix up your dough.
3 cups all purpose flour
1 tsp. salt
2 tbls. baking powder
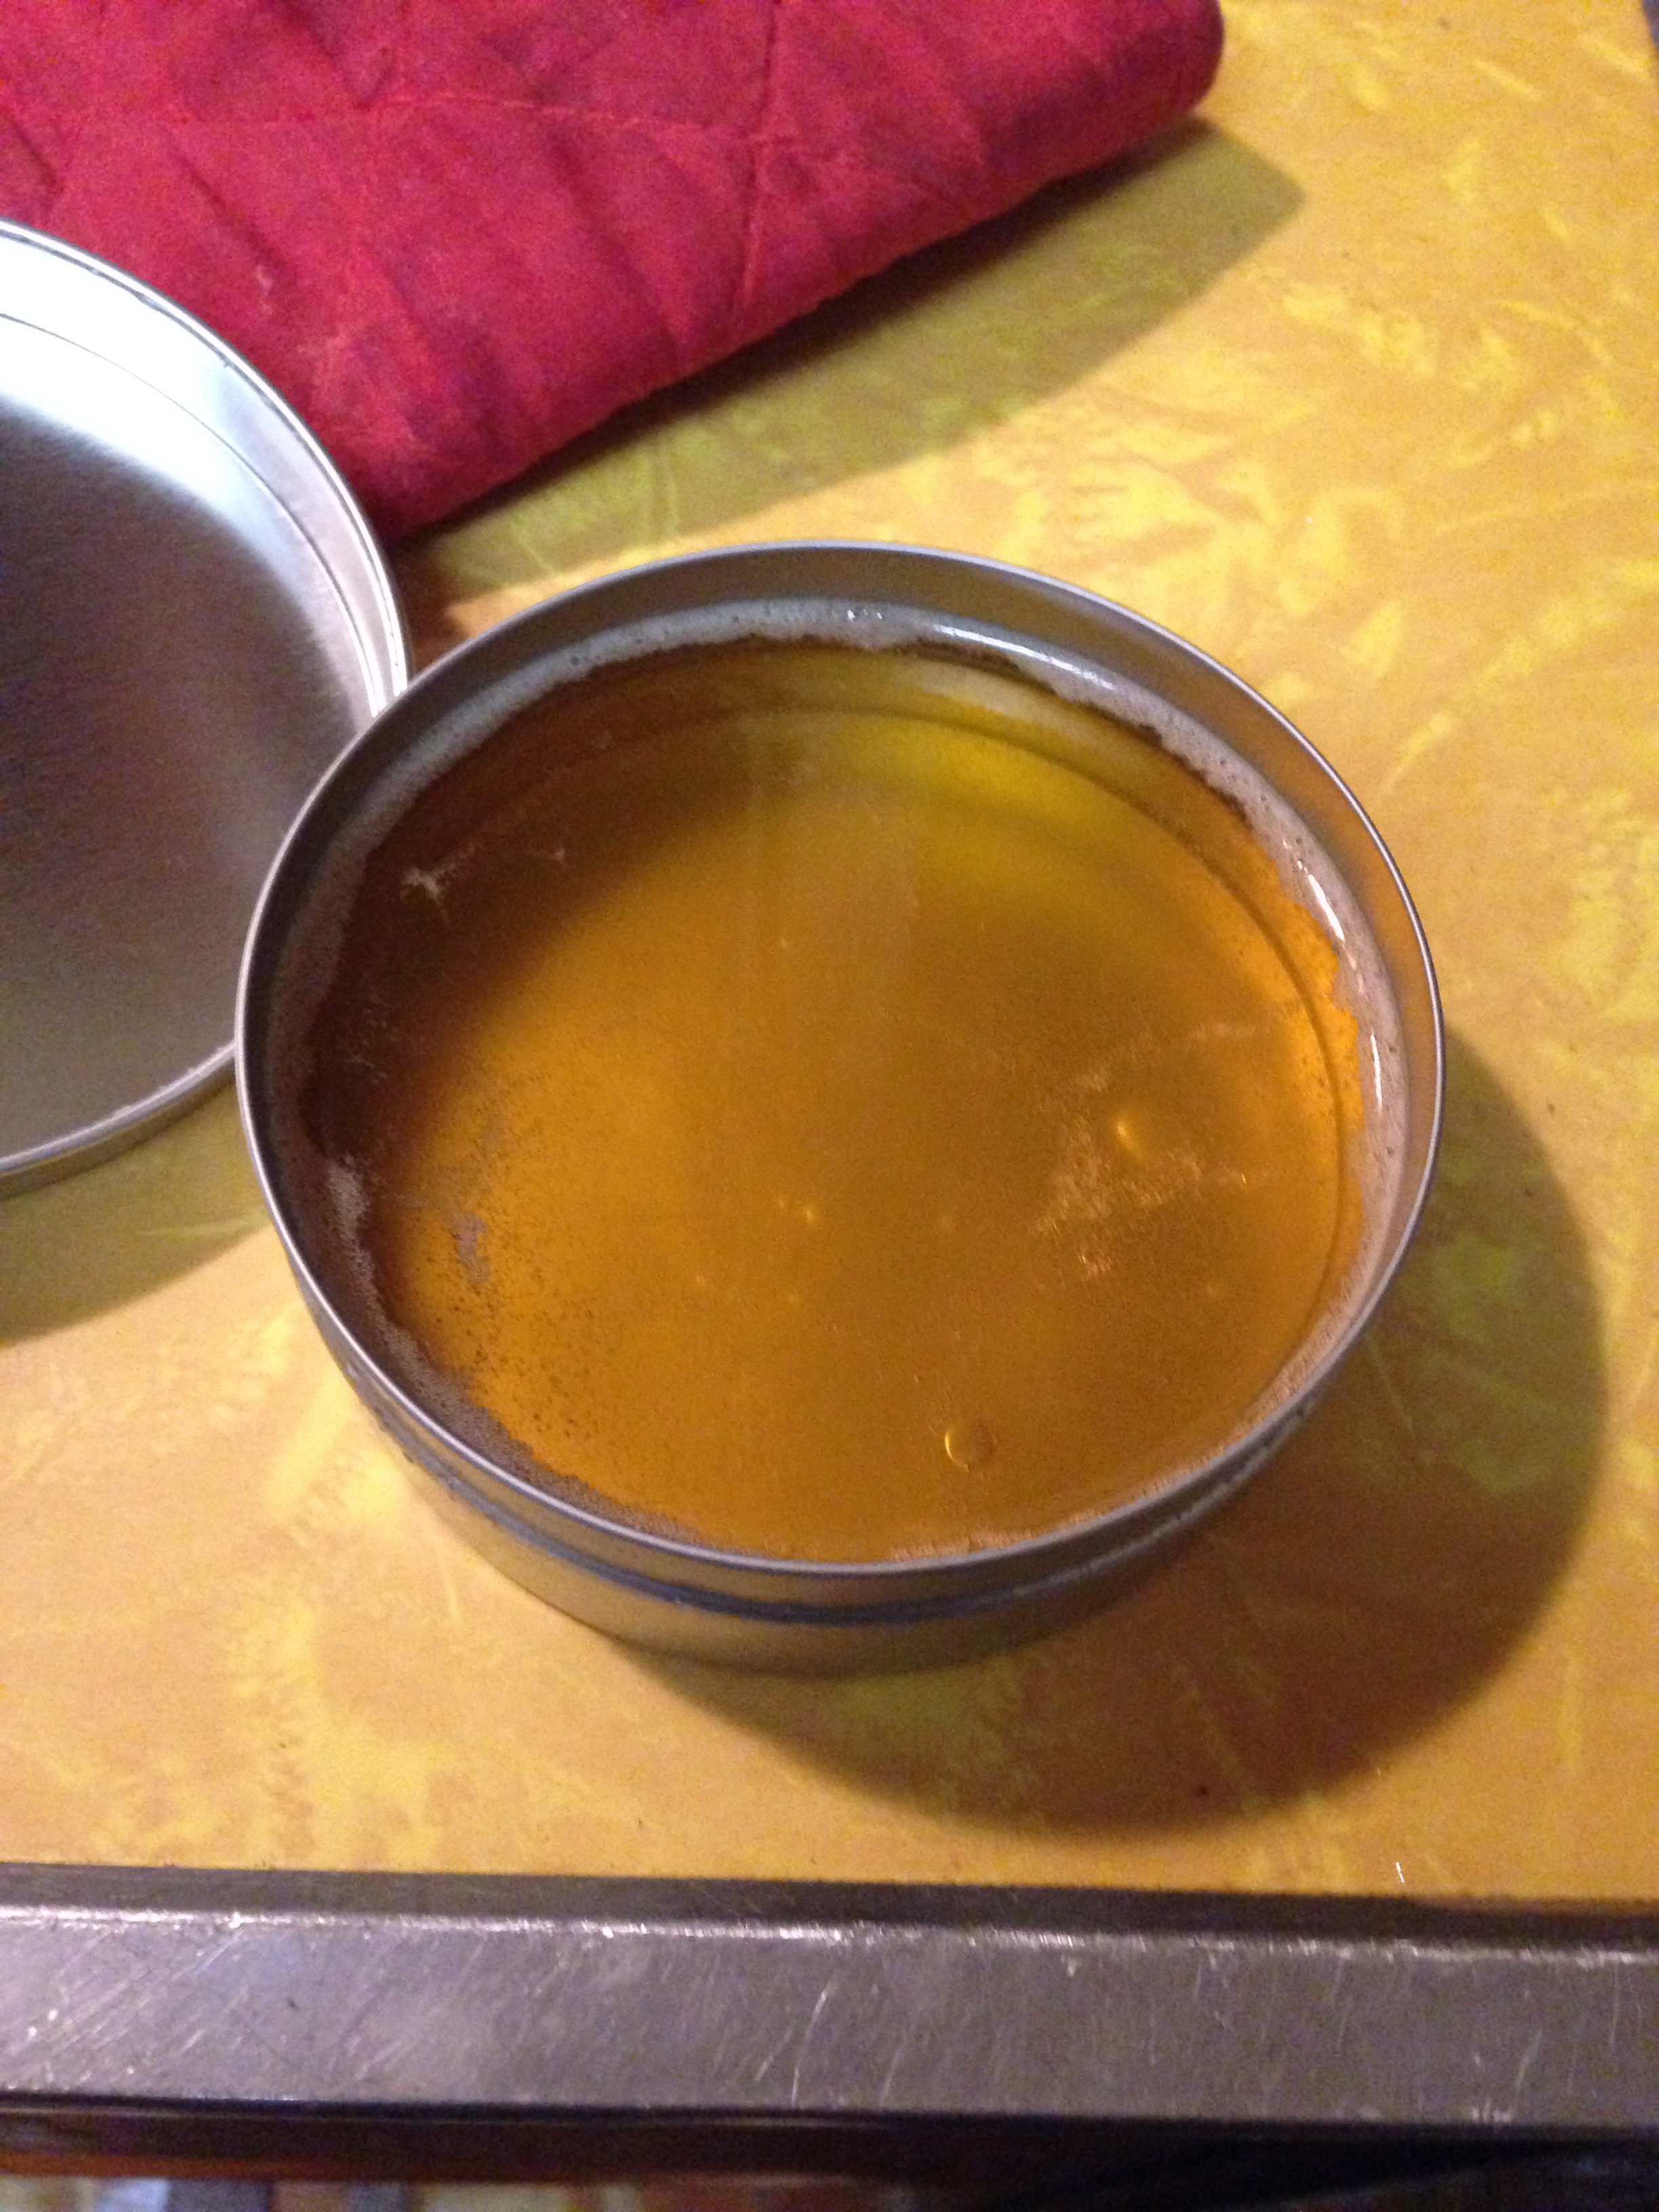
1 stick butter cut in with a pastry blender
(Every other tortilla recipe I found on google called for either lard or vegetable shortening. Well, I have one kid who can’t have pork and one who is super sensitive to palm/coconut oils so neither of those would work for me. This is why I chose butter. Use the fat of your choice that is solid at room temperature.)
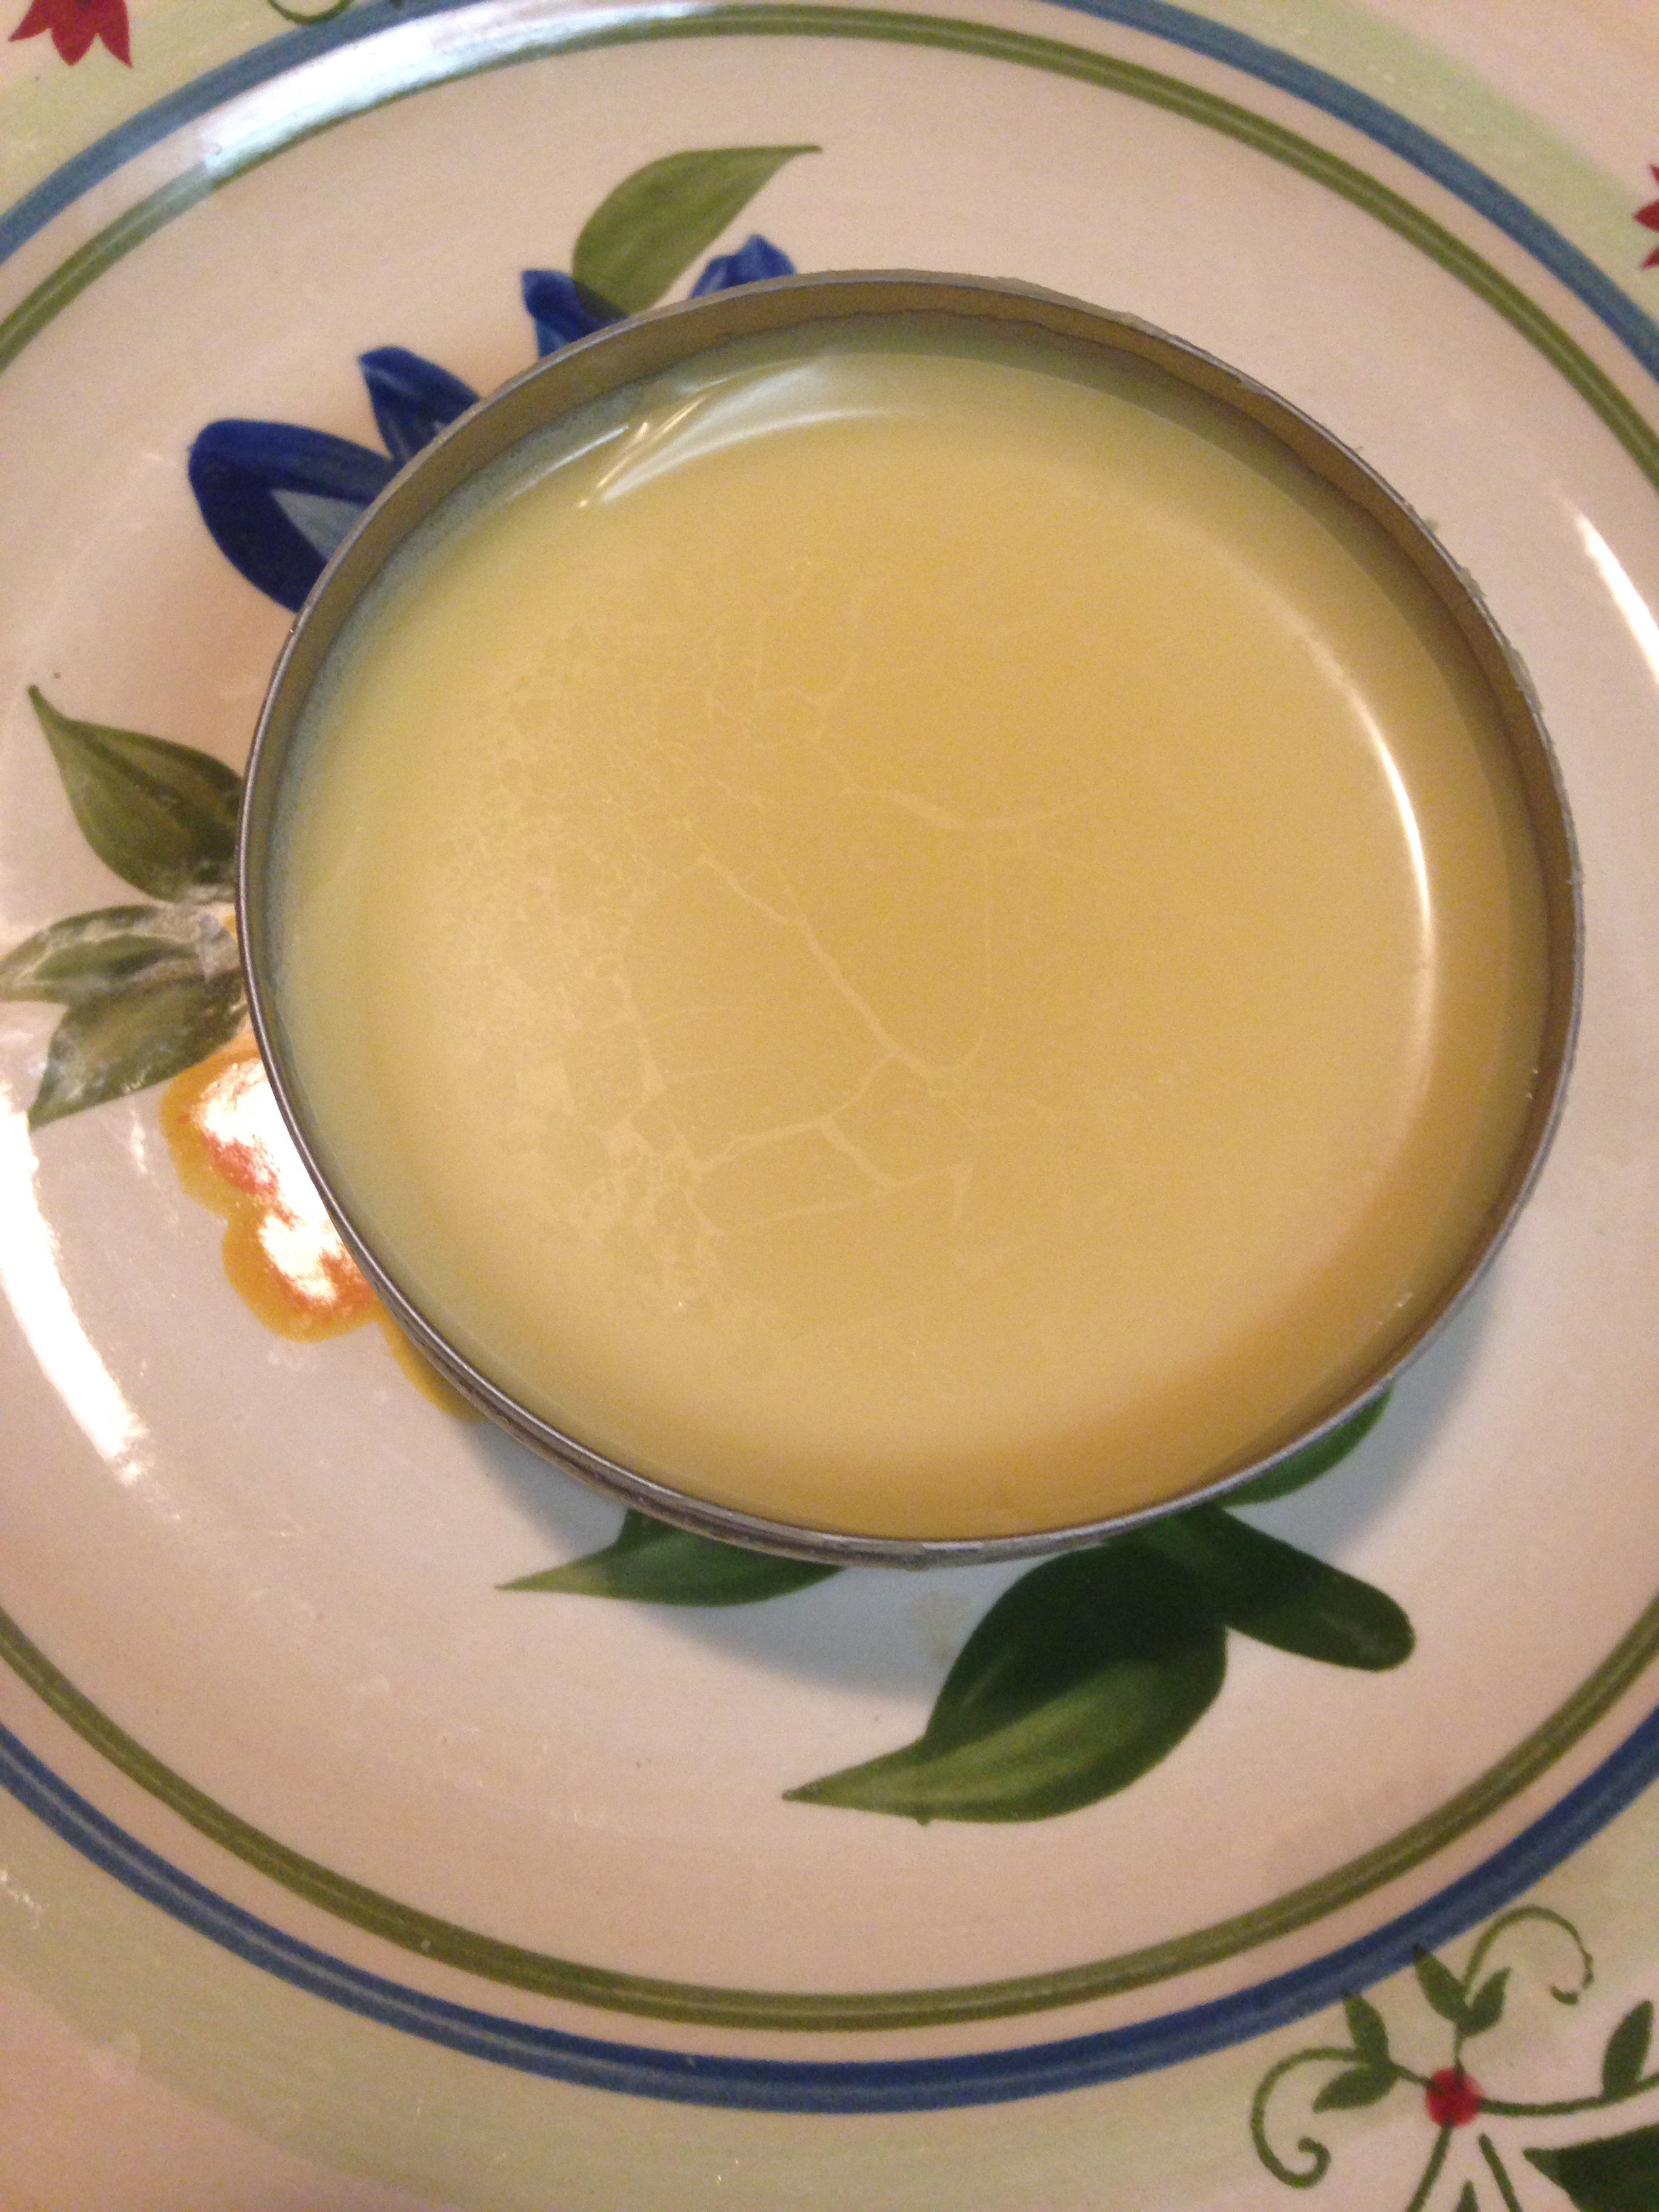
I also found that the butter blended better if Inused my fingers at the end. You don’t want beads of butter like in most baked goods. You want it to be thoroughly blended so that when you pinch some of the flour together it sticks together like wet sand.
Once your flour mixture is the right consistency pour in 1 1/4 cups warm water and mix until the dough forms a ball in the bottom of the bowl. It should be a moist dough but not wet and sticky. Cover and let the dough rest 20 minutes.
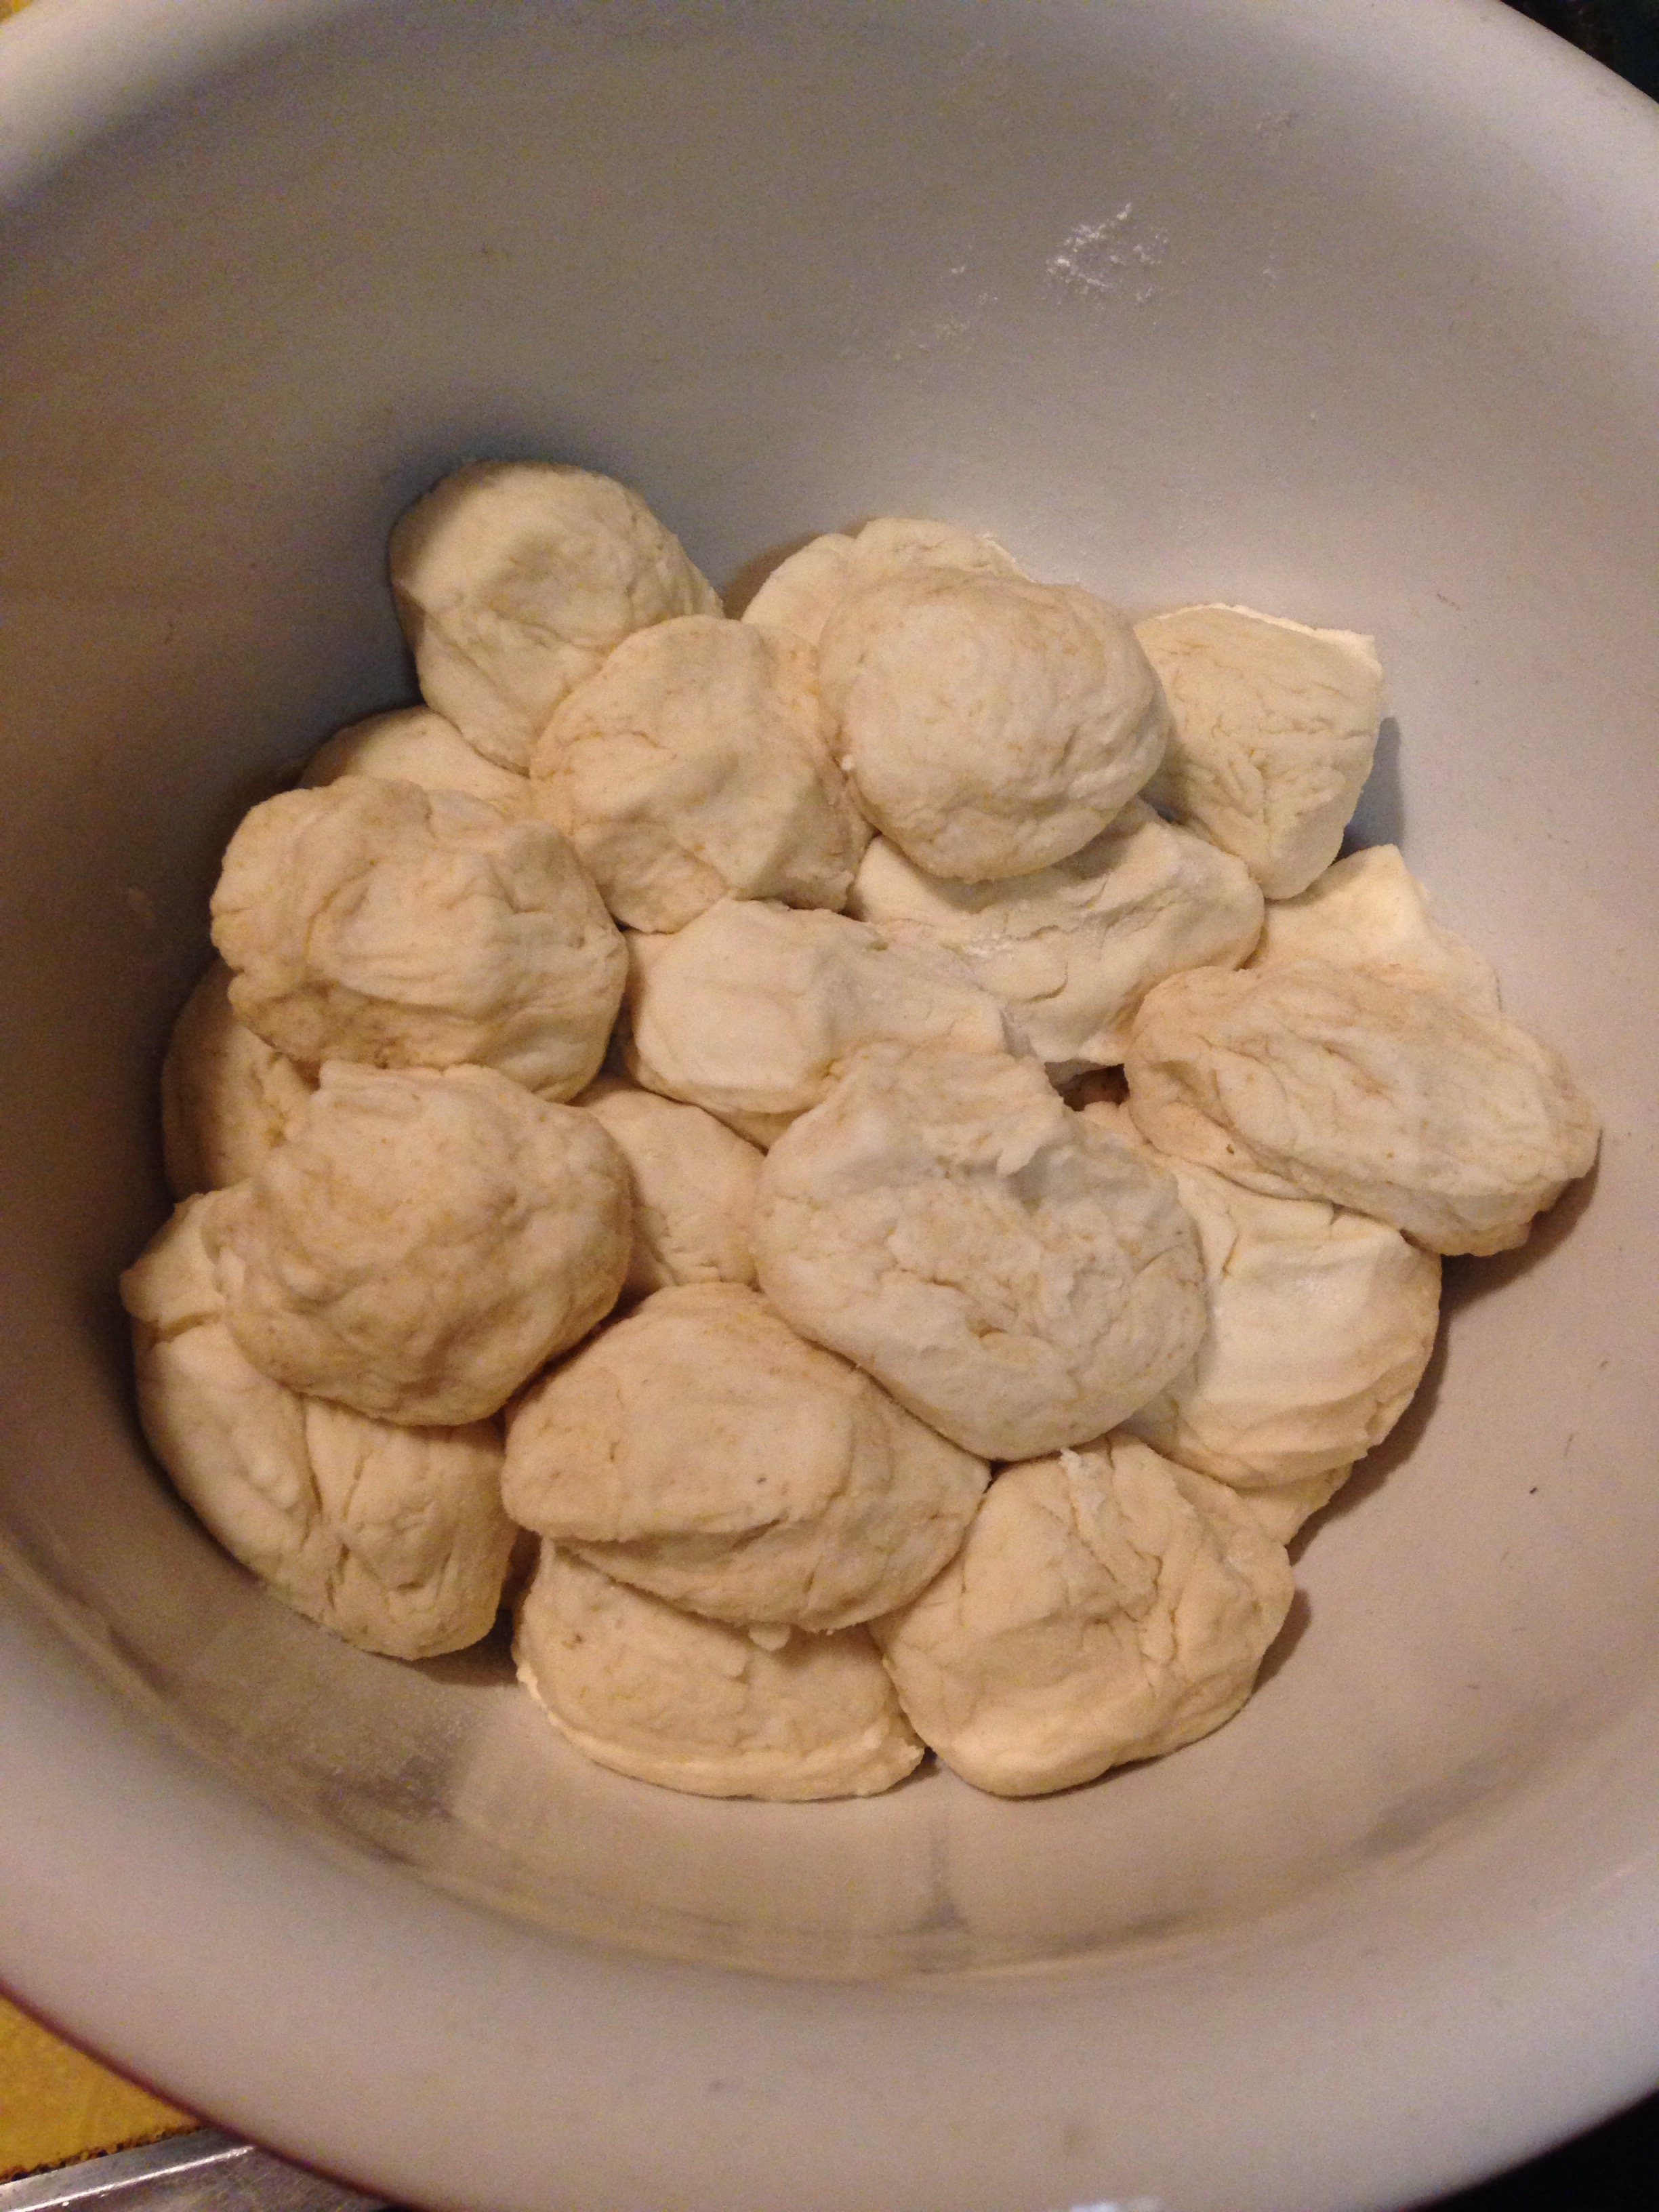
After the testing period, pinch off bits of dough and form into 1 1/2 inch balls. Cover and let the balls rest 15 minutes.

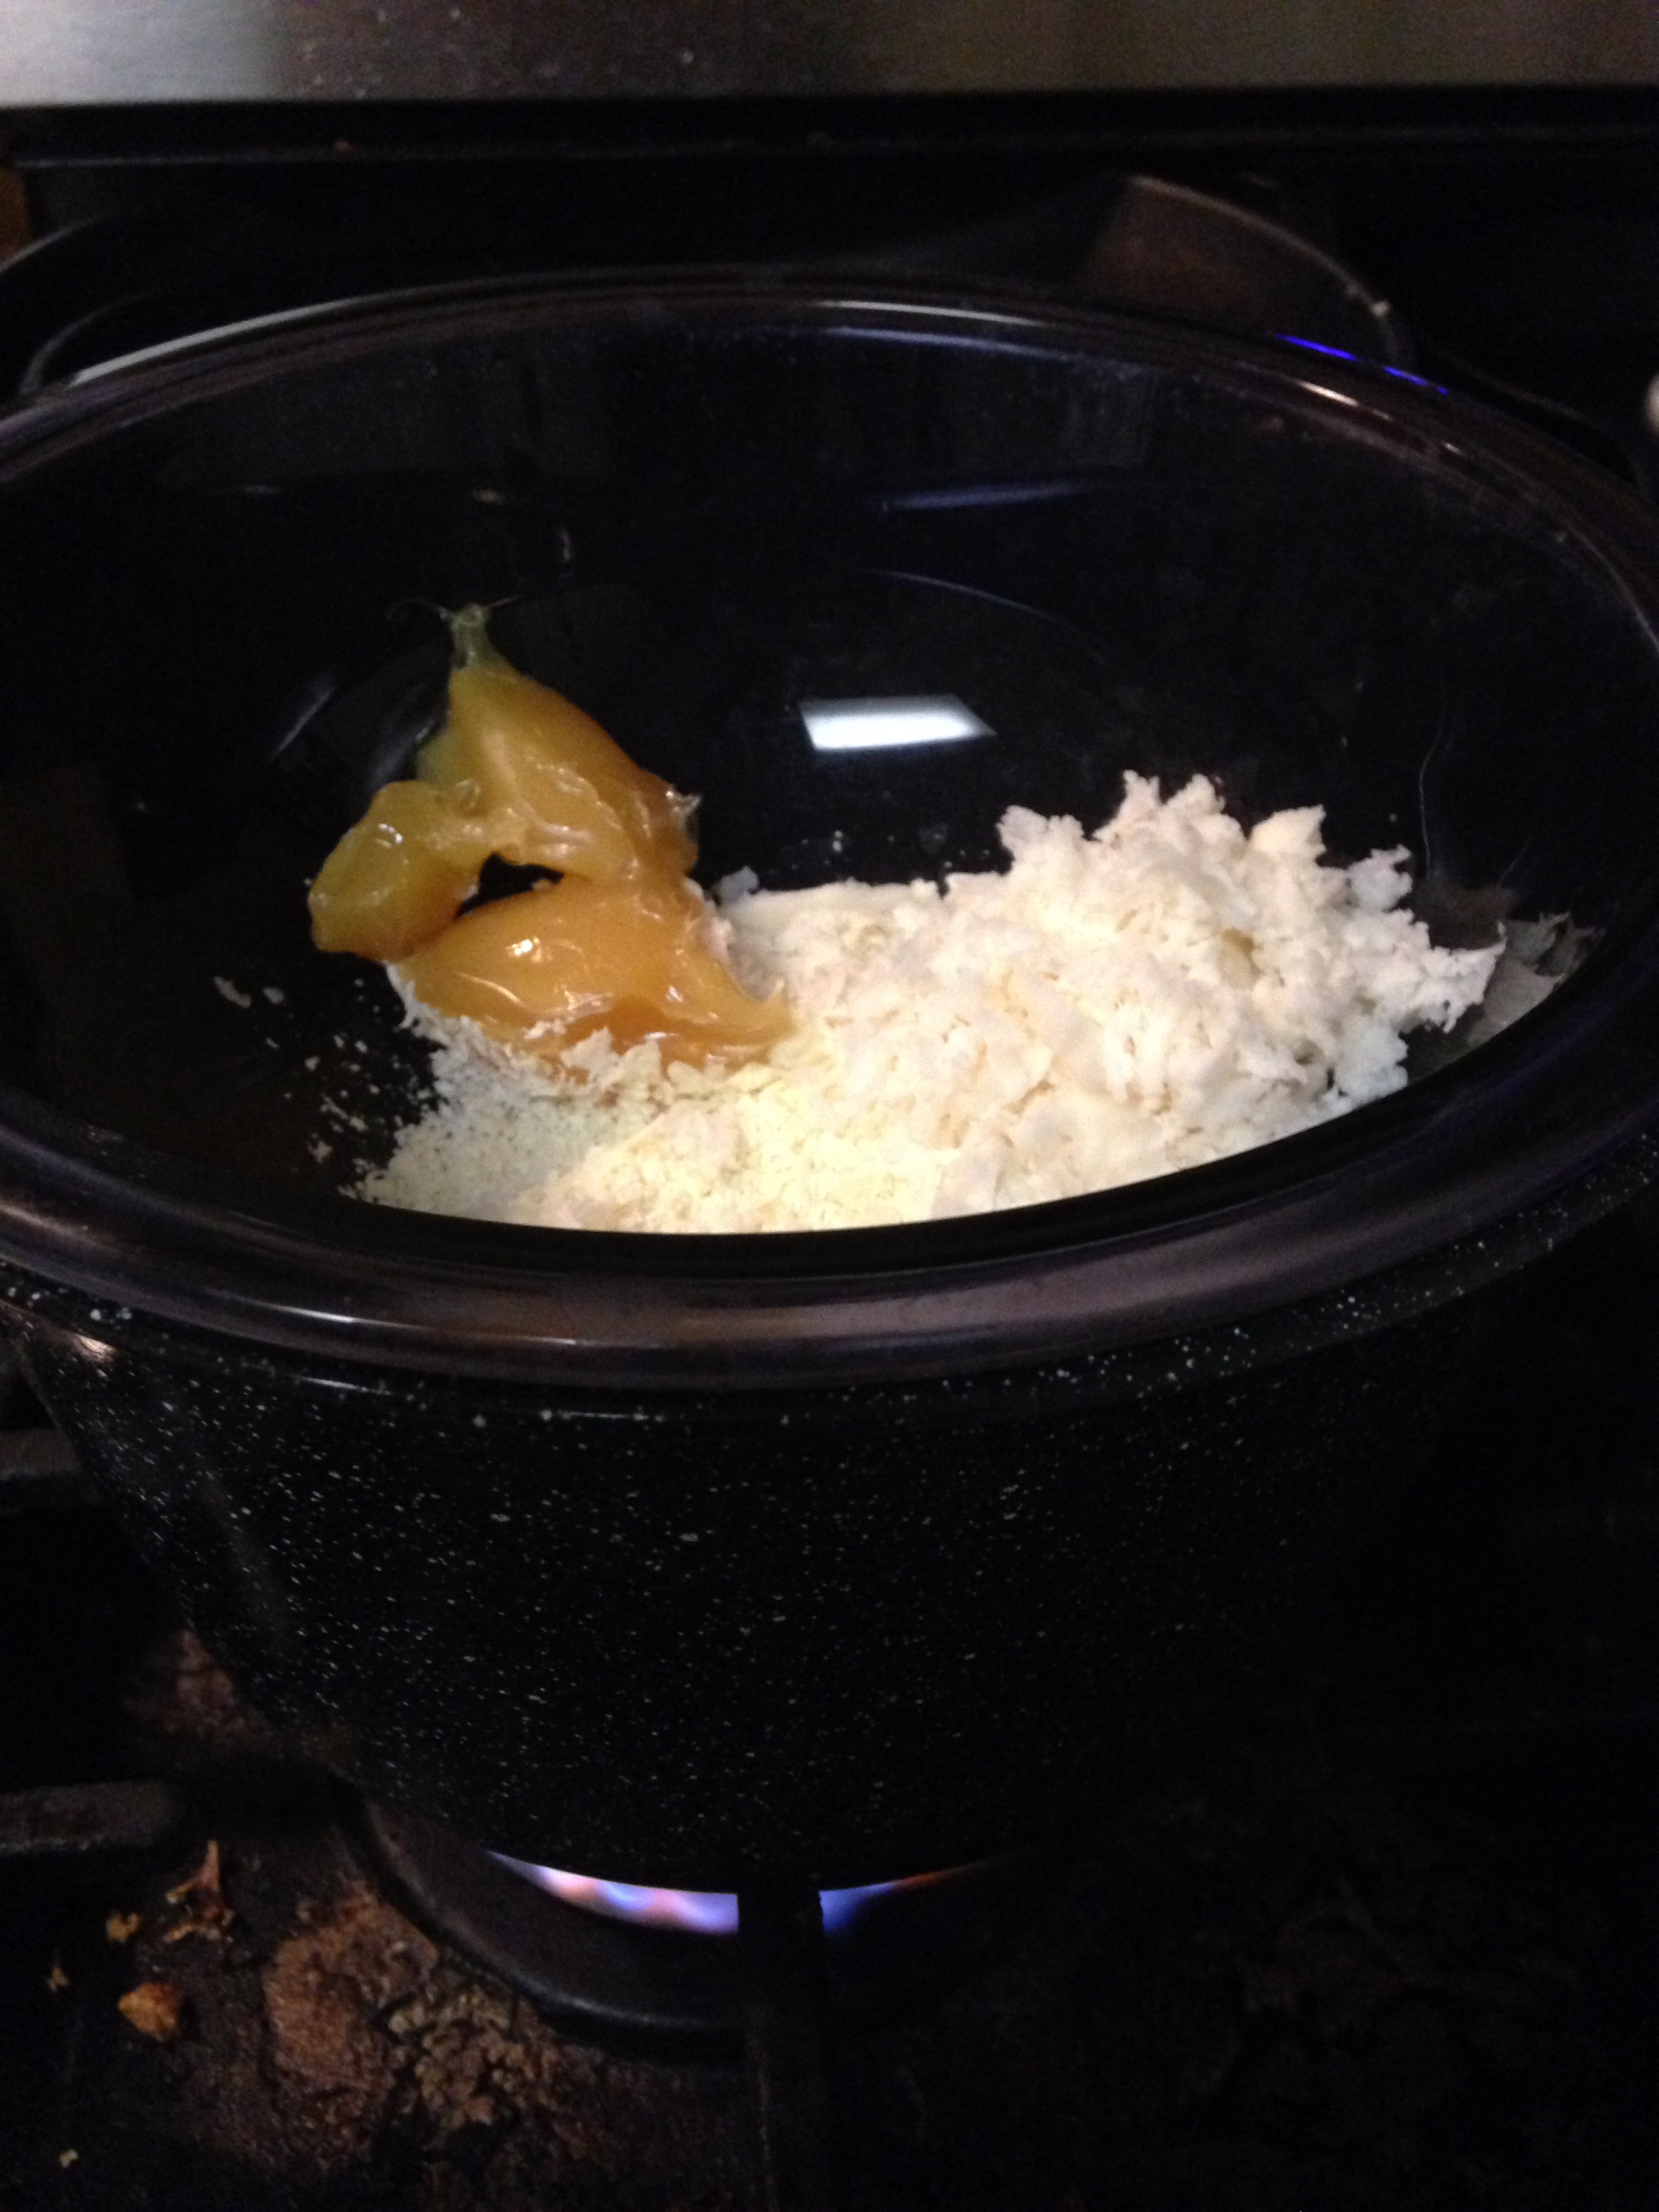
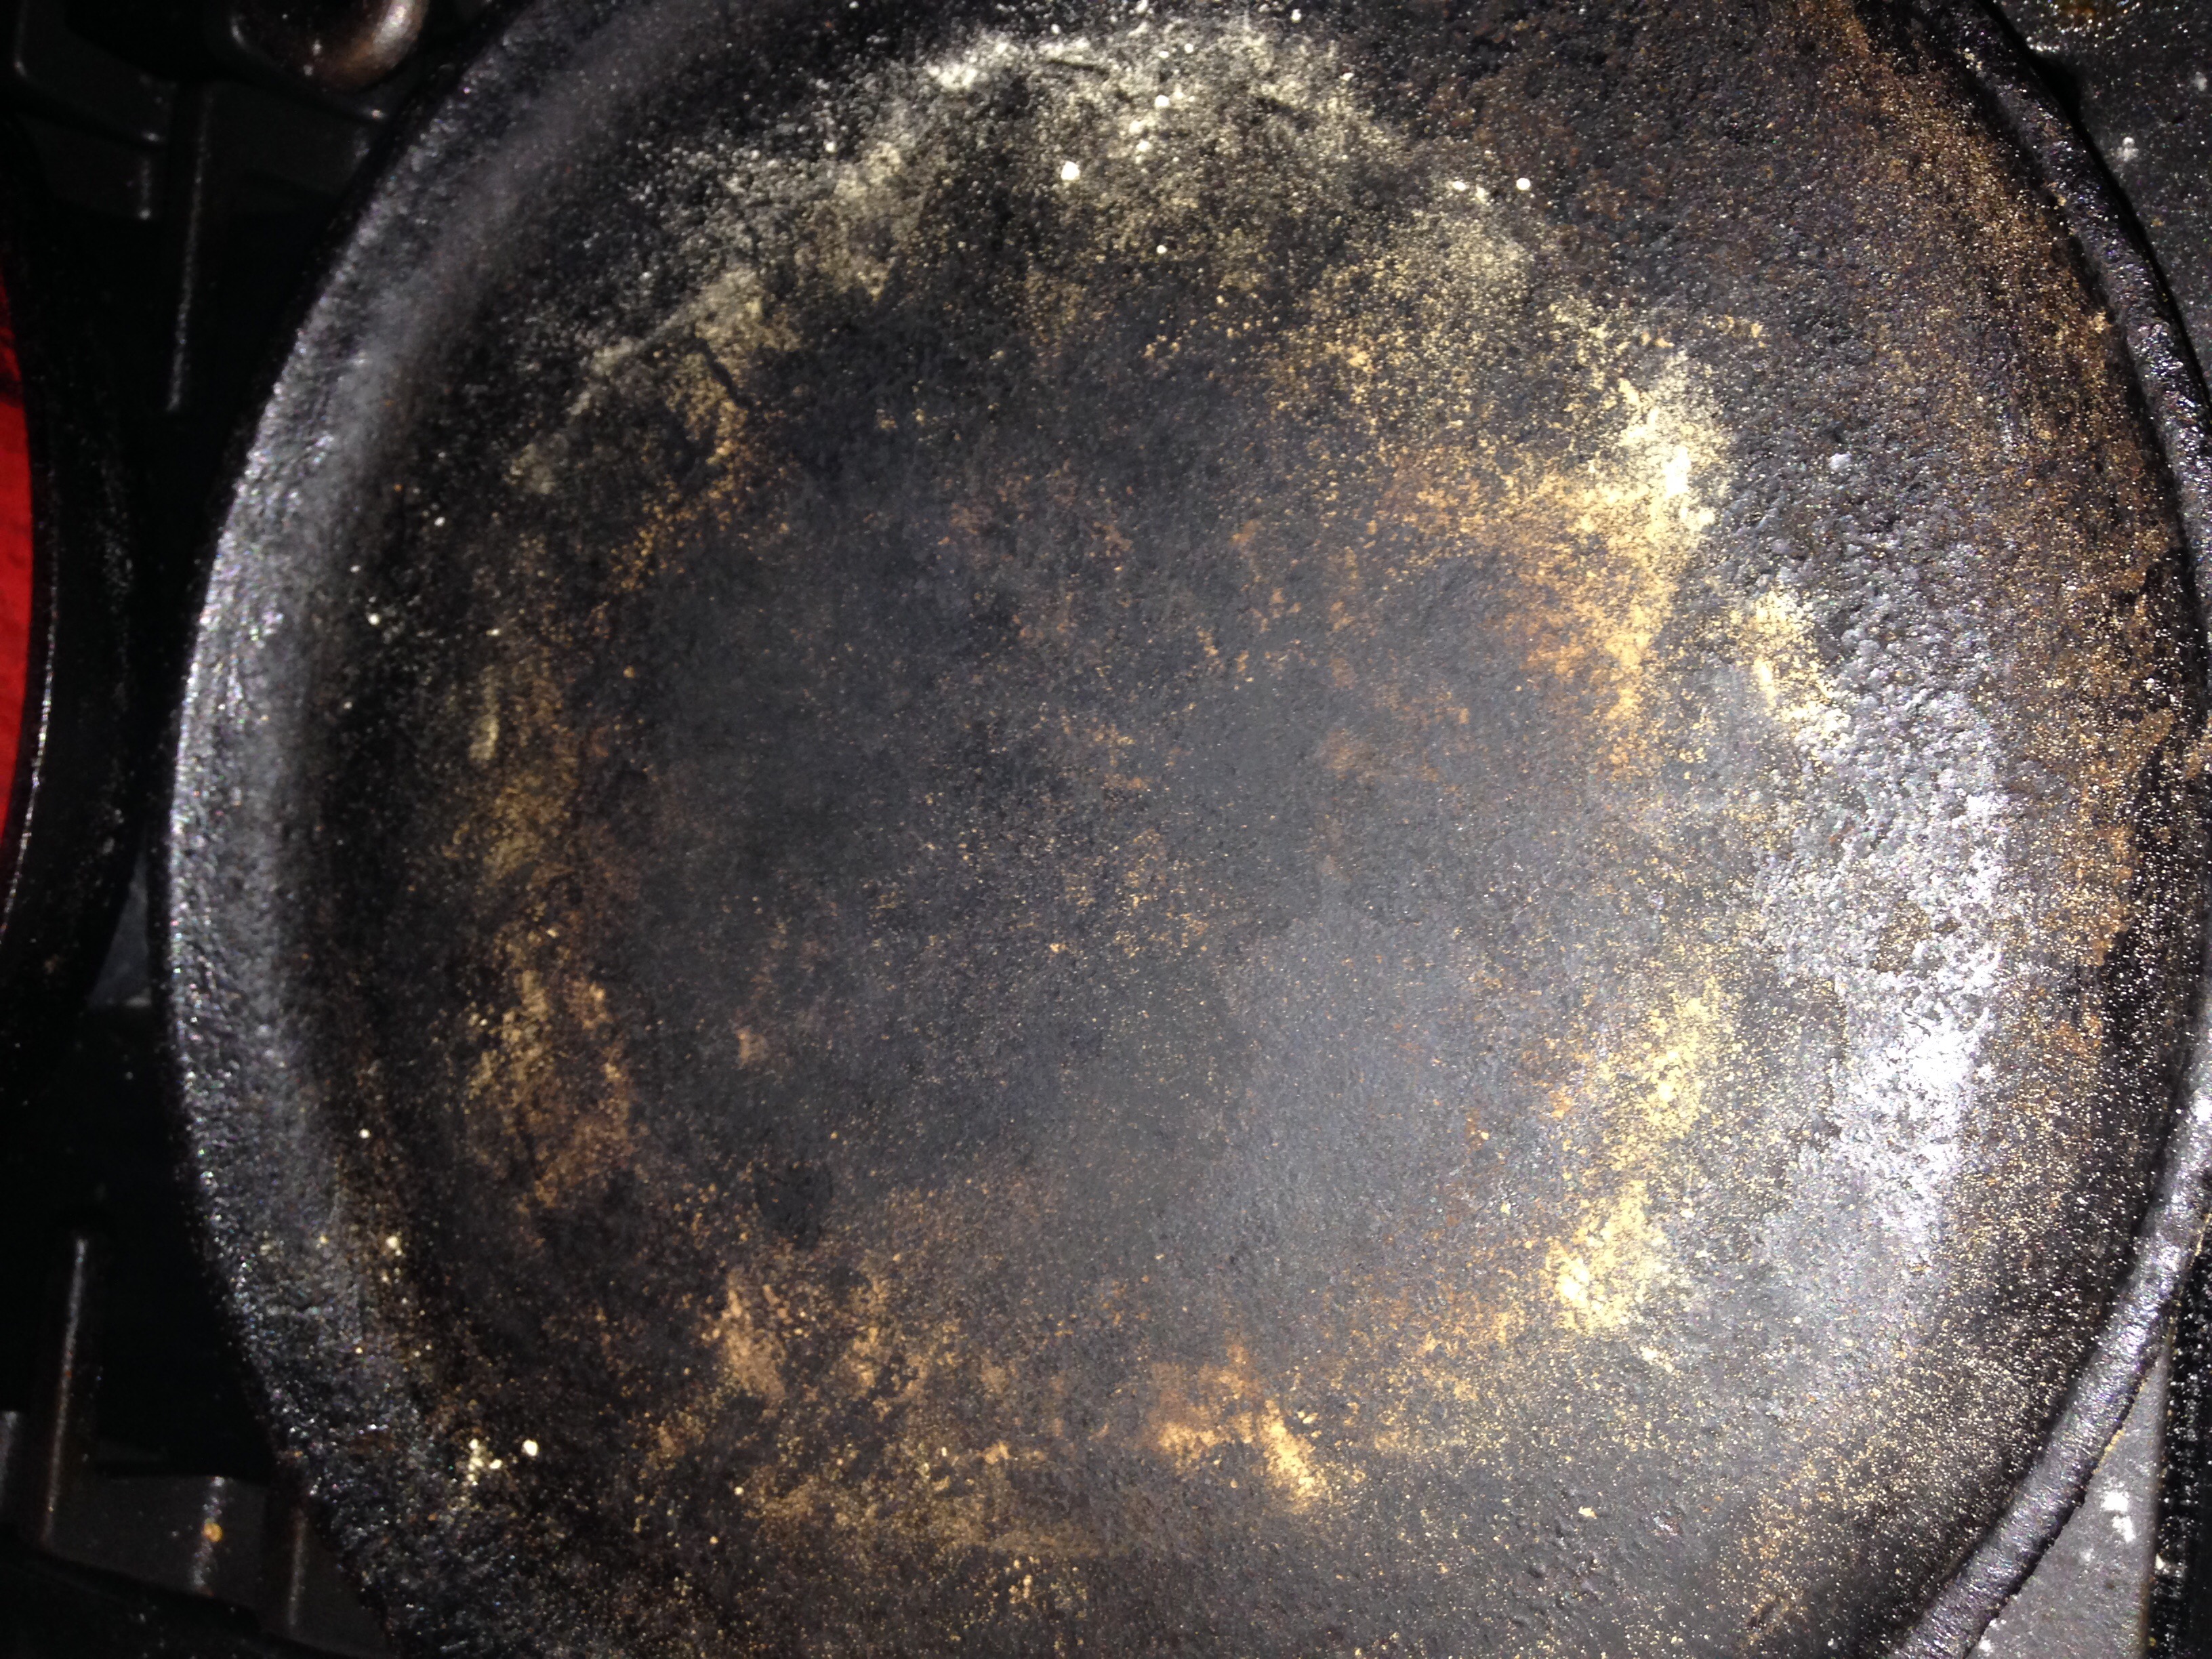
Prepare a floured board for rolling out the balls and heat a cast iron skillet or griddle hot until water sizzles on the surface.

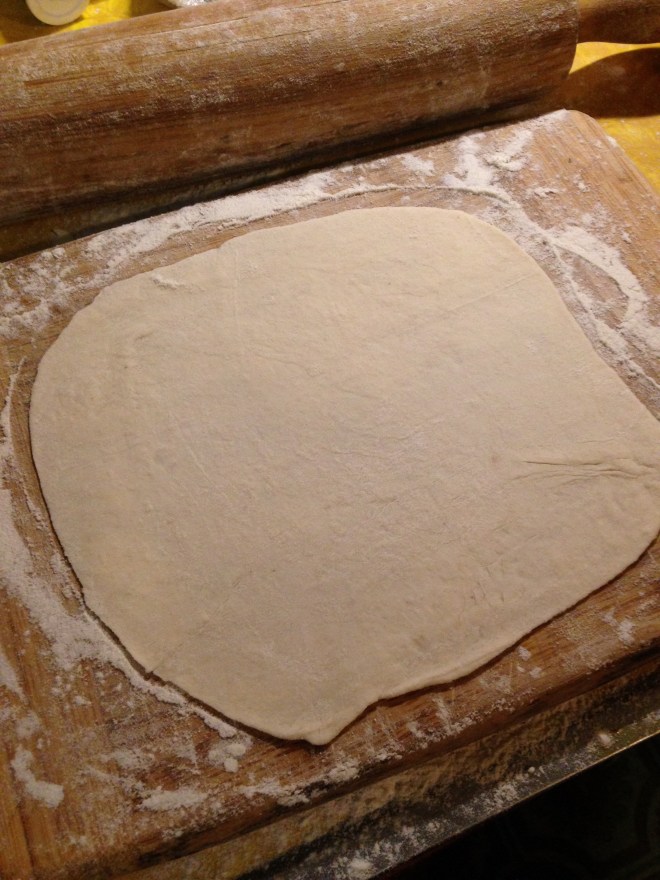
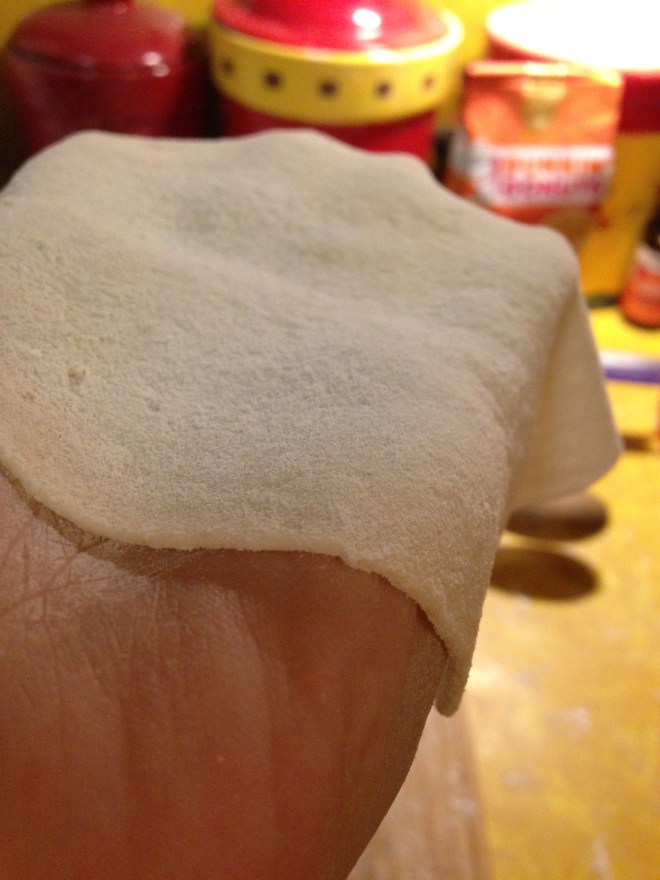
Roll out the balls very thin using only as much flour as needed to keep them from sticking.

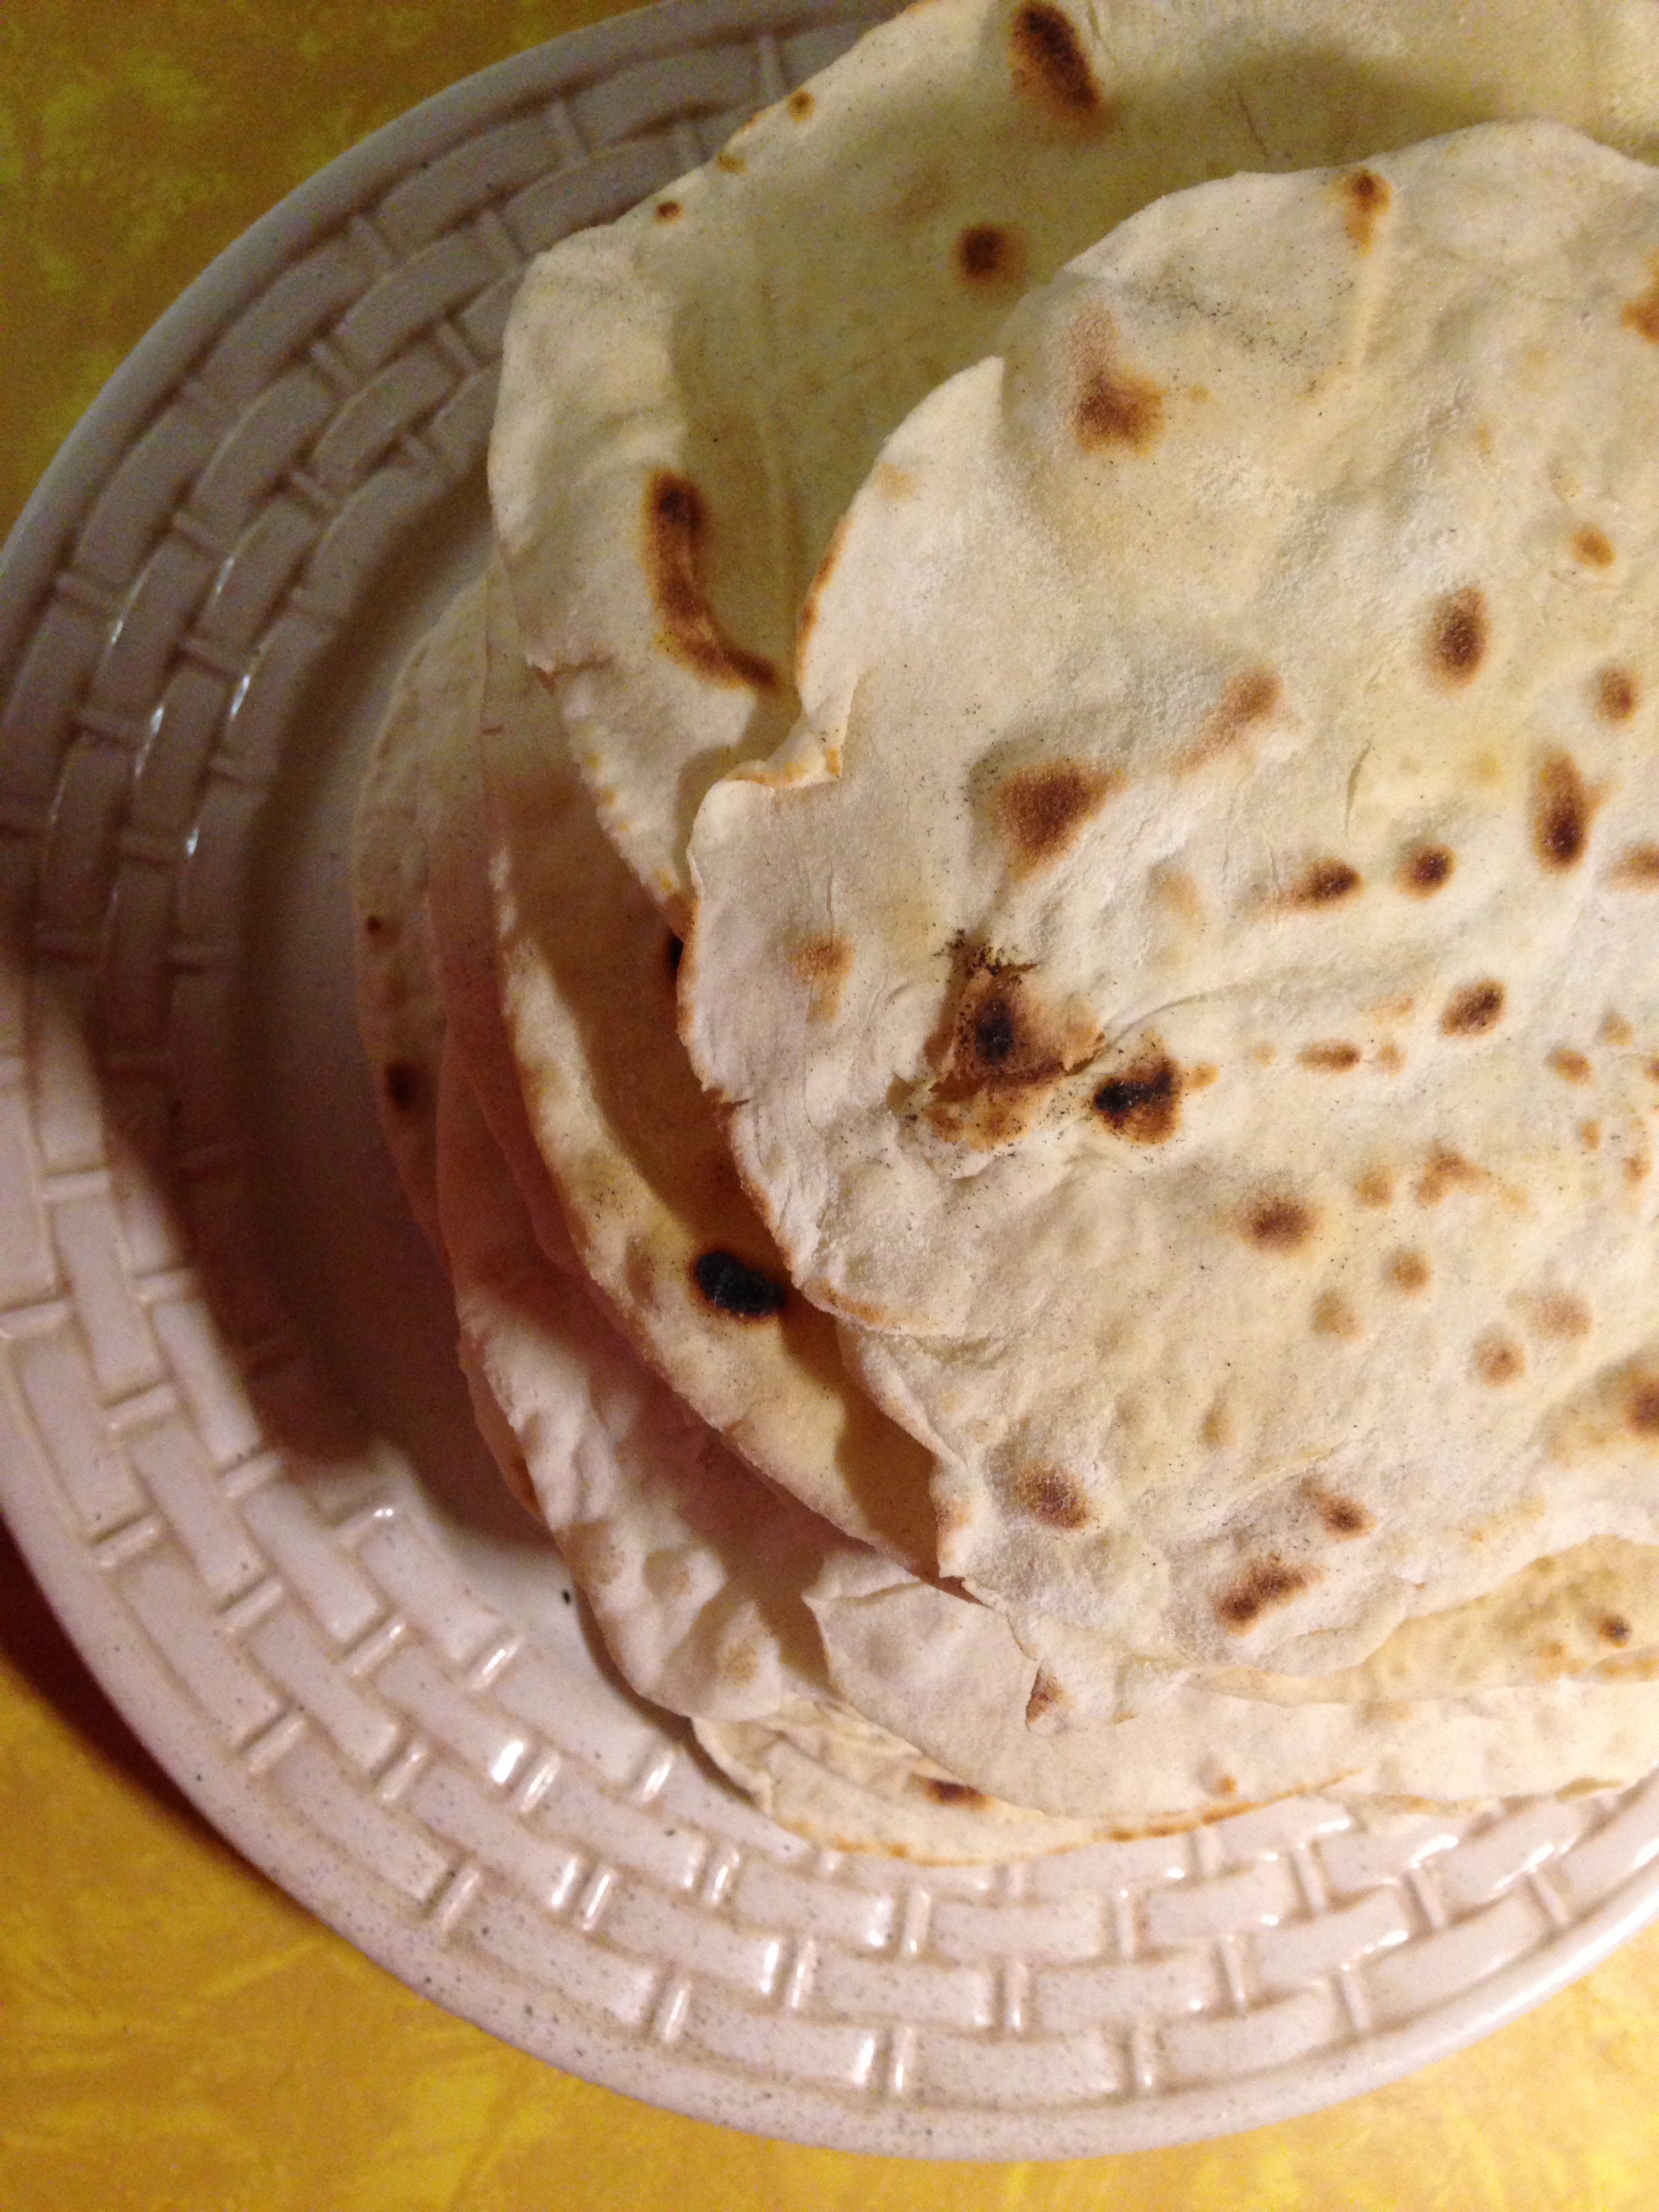
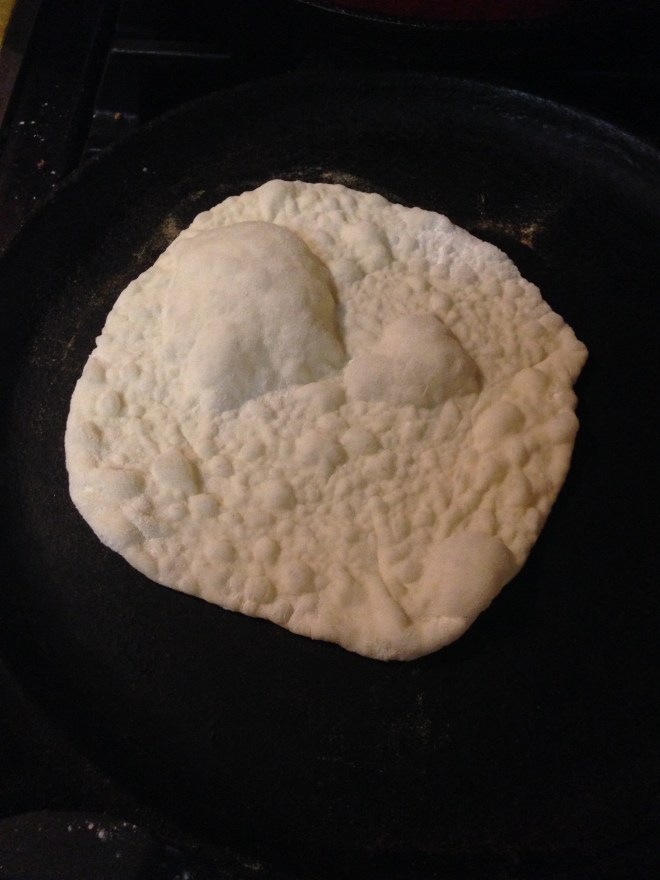
Lay flat on your skillet with no oil. Once the top forms bubbles flip to the other side and cook for about a minute.


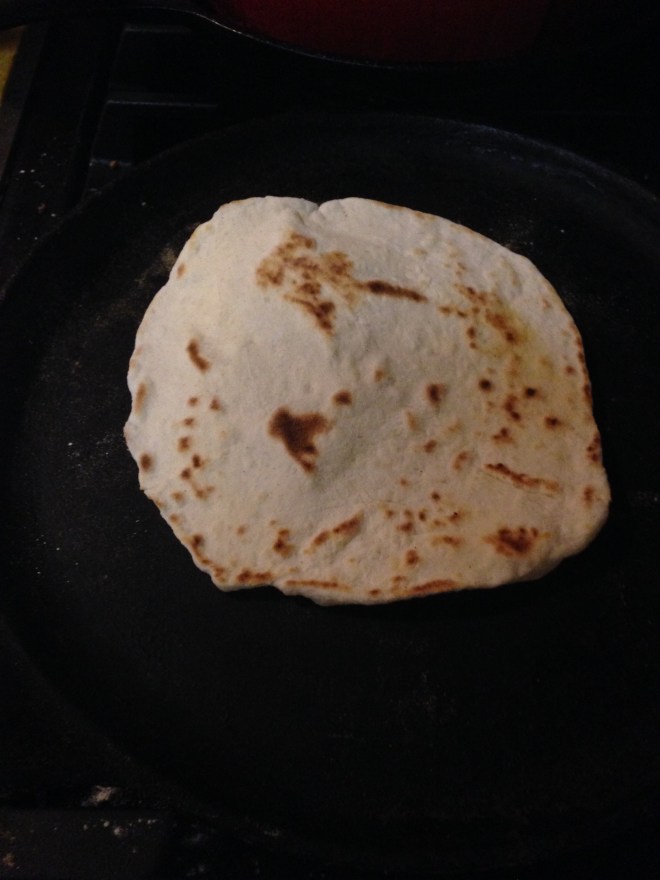
If there is residual flour on your skillet rub that off with a dry cloth before putting the tortilla on or the flour will burn.


This recipe made me about 30 tortillas. They are going to make a great bread substitute. I think I’m going to try using less flour when I roll them out next time as they ended up being a little dry. But they tasted great as soft tacos for dinner and were light and pliable. And I have enough for dinner tomorrow. Yay!
Cranberry Muffins
So my allergy kid is causing me to get creative. He’s reacting to…. well lots of things, so everything is suspect right now. No store bought baked goods for us. I would fudge and buy muffins from the bakery once every few months. Since that’s not an option right now I busted out the muffin pans. I haven’t made muffins in, well, years. The King Arthur Flour cookbook gave me a refresher course and then I changed the ingredients based on what he could have.
Ready, set, go….

2 cups flour of your choice (I used All Purpose because that is what he is tolerating best right now)
Scant 1/2 cup sugar
1/2 tsp. salt
2 tsp. baking powder
1 cup fresh ripe cranberries (or berry of your choice)
Combine the dry ingredients and mix the cranberries in until coated with flour. Next, in a separate bowl combine…
1 cup milk
6 egg yolks (or 2 whole eggs)
1/4 cup light olive oil (or oil of your choice)
Whisk together until combined. Pour over dry ingredients and mix only to the count of 20 even if your batter is still lumpy, that’s okay. The less you mix the fluffier the muffins will be.
Pour into lightly greased muffin cups (I use silicone ones) until 2/3 full. Per King Arthur’s instructions Inpreheated the oven to 500 and then reduced the heat to 400 when I put the muffins in. Cook for 20 minutes.

I used these mini silicone cupcake molds to use my extra batter. I cooked them at 400 for 14 minutes. They are a great size for travel or for the one year old.
Happy baking everyone!
Mineral Rich Lamb Stroganoff
I invented a new recipe today. Our son is struggling with foods right now so I’m trying to focus on the things that he tolerates well while getting some good fats, protein and minerals in him. This recipe was a modification of my regular stroganoff recipe adjusted for his current food sensitivities. I added lamb for variety so he has some rotation in his meats, and swiss chard and bone broth for extra vitamins and minerals. I wasn’t sure how it was going to turn out but it was great! Though this is not a great picture, the half empty bowl proves that it was a hit. The bowl was full when we started. The five year old had three servings!

If you have food restrictions that are different from ours, this recipe is easy to substitute what works for you. Here’s what I used if you want to try it:
1 lb. ground lamb
1 lb. ground beef
3/4 tsp. sea salt
1/2 tsp. black pepper
1/2 cup chopped onion
3 cloves minced garlic
4 cups chopped swiss chard
3 cups heavy cream
2 cups of beef broth or bone stock (see here to make your own)
extra virgin olive oil
2 tbls. all purpose flour
1-1/2 packages wide egg noodles

First put a pot of water on to boil for the pasta. While you wait for it to boil cover the bottom of your skillet with olive oil. Saute your ground lamb and ground beef until browned. Season with salt and pepper and add the chopped onion and garlic. After about 5 minutes add the chopped swiss chard and cook until wilted. Add about 2 tbls. more of olive oil. Stir and then sprinkle 2 tbls. of all purpose flour (or flour of your choice) over the meat mixture stirring until the oil has absorbed all the flour.Next pour in the heavy cream and stir. When it starts to thicken add the beef stock and stir until combined and heated. Turn off the heat. Cook your egg noodles (or pasta of your choice), drain and mix the noodles, sauce and meat mixture all together.

Sprinkle with parmesan and crushed red pepper flakes if desired. Eat it up. It’s delicious!
2016 Christmas in Review
I love decorating for the holidays. Fall and Christmas are probably my two favorite. I like to post pictures of what we do each year as it varies from year to year. We like to do themes. This year the theme was an “Old Fashioned Christmas.” We based the idea on a literature book we had just finished in school about a family in the 1800’s. They decorated their tree with cranberries and popcorn. So did we. Here’s a gallery of our Christmas decorations.


Our Little Pumpkin Snowman
I found a new use for our tiny pumpkins after Thanksgiving was over this year. A couple of weeks into December I realized I should do something with them. I had seen a post where someone had taken some large pumpkins, power drills and white paint and created a snowman for the front porch. I figured I try it on a smaller scale.
First the five year old painted the pumpkins white with craft paint. Then I glued them together (hot glue or super glue is best, craft glue is gummy), three stacked high. Next we painted a little face and buttons down his front. Then the eight year old crocheted a little red scarf and I whipped stitched him up a cute top hat from some felt scraps (trace and cut a big circle, cut a small circle out of the center and then cut a rectangle to size and stitch the three together).
Isn’t he cute? We’ll have to do this next year too.

Bone and Veggie Broth

Break out your crock pots everyone! Whoever invented the crock pot has my eternal thanks. It makes what I’m about to tell you so EASY. I had a great time at the grocery store today. In part because I only had two of my four children with me which made shopping much easier. 🙂 But, otherwise, I was gathering all the fixins for some DELICIOUS broth. Ahhhh. Mmmmm.
I’m making two kinds – beef and vegetable. Let me tell you how to make your own.

Beef stock with beef bones, beef marrow, garlic, onions and leeks.
Beef Stock:
Buy about 5 pounds of various beef bones from your butcher. Many stores will have packages set out labeled as soup bones. I bought one package of “soup bones,” two packages of neck bones, and two packages of marrow bones. If they don’t have any out, ring the bell at the meat department and tell them what you want. They can cut it up for you in minutes. When you get home dump all the bones all in the crock pot and add one head of garlic unpeeled and chopped in half, one leek, 1 cup onion quartered, 1.5 tsp sea salt, 1/4 tsp. pepper. Pour cold water over it all and cook on low for 12-18 hours. When cool either strain and freeze or follow my instructions for my favorite way to preserve broth – make your own bullion cubes.

Veggie stock – beet greens, potato peels, onions with peels, garlic with peels, carrot and potato peelings, and leeks.
Vegetable Stock:
I don’t know why I’ve never thought to do this before but I recently saw an idea online to save all your vegetable scraps in the freezer and when you have a full bag use them to make veggie broth. That’s what I did and it is currently simmering away. Couldn’t be easier. Dump in all your scraps, cover with water, add 1 tsp. sea salt, 1/4 tsp. pepper. In this batch I added potato peelings, carrot peelings and ends, celery tops and bottoms, beet greens, leeks, onion tops and peelings, and one head of garlic with peels. You could really add anything. If you add peelings just be sure that you wash the vegetables before you peel them. I used the bag of veggie scraps from my freezer and just from putting these batches of broth together this afternoon I almost have another full bag in the freezer waiting for next time. I would say that the essentials to veggie broth that make it great are celery, leeks and garlic. Don’t skip the leeks. I buy them just for broth. They make it that much better.
I’m going to be spooning this into my meals and the mouth of my kids when they are sick. My allergy kid is struggling right now from some recent food reactions so I’m hoping the extra vitamins and minerals will give him the boost he needs and help his gut heal and get back to normal. The healing properties of this broth can’t be equaled. Plus they are sooooo delicious. Enjoy.
Leftover turkey? Turkey tetrazzini anyone?
My grandmother might consider it sacrilege to her recipe, or she might consider me practical and frugal, but I’m turning her chicken spaghetti recipe into turkey tetrazzini Friday after Thanksgiving. Let’s hope for the latter. Follow the recipe for chicken spaghetti and simply substitute turkey meat instead. You could even make some delicious turkey broth with that turkey carcass. Simply simmer it on the stove with some garlic, onions, salt and pepper, or do what I would do and cook it overnight in your crock pot. Mmmm. Broth makes great fall food. Enjoy!


