The Best Online Classes for Learning Traditional Skills – Bread Making, Fresh-Milled Flour, Homemade Cheese, Herbal Medicine, Canning, Preserving, Gardening, and More…

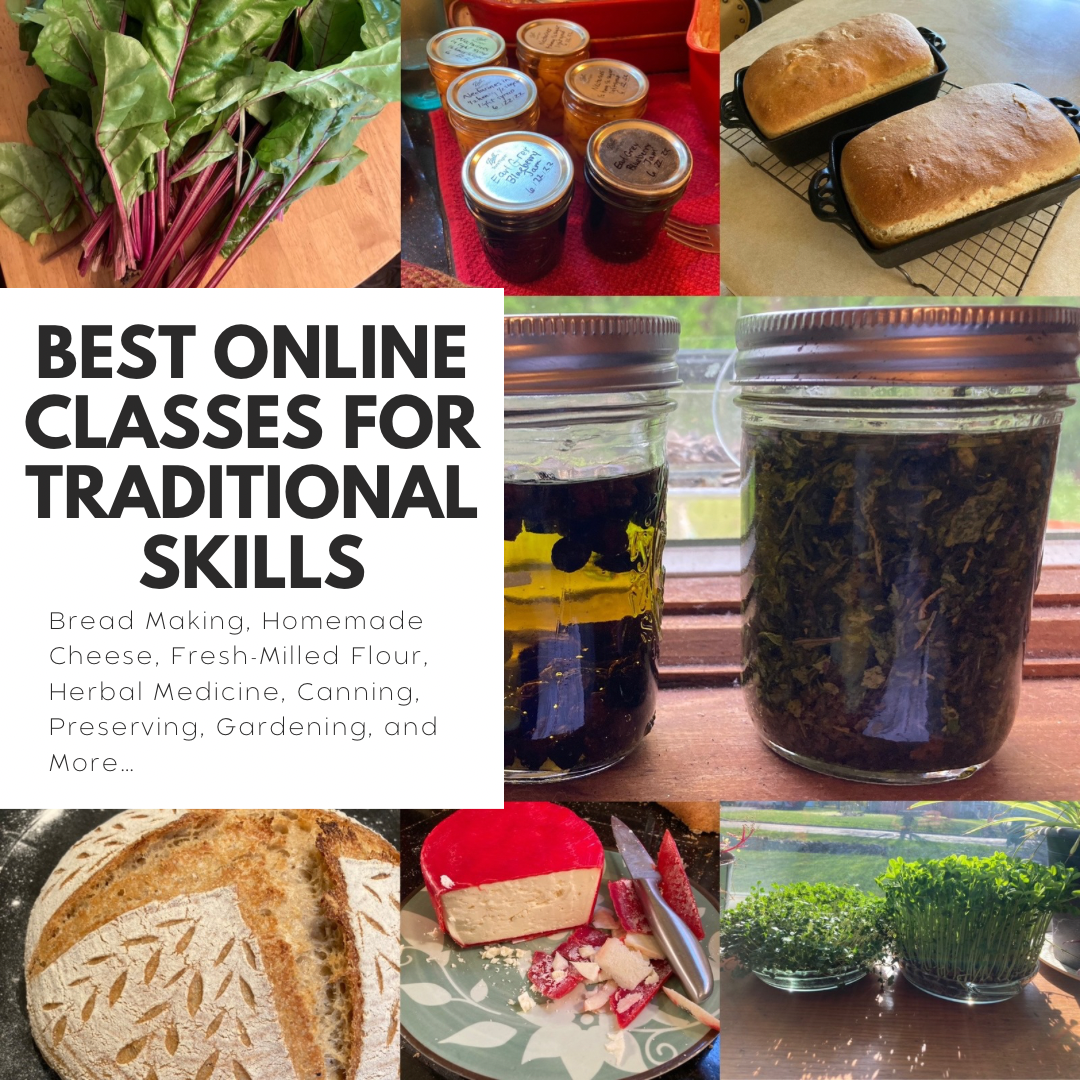
Traditional Skills That Are Making a Comeback

If you’ve followed my blog for any amount of time, you know that I love the classes at Homesteading Family. I’ve learned so much from them – bread making, sourdough, homemade cheese, canning. Their classes on herbal medicine, preserving, and permaculture are a great starting point if you are wanting to learn more about traditional homemade skills. The skills that our grandparents knew are becoming less commonly known, if not forgotten altogether, but they are so much more important to our daily lives as grocery prices soar and uncertainty looms around the corner. Consider these Homesteading Family Classes as a way to take back some of your independence and the skills we have lost.

Read to the end for a special coupon code! Take advantage of this discount code just for Maggie Lane subscribers!

Traditional Food Preparation Skills

1. The Art of Homemade Bread

This course covers yeast and sourdough. It is broken down step-by-step so that anyone can do it. If you’ve tried to make bread before and failed, this course is for you. By the end you’ll know just what to do to achieve the perfect loaf every time. What’s the secret? Knowing how to read the dough. The course gives you benchmarks at each step to know when your dough is ready for the next step.

2. Homemade Dairy Masterclass

Think you can’t make use of this class because you don’t have a cow? Think again. You can make all the recipes in this course using store-bought milk. Every recipe I’ve made have been made with milk from the store. The course starts out simple and builds your skills so that you can make the simplest fresh cheese all the way up to mozzarella or hard cheeses like cheddar and parmesan. No special equipment needed. You can use the things you already have in your own kitchen.

3. Baking with Home-Milled Flour

Want to learn the ins-and-outs of milling your own flour at home. This mini-course is a great companion to the Art of Homemade Bread class and gives you even more tips on using fresh-milled flour at home.

Food Preservation Techniques

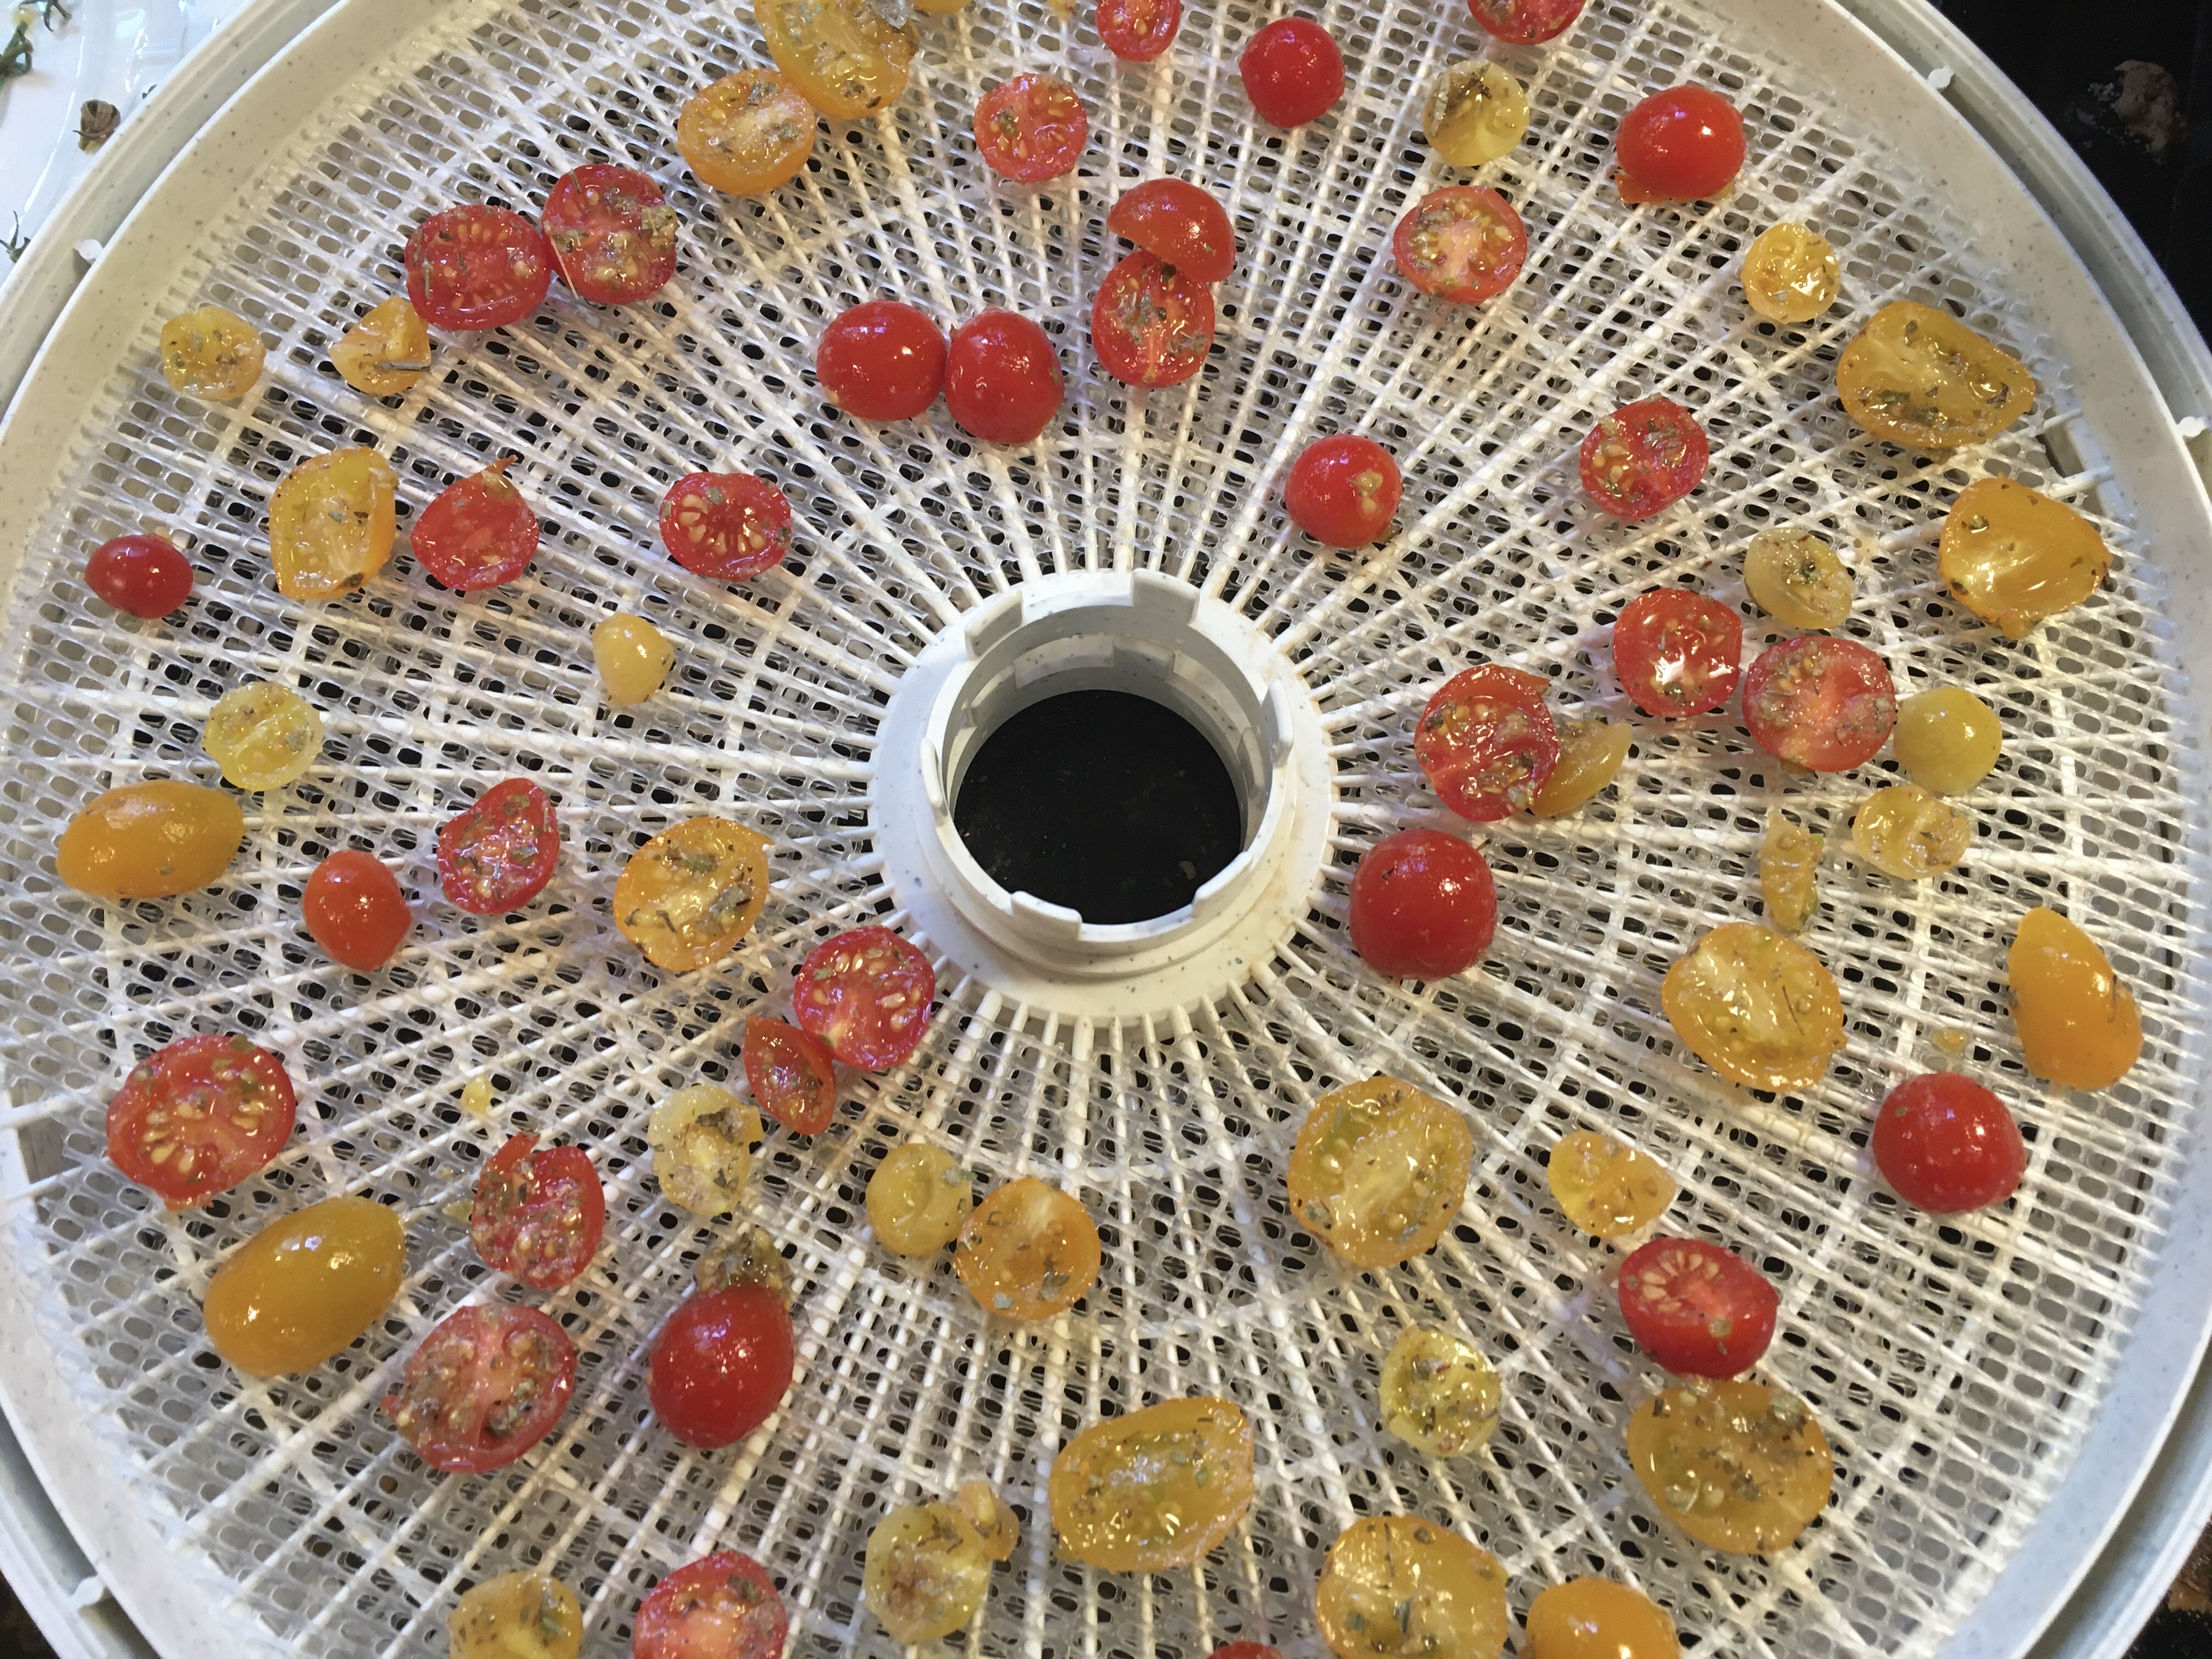
4. The Abundant Pantry Canning Masterclass

Learn how to safely water bath and pressure can in this masterclass. This comprehensive course gives you step by step instructions in over 70 lessons. You’ll get all your questions answered and learn to can with confidence. This class will remove all the doubt in eating your home-canned food.

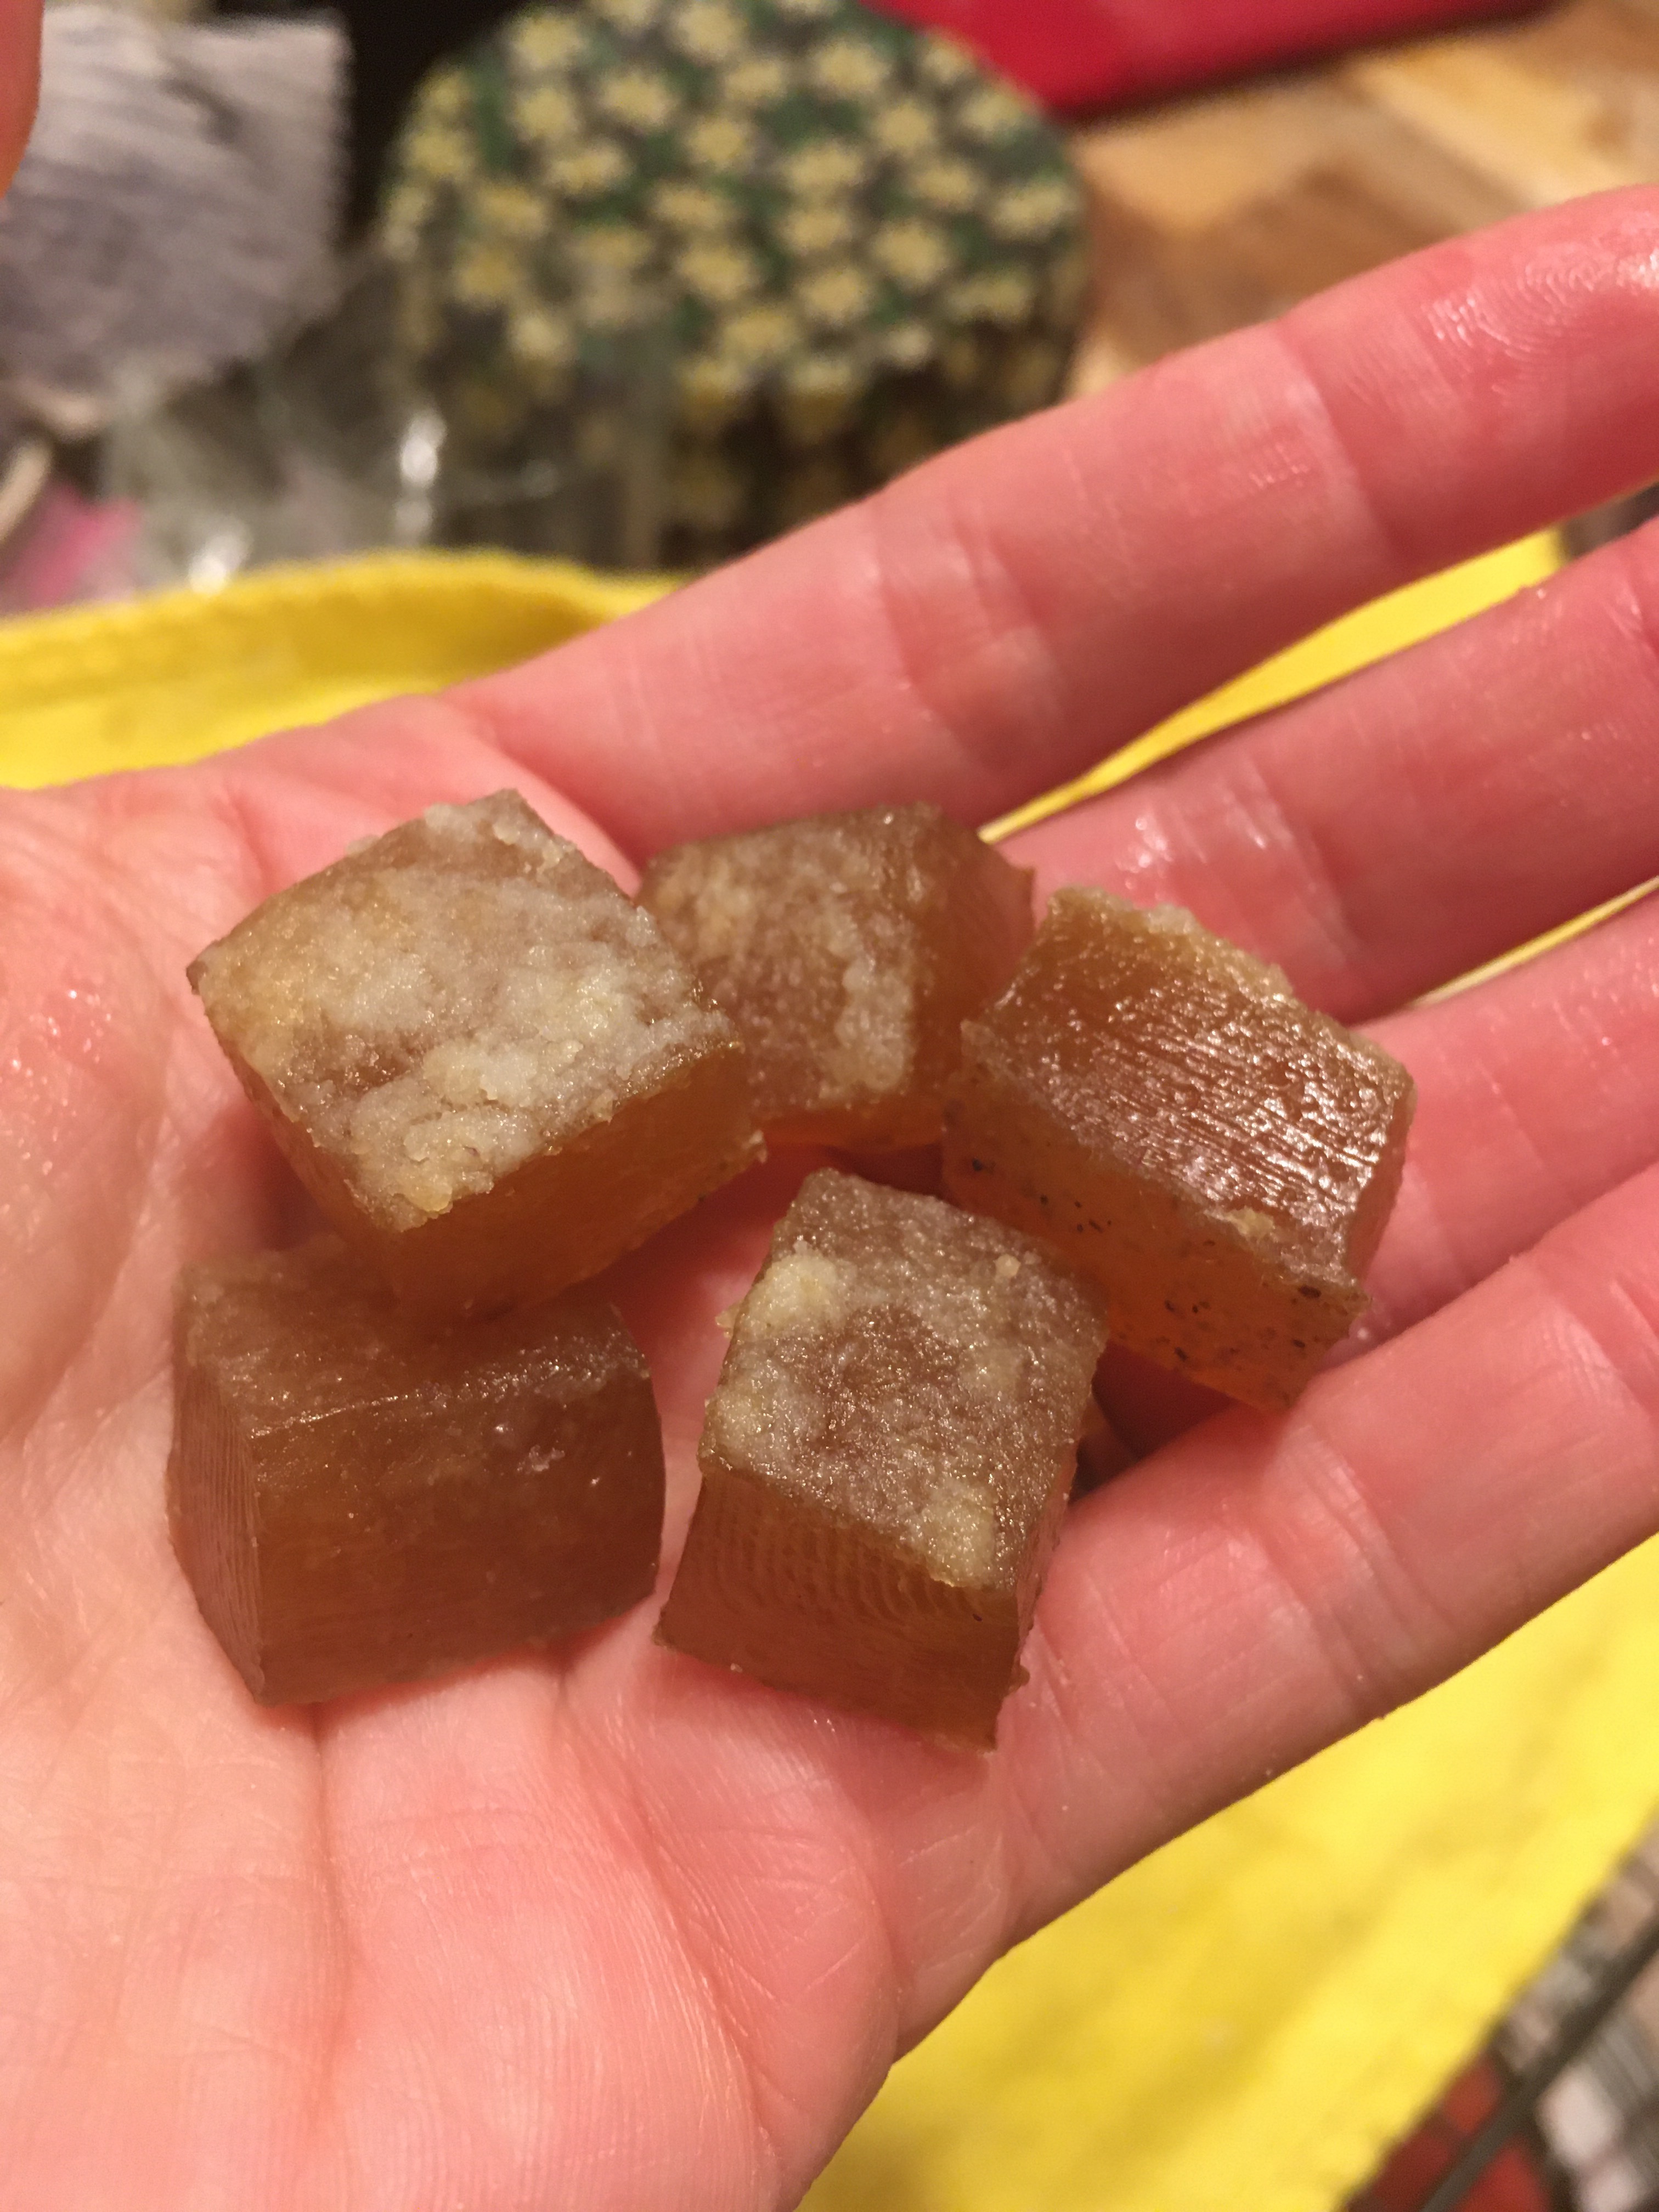
5. Preserving Eggs & Wild Milk!

If you have your own animals, these two classes will help you know what to do with all those eggs from your chickens and milk from your cow rather than give them to the neighbors. Learn to preserve your eggs like they are fresh for over a year, and find out how to use the good bacteria naturally present in your raw milk to your advantage.

Medicinal Herb & Garden Skills

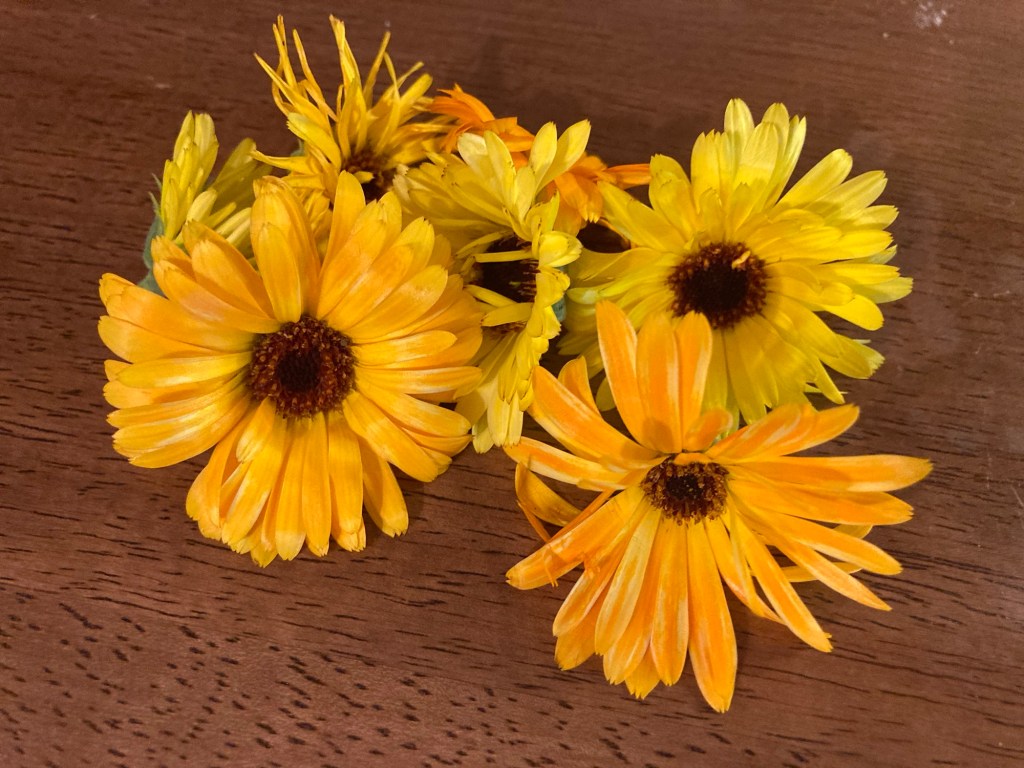
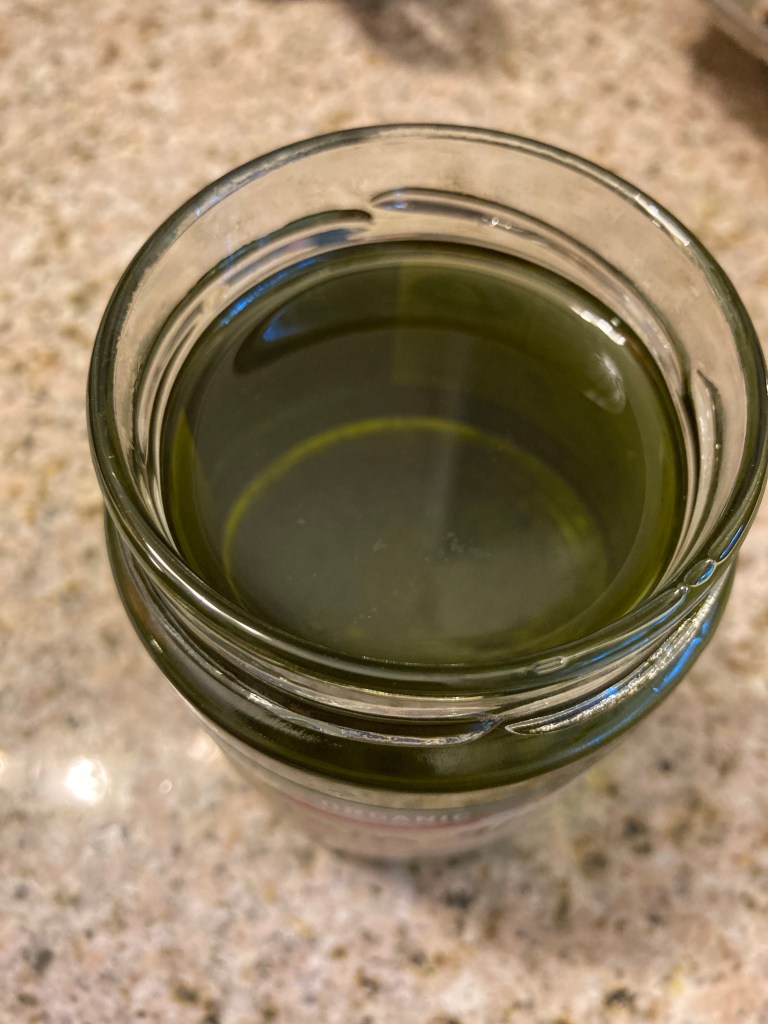
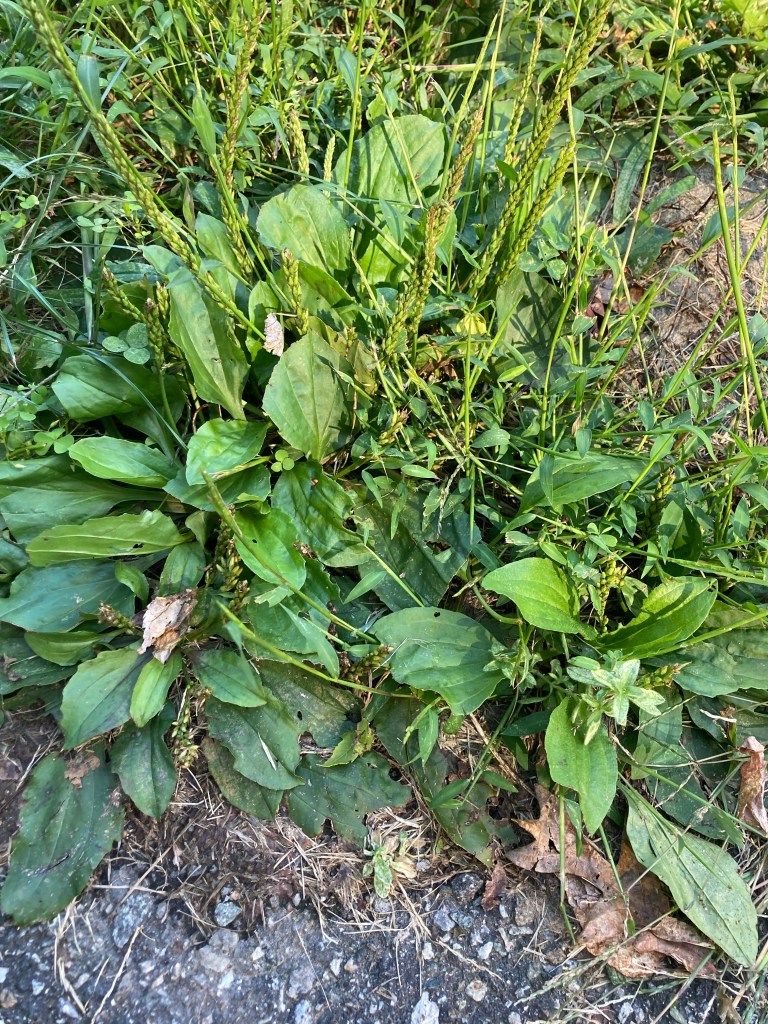
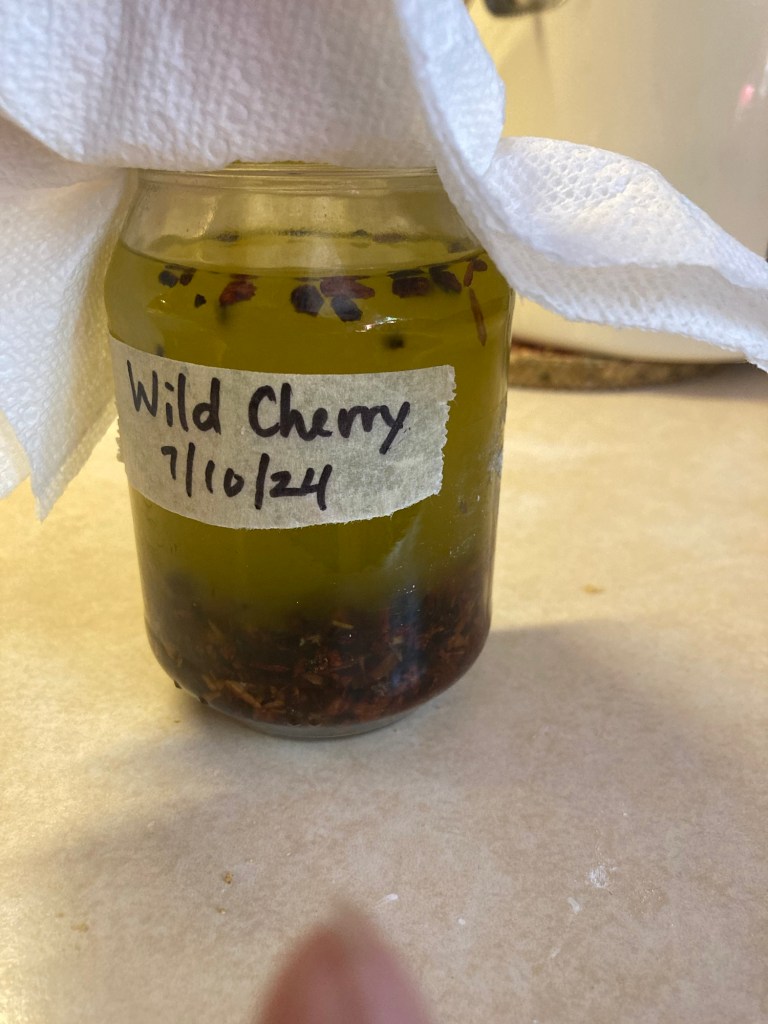
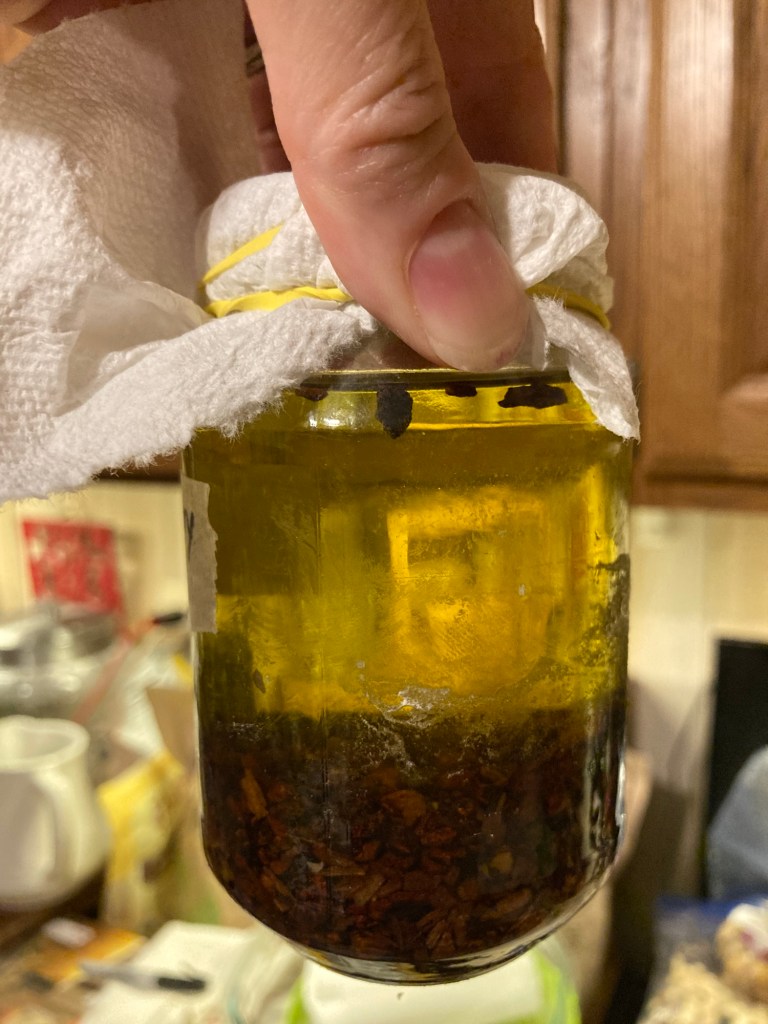
6. The Herbal Medicine Cabinet

Discover how to grow, harvest, and prepare your own herbal remedies. This beginner course is just what you need if you’ve been wanting to learn how to make your own teas, tinctures, gylcerites, syrups, herbal vinegars, oxymels, and steams, but don’t know where to start.

7. Permaculture

Learn how to work with nature in this introductory course to growing a productive and sustainable garden. Gain the basic skills you need to maximize your food production and provide your family with good home-grown food.

Household & Kitchen Resources
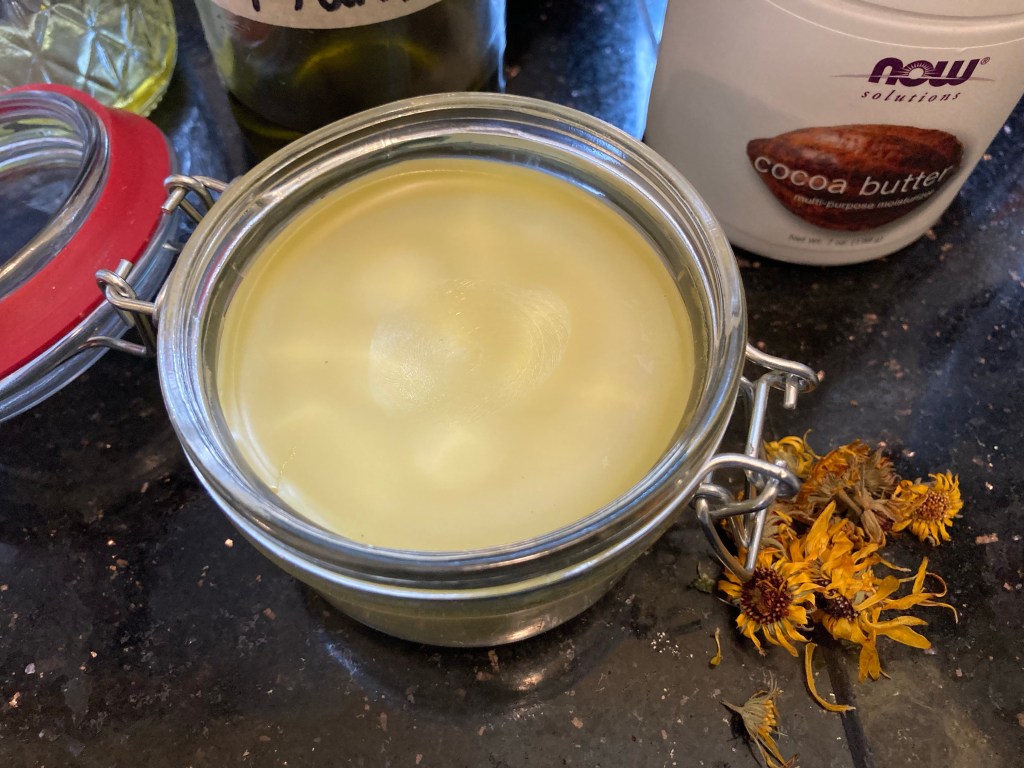
8. Handmade Home

This course is part of Homesteading Family’s Homestead Kitchen Membership. It covers soap making and making your own herbal oil and salves.

9. Home Management

Gain tips on managing a busy home, homeschool, and homestead. From tips to streamline breakfast to managing your time and finding joy in your day, let this course guide you to peaceful productivity.

10. In the Homestead Kitchen Magazine

This digital and print magazine is a beautiful addition to your coffee table and a valuable resource to your kitchen. The kitchen is truly the hub of the home. Whether your homestead is acres of land or a tiny balcony garden, you can make use of these tips and recipes in any kitchen. Take your cooking from scratch skills up a notch. This will soon become your favorite cookbook!

Want access to all these classes and more?

Homesteading Family offers a monthly or annual membership to their Homestead Kitchen Community. Membership offers you all these classes plus access to members-only content and challenges.

Whether you’re seeking greater self-sufficiency, trying to balance the budget, or simply wanting to experience the joy of making things at home, these online courses offer guidance and experience that makes traditional skills accessible to anyone.

Special BONUS for Maggie Lane readers!

Enter your email below to get the Homesteading Family coupon code.

View Homesteading Family classes here.

Not ready to sign up for full class? These FREE trainings might be just what you need.

FREE Dairy Training – click the link to sign up.

FREE Canning Training – click the link to sign up.

FREE Bread Making Class – click the link to sign up.

FREE Herbal Medicine Training – click the link to sign up.

Note: This post contains affiliate links.

Air Drying Calendula Blossoms

Air Drying Calendula Blossoms

Calendula is one of the few plants in the Aster family that we use as my son has a allergy to ragweed which makes him sensitive to many of the plants in that same plant family.

I’ve grown Calendula for years and thought I’d share how I air dry them without a dehydrator. It is often recommended that you dry calendula with a dehydrator since the centers are so thick and resinous that they can be hard to air dry, and if not completely dry, they can mold in storage.

Why this method of air drying Calendula works. Two reasons:

  1. Good air flow.
  2. Long drying time.

Because my calendula is grown in containers, I usually have small harvests, meaning I’m not harvesting basketfuls at a time. I might harvest 2-3 flower heads per day. This is certainly not enough to warrant pulling out the dehydrator in order to dry them.

So mine sit and wait for me, and as they wait, they dry.

Here’s what I do…

Each flower that I pick goes into a little linen bag. This is in fact a little bag for sprouting micro greens, but since I use a different method for that, I’ve never used that bag for sprouting so I turned it into my calendula drying bag. Now, let’s stop here. You don’t need a bag for this. Any airy, piece of fabric, linen, muslin, flannel, burlap, or scrap of cheesecloth that is large enough to lay the flowers on and fold over on top of them will do. The purpose of the fabric is to keep your flowers clean and free of dust while drying.

Tiny harvest. These Calendula blossoms have been drying for a few weeks.

Next I lay this little bag on top of my hutch where the air is warm. I usually lay it in the bowl of my old fashioned kitchen scale which lives up here, but anywhere high and warm that is open to the air will do. On top of the fridge would work quite nicely. (Do not place anything inside an upper cupboard though. There would not be enough air flow in there.)

As I pick new flowers, I add them to the bag. Each time I take it down to add more I shuffle them around to ensure they are all getting moved around so that all the parts dry well.

New flowers added to the bag.

When I have new blooms to pick, I add the new flowers to the bag and it goes back up on the hutch. Sometime in the fall when they are all good and dry, I’ll take them down, ensure that they are all dry and can be crushed, and I’ll store them in a glass jar until I need them to make more infused oil or Calendula salve. They wait quite happily for me, and by the time I’m ready to use them in winter, they are dry and ready to use. In fact, most years, they just sit there until I remember to take them down sometime in December.

Growing, harvesting, and drying herbs doesn’t have to be a fussy process. Find a method that works and feels easy to you and go with it. What’s stopping you?

Want to turn your Calendula flowers into an infused oil. Check out my step by step process for making a home as herbal infused oil. These steps are written to make Plantain oil, but the process is the same for making an infused oil with any plant.

And once you have a homemade infused oil, you’re only one step away from making your own salve. You might want to check out my Healing Salve which is made with Calendula. (See the little dried up Calendula flowers laying there?) 😊

And if you really want to wrap your head around making all your own infused oils and slaves, let Carolyn with Homesteading Family hold your hand through the process. She recently came out with a Herbal Oils class that is quite nice which covers the basics of making culinary oils, infused medicinal oils, and using essential oils for your own handmade salves, balms, lip balms, and more. You can get access to it as part of their Homestead Kitchen Membership.

Note: This post contains affiliate links.

DIY Herbal Infused Plantain Oil

Look at that color!!! Have you ever seen a prettier dark green. Did you know that the deepness of color, indicates the potency of the oil. The deeper the color, the more potent the oil.

Note: This recipe is written for plantain but this method can be used with any plant. You could make rose, mullein, borage, Hawthorne, calendula…. The sky is the limit.

Anyone have this little plant in their back yard?

Plantain (Plantago major) is one of the most common “weeds” found in lawns. Many homeowners spend thousands of dollars every year trying to get rid of this little weed. It is a tough one to eradicate since it forms in low-growing rosettes. The fact that it hugs the ground means lawn mowers often pass right over it without doing any damage.

The other trait of plantain that makes it difficult to get rid of are all these little seed stalks that it sends up in the late summer to early fall. The seeds spread easily which means new little clusters will always pop up.

The fact that this little plant is so common and determined to survive means that it has a whole host of medicinal properties. So go find a lawn that you know is not sprayed with any weed killers, pick some leaves, and let’s make a batch of plantain oil.

Plantain leaves can be gathered any time of year when the plant is growing. The leaves will be most potent when gathered before the plant goes to seed. (Note: Do not harvest the seeds. They contain contraindications for some health conditions.)

Let’s make some oil!

Infused Plantain Oil Recipe:

  1. Gather your leaves. Choose whole, unblemished leaves if possible. Do not pull up the whole plant. Pinch from the bottom of the leaf stalk to pick each leaf individually. This will ensure more harvests later in the season.
  2. Fill a bowl with cool water to rinse the leaves of any dirt or bugs. I actually like to use my salad spinner for this step. The mesh basket makes it easy to wash, drain, and dry. See step #3 below.
  3. The next step is to let the leaves dry and wilt. They don’t have to dry completely, but the drier they are, the longer the shelf life of your oil will be. Using the mesh liner from your salad spinner by removing the strainer from the outer bowl so that the leaves can get good air flow works well for me. I like to fluff them up occasionally as I walk past them on the kitchen counter to keep them moving to ensure they dry evenly. Or if you don’t have a salad spinner, a pasta colander with larger holes will work as well. You can also lay the leaves out on a tea towel on top of a cookie cooling rack to air dry and wilt. Now, here, you could choose to let them air dry completely for winter storage in a glass jar, or you can wilt for 2-3 days or until dry before moving on to making your infused oil. A dehydrator could also be used in low heat if you don’t want to wait for them to air dry.
  4. When sufficiently wilted or dried, take your leaves and roughly tear or crush them into a glass jar. Fill the jar half full with plant material.
  5. Cover the plant material with olive oil or any oil of your choice that you have in your kitchen.
  6. Put a lid on your jar and loosely tighten.
  7. Set a clean dish rag or cloth in the bottom of a sauce pan that is half full of water. (Note: the dish rag prevents the glass from being too close to the heating element which could cause it to break.)
  8. Set the jar in the sauce pan on top of the dish cloth.
  9. Turn on the heat to medium high. (Set a timer for 10-15 minutes so you don’t forget your oil.)
  10. Watch the oil, as soon as the water starts simmering, turn the heat off. We don’t want to cook the plant material. Just infuse it with a little warmth.
  11. Let the jar sit until it is cold.
  12. Strain your oil using a handheld mesh strainer (often the dollar store or grocery store will have these) into a clean, completely dry, glass jar.
  13. Label your jar with the name of the oil and date. Masking tape and a sharpie works well for this. I keep a masking tape dispenser like this on my kitchen counter specifically for labeling things.

And you did it! You made your own Plantain oil! Well done!

And now that you have the skill of making an infused oil under your belt, you can do it with any medicinal herb. Be creative. Some of my favorite plants to make oil with are mullein, rose, calendula, Pansy, violet, echinacea, pine, wild cherry, and yarrow. I use my infused oils every day.

Want to see a photo log of these steps? Scroll to the bottom of the page.

Infused Oil FAQ Section:

What is infused plantain oil good for?

Plantain is an excellent remedy for any type of bite, sting, or skin irritation. It is especially useful for anything that needs pulling or drawing out. It is a mild astringent and good for any skin or issue with any angry or inflamed membranes.

How long will my infused oil last?

Homemade infused oils are good indefinitely if made with dry plant material, and if stored in a cool, dry location. If fresh or wilted plant material is used, extra steps will need to be taken to ensure that your oil doesn’t mold.

What are the signs of moisture in my oil?

Condensation or cloudiness on the inside of the jar after straining is an indication of moisture. This is easy to remedy. Simply take the lid off of your jar and cover with a paper towel or coffee filter and secure with a rubber band. Let the jar sit until the oil is clear and all the moisture has evaporated. Then you can replace the lid and store in a cool, dry place.

Do you see the cloudiness in this jar of oil?
Same jar of oil as above after 2-3 days sitting with a paper towel cover to allow the oil to evaporate. Can you see how much more clear the oil has become?

How do I know if my oil is moldy?

When an infused oil grows mold, it often does not grow on the surface like what we are used to seeing on food in our fridge. It grows down inside the oil and looks like dark fuzzy spots floating in the bottom of your jar. For this reason, I like to store my oils in clear, glass jars so that I can easily see if anything begins to grow or look amiss. An off smelling oil would be another indicator. However, be sure that you smell your oils right after making them to be sure that you know the scent of that plant. Not every plant has a pleasant smell, and you don’t want to throw out a perfectly good batch of oil simply because you aren’t familiar with the scent of that particular plant. So train your nose to know what your oil smells like right after you make it.

How to know if my oil has gone bad?

Visible mold on the surface, dark spots growing in the bottom of the jar, or rancid or putrid smells are signs that your oil has spoiled and should be discarded.

Can I use this same method to make an infused oil with a different plant?

Yes! This method can be used to make an infused oil with any medicinal plant. Keep in mind that infused oils dried plant material will have the longest shelf life.

Do you feel confident to make your own infused oil now? I hope so. Enjoy your creations. Using my oils through the year and especially during the winter is one of my favorite things.

Want to make your infused plantain oil into a salve?

Make this Healing Salve using your infused plantain oil. If you don’t have infused Calendula oil, just replace it with an extra part of plantain oil and you’ll be all set.

Healing Salve

Want to take a deeper dive into the world or herbal oils?

Consider the new Herbal Oils class by Homesteading Family. It covers making your own culinary oils, medicinal infused oils, as well as your own salves and body products using essential oils. It’s a great all-in-one course for beginners. You can get access through Homesteading Family’s Homestead Kitchen Membership.

Photo Log Step-by-Step of Making an Infused Plantain Oil:

Plantain (Plantago major) – freshly picked.
Washed in my salad spinner.
Air dried and wilted.
Completely dry and crispy. These can be stored for use later in a sealed glass jar, or you can move straight into making your infused oil.
Though not plantain here (this is torn violet leaf), the next step is to roughly tear your plant and place in your jar.
Cover the plant material with the oil of your choice.
Place the jar on a cloth in a sauce pan half full of water. Turn on the heat.
When the water starts to simmer, turn off the heat and let it sit until completely cool. Then you’re ready to strain and store.

Note: Some links on this page are affiliate links.

Dehydrated Jalepenos

Might sound weird, but this is a great way to preserve your peppers whether spicy jalepenos or some other pepper.

Simply slice, spread out on a dehydrator tray, and dry at 125 degrees for about 12 hours or until crispy.

They are great sprinkled on pizza, Mexican food, or anything you want to add a little crunch to. And let me tell you, in my opinion, these are far superior to canned or picked jalapeños.

After they are dry, store in a jar until needed. I’ll tell you, I can’t grow peppers where I live, but I will buy jalapeños in bulk just so I can try them. Give it a try.

Homemade Dehydrated Refried Beans

May seem counterintuitive to go to the trouble to go to the trouble of making refried beans only to dehydrate them, but this makes a great, shelf-stable convenience food, or is excellent lightweight, easy to carry, protein packed food for a backpacking or camping trip.

I used to buy the Santa Fe dehydrated refried beans for many years. I would use them when I needed a quick lunch. But prices went up and we couldn’t afford them any more. So, I had to figure out how to make my own.

If you’re going to make these, you might as well make a lot. You can presoak and cook the beans on the stovetop, but cooking dried beans in my Instant Pot is one of my favorite uses for that appliance.

Cooking Dried Beans in the Instant Pot:

Sort 2 pounds of dried pinto beans.

Add the beans to the IP along with 2 tsp salt, 1/2 tsp black pepper, and 8 cups of water.

Lock the lid and set the valve to the sealed position.

Set the Instant Pot for Pressure Cook, High Pressure, 48 minutes, Warm setting OFF.

Quick release the pressure and stir the beans.

Mash the beans using your potato masher until they are the desired texture.

Drying in the Dehydrator:

Spread them evenly on dehydrator trays as thin as possible, about 1/4” thick.

Dehydrate at 145 degrees for 12-24 hours until they are completely dry and will crumble to a powder.

Drying in the Oven:

Alternatively you could spread these on parchment paper and dry on cookie sheets in your oven on the lowest heat setting. Aim for no warmer than 150-170 degrees. You want them completely dry with no moisture left. They should crumble to a powder

Storage:

You can store in portion sizes appropriate to your family size in plastic zip-lock bags or in glass jars. 1 cup = about 2 servings.

To rehydrate:

To rehydrate the beans for a meal, add 1 cup of dehydrated beans to 2 cups of boiling water. Simmer about 5 minutes until all the water is absorbed. Estimate about a 1/2 cup dried beans per serving per person.

Do not use a bag or jar of beans if you open them and they have a strong musty smell. If this happens it is likely that all the moisture was not dehydrated out of them and that they have spoiled.

Want to make more shelf stable pantry staples?

Consider Homesteading Family’s Homestead Kitchen Membership. In addition to pantry staples like homemade condiments, soup, and baking mixes, you’ll learn what you can dehydrate and freeze dry! Check it out!

Note: This page contains affiliate links.

Instant Bone Broth

I’m so thankful for these little homemade chicken bullion cubes. My son has been sick the last two days. He won’t eat much when he’s ill, but he’s always up for chicken soup. I can feed him homemade bone broth in an instant any time I need to by just reconstituting with boiling water. This is one of the most rewarding things I make. And if dehydrated it’s shelf life is a good long time if refrigerated. You can specific instructions on how to make them by taking a peek in the Pantry.

Dehydrating Tomatoes

I decided to take the advice of my friend Carolyn Thomas at Homesteading Family and dehydrate some of my end of the season tomatoes. It was fun and easy.

We’re still getting the last of the ripe tomatoes off our cherry tomato plants. Since this is about the only vegetable that I seem to be able to grow prolifically, sometimes we don’t eat them up fast enough. Enter my dehydrator.

I simply sliced them in half, and seasoned them with a bit of salt, pepper, granulated garlic, oregano, and savory. You could use any seasonings you like.

Lay them out on the dehydrator tray and dehydrate at a temp below 150 degrees until they are crisp.

If you have a few that are past the point of saving, then squirt out the seeds into a bowl, cover with water for a day or two to loosen all the gel, and then lay out on a paper plate to dry for the next year’s growing season.