I eliminated gluten from my diet about 3 years ago. I realized that wheat was aggravating some of my other health symptoms. I’ve tried to various ancient wheats over the years – spelt, khorasan, einkorn, etc. to see if I could tolerate any of those, but to no avail.
I’ve recently discovered that I seem to tolerate Emmer which is a lesser known ancient wheat. I’ve been trying it in small amounts to try to build up the tolerance in my system slowly. This recipe is a result of my experimentation.
It is mostly gluten-free, with a little bit of Emmer. Substitutions are noted. in the recipe in parentheses.
Hybrid Gluten-Free, Ancient Wheat Biscuit Recipe:
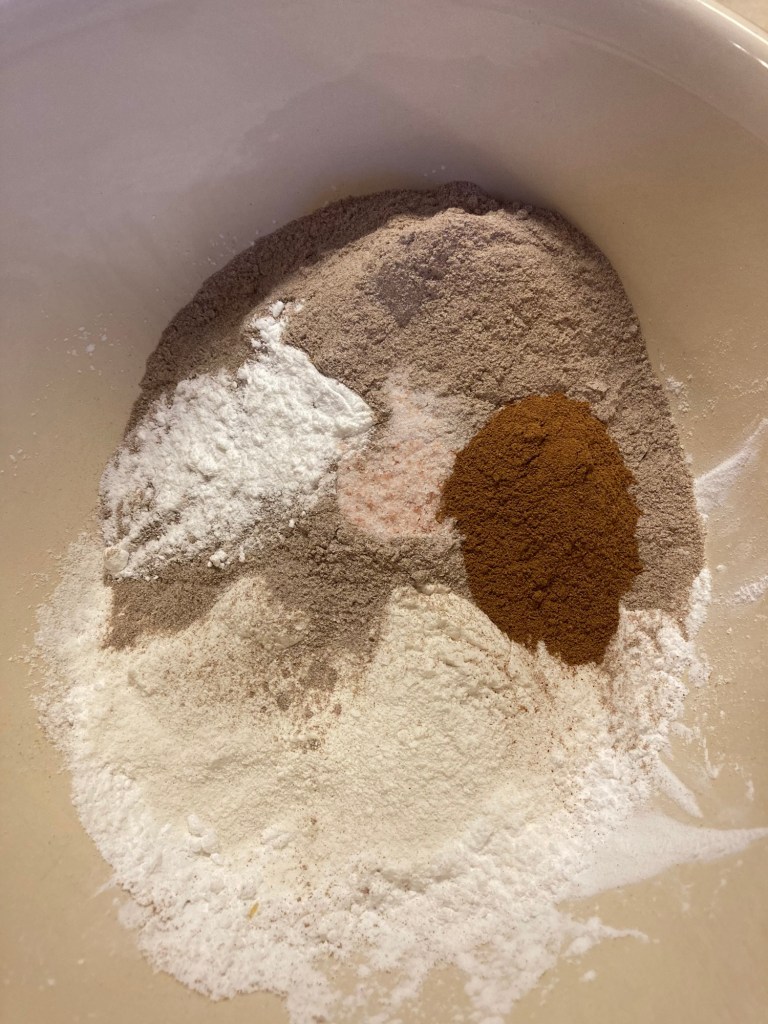
3/4 cup Arrowroot Powder (or Tapioca Starch)
1/2 cup Teff Flour (or Buckwheat, Millet, Sorghum, or Oat flours)
3 tbsp. Emmer (Spelt, Khorasan, or Einkorn)
1/2 tsp salt
2 tsp baking powder
Mix the above together and then add….
1 cup milk (or non-dairy milk, or water)
2 tbsp melted butter (or oil)
1 egg (or 3 egg yolks, or 2 tbsp psyllium husk dissolved in 1/2 cup water to make the recipe egg free)
Combine the wet and dry ingredients together. Let the mixture sit for 10 minutes to hydrate.
Preheat the oven to 375 degrees.
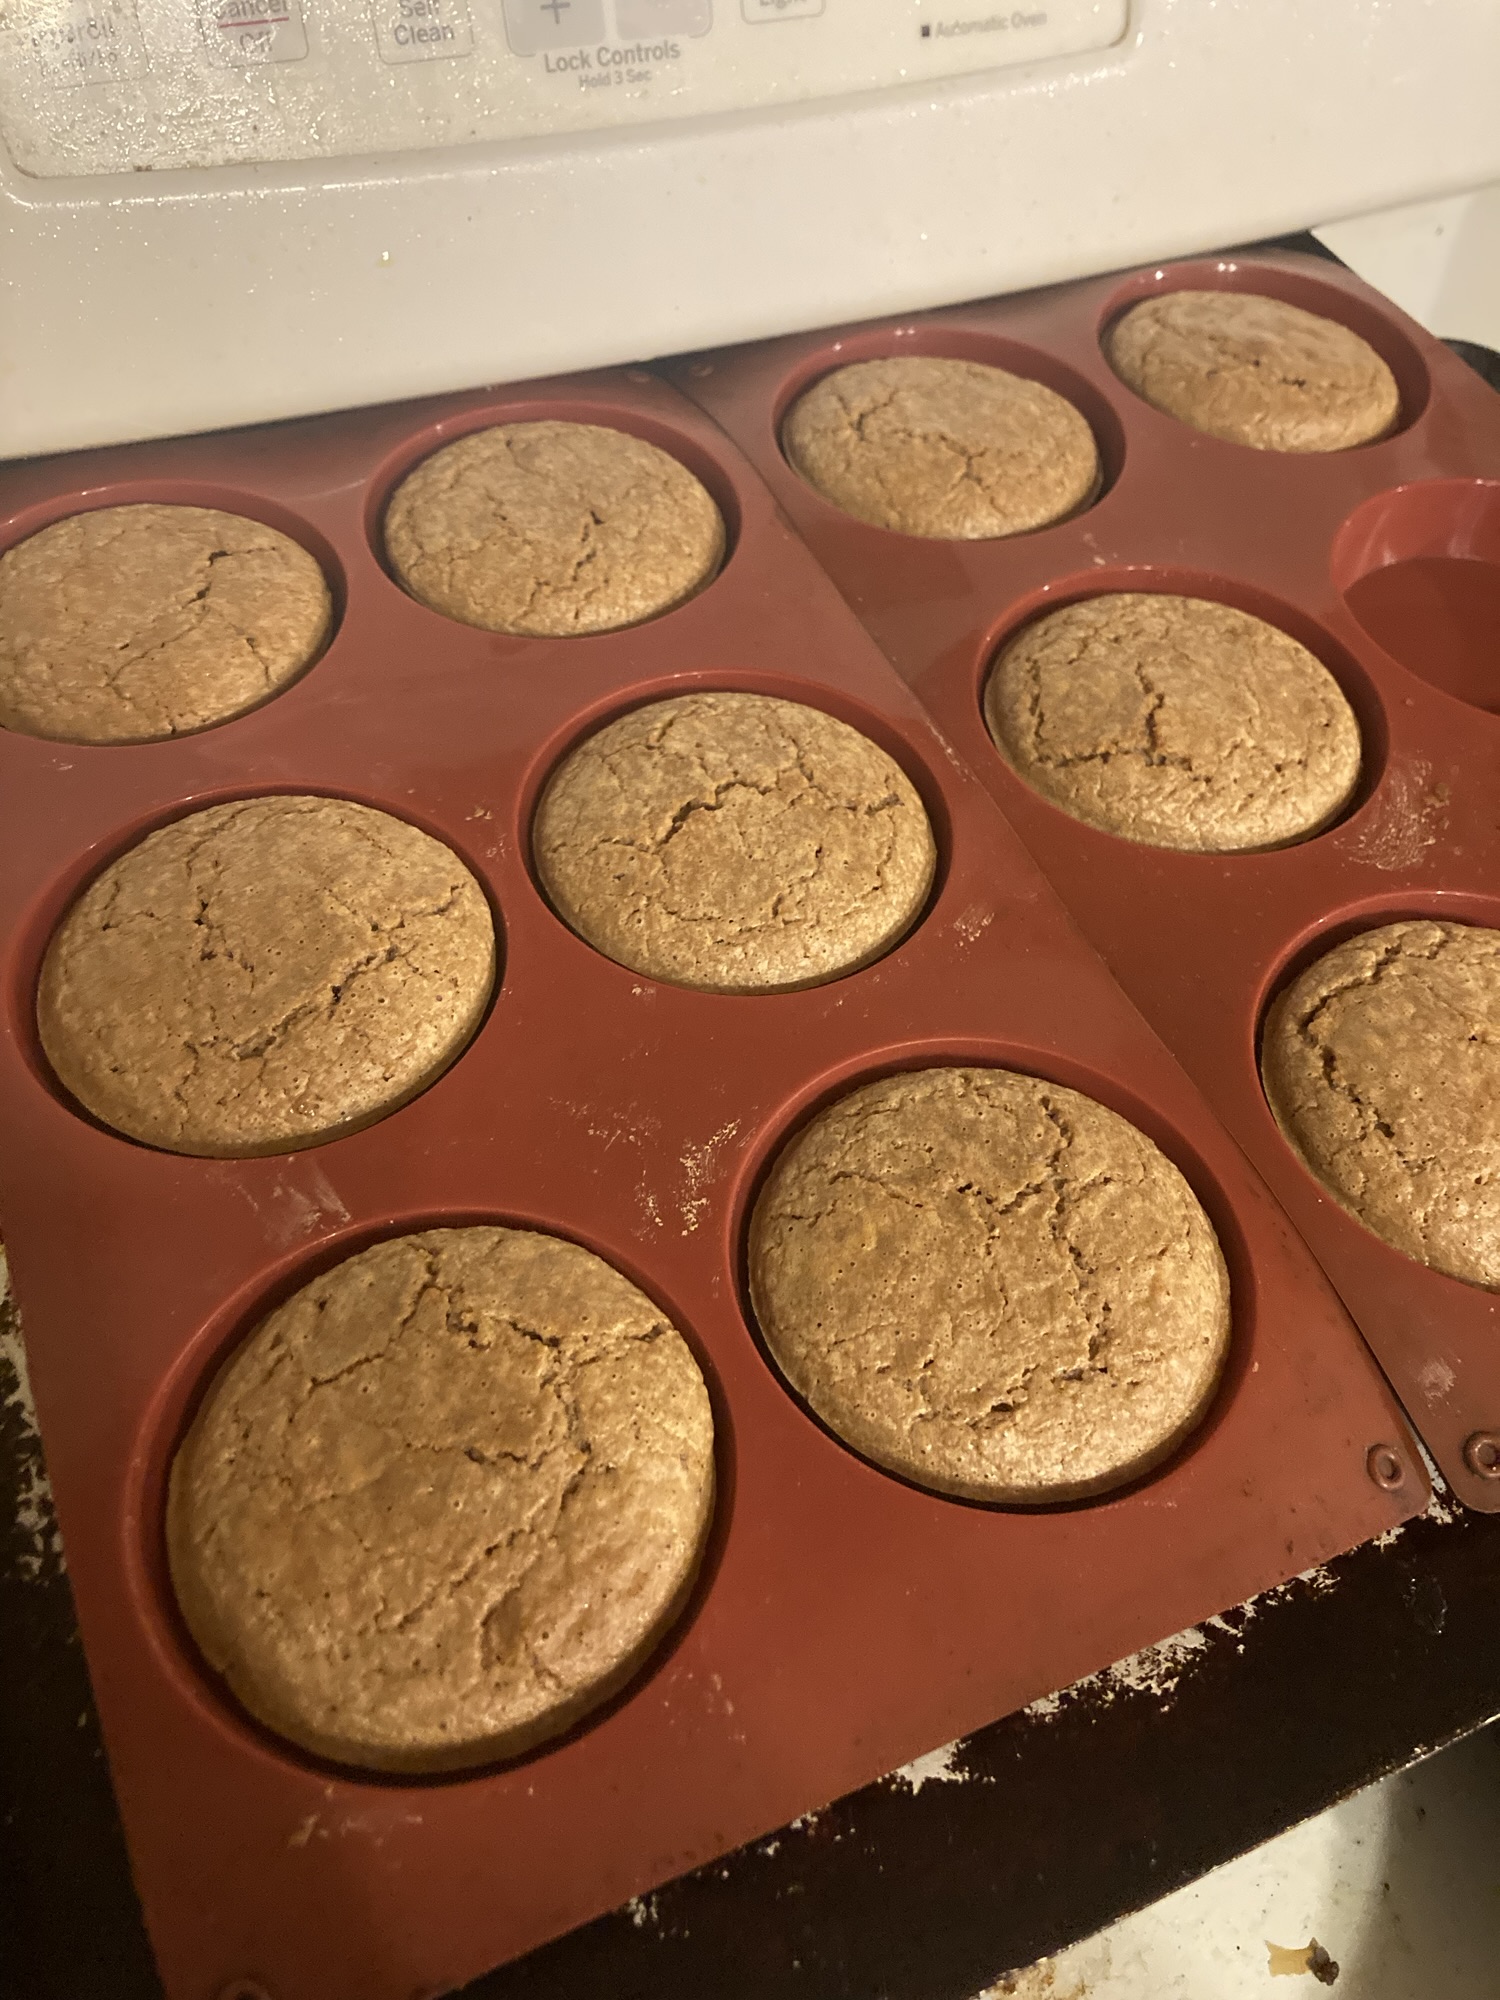
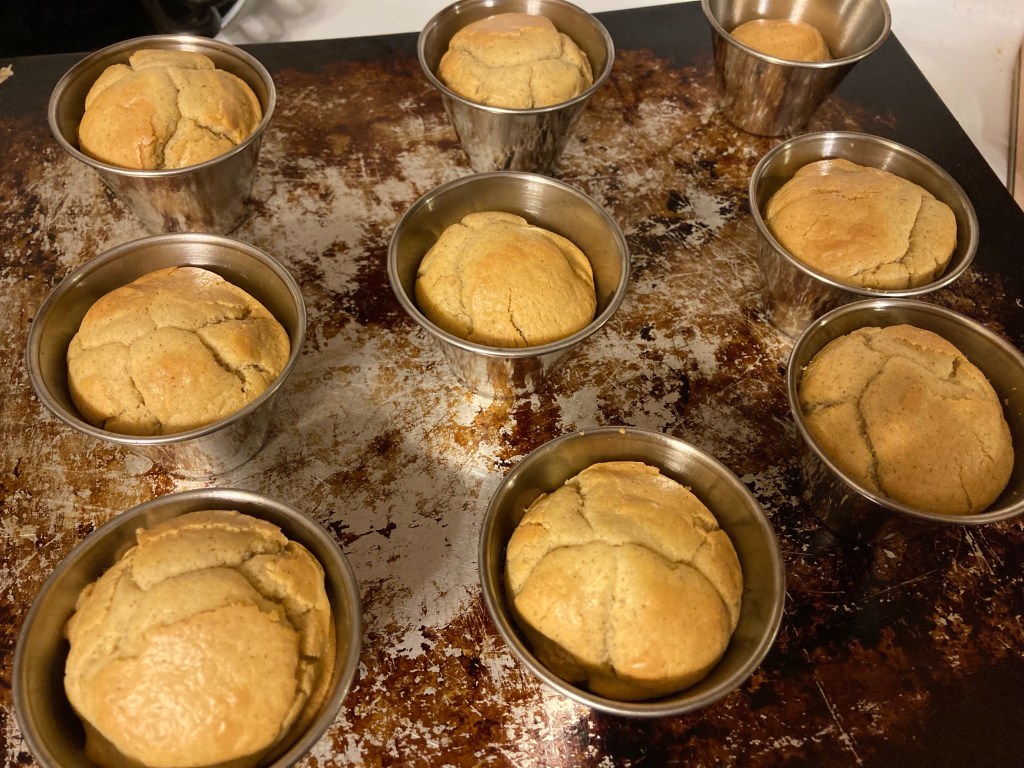
Pour into silicone liners and bake for 20-24 minutes. Cool on wire racks.
Enjoy!