This is my gluten-free sourdough. I used it often this summer until I started to react to sourdough and other fermented foods due to a histamine intolerance. So into the fridge it went. It’s been there since June. Unpacking after our move, painting, refinishing the floors, and getting COVID means that I haven’t baked with it since. I have a friend though that asked me to make her a loaf of gluten-free sourdough bread so I thought, I’ll take this out and it will wake up, and I’ll bake some beautiful bread.
Well, it’s a week later and I still haven’t made that loaf of bread. Why? I’m still waiting for my sourdough starter to wake up! It had been stored in the fridge unfed for about 2.5 months.
But, I’m not worried. Did you know that it can take more than a week to wake up a sourdough starter that has been in cold storage for a long time.
I took this sourdough out on Wednesday. It’s now the following Wednesday and the starter is just now starting to show signs of life. A loaf of bread will be coming soon. Let me tell you how to wake up your sourdough starter after being stored for months in refrigerator.
How to Wake Up a Sourdough Starter from Long-Term Cold Storage:
1. Day 1: Take your sourdough starter out of the fridge and let it warm up on the counter overnight or for 8-12 hours.
2. Day 1, 12 Hour Mark: Feed your starter some flour and water and let it sit for 12 hours. Exact amounts aren’t super important, but over feeding is a concern here. You don’t want to over dilute your starter. My recommendation is to feed your starter about 1/4 of its total volume. So if you have 1 cup of starter, you would feed it approximately 1/4 cup of flour. If you feed it more than that, it would be like feeding someone who had just come out of a coma a five course meal. When sourdough has been hibernating for a long time, you want to gradually introduce food again or you will over dilute it and it and the microbes won’t be able to catch up and consume the food that you give it fast enough.
3. Day 2: Feed your starter again and let it sit for another 12 hours.
4. Day 2, 12 hour mark: Feed your starter a third time and let it sit for another 12 hours.
5. Day 3 through Day ?: Now you wait. Let your starter sit. You may stir your starter approximately every 12 hours until you start to see tiny bubbles form. Stirring periodically will prevent mold from forming while you wait for your starter to wake back up and ferment all that flour you just fed it. Once you see bubbles forming, don’t feed or stir the starter. Let it sit until you see some rise. The starter should double or almost double in volume. This may take another 12 hours or more to double once you start seeing bubbles. Once it has risen you can resume regular feedings and your starter is ready to use again.
Don’t be surprised if it takes a week or more to wake up your starter. After your three feedings 12 hours apart, just let it sit with occasional stirrings until you start to see bubbles. Once you are seeing some bubbles, don’t touch it. Let it sit until you see some rise. This is my starter one week after taking it out of the fridge. It’s day 8 for me and I’m just now starting to see some activity. See the tiny bubbles in the jar.
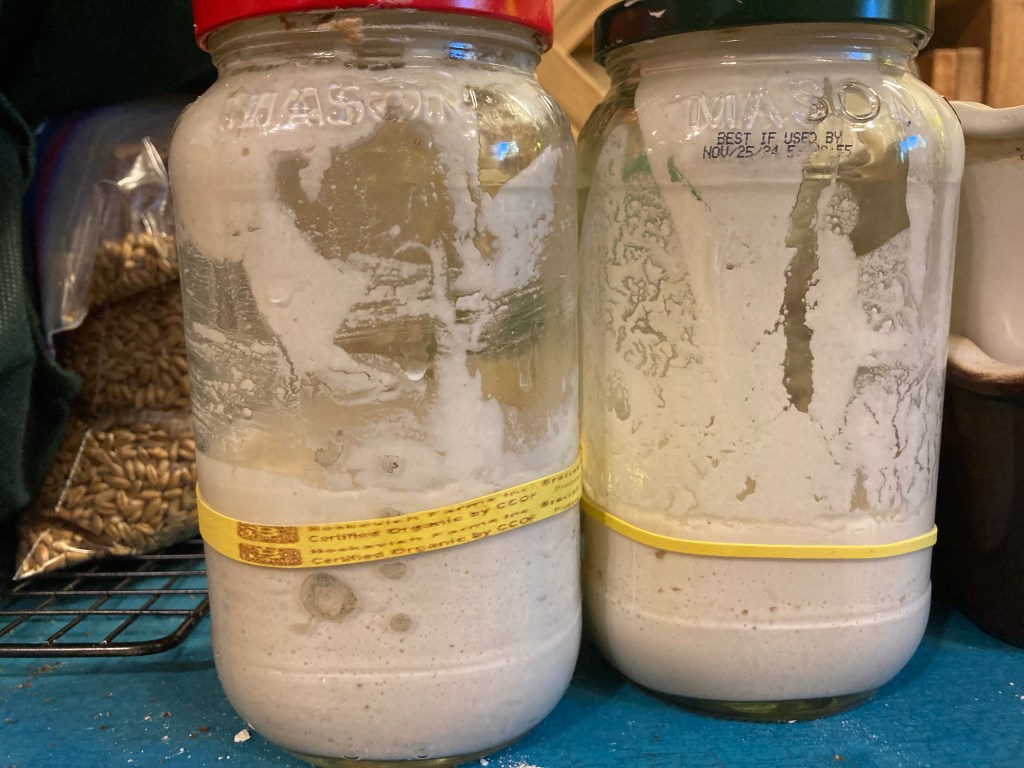
This is at the end of the day, about 12 hours after I started seeing some activity on day 8.
So don’t give up on your starter. Just give it time. Almost any starter will wake up again. I’ve known so many people who throw out their mature starter because they think it’s dead. It’s not. It’s just still asleep and hungry. You can nurse it back to being healthy and active again. It just needs some time after that long, cold nap. Even if you take it out and it’s covered with black liquid, it can be revived. That black liquid is called “hooch.” It is alcohol that is given off when the microbes are starving. So, don’t throw it out. It can still be saved.
These steps for waking up your sourdough will work for any sourdough starter made of any type of flour – wheat, spelt, gluten-free, etc. So don’t assume you’ve ruined it by leaving it in the fridge so long. Give these steps a try. It’s definitely worth a try to wake it up rather than starting a new starter from scratch.
Happy baking!