Crock Pot Cooking: Tips and techniques for creating one-pot meals

Rival Crock Pot

Rival Crock Pot

The convenience of crock pots for me is that it’s a one-pot dish. You throw it all in to cook in the morning and by dinnertime (when everyone is melting down and you’re exhausted) dinner is ready.

However, this means that I have a hard time finding crock pot recipes that I will actually make. Most recipes that I come across require cooking the meat beforehand. Frankly, I’ve never understood that. If I wanted to cook the meat in the skillet, then I would cook the meat in the skillet and not cook it first so that then it could cook in the crock pot all day. So, if it requires cooking meat or sauteing beforehand then it’s pretty likely that it’s not going to make it to my dinner table. I do have a few recipes that I’ve used and liked (click here and scroll down to see a recommendation for my favorite little crock pot book). But, most of the time I end up modifying a recipe that I’ve used before or just making one up as I go along  based on what I have on hand.

So, here are some tips on coming up with your own crock pot meals.

Crock Pot Cooking Tips and Techniques:

  • Meat: If cooking meat with the bones in season with basic spices – salt, pepper and garlic (whole cloves with the skins on, read more about that here), cover with liquid so that you can use all the yummy bone broth. Visit the Pantry for directions on how to turn your homemade broth into bullion cubes.
  • Veggies: If cooking only veggies (like baked potatoes, mashed potatoes or sweet potatoes – read my other crock pot cooking article – click the Crock Pot Cooking category in the sidebar – for directions on how to cook these in your crock pot), then only add enough water to just cover the bottom of your crock pot by about one inch. You don’t want then to turn to mush. Since a crock pot is a sealed cooking system the veggies will cook with their own liquid and so it needs very little liquid added.
  • One-Pot Meals: These are my favorite meals to cook in my crock pot. If cooking meat and vegetables together put the meat on the bottom, especially if it contains bones. Add water, but just enough to barely come to the top of the meat. If adding veggies, add whole vegetables (i.e. whole potatoes) or large chunks if possible so that they are easy to remove whole. If adding rice, add extra liquid but only about half as much as what is the package directions say. And add a little bit of oil/fat to keep the rice from sticking to itself and the sides of the crock pot as it cooks. Always cook meals with rice on the low setting otherwise it can burn or stick on the sides of the crock pot.
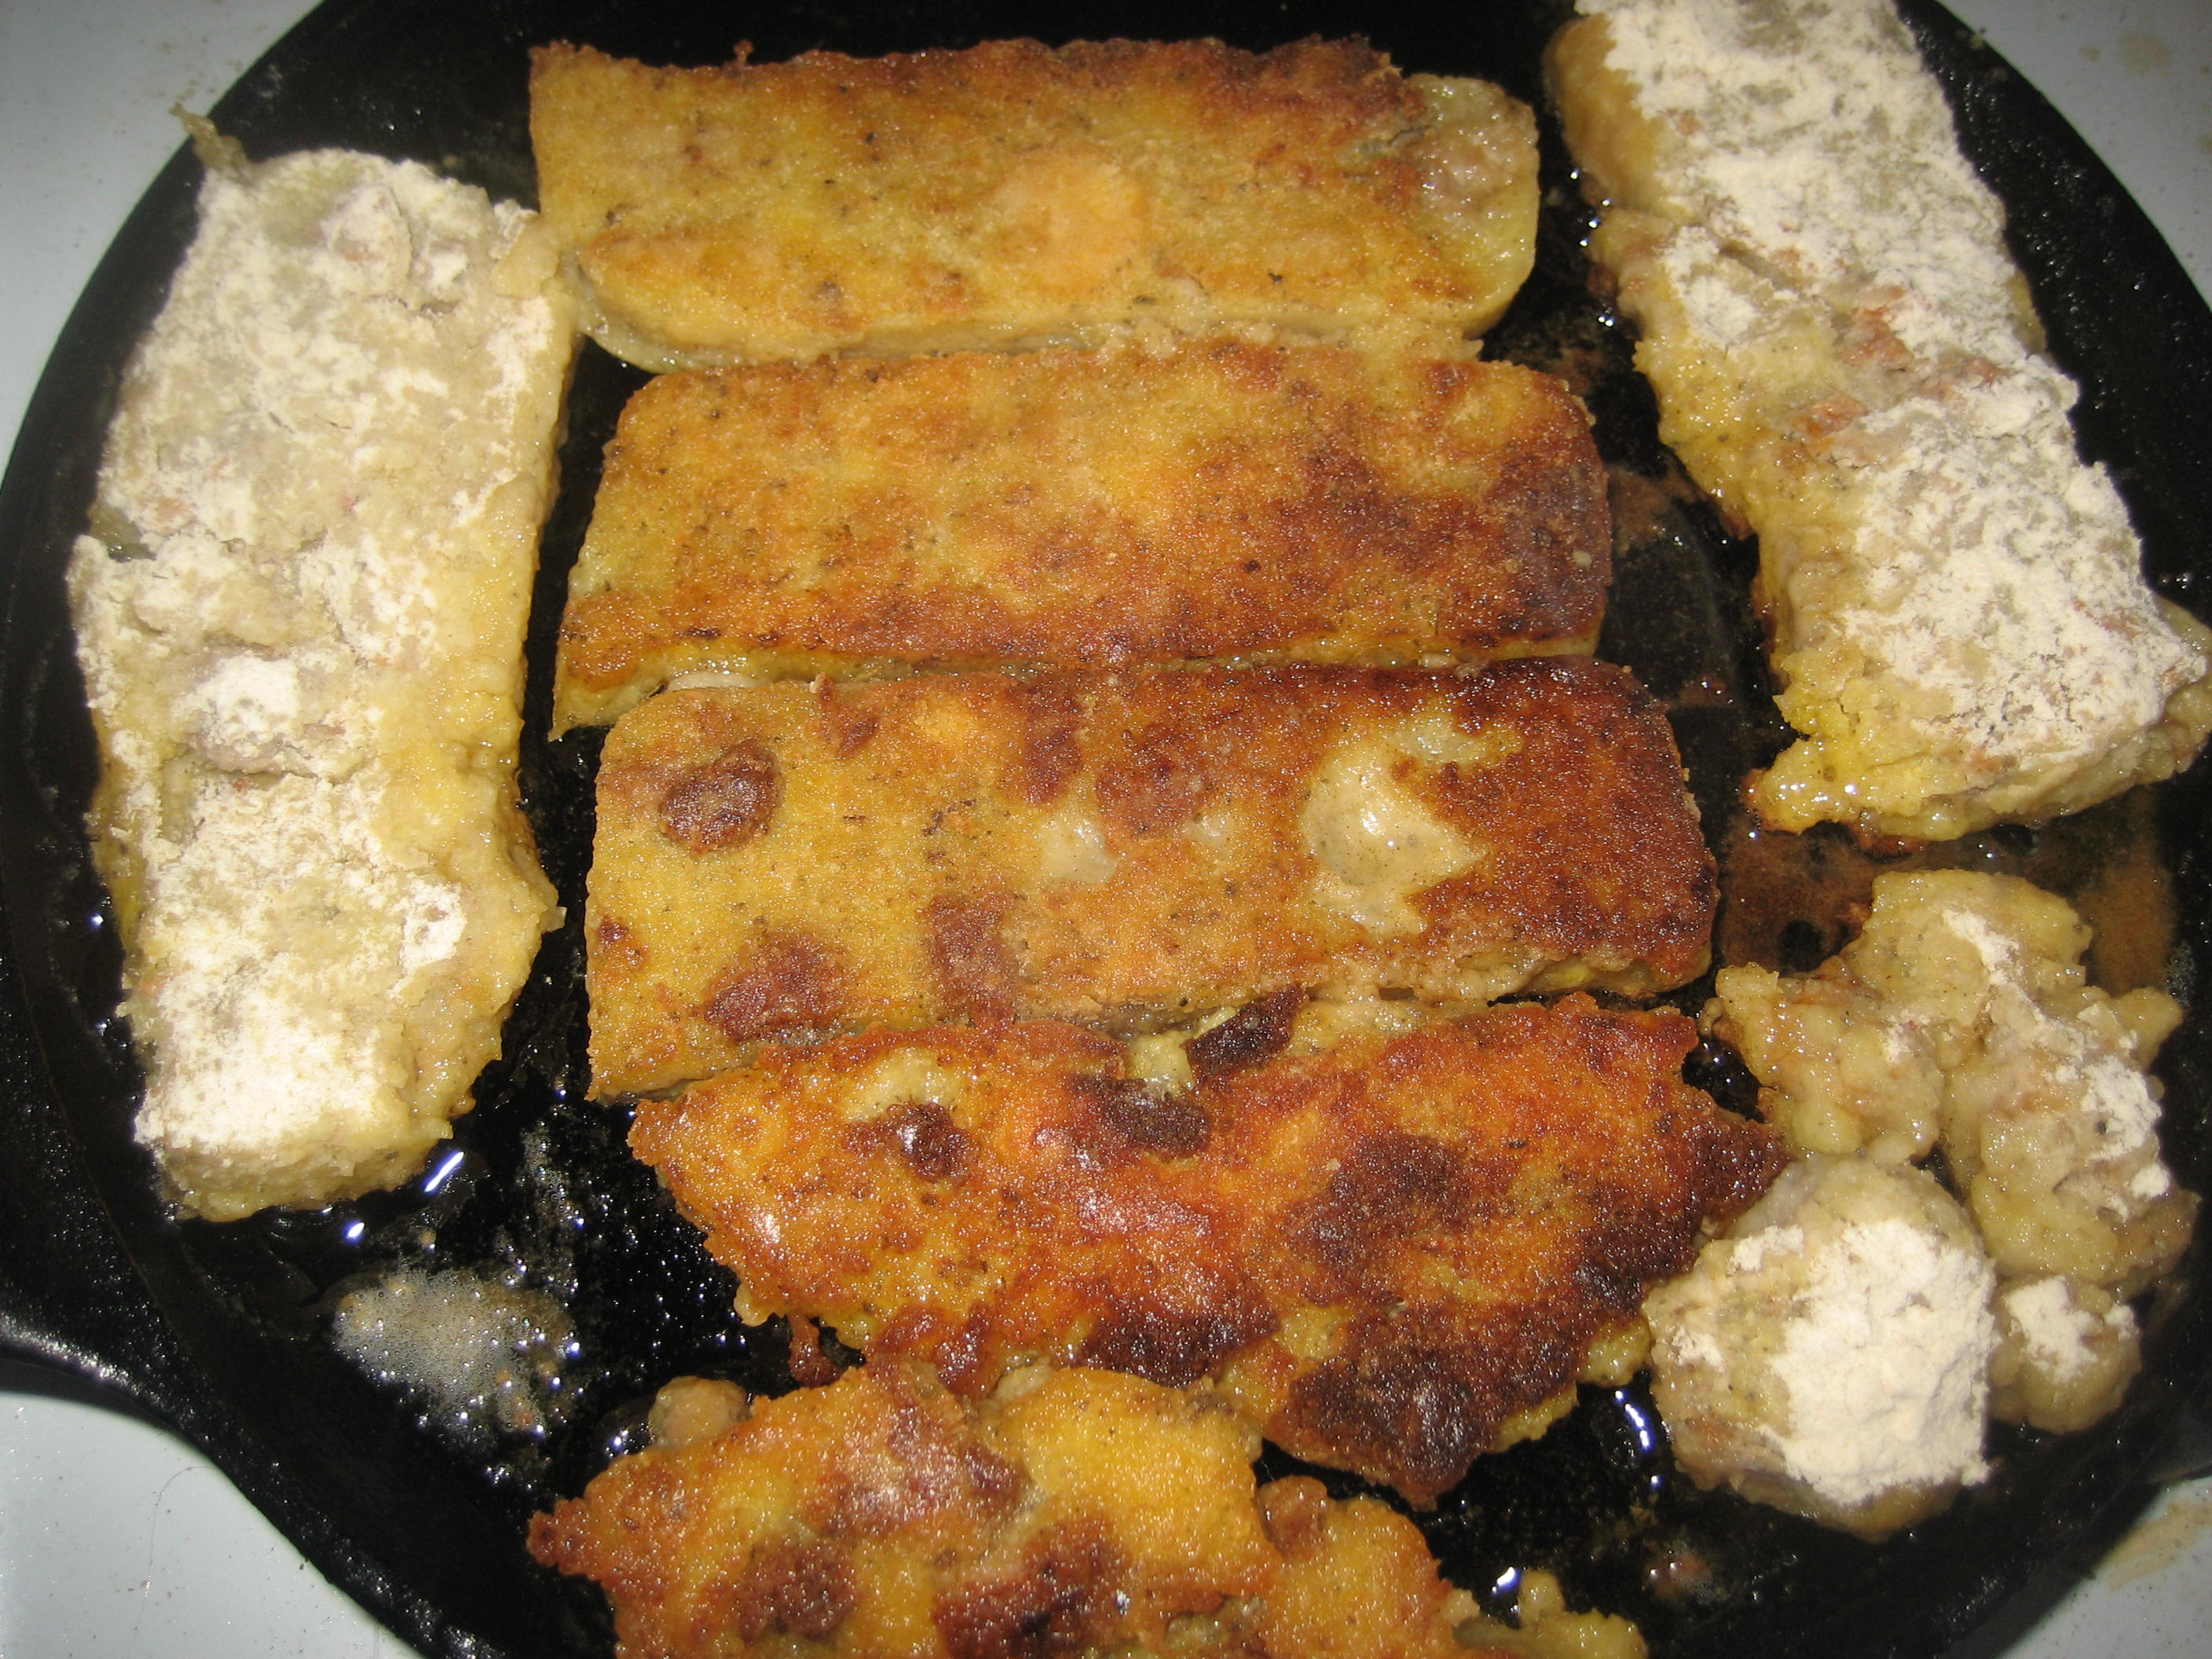
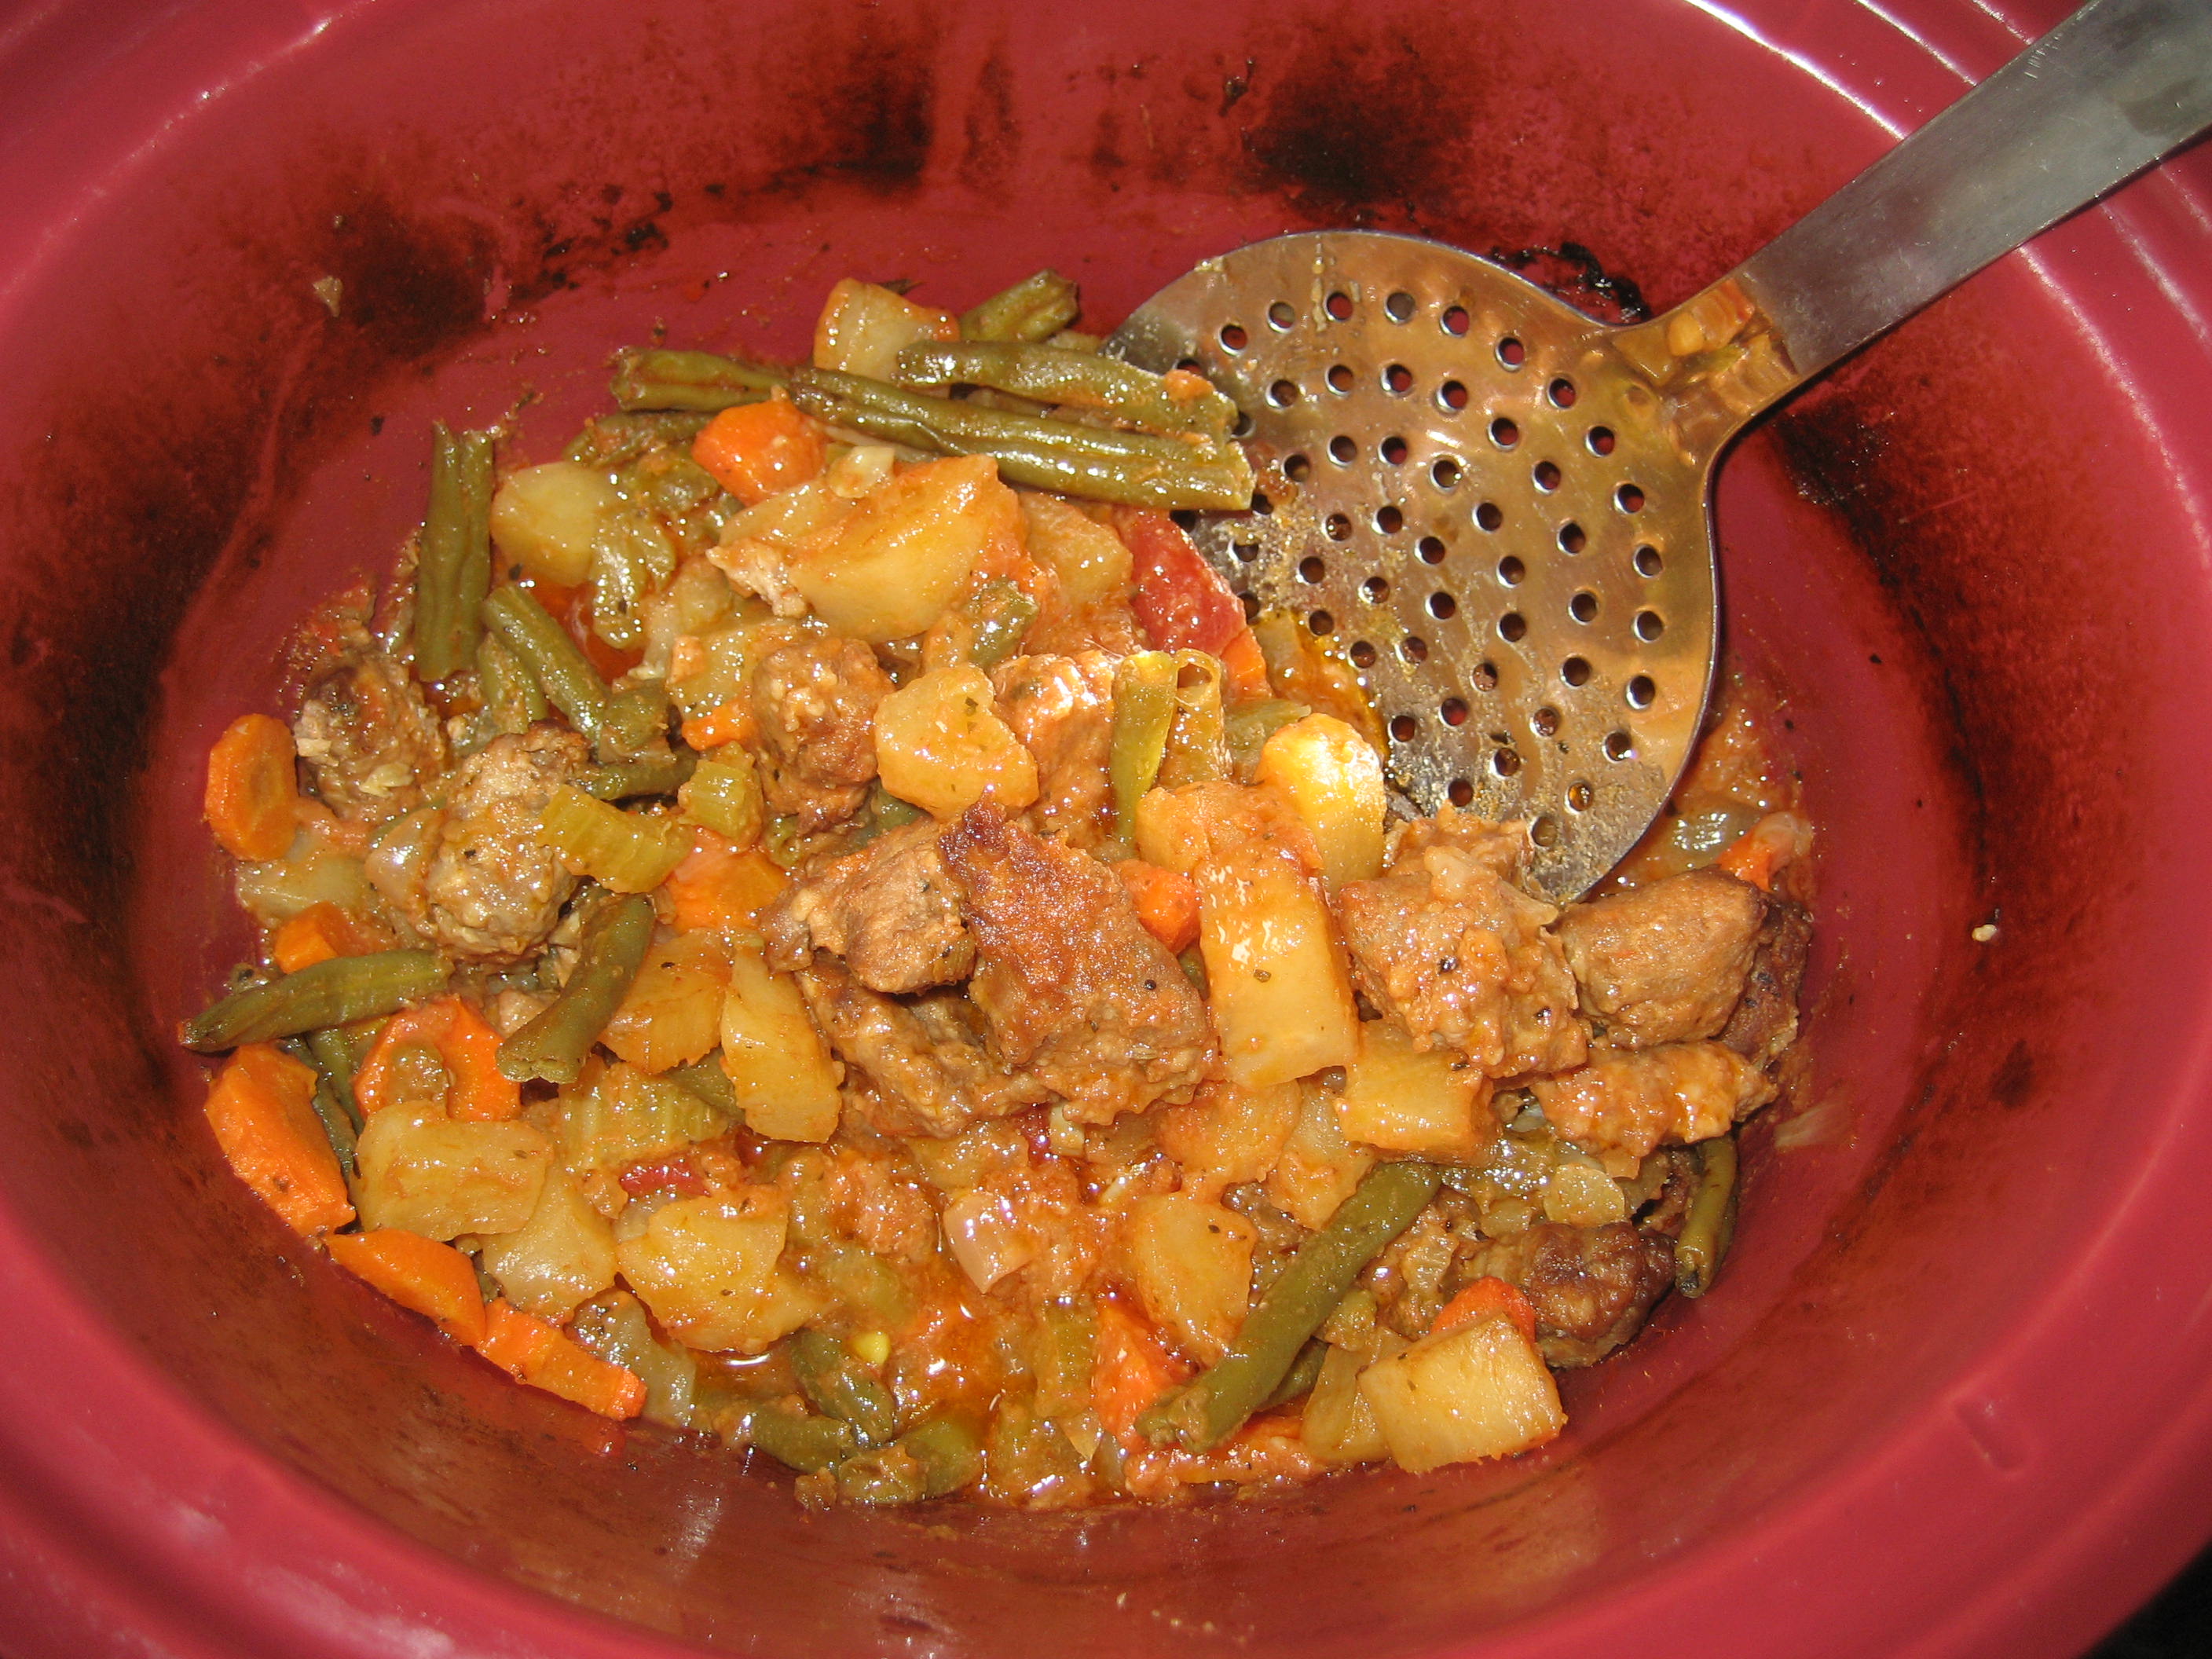
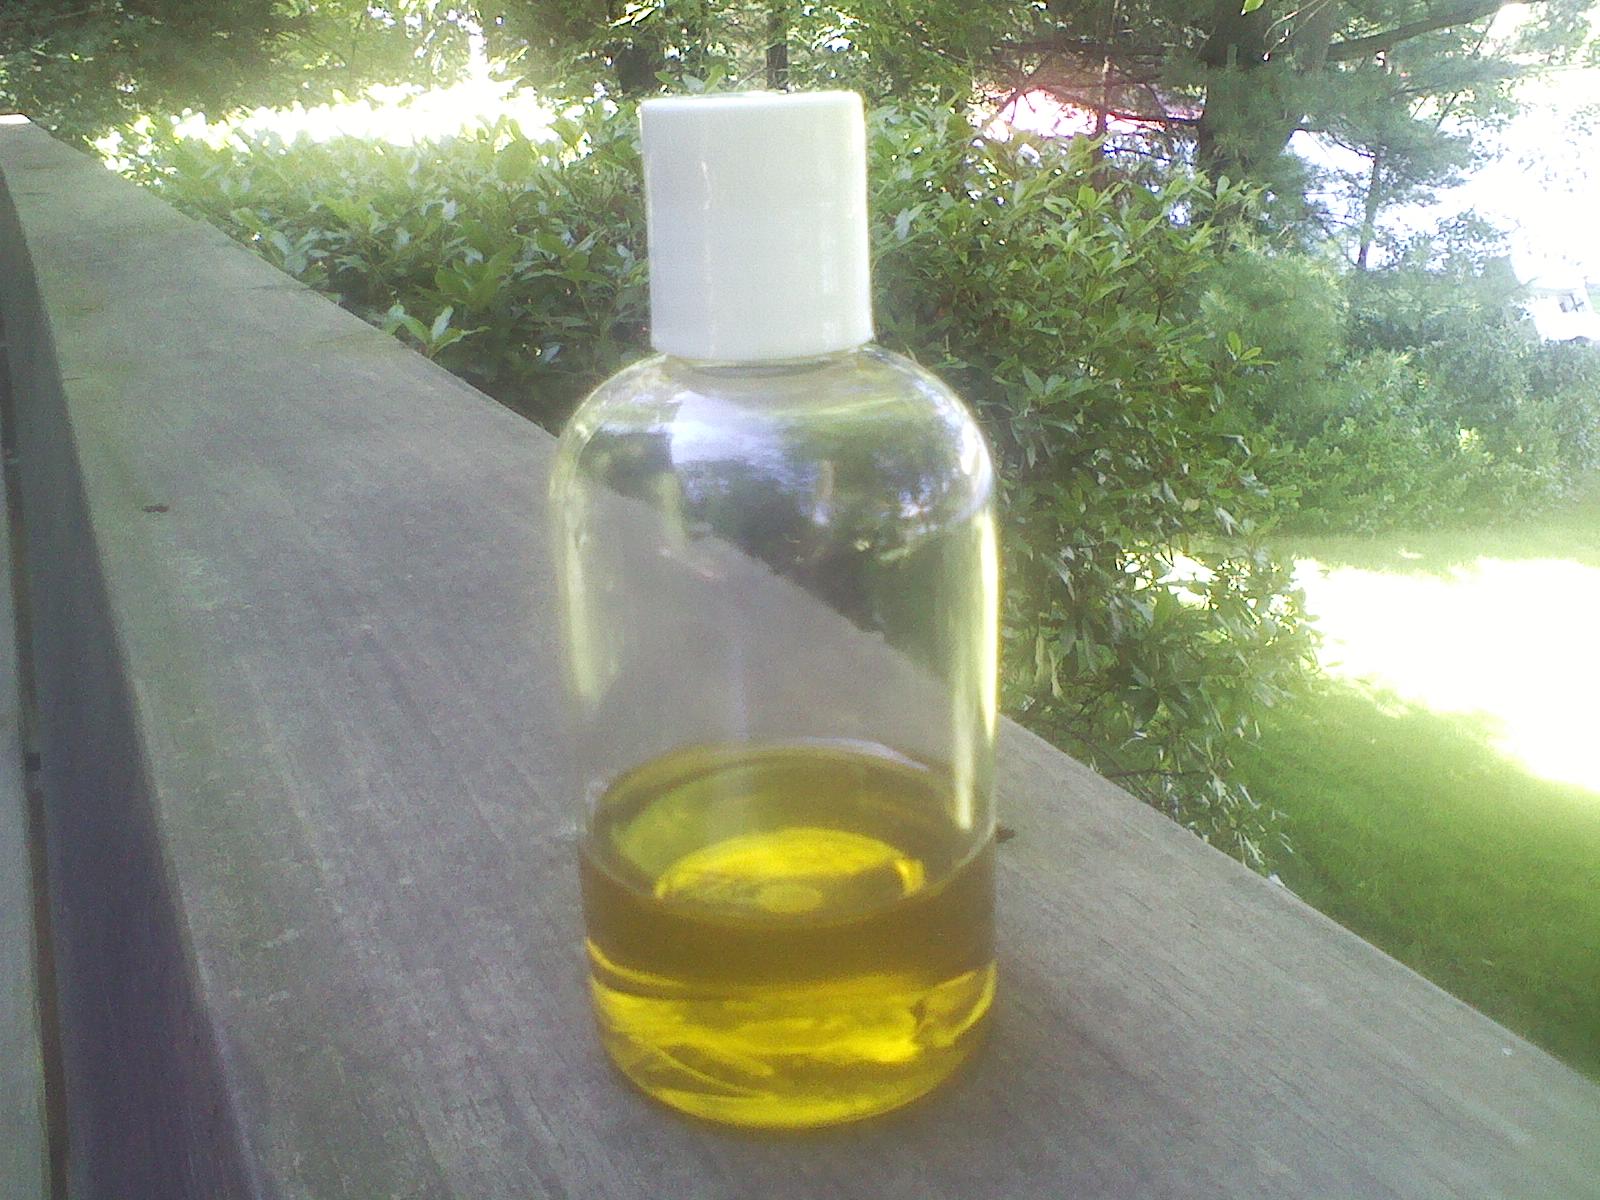
  • Sauces and Stews: These are usually the chop it all up, toss it all in, stir and put the lid on kind of meals. However, I recently found a easy way to convert those “cook the meat first” recipes so that you can avoid cooking the meat first in a separate pan. Recently as I was in a make-it-up-as-I-go mode, I turned my crock pot on high, drizzled a little olive oil in the bottom and put my chopped meat in (Italian sausage in this case). This allowed the meat to start browning for about a half hour or so until I got all my veggies washed and chopped. So, I started washing and chopping and would occasionally give the meat a little stir. Just before I added all my veggies, I added a heaping tablespoon of flour which then absorbed all the fat from the meat and olive oil. This became my roux and will automatically thicken your sauce or stew as it cooks. I was very excited about this method as I’ve always hated having to thicken crock pot dishes at the end of cooking. If you can’t start with a roux as I did, then you can also dissolve a little corn starch in cold water and pour that in your crock pot at the end of the cooking period, stir and let it cook about five minutes longer to thicken.
  • Beverages/Desserts: These can be very yummy in the crockpot. Cobblers, bread pudding, apple butter, hot cider or hot chocolate. Usually they only need a few hours too cook at the most. If you’ve never cooked these in the crock pot I think it’s best to follow a recipe the first time and then improvise after that if you want to. For recipes that use milk or cream always cook on low or add during the last hour of cooking to avoid scalding the milk.

New Family Favorite: Scrapple

8.17.13 004 Try our new favorite breakfast recipe – Scrapple. It’s traditionally  known as a Pennsylvania Dutch recipe but it’s actually something that I grew up eating even though that’s not at all my heritage. My grandmother made it for us. So maybe it was one of Maggie’s recipes. I don’t know.

Scrapple is basically a mixture of sausage and cornmeal. It may sound strange but it’s actually quite tasty. I had never made it for my kids, but in our search for more breakfast variety (since we eliminate eggs, oats, peanut butter, and some fruits for at least part of our family) I turned to my childhood and tried it. My kids like it and I like that it’s a good source of protein in the morning.

I had to call my mom to find out how to make it. She typically uses breakfast sausage (like Jimmy Dean) but our local store doesn’t carry a brand of breakfast sausage that I like. So I used sweet Italian sausage with some added seasonings and turned out quite well.

sausage simmering

sausage simmering

Start with….

1 lb. Italian sausage (sweet or spicy)
8 1/2 cups of water
1 medium sauce pan

Fill the sauce pan with the water and crumble the sausage (remove the casings first if necessary) by hand into the water. Bring to a boil and simmer for 30 minutes. Now add….

1/2 tsp. salt
1/2 tsp. pepper
2 tbl. sage (note you may want to use less if you are nursing as sage reduces milk supply)

Stir. Then gradually add…

3 cups cornmeal
1/2 cup flour (all purpose, white spelt, whole wheat)

8.16.13 012Combine the cornmeal and flour in a bowl. MIx. Gradually add the cornmeal/flour mixture to the boiling water while stirring quickly. There will be some clumps of cornmeal but just keep stirring until all the cornmeal has been incorporated. You should now have a very dense, thick mixture. There should be no remaining liquid. It should be so thick that a wooden spoon will stand up on end in the mixture. If the mixture doesn’t seem that thick then add more cornmeal. Turn the heat off and immediately pour into a loaf pan (not cast iron as the moisture will cause it to rust). Let it cool completely and then refrigerate overnight so that the mixture will set.

In the morning, cut into slices about 1/2 inch thick and dip into flour to coat on both sides. Fry in a little bit of oil until crisp. Eat and enjoy.

Note: Once chilled, the scrapple should slice easily and hold together. If it falls apart and is still mushy when you take it out of the loaf pan then you need to add more cornmeal.

Crayon Rescue

8.16.13 003

Rescue all your broken crayon pieces and turn them into a handy crayon block. It’s easy. Recycle them by putting all the broken pieces (with wrappers removed) into a silicone baking pan – preferably one that is a cute shape. 🙂 Bake on 200 degrees for 15 minutes or until melted. Let it cool completely and then pry out of the pan. It helps to make it fairly thick so that it doesn’t break when you take it out. By the end you will have a nice crayon block that is good for travel and tiny hands. Color away!

8.16.13 006

8.16.13 011

There’s new cast iron in my kitchen!


This lovely 5 Quart Dutch Oven found it’s way to my kitchen this summer as a gift from my wonderful family. I had an old enameled cast iron sauce pan that I loved. But, I had used it so much that the enamel was starting to chip and it was only 3 quarts and I was finding that as my family grows I couldn’t make a big enough batch of rice and have enough left over for another meal. This pot is just the right size, and if you’ll notice, the lid doubles as another 10″ pan, casserole or baking dish. Very handy for biscuits and rolls. To see my complete list of cast iron, visit the Cookstove. (See my Disclosure page for info on Amazon links.)

Free printable morning worksheets, Grades K-2

Worksheet screenshotBrowse the worksheets I use with my kids every morning. They are all free downloadable Word documents. They follow the skills used in Saxon 1 and 2. I’ll be adding more as the school year progresses. Feel free to modify them to meet your needs. Visit the School House to see the complete list. There are also free Hundred’s Charts available for download too. Happy schooling!

Chocolate Banana Bread

yummy goodness

yummy goodness

I improvised on my basic King Arthur whole wheat flour banana bread bread recipe and came up with the most delicious, most chocolatey banana bread ever. It’s a new Family Favorite (click for recipe) and it’s so good I thought it deserved to be a blog post. 🙂

What books are popping off my bookshelf?

Peruse the shelves to find out what I've been reading lately....

Peruse the shelves to find out what I’ve been reading lately….

Visit the Library to see what I’ve been reading lately. The topics that I’ve found interesting include cooking, gardening, historical recipes, herbs, natural cleaning and remedies, etc. Maybe you’ll find something that peaks your curiosity there too.

Crock Pot Meal: Sausage Stew

I invented a yummy sausage stew this week. Here’s the recipe.

Note: This recipe is for an 8-quart crock pot or two 4-quart crock pots. Adjust for your crock pot size.

7.29.13 048drizzle of olive oil
2 lbs. Italian sausage (sweet or spicy)
4 potatoes, peeled and cubed
6-8 carrots peeled and sliced
1/2 lb. fresh green beans, chopped
3 stalks celery, chopped
half of a large yellow onion, chopped
one head of garlic, minced
one can tomato paste
heaping tbls. flour
salt and pepper to taste
water (fill halfway up the crock pot)

Turn the crock pot on high and let it begin to warm.  Drizzle some olive oil in the bottom of the crock pot. Add your sausage removing the casings and cutting into chunks with kitchen shears. Let the meat begin to brown while you chop your veggies.

When you are done chopping your vegetables, sprinkle salt, pepper and a tablespoon of flour in the sausage. Stir until the flour has disappeared by absorbing the oil. This is a roux and will thicken the stew for you.

Now throw in all your chopped veggies, and fill the crock pot half way up with water. Put the lid on. Cook on high for four hours or low for 6-8 hours.

Enjoy! Mmmm.

How I got rid of a UTI without using conventional antibiotics

(Note: Urinary Tract Infections can be serious, so please don’t consider this treatment in place of medical advice. If symptoms are severe or you have fever definitely see your doctor right away as you don’t want to ignore a UTI as it could develop into a kidney infection which is much more serious.)

130705_0002I have successfully treated two UTI’s in the last three years using garlic. Here are the steps I followed.

1. For the first three days eat 8-10 garlic cloves a day. I usually eat 2 cloves with my meals and then 1-2 more in between meals with a light snack. (If you can’t stomach eating a whole clove you could try a garlic supplement but I’m not sure that it would be as effective.)

2. Rub garlic oil (click and scroll down for the recipe to make your own) on your lower abdomen and the bottoms of your feet 4-5 times a day. Focus on massaging the lower 2/3 of your foot below the toes and heel and around the arch of your foot.

3. Drink a glass of water every hour. Drink nettle tea.

4. Avoid sugar for the first 5 days. Sugar will feed the bacteria.

5. Between day 3 and 5 (or when all symptoms are gone) the amount of garlic eaten can be reduced to 4-6 cloves a day. Continue eating 4-6 cloves of garlic for 10-14 days from the onset of symptoms. It is important to continue eating the garlic for the full 10 day to two week period. Garlic is an effective antibiotic but just like with regular antibiotics, if you stop a course of antibiotics too soon your infection can return. I stopped too soon one time before the infection was completely gone and my symptoms came back. If you stop eating the garlic and symptoms return, continue eating for at least a week to 10 days more.

garlic oil

garlic oil

Within 4-6 hours of beginning to eat the garlic and using the garlic oil on the first day when I realized I was getting a UTI, my symptoms diminished. For the first three to four days they would tend to return in the morning after going overnight without additional garlic or fluids, and then diminish again throughout the morning and be mostly gone by afternoon. By day 4-5 my symptoms had basically disappeared. But, DON’T stop eating the garlic. Eat it for the full 10 days to two weeks just as you would finish a course of normal antibiotics.

Most people know that cranberry juice is recommended for UTI’s. The reason is that it changes the acidity level of your urine making it more acidic and thus creating an environment were it is difficult for bacteria to survive. I chose not to do cranberry juice because I don’t like it and I don’t do well with juice in general. If you choose to drink cranberry juice in addition to eating garlic, be sure that you buy unsweetened cranberry juice as the added sugar won’t help.

And be if you’ve never eaten this much garlic at one time before be prepared for it to clean you out. Garlic is a good cleanser and you may experience some bowel discomfort due to it’s cleansing effects as it works all the bad stuff out of you.

Here’s to good health!

How to make Garlic Oil

130705_0003Whenever my kids are sick they smell like garlic. I rub garlic oil all over them. I rub it on behind their ears, down the sides of their neck, on their feet, on their chest. You get the idea. Garlic is anti – everything (bacterial, fungal, viral, septic, etc.). It’s one of the most effective herbs at healing the body from infection and it is very effective at cleansing. One of my herb books tells the story of how in WWII when penicillin was scarce the medics carried cloves of garlic with them which they used to triage their patients. It’s one of my favorite herbs and one of the reasons that I like it so much is that it’s safe. It’s food after all. I add it to almost all my cooking. A whole head of garlic goes in to each batch of chicken broth and I use it in my well drops too. So, rub it all over and eat it up to stay well. For the directions on how to make your own garlic oil, visit the Herb Shed and scroll down.

Magnesium Oil: new uses and benefits

Have any of you tried the Magnesium Oil recipe from Wellness Mama? I made some up earlier this summer. And I just found a new and exciting use for it. Let me explain.

magnesium oil

magnesium oil

I typically take a magnesium supplement, which I found to be especially helpful during my last pregnancy. (All my aches and pains from sore muscles disappeared as long as I took it – it was amazingly helpful! In terms of mobility I didn’t even feel like I was pregnant.) And I’ve been using Wellness Mama’s magnesium oil recipe off and on too (honestly – I’m not very good at remembering to use it). However, last night I had a very sore muscle in the middle of the night from overexertion during the day. I was using peppermint oil for the discomfort which helped, but in the morning when I woke up I thought that I should try applying some magnesium oil on it. I knew that the magnesium was good for muscles and had helped before when I was pregnant, so I tried it. I sprayed some on and rubbed it in. It helped a lot! Now by afternoon the muscle is barely sore. I wish I had thought of this in the middle of the night. Keep it in mind in the future for sore muscles. It helped me immensely.