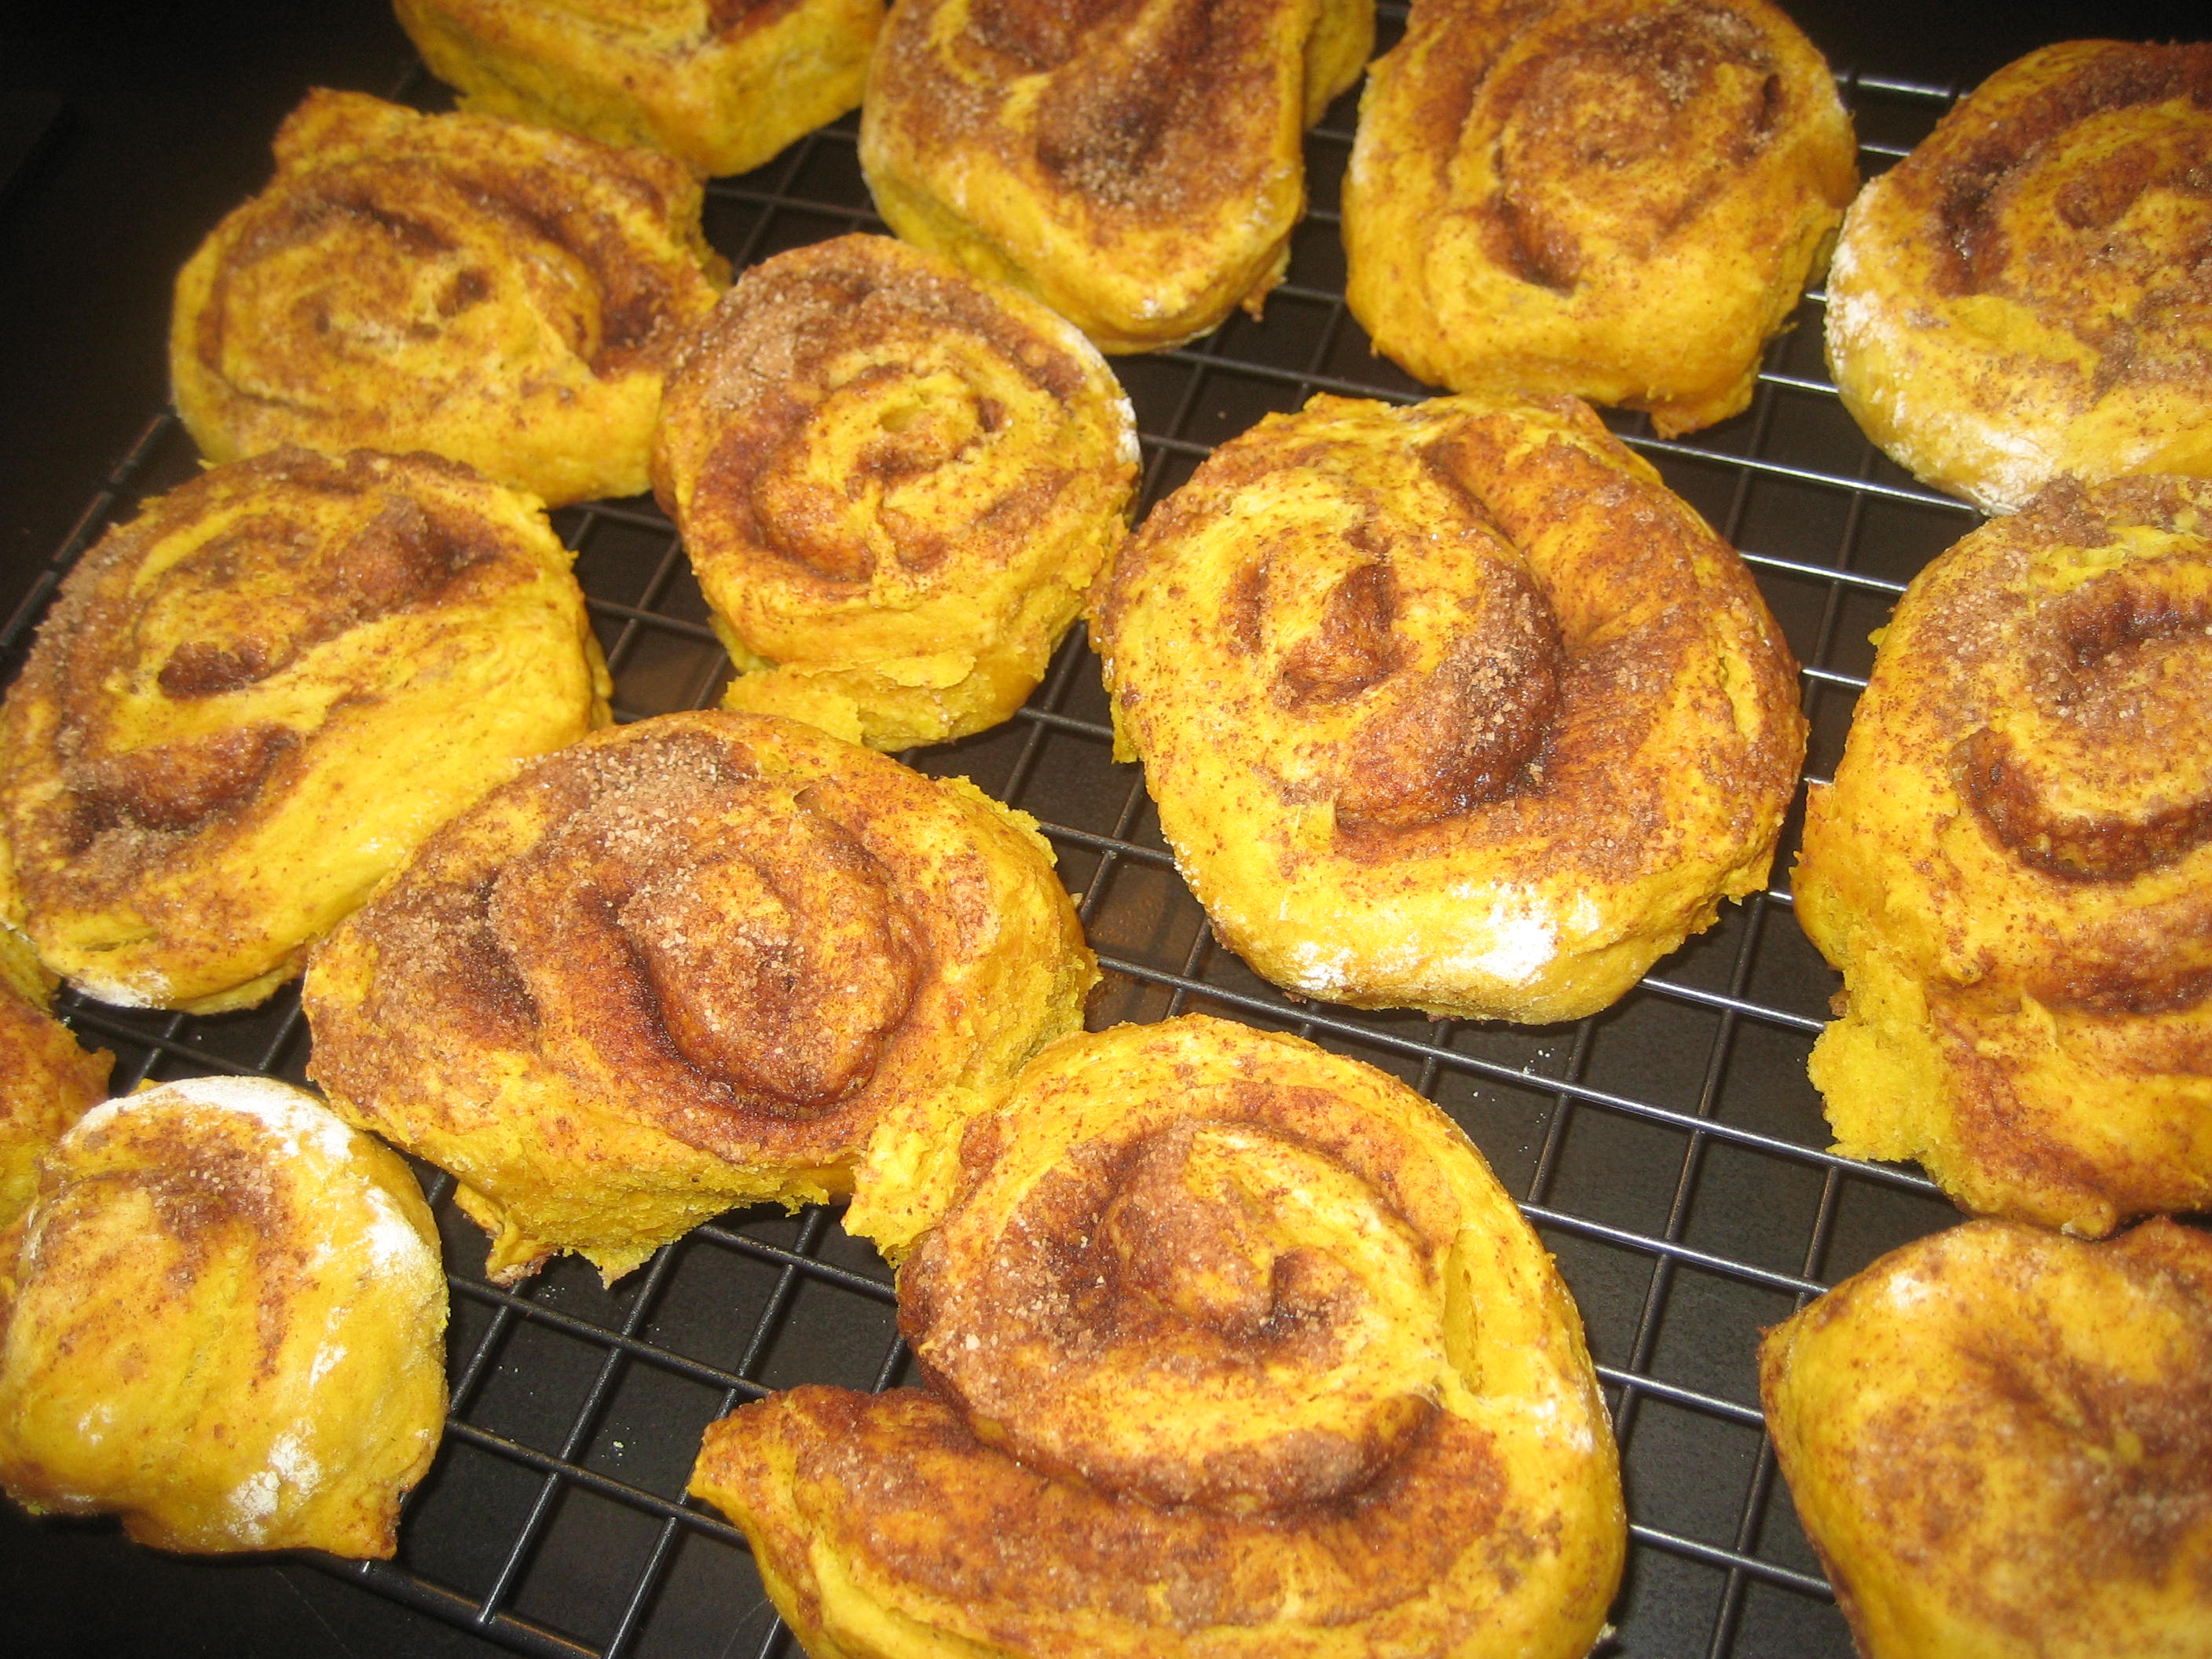
 This recipe is gluten, dairy, nut and sugar free. This recipe contains eggs.
I’ve been making this for breakfast lately. It’s delicious, filling and high in protein. Try it!
Start with 2 cups quinoa. Soak overnight. Drain and rinse. Add enough water to a saucepan to cover the quinoa by about 1/2 inch. Simmer over medium heat for about 15 minutes or until all the water is absorbed, the quinoa is transparent and the little curly tendrils can be seen on the side of each grain. Cool.
Next stir the following into your cooled cooked quinoa.
2 tbls. cocoa powder
2 tsp. cinnamon
1/2 tsp. salt
1/4 tsp. cloves

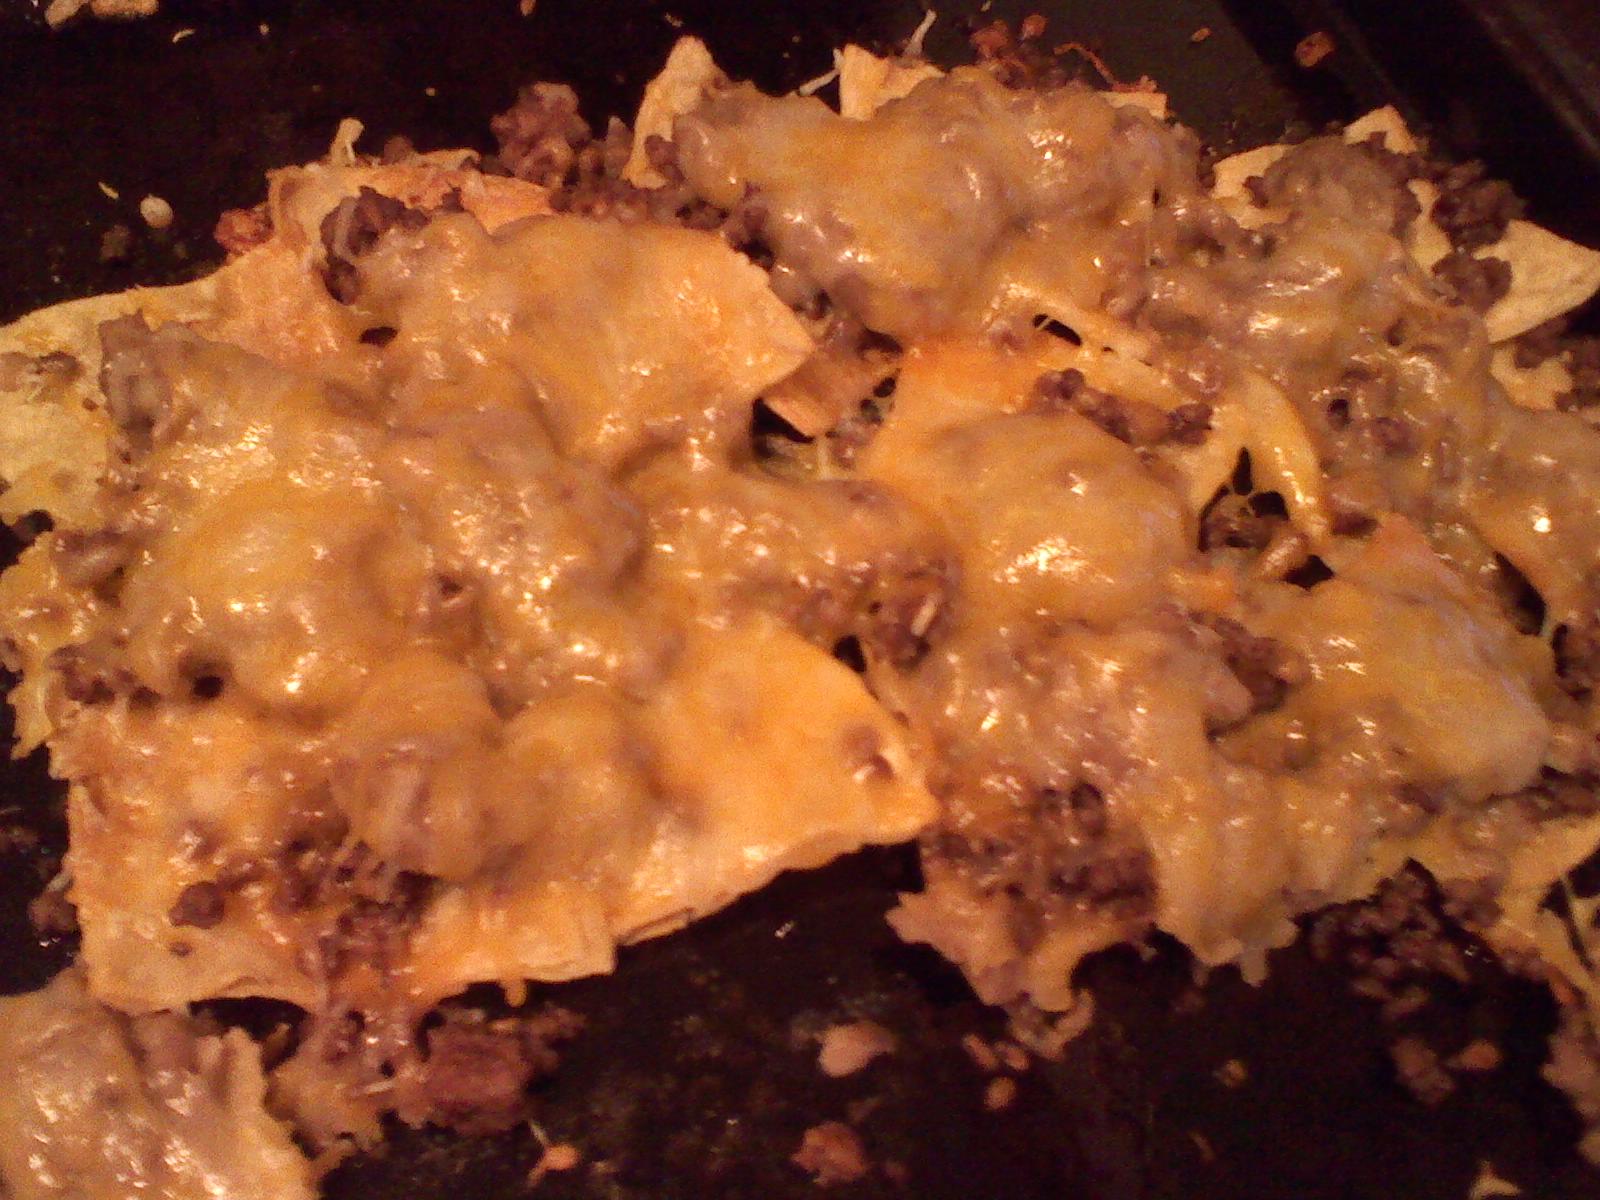
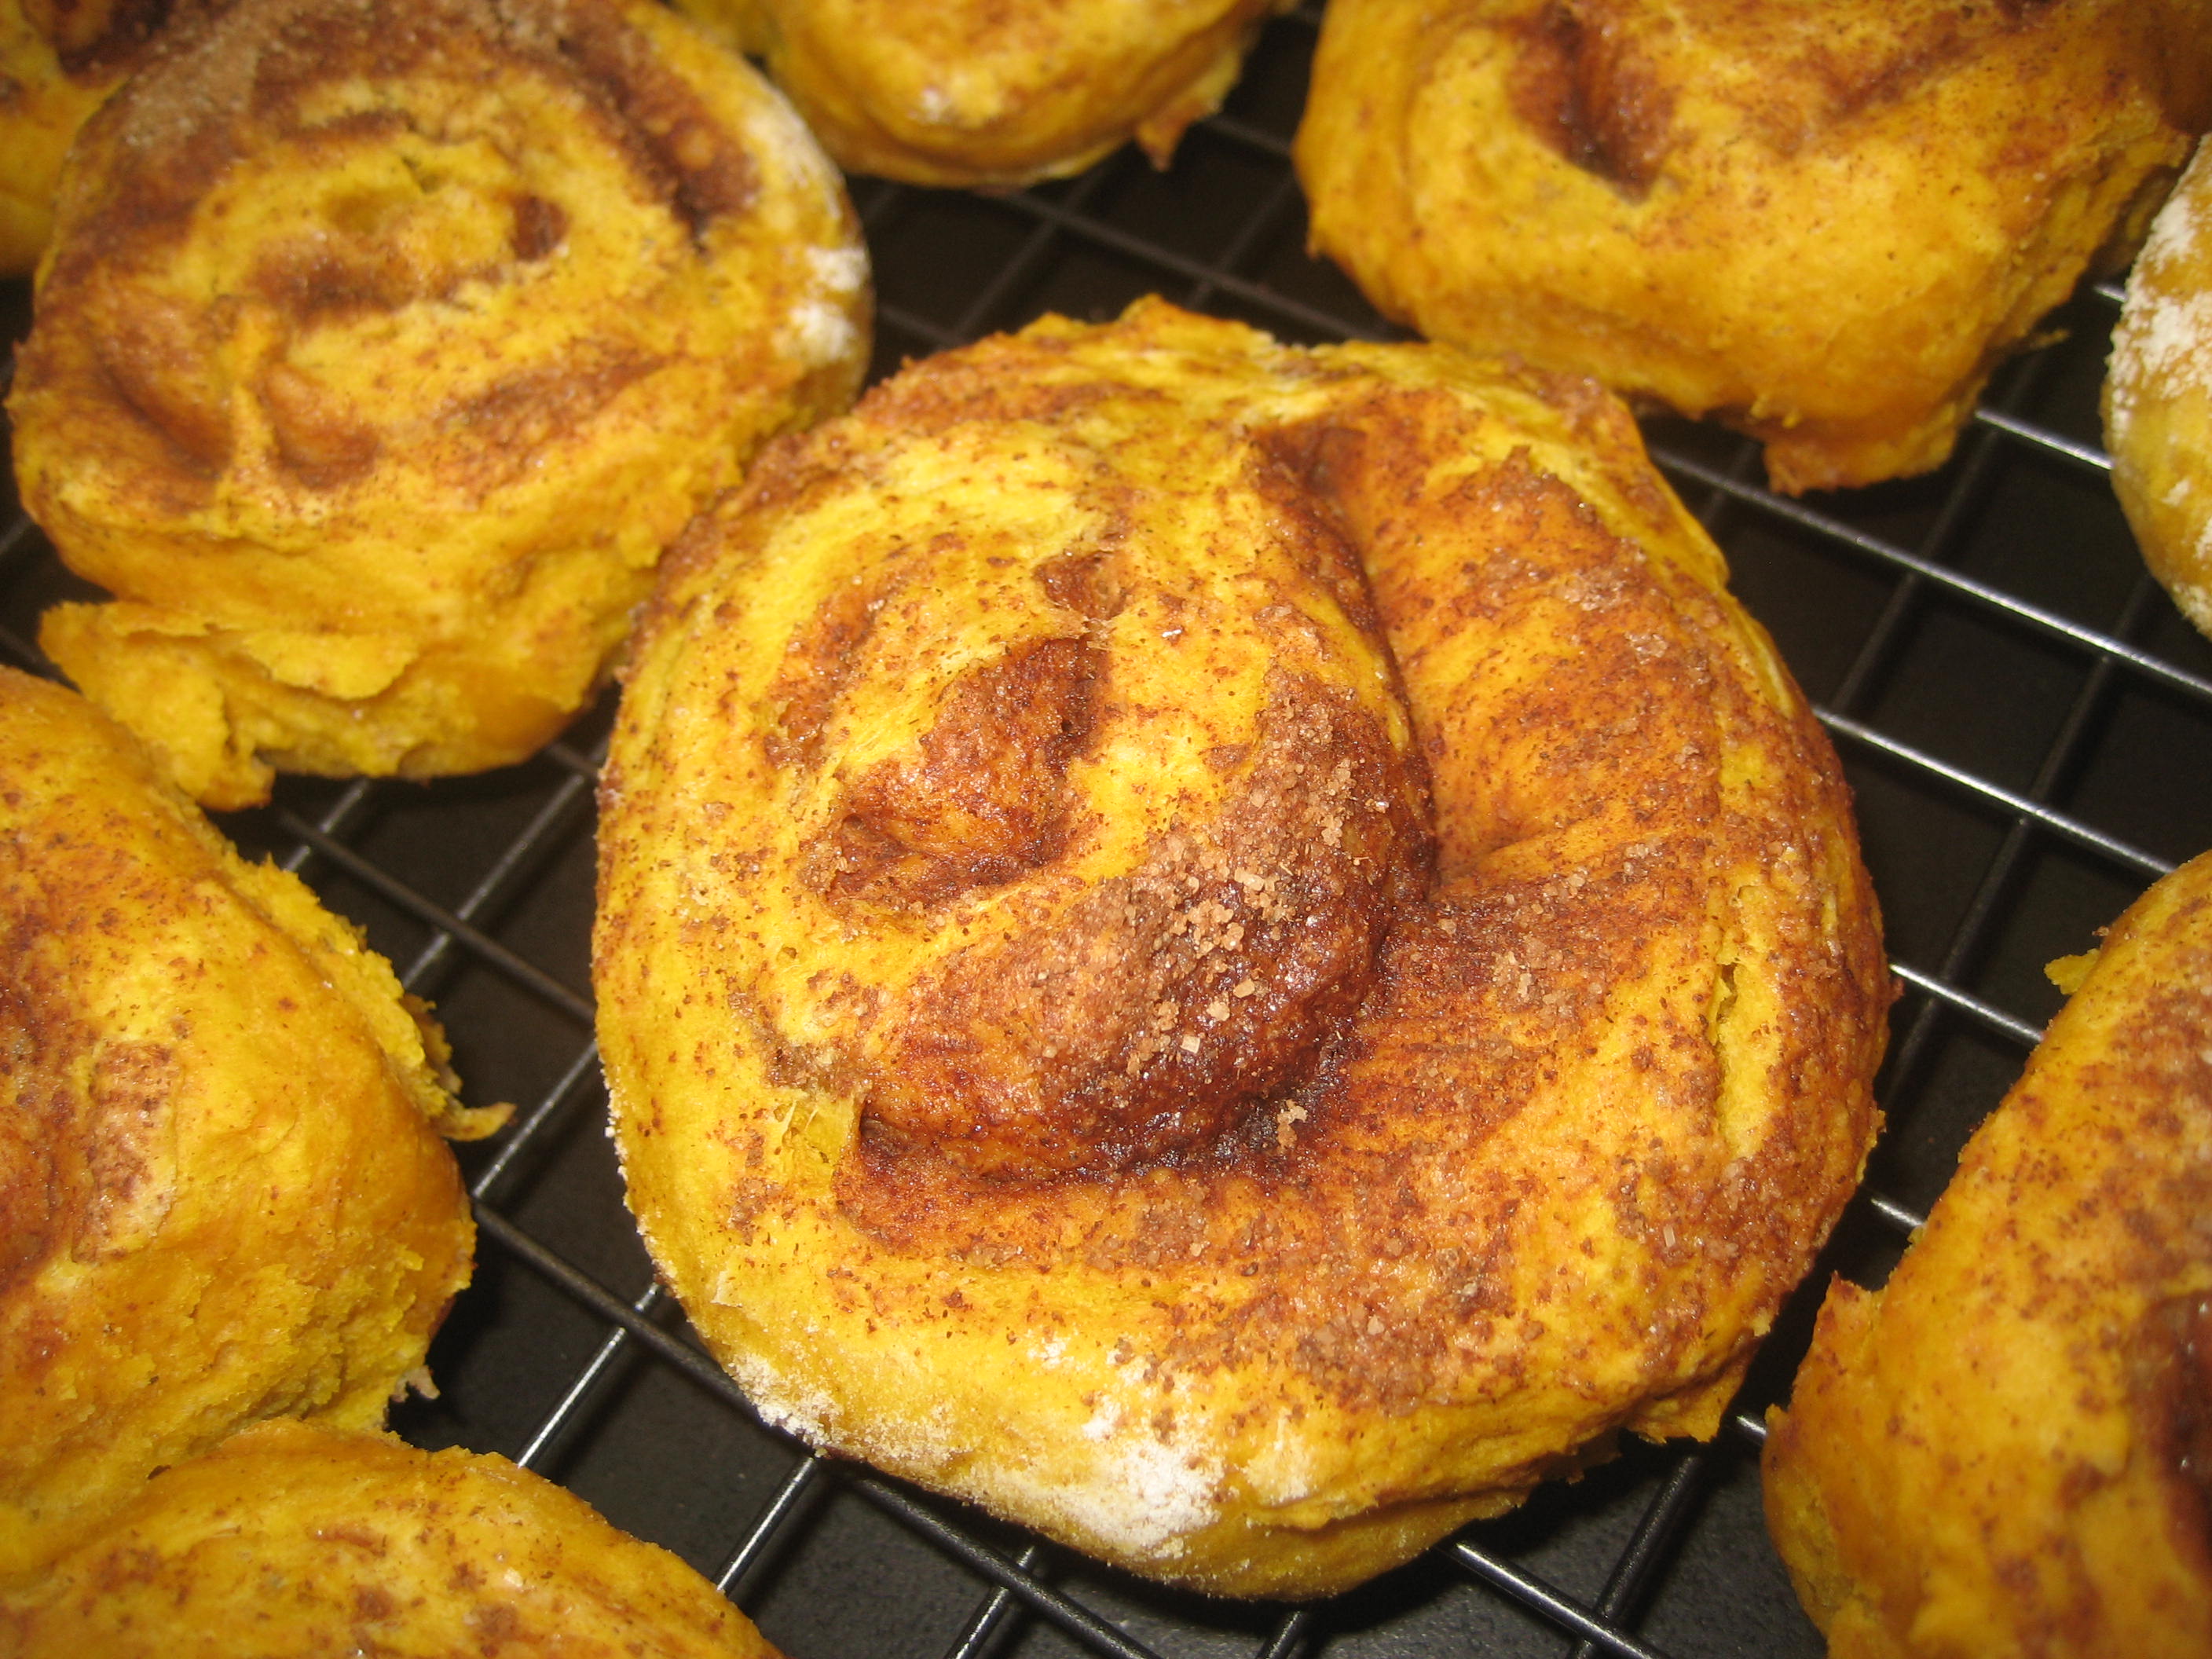
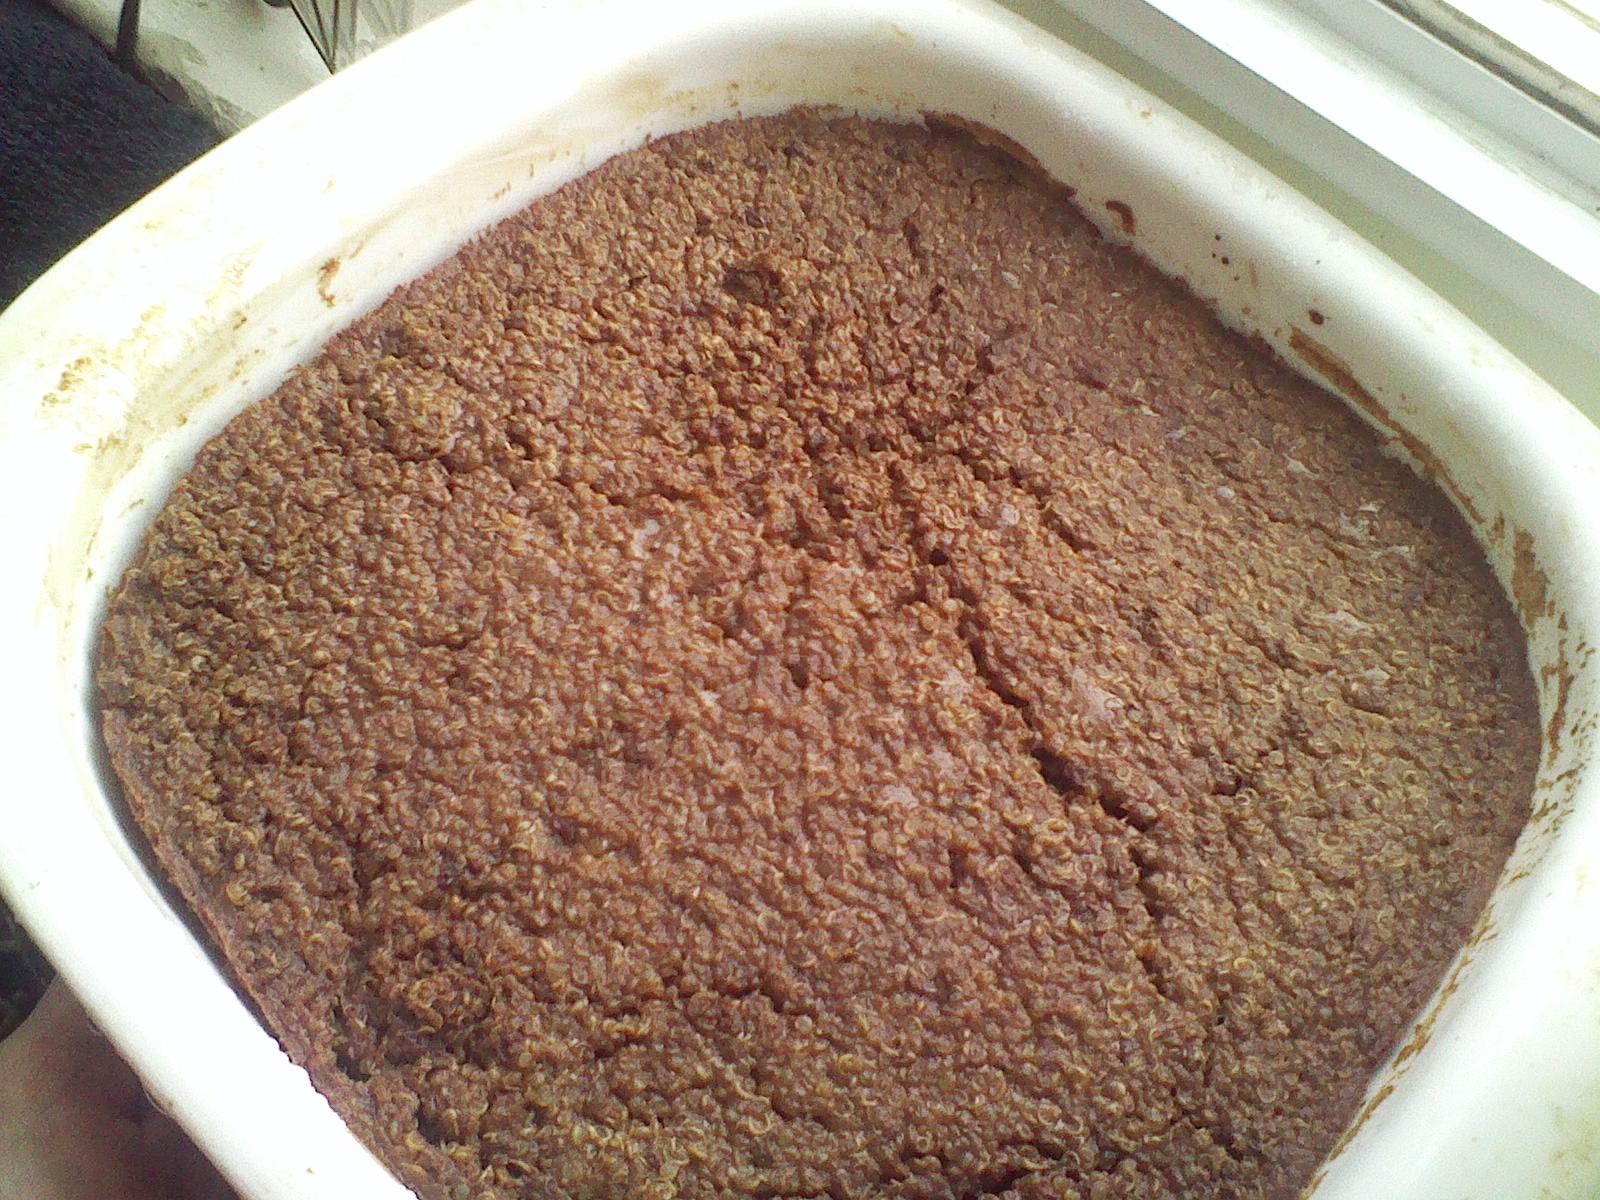
Mixture unset before it goes into the oven.
In a separate bowl combine
2 cups milk (substitute: goat, almond or coconut milk)
6 egg yolks (or 3 whole eggs)
1/2 cup maple syrup (or 3/4 cup honey)
1 tsp. vanilla
Add the liquid mixture to the quinoa mixture and stir to combine well. Pour into a greased casserole dish and cook at 350 for 40 minutes or until a toothpick inserted in the center comes out clean and the mixture is set.
It is best served warm. Add some extra maple syrup to taste and pour some cream over the top. It’s delicious!
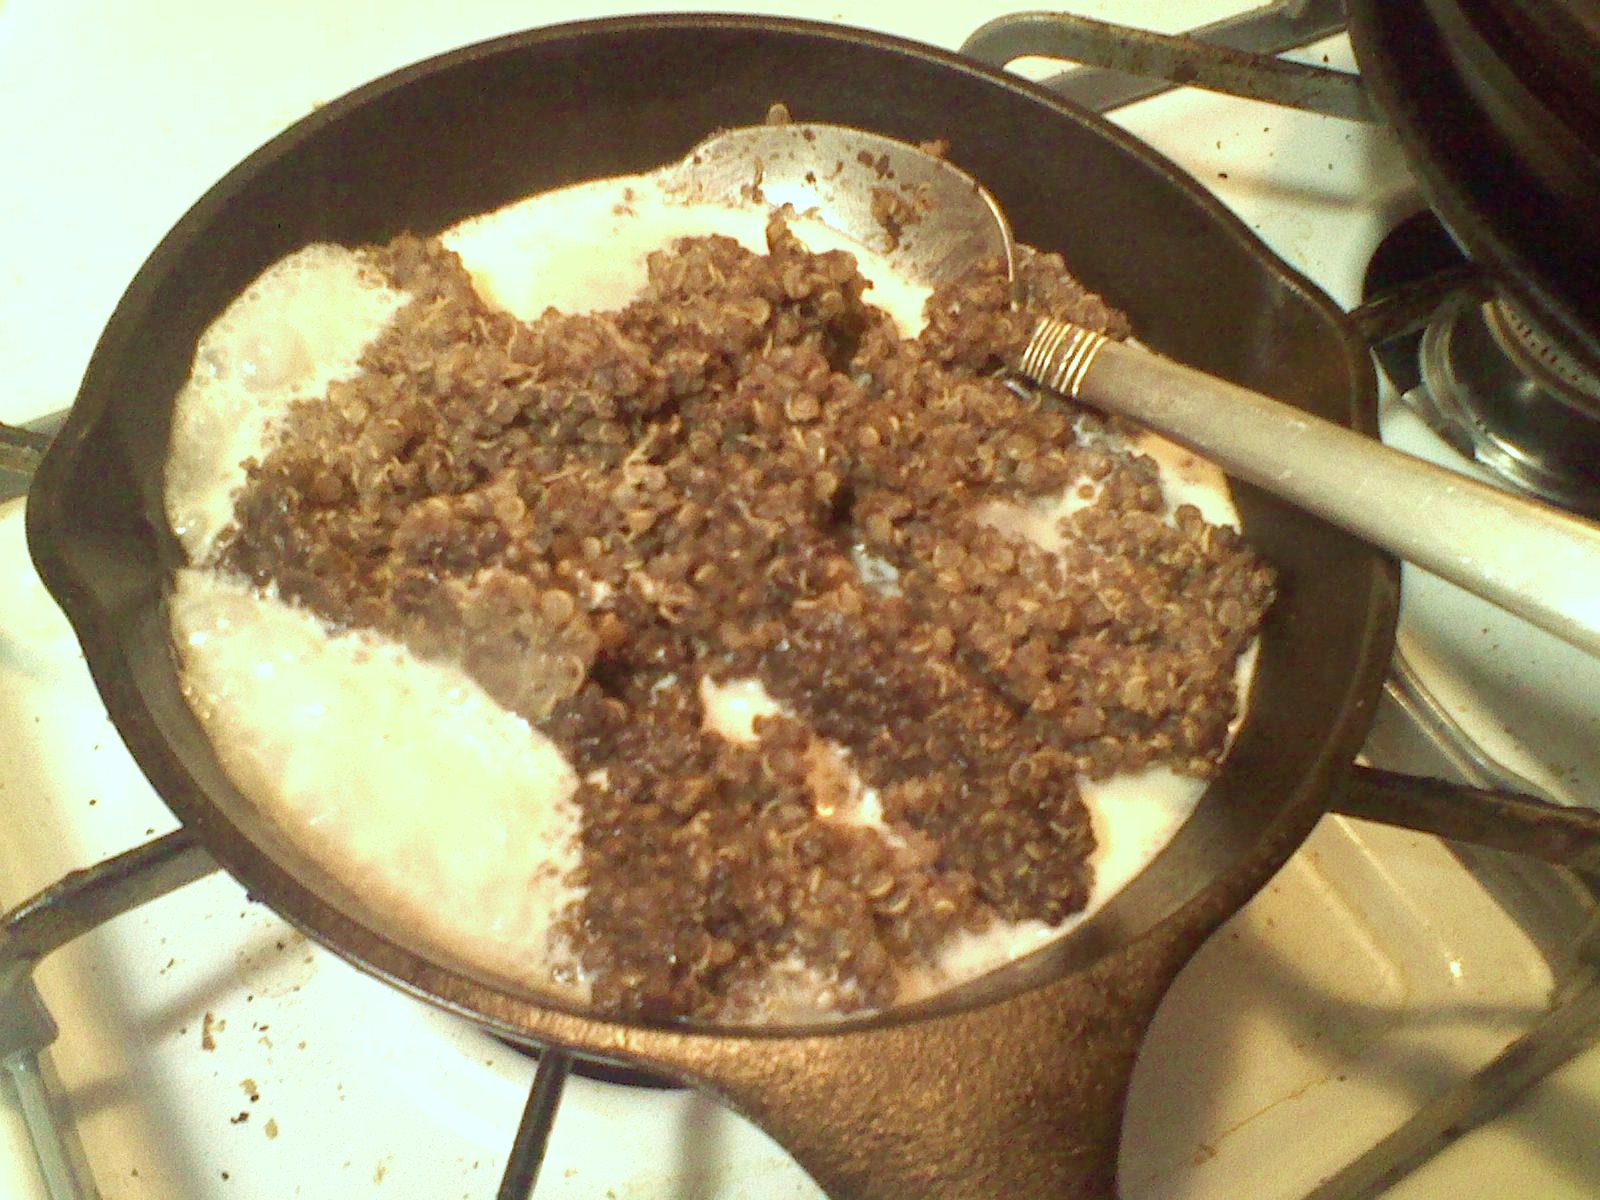
For leftovers you can reheat it with a little bit of milk or cream over the stove.