Postpartum Sitz Bath

IMG_0887I’ve been mixing this up a lot lately. Three friends have had babies in the last few weeks. I didn’t discover herbal sitz baths for postpartum use until my second child. This is one of my favorite remedies. It makes a great gift for a new mom. It really helps speed and facilitate postpartum healing. Be sure to bathe the baby  too. This mix will help disinfect and heal the baby’s cord stump.

All of these herbs are helpful in some way. Opinions may vary, but I think the most important to postpartum healing are shepherd’s purse, yarrow and red raspberry. But, if you don’t have one of the herbs below, that’s okay. They are all beneficial in some way. Just omit the ones you are missing and substitute more of one of the others in the list. Keep in mind though that lavender, yarrow and shepherd’s purse are fairly potent and should not be used in excess. Use the others as the base herbs and add lavender, yarrow and shepherd’s purse in moderation. A little of those goes a long way. Also, chamomile and yarrow should be avoided if you have an allergy to sunflower, safflower or dandelion.

Use wisely. Read my Disclaimer here.

IMG_0886 All bagged up ready to pass along to a friend.

Postpartum Sitz Bath:

4 parts Red Raspberry Leaf
2 parts Plantain
2 parts Comfrey
2 parts Calendula
2 parts Shepherd’s Purse
1 part Lavender
1 part Yarrow
1 part Chamomile
1/2 -1 tsp. Sea Salt

To use, steep one cup of the herb mix  in four cups of water to make a strong tea. Strain the herbs an add the tea to your bath water. You can also add this to your peri-bottle and apply after you go to the bathroom to disinfect and heal.

Where do I get these herbs you ask? My favorite places to order herbs are Starwest Botanicals, Frontier, or Mountain Rose Herbs.

If you want to up your game when it comes to herbal remedies. Consider Homesteading Family’s Herbal Medicine Cabinet Course.

Note: This post contains affiliate links.

Essential Oil and Herb Quick Reference Chart

5.15.13 014

Front side of chart.

Last spring I created this chart for a class I was teaching on herbal first aid. The chart covers commonly used herbs and essential oils and their properties and gives suggested remedies for common first aid situations and illnesses. This laminated chart is two-sided. The front side is color coded based on the safety of the herb or oil and covers 17 herbs/oils. The back side of the chart is covers 66 ailments and conditions listing the herbs/oils that are good for them. Cautions are listed on the front of the chart.

The chart measures approximately 7 x 4 inches. It is printed on heavy cover stock and laminated so that you can take it with you so that you’ll know what to do when you are out and about or travelling away from home. If you find it helpful be sure to comment here and let me know.

Back side of the chart.

Back side of the chart.

Color-coded by safety level.

Color-coded by safety level.

Disclaimer: By purchasing this chart, you take full responsibility for any outcomes based on it’s use and release the author from any liability either real or perceived. The author makes no claims as to expected results and takes no responsibility for either positive or negative results. This chart should be considered to be personal opinion and is based on personal research and should be taken as such. It should be used with common sense, your own personal research and should not be considered medical advice. See full Disclosures/Disclaimers here. By requesting to purchases this chart you release the author from any liability and agree to all the terms and conditions in the Disclaimer linked above.

Herb and Oil Quick Reference Chart

Laminated quick reference chart. Great for your first aid kit.

$5.00

Spicy Limeade

IMG_0517 crop (2)Just saw this recipe for Spicy Lemonade posted by the Bulk Herb Store. It sounds good for any illness. I came down with a cold yesterday and may try this tonight. Except, I’m out of lemons. I’m a Texan after all so I do have limes on hand. I think I’ll use those and turn mine into Spicy Limeade. 🙂 Stay well everyone!

Spicy Lemonade or Limeade:
2 fresh garlic cloves, crushed
1 tablespoon freshly grated ginger root
Juice of 3 freshly squeezed lemons (or limes)
Organic Honey to taste
Small pinch Cayenne Pepper

2-Minute, 2-Ingredient DIY Sunblock

7.13.12 104If you’ve read my blog at all then you know that I have a kid who reacts to lots of things – including sunscreen. A fun-filled day trip to Coney Island resulted 2 weeks of no sleep due to the itchy rash that he got where ever we had put sunscreen on him. What does that mean? No more sunscreen for us! So, what’s a mom to do? Make her own of course.

I immediately went to the internet and researched all the homemade sunscreen and sunblock recipes. I came away knowing that I wanted to go with a zinc oxide based sunblock since that seemed to have the best safety profile and effectiveness ratings. However, I didn’t want to spend the money on a huge bag of zinc oxide powder from Amazon. (Note: It is much more affordable now than it was when I was looking 3 years ago and available in smaller bags.) So, necessity breeds creativity here. I was in the drug store and realized that Desitin is 40% zinc oxide. Immediately I knew I had instant sunscreen here.

Now, you may be thinking, “Wait a minute. There is no way I’m rubbing that white gooey stuff all over myself and my kids. What a mess!” And you would be right. Yet, never fear. All you need is 2 minutes to turn that Desitin into a smooth, lotiony sunblock.

Most zinc oxide sunblocks with an SPF of 30 are 20% zinc oxide. Which means that if you mix equal parts Desitin and your favorite lotion, it cuts the percentage of zinc oxide in the mixture by half and you have an instant SPF 30 sunblock! It’s that easy.

Playing at the lake. She would play there all day if we would let her.

Playing at the lake. She would play there all day if we would let her.

I’ve used this  Desitin sunblock with my homemade lotions for the past three years and it works great. I find that this sunblock is fairly waterproof, but if you want to improve that “waterproofness” of your mixture then add a little bit of liquid lanolin to it. Our oldest loves the water and has played for hours in the full sun without a sunburn. So, what are you waiting for? Everyone run to their medicine cabinet and pull out that tube of Desitin and start mixing!

If you want to make your own lotion first to mix the Desitin with, you can visit the Herb Shed and scroll down for directions and more sunscreen tips and recipes. If you use regular lotion and find that you can’t get the Desitin to blend well, then melt the two ingredients (lotion and Desitin) in heat proof bowl over a small saucepan (double boiler technique) until it is blended. I like to mix it with a popsicle stick so that I can just throw it out when I’m done and don’t have to worry about cleaning the mixture off of my spoons. The other nice thing about this recipe is that you can make small batches easily so that you don’t have to worry about unused sunscreen, or you can make a large batch if your family goes through a lot of sunscreen.

Here’s to a happy and sunburn free summer!

Note: Zinc oxide can stain dark clothing so take care when applying it. Also, individual results can vary so use with care and common sense. The author is not responsible for any adverse reaction or sunburns if you choose to use the recipe recommended here. Read my full Disclaimer here.

5.7.12 038

Visit the Herb Shed if you want to make a homemade lotion to mix with your Desitin.

Sneak Peek on my new project…

8.8.13 009Sorry for the blog silence of late. I’m working on a new project that has a time sensitive deadline. Watch for it to appear in the near future. For a sneak peak, refer to my Essential Oil Quick Reference Chart. Want a hint on what’s in store? Imagine a more comprehensive version of this chart (linked above) that includes more herbs too. I hope it will be available soon. For now, refer to the page linked above if you need to know what oil to use for a particular use or application.

See my Disclosures and Disclaimers here.

Make your own delicious herb and tea blends

140130_0000You don’t have a to be a tea master to come up with your own tasty herb and tea blends. It just takes a little experimenting to figure out what tastes go well together and what combinations taste good to you. Here are some of my favorite. These are ones that the flavors blend particularly well together. As with any herb, be sure you know the herb you are using if you begin using one that is new to you. My favorite research resources are listed at the end of this post. Take responsibility for your herb use and do your own research (see my Disclaimers page here). Please make note of any cautions that I list on these blends, but keep in mind that this is not a complete list. You should always research it further if you aren’t sure that an herb is safe to use or consult with your doctor or an herbal practitioner.

12.1.11 003My favorite herb and tea blends:

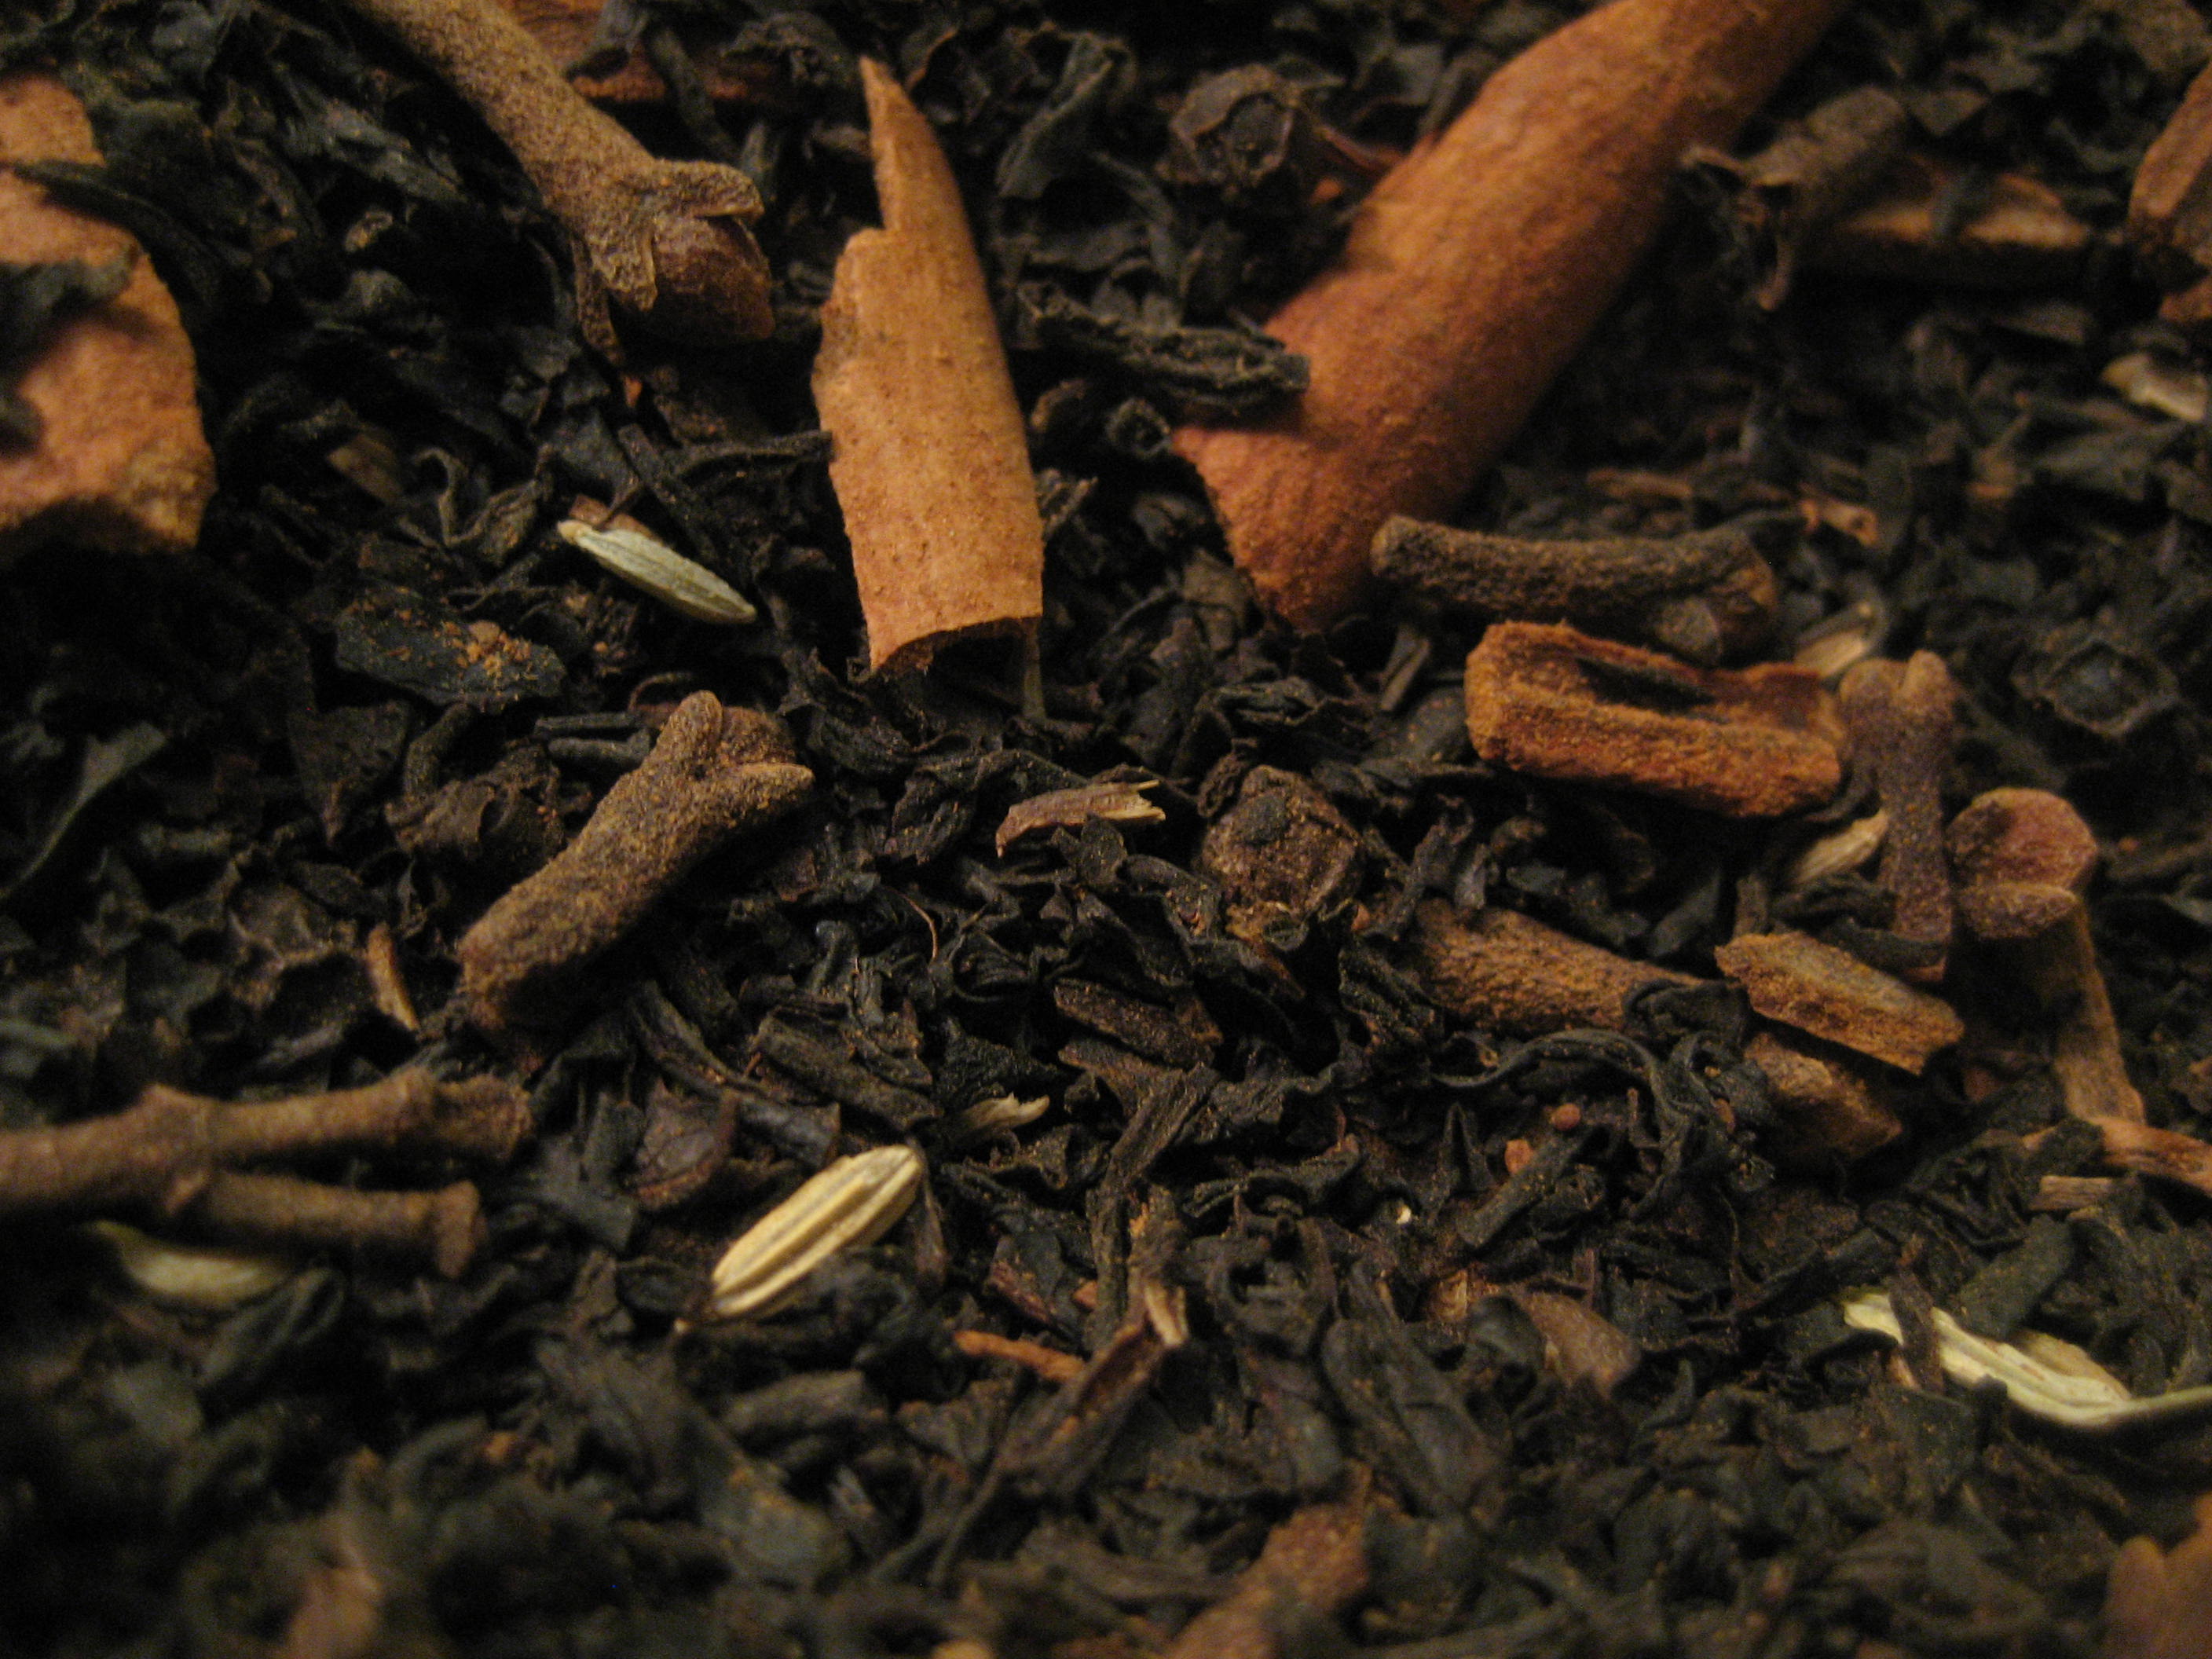
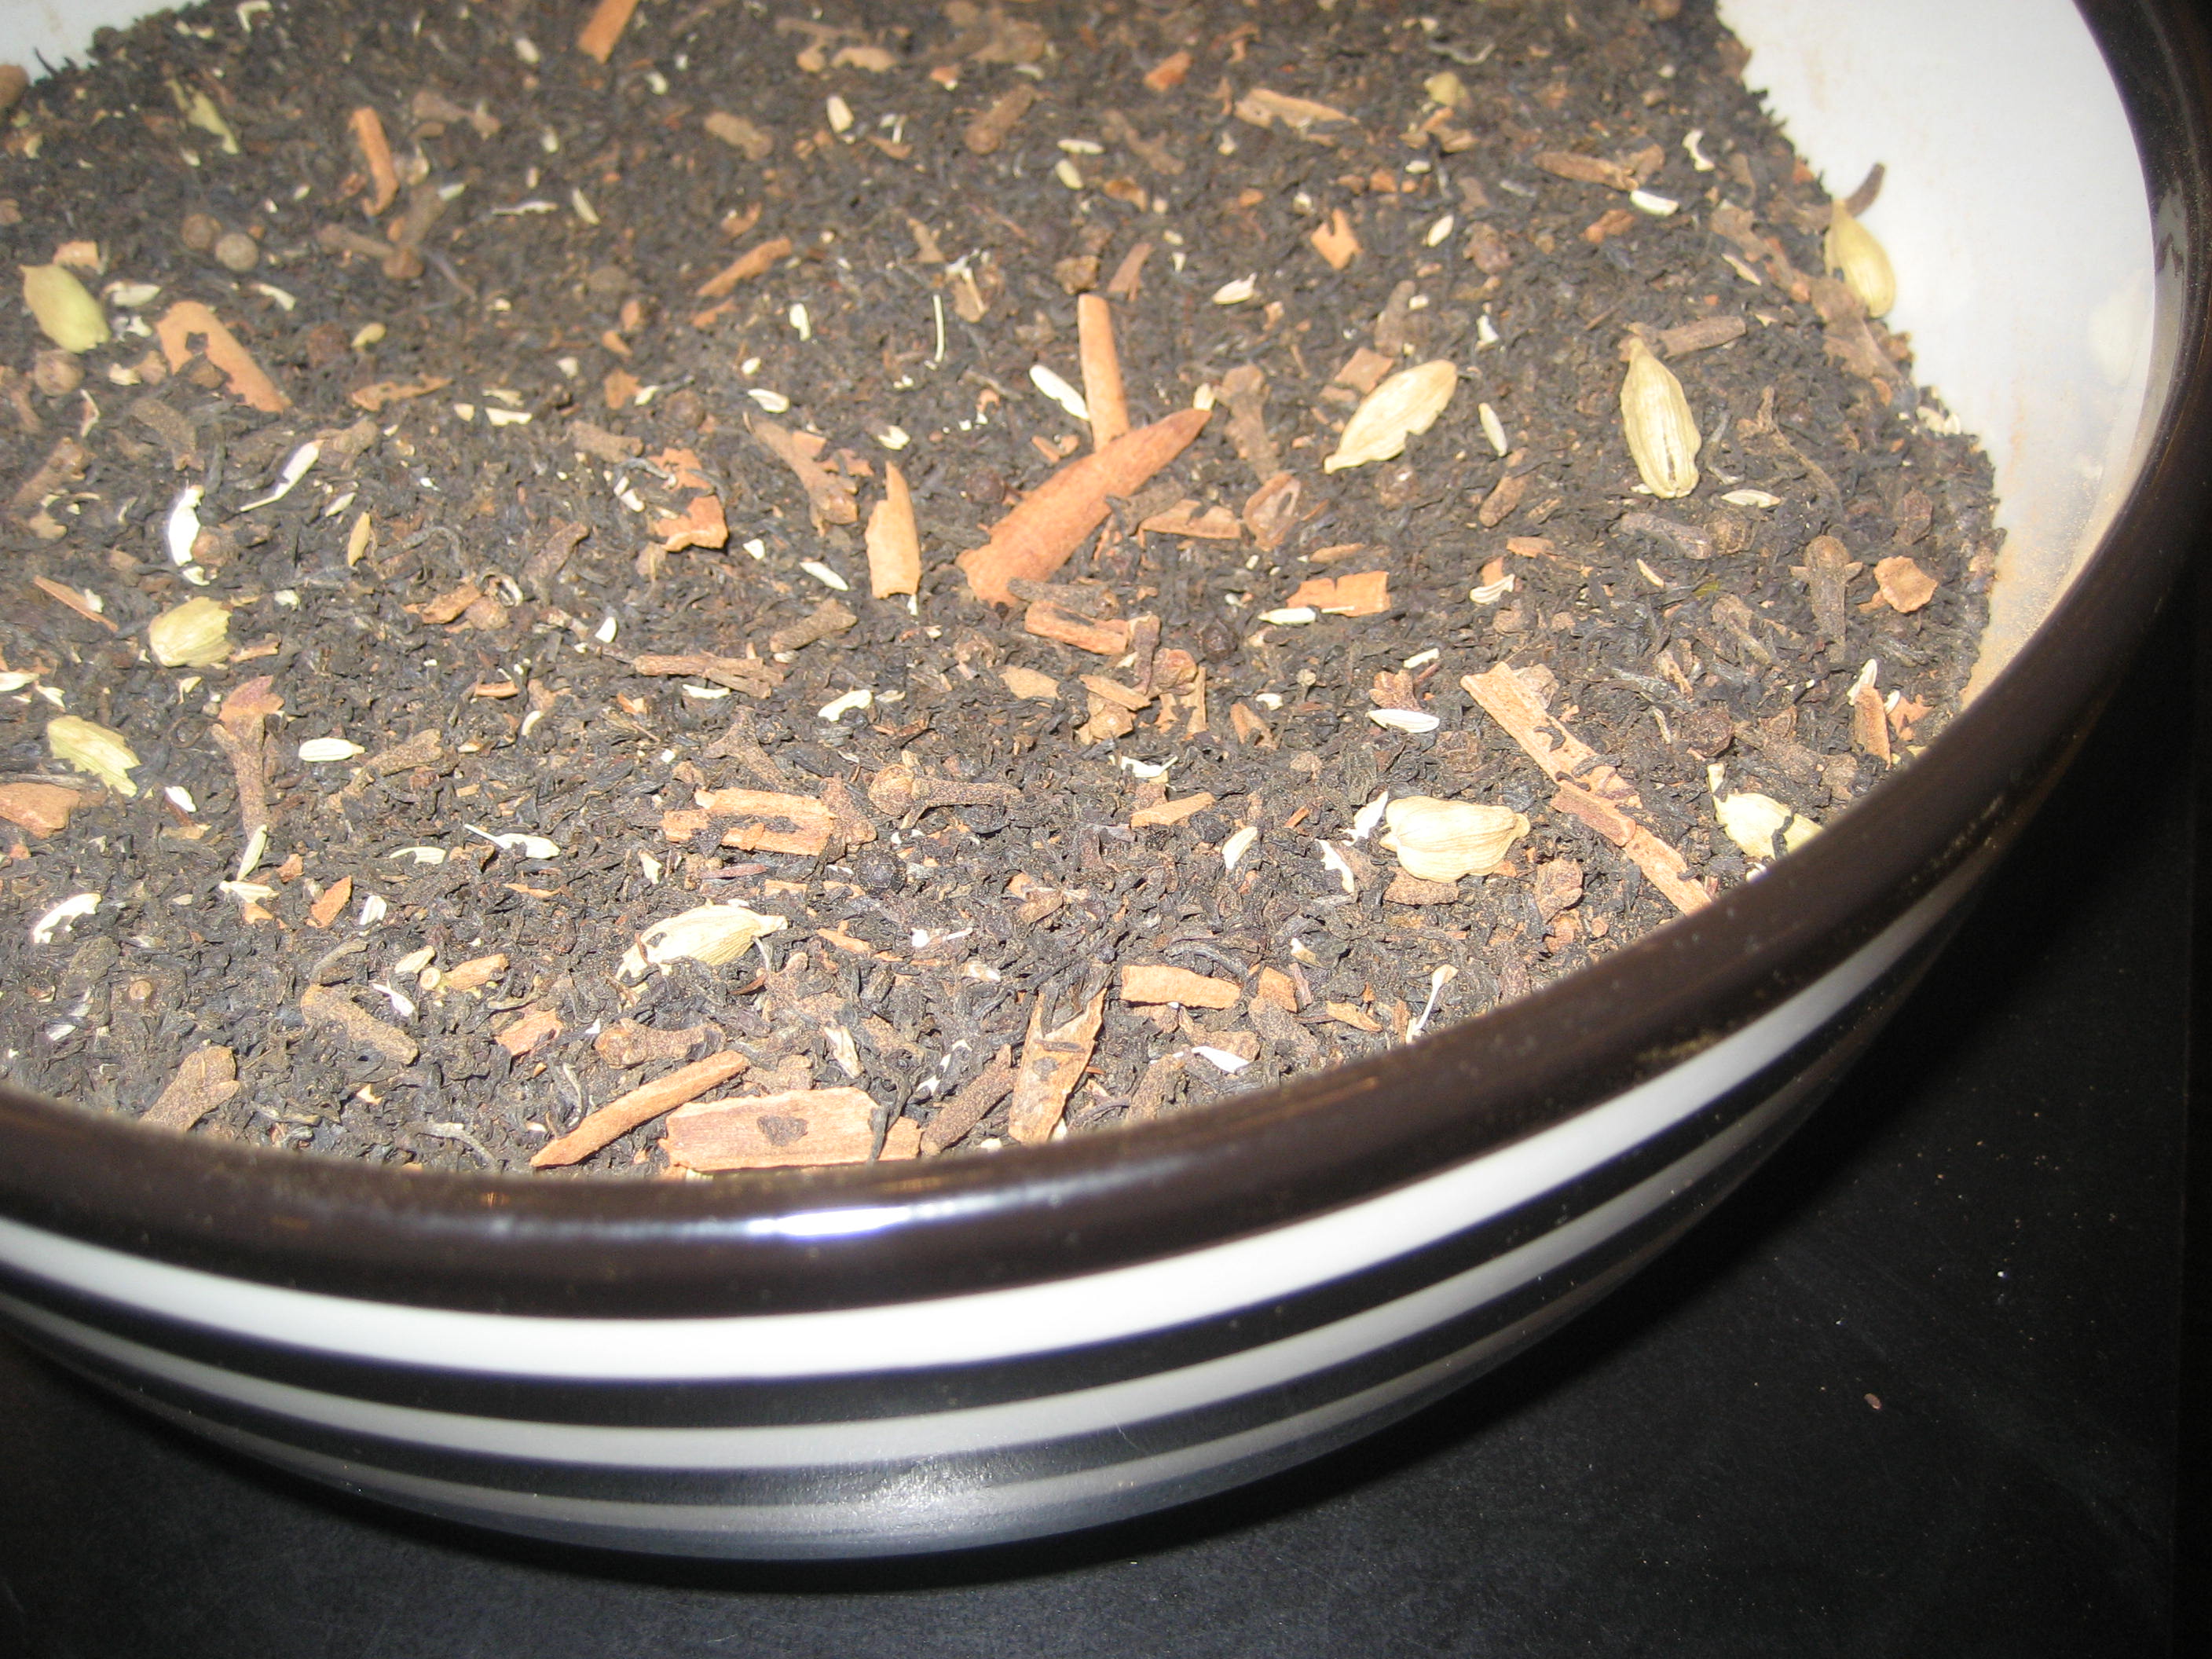
Christmas Chai – A great robust, flavorful chai. Click for recipe

Dandelion/Red Raspberry Leaf/Red Clover – Ironically, I don’t much like the taste of these herbs individually, but put together they are quite delicious. All three herbs are very nutritious and dandelion and red clover work very well together as a gentle blood purifier and liver cleanser. Please note that Red Clover is an estrogenic herb and should be avoided if pregnant or nursing.

Chai/Nettle/Chastetree Berry/Milk Thistle – I came up with this blend when I started to use chastetree berry to help balance my hormones and I think I like this blend of flavors better than plain chai tea. The chastetree berries have a light peppery flavor that really accentuate and blend well with the chai and nettle. Mmmm. Another cup please. Chastetree berry is safe and beneficial to use while nursing but not during pregnancy. Milk Thistle is a good liver support herb.

Chai/Nettle/Turmeric/Cocoa Powder – If you do your reading, you’ll find turmeric has many health benefits (read more here and here). Turmeric has many anti-inflammatory and antioxidant properties and is great for any issues of inflammation and joint pain. You may want to avoid turmeric if pregnant or trying to conceive. As for the rest, who could ever object to chocolate, and then nettle is my favorite herb of all time. This blend is tasty and delicious if blended with a little sweetener and cream. For best results, brew your dried herbs as a tea and then blend 1/4 tsp of each powder with your favorite sweetener and cream in an immersion blender. If left to sit the powders may settle to the bottom a little. Caution: Turmeric is not for long-term use. Consume no more than 1 tsp. per day and use with caution if pregnant or nursing.

English Breakfast/Nettle/Yellow Dock/Tumeric/Cocoa Powder – This may seem like a strange combination but it is a variation on the previous recipe and quite tasty in it’s own right. Yellow Dock is a good liver cleanser and blood purifier. This (or the recipe above) is my substitute when I feel like coffee is getting to me and I need to take a break from it. Simmer 2 tsp. of English Breakfast, 3 tsp. Nettle and 1/2 tsp. of Yellow Dock in a sauce pan in 2 cups of water until you have a strong tea. Strain and rinse the pan. Return the tea to the pan and add 1/2 tsp. cocoa powder and 1/4 tsp of turmeric. Stir and heat until combined. Sweeten with maple syrup and cream to taste.  Caution: Turmeric is not for long-term use. Consume no more than 1 tsp. per day and use with caution if pregnant or nursing. Yellow dock is a cleanser and laxative. Not for long-term use (8-10 days at most). Do not use if pregnant or nursing.

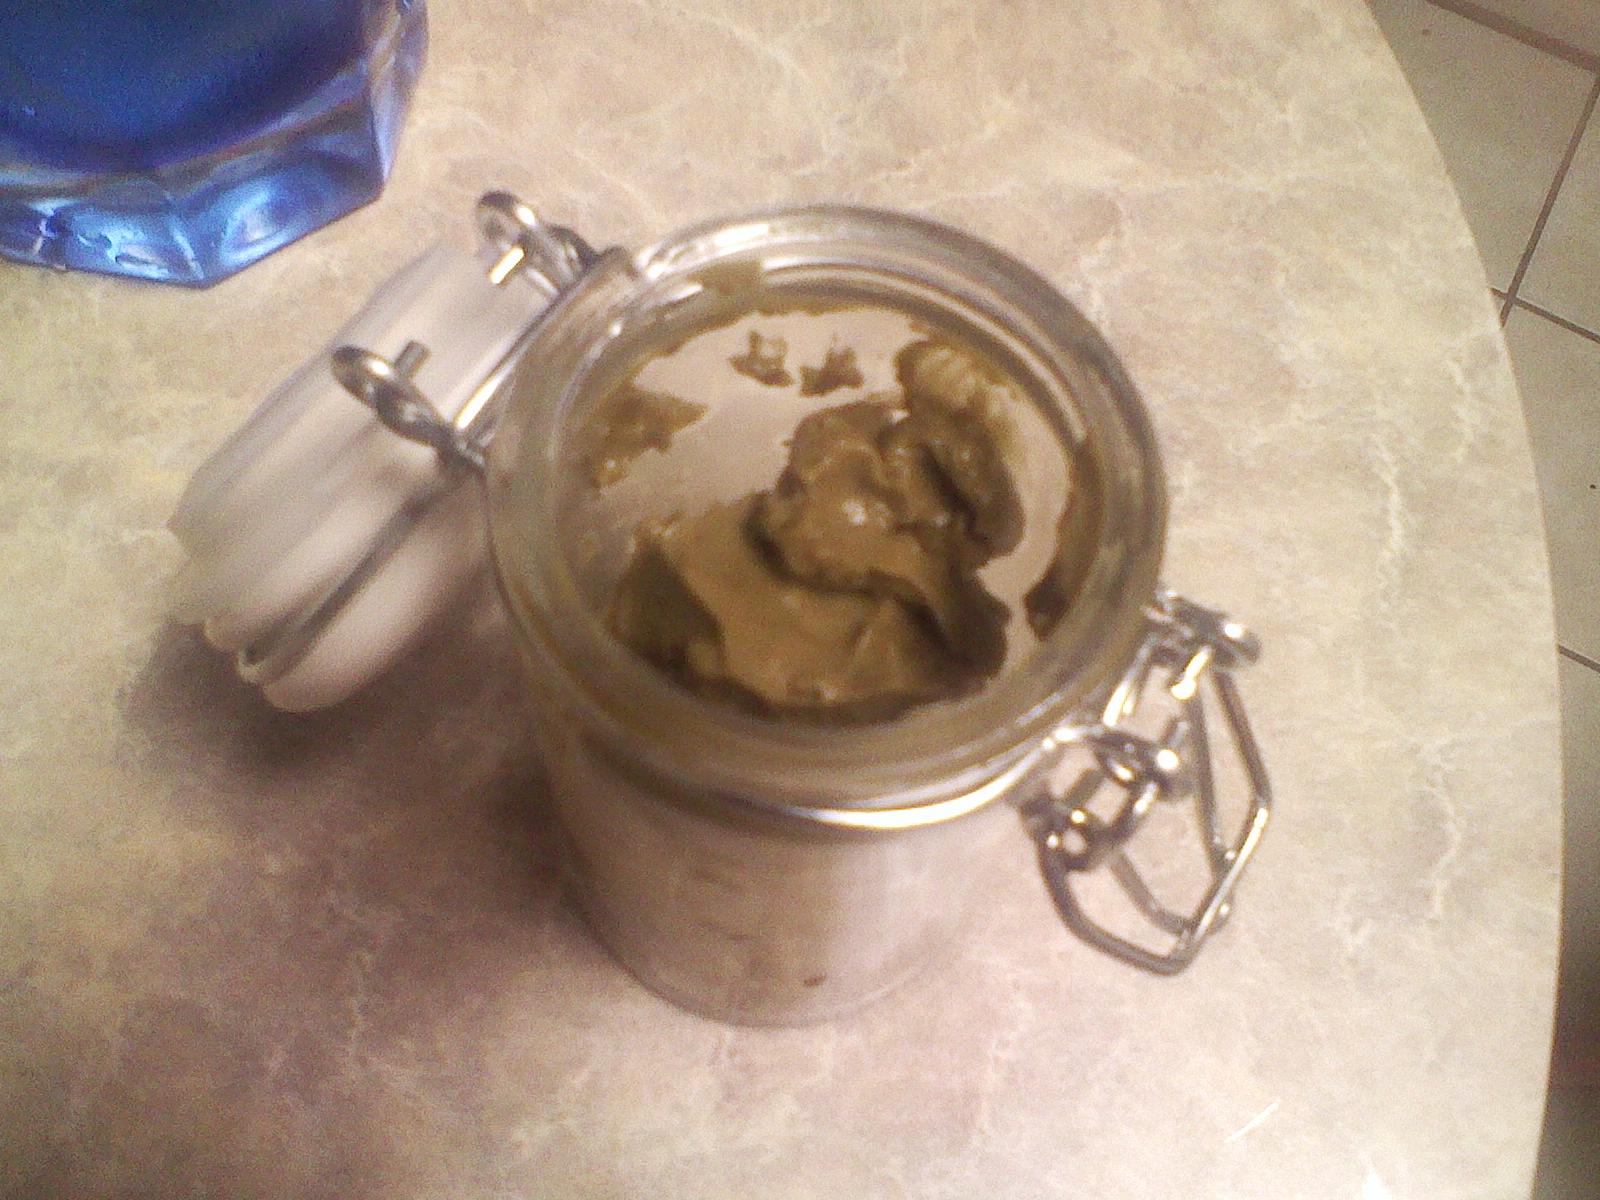
Turmeric/Ginger: Continuing on the turmeric theme, I found this recipe just yesterday for “Golden Milk.” It’s made with coconut milk and sounds delicious.

Nettle/Raspberry flavored black tea – This may be my all time, most basic, go-to blend that I never get tired of. I find something about the flavor of the nettle and raspberry flavored black tea (I purchase mine here or here) to be very satisfying and delicious. I like to drink this blend straight with no sweeteners or added milk or cream.

Nettle/Garlic/Cinnamon/Ginger: This is my go to tea when I’m feeling like I’m coming down with something or that I need a little extra immune boost. I can’t say enough about the health benefits of nettle and garlic (my two favorite herbs). And one of the thing that I like the most about the herbs and this blend is that it is very safe for anyone to consume. Steep using a tea infuser/strainer: 1 tsp nettle, 1-2 cloves coarsely chopped garlic, 1 tsp. chopped fresh ginger root, 1 cinnamon stick.  Sweeten with honey. You could even add some black tea to the mix if you wish.

Black Raspberry Tea/Lime: This one is easy. Brew some raspberry flavored black tea and squeeze in some fresh lime juice. Mmmm. Refreshing.

Experiment with your own blends. What do you like?

(Note: All external links on this site are for informational purposes only and not affiliate links. I receive no compensation for any purchase made through these links.)

Christmas Chai Tea

Christmas Chai Tea

New and Improved Chocolate Spice Toothpaste

130606_0000This is a paste version of my Chocolate Spice Tooth Powder recipe. My kids didn’t like the powder version much because the texture was dry and it wasn’t sweetened. This sweetened paste is quite tasty. First simmer a pinch of stevia leaf (maybe half a teaspoon), 2 cinnamon sticks in 1/2 cup of distilled water for 15 minutes. While this simmers, blend the powdered ingredients from the powder recipe. Turn the heat off the liquid mixture and let it cool a bit. Strain the herbs from the liquid and add two drops of clove essential oil. Add just enough of the liquid to your powder mix to make a thick paste (you might not need the whole amount of liquid so add a little bit at a time so that your end product isn’t too runny). Blend with a popsicle stick and store in a glass jar. Apply to your toothbrush using a popsicle stick. This does not have an indefinite shelf life like the powder does, but should last a couple of months if you use distilled water. I like to make a large batch of the powder since it doesn’t go bad and then make small batches of paste as we need it.

The Home Remedy Maker’s Tips and Tricks

If you’re into making home remedies, you’ve may have a stash of herbs, clays, syrups, tinctures and essential oils.

Once you’ve had some experience making and using your own remedies to heal illness, wounds and improve ailments you discover little “tips and tricks” that aid you in your efforts. Here are some of the things that I’ve found work well.

9.27.13 046Administering herbal syrups and tinctures:

One of my favorite ways to administer herbal syrups and tinctures to my kids (otherwise known around our house as “drops”) is to use these nifty little measuring cup shot glasses. You can measure out the dose and your older ones can drink it themselves. If you’re concerned about letting your kids drink out of a glass cup, you can look for stainless steel condiment cups at Walmart and use those. They don’t have the measurement markers on the cup but they aren’t breakable. These little cups are also nice for mixing remedies as well.

9.27.13 065


Injuries, wounds, scrapes, cuts, skin abrasions and irritations:

9.27.13 049Figuring out how to apply herbal salves, poultices, creams, clays, compresses can be challenging. Band-aids and gauze bandages will only go so far at holding those herbs in. I’ve found that my husbands old t-shirts cut into strips work the best for applying dried herbs, compresses and clays. You can roll the herbs into the cloth and then tie it around the affected area. It works especially well on arms and legs as a bandage and application for homemade herbal remedies. For injuries or issues on the hands and feet the cuff of an old sock actually is an excellent way to cover a wound or irritated skin with a salve, clay or poultice. You don’t have to tie anything and it holds everything in place. So save all those mis-matched socks and save the ones with holes too. Just cut off the foot saving the cuff. Kids socks work great around the hands and feet since they are smaller. Cuffs from adult socks are good for arms and legs.

Herbal Syrups

9.30.12 003Herbal syrups are a great, quick way to make up herbal remedies that you are going to consume quickly – for example, something that you would take every day or something that you would take a lot of during at time of illness. Since I can’t make glycerine tinctures any longer due to a family allergy, I’ve gotten pretty good at syrups. The shelf-life of a syrup isn’t as long as a tincture so if you need a longer shelf life then go with a tincture. If it’s something that you will use up quickly then a syrup will fit the bill and probably be cheaper to make than the tincture.

A syrup is basically a very strong tea that is sweetened with honey. Ready to get started? Here’s what you do….

Start with about 6 cups of water in a saucepan. Add in about 2 cups total of the herbs of your choice. (I use this method all the time for Well Drops and Cough and Cold Drops.) Simmer for about 20-30 minutes. Let the herbs sit. When cool strain off the herbs using a cheesecloth and squeeze out all the juice from the herbs. Pour the liquid back in the pan and add about 1/2 cup of honey (or more to taste). Turn the heat on and simmer again stirring to combine the honey. Reduce by half until the liquid measures 2-3 cups. Bottle in a sterilized glass jar (scald with hot water) and store in the fridge.

These will probably last about 2 weeks in the fridge. You will know if they have gone bad by the taste. Traditional syrups should last about 6 months or more but these require adding much more honey (typically a 1:2 ratio of honey to liquid) than what is appealing to my palette. If you want your syrup to last longer add more honey to your mix and boil if for longer after you add the honey in.

And here’s a helpful tip…. If you don’t think you’ll use your syrup up fast enough before it goes bad, freeze half of it and thaw it out when you’ve used up the first half.

Stay well and syrup making!!