Make Your Own Infused Violet Oil! DIY, Homemade Goodness!

Make Your Own Infused Violet Oil! DIY, Homemade Goodness!

Follow along and make some infused Violet Oil with me!

This is one of my favorite winter oils. I start to crave it about this time of year when the temps here in the northeast drop to the teens and twenties.

Dried wild violets in a jar

It is delicate and luscious.

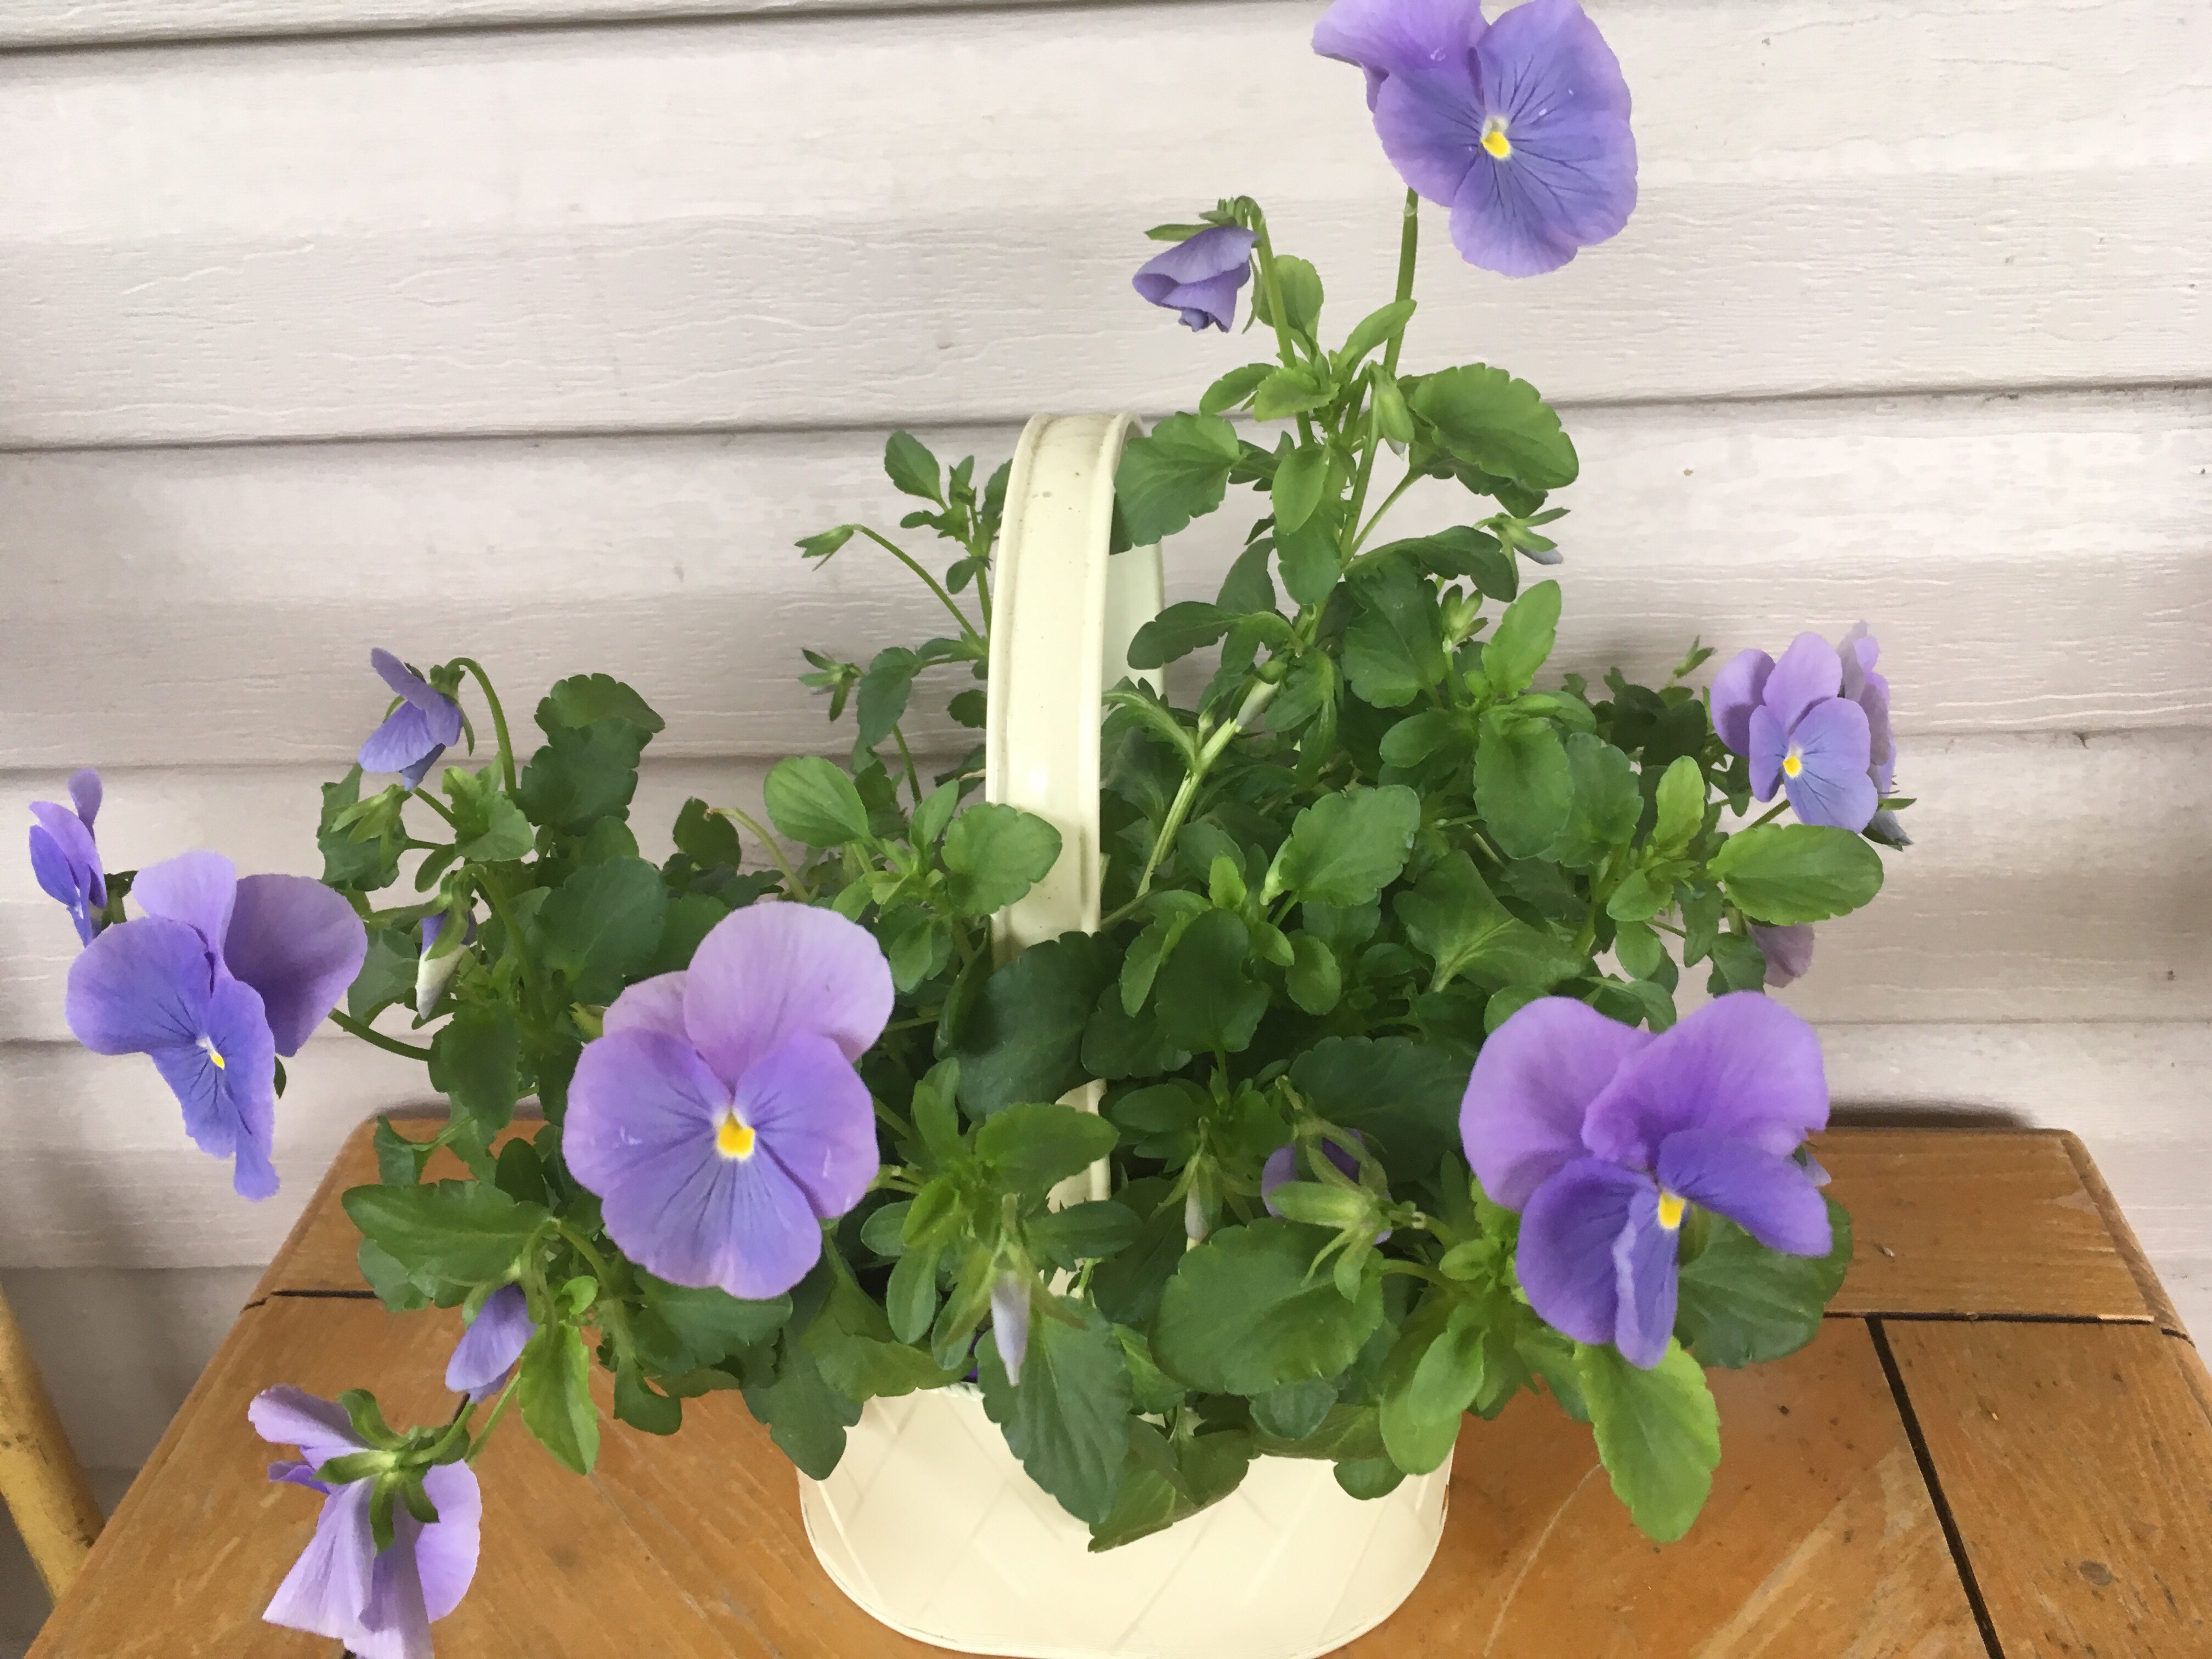
I harvest my violets from my property 2 years ago and they have a faint scent which is new to me. The smell is lovely and delicate, like sweet perfume.

How to make infused Violet Oil:

It couldn’t be easier.

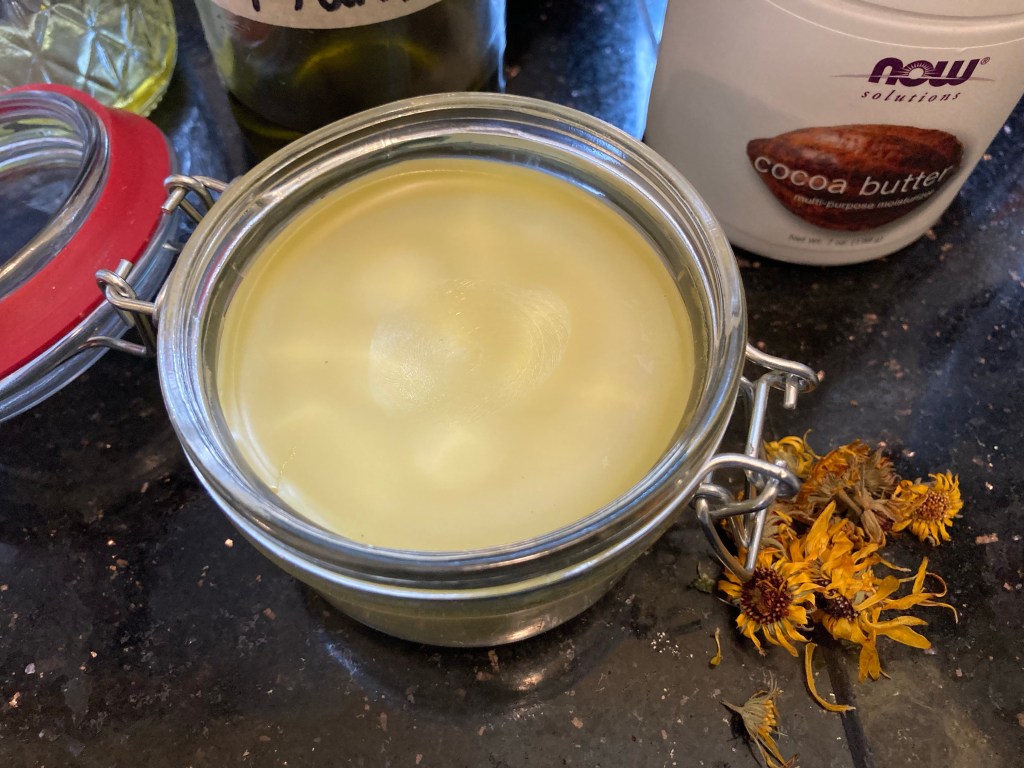
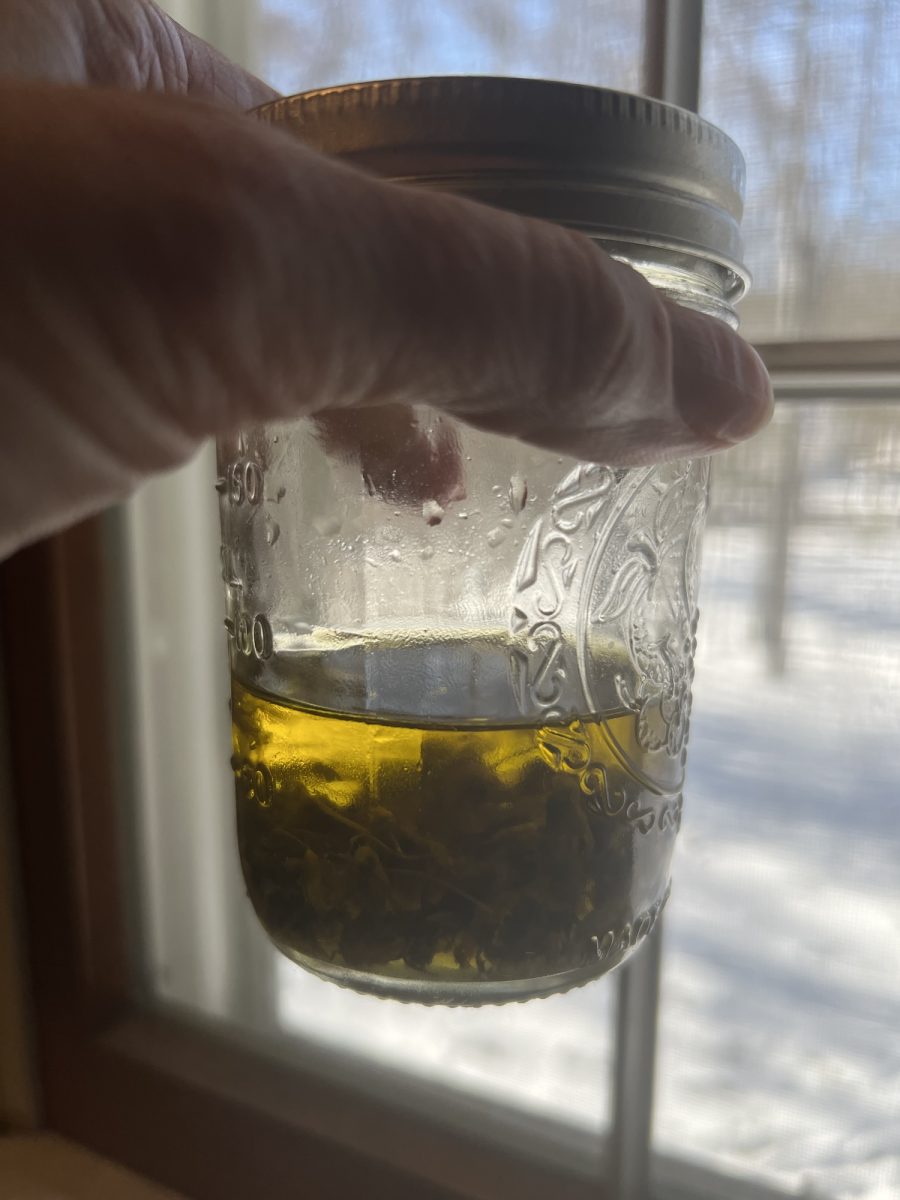
First, put some dried flowers in a jar.

jar of violet flowers sitting on counter

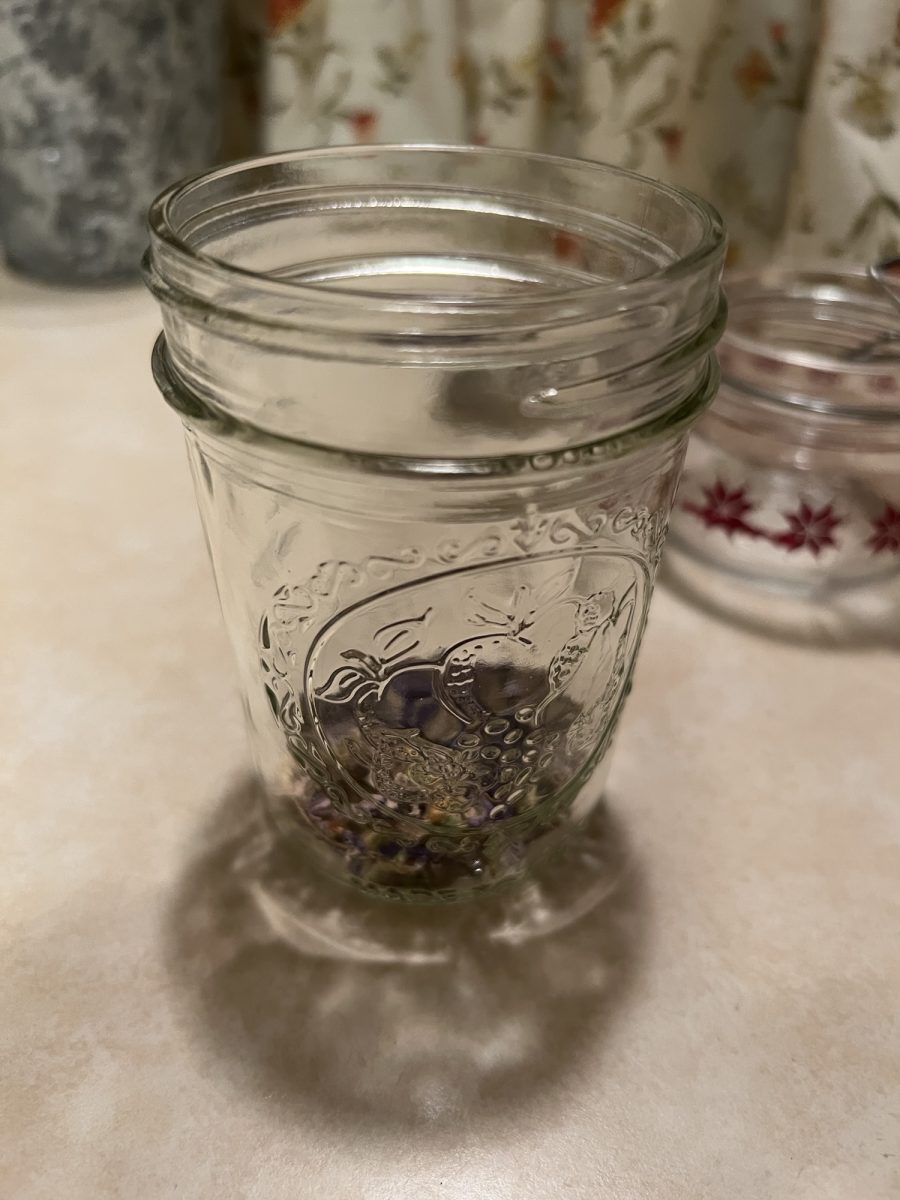
Then, cover them with olive oil (or some other oil that is liquid at room temperature).

    Add the sealed jar on top of a cloth to a sauce pan of gently simmering water and immediately turned the burner off.

    jar of violet oil in sauce pan

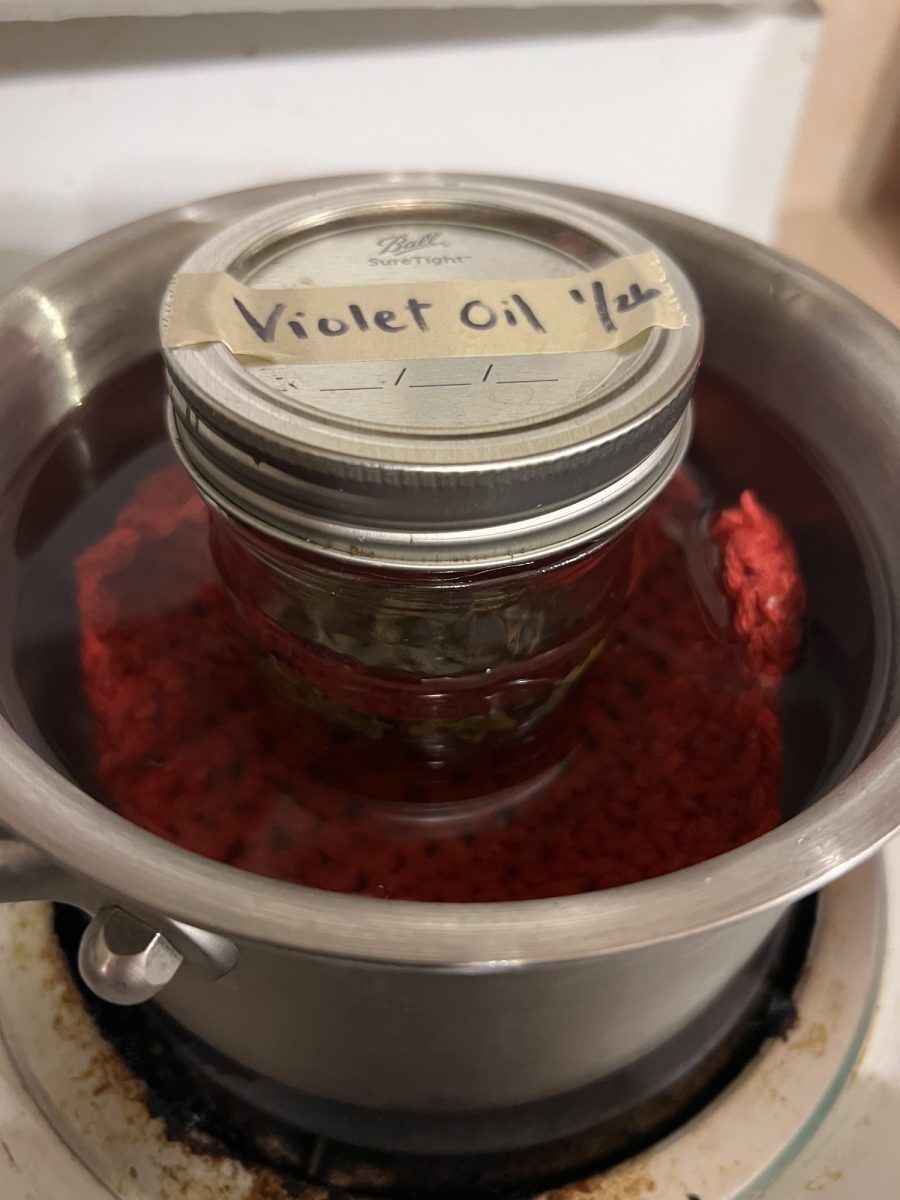
      Let it sit until it was cold. You can let it sit longer (which is what I do) or strain and use immediately.

      When I rub the oil on my hands and face, I cup my hands round my nose just to breathe in and enjoy the sweet, delicate scent of the violets.

      Jar of violet oil in front of window

      Health Benefits of Violets:

      Violets act on the nervous system. They are moistening and calming, and especially good at promoting lymph flow and reducing swellings.

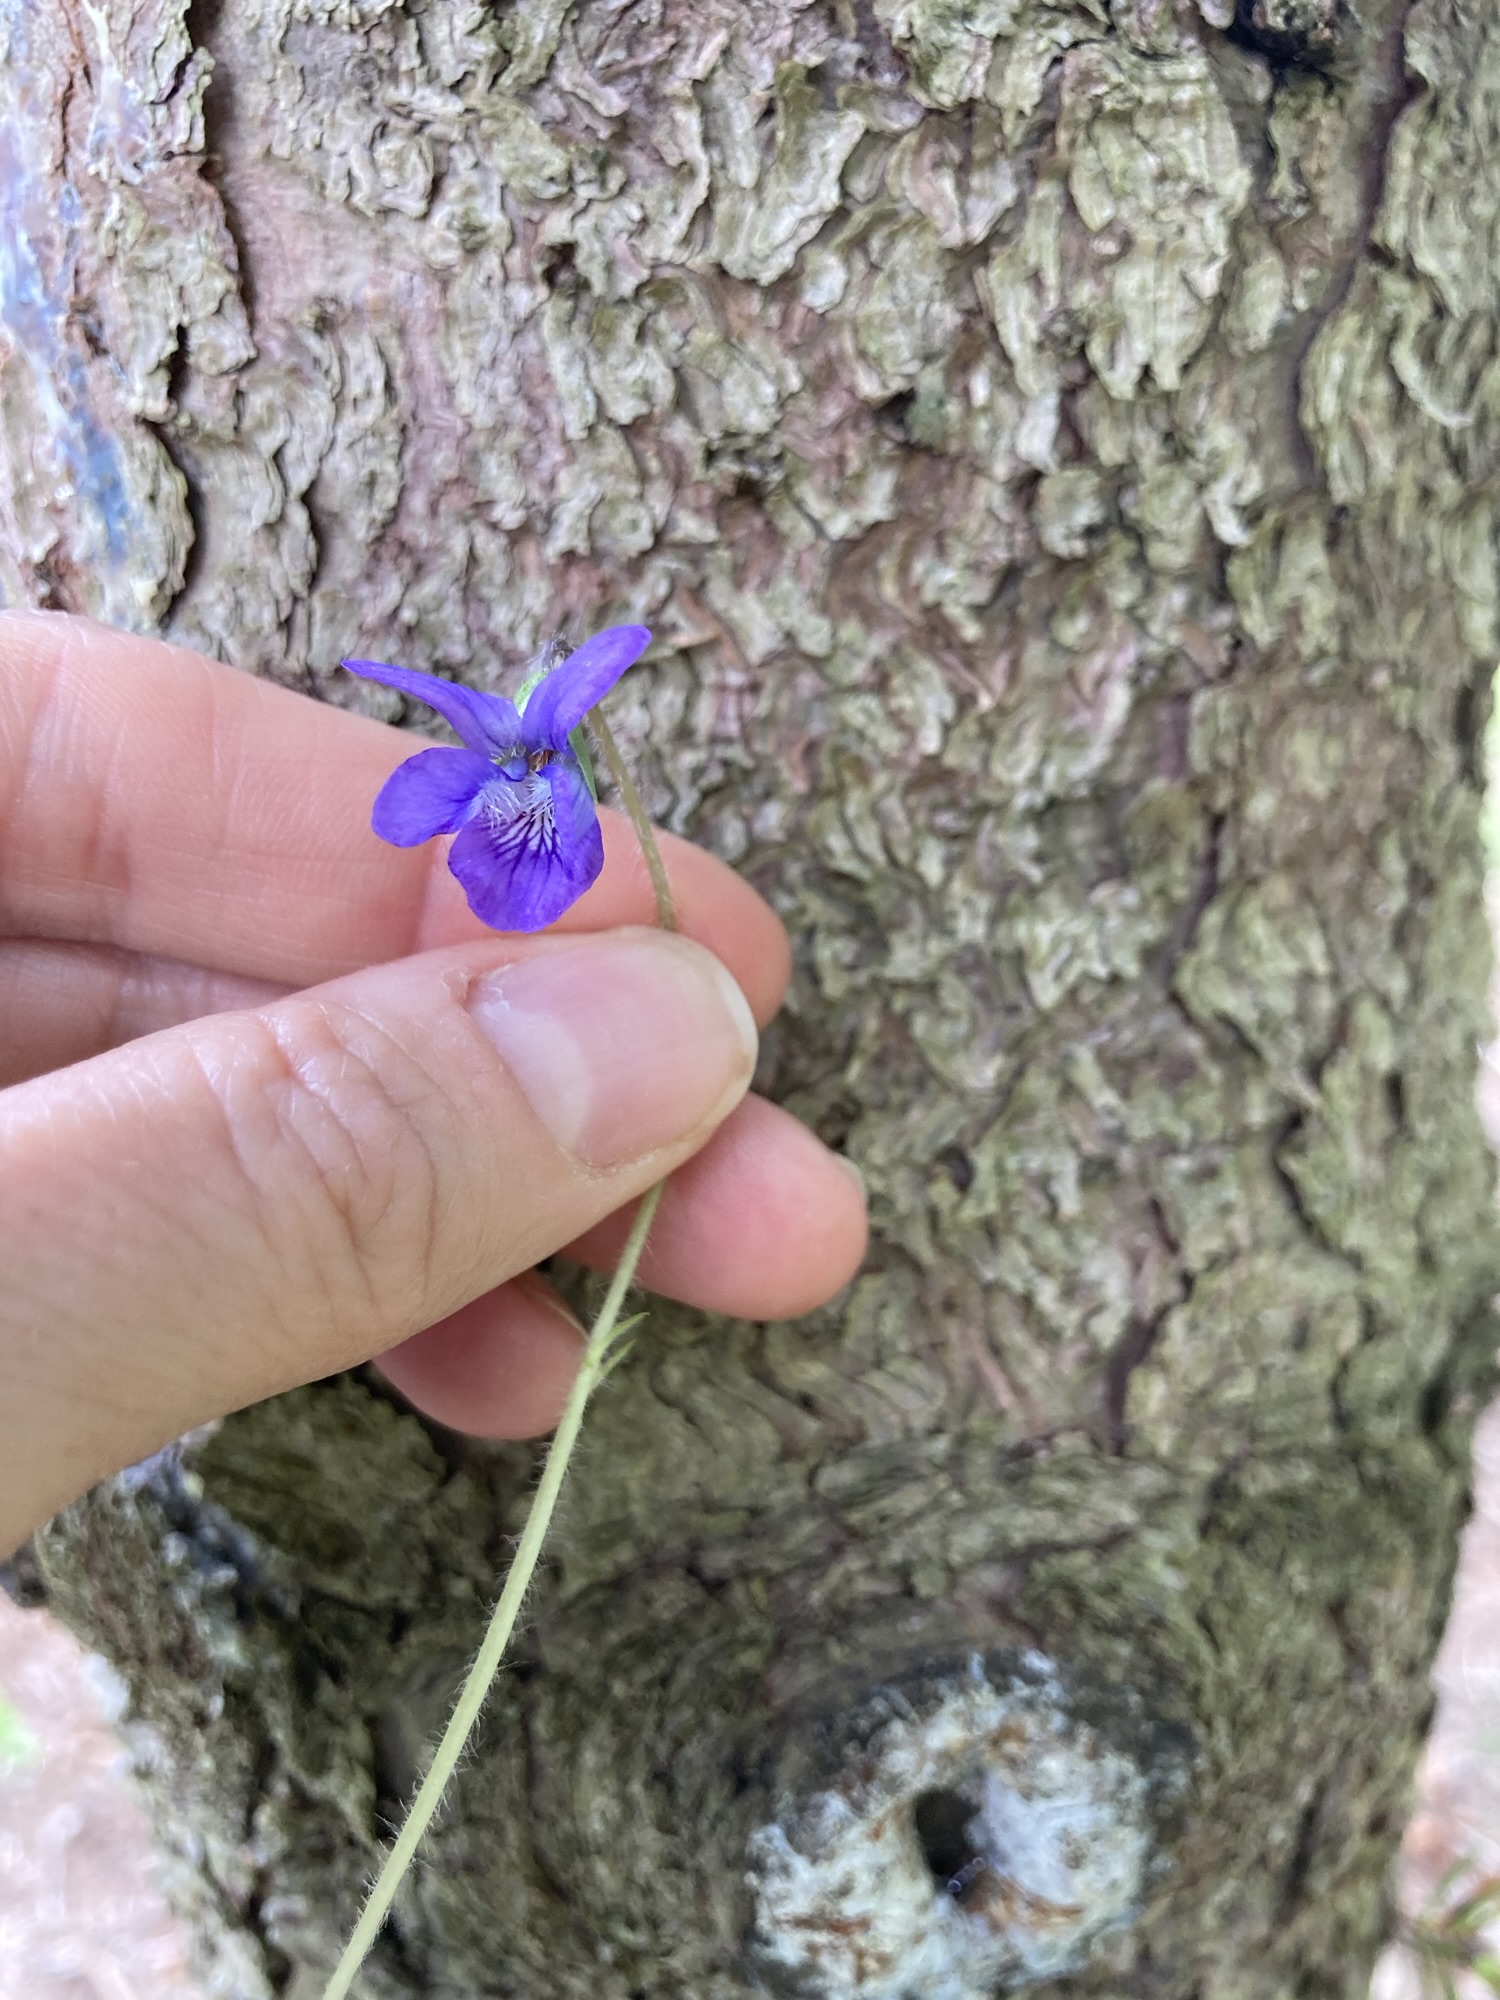
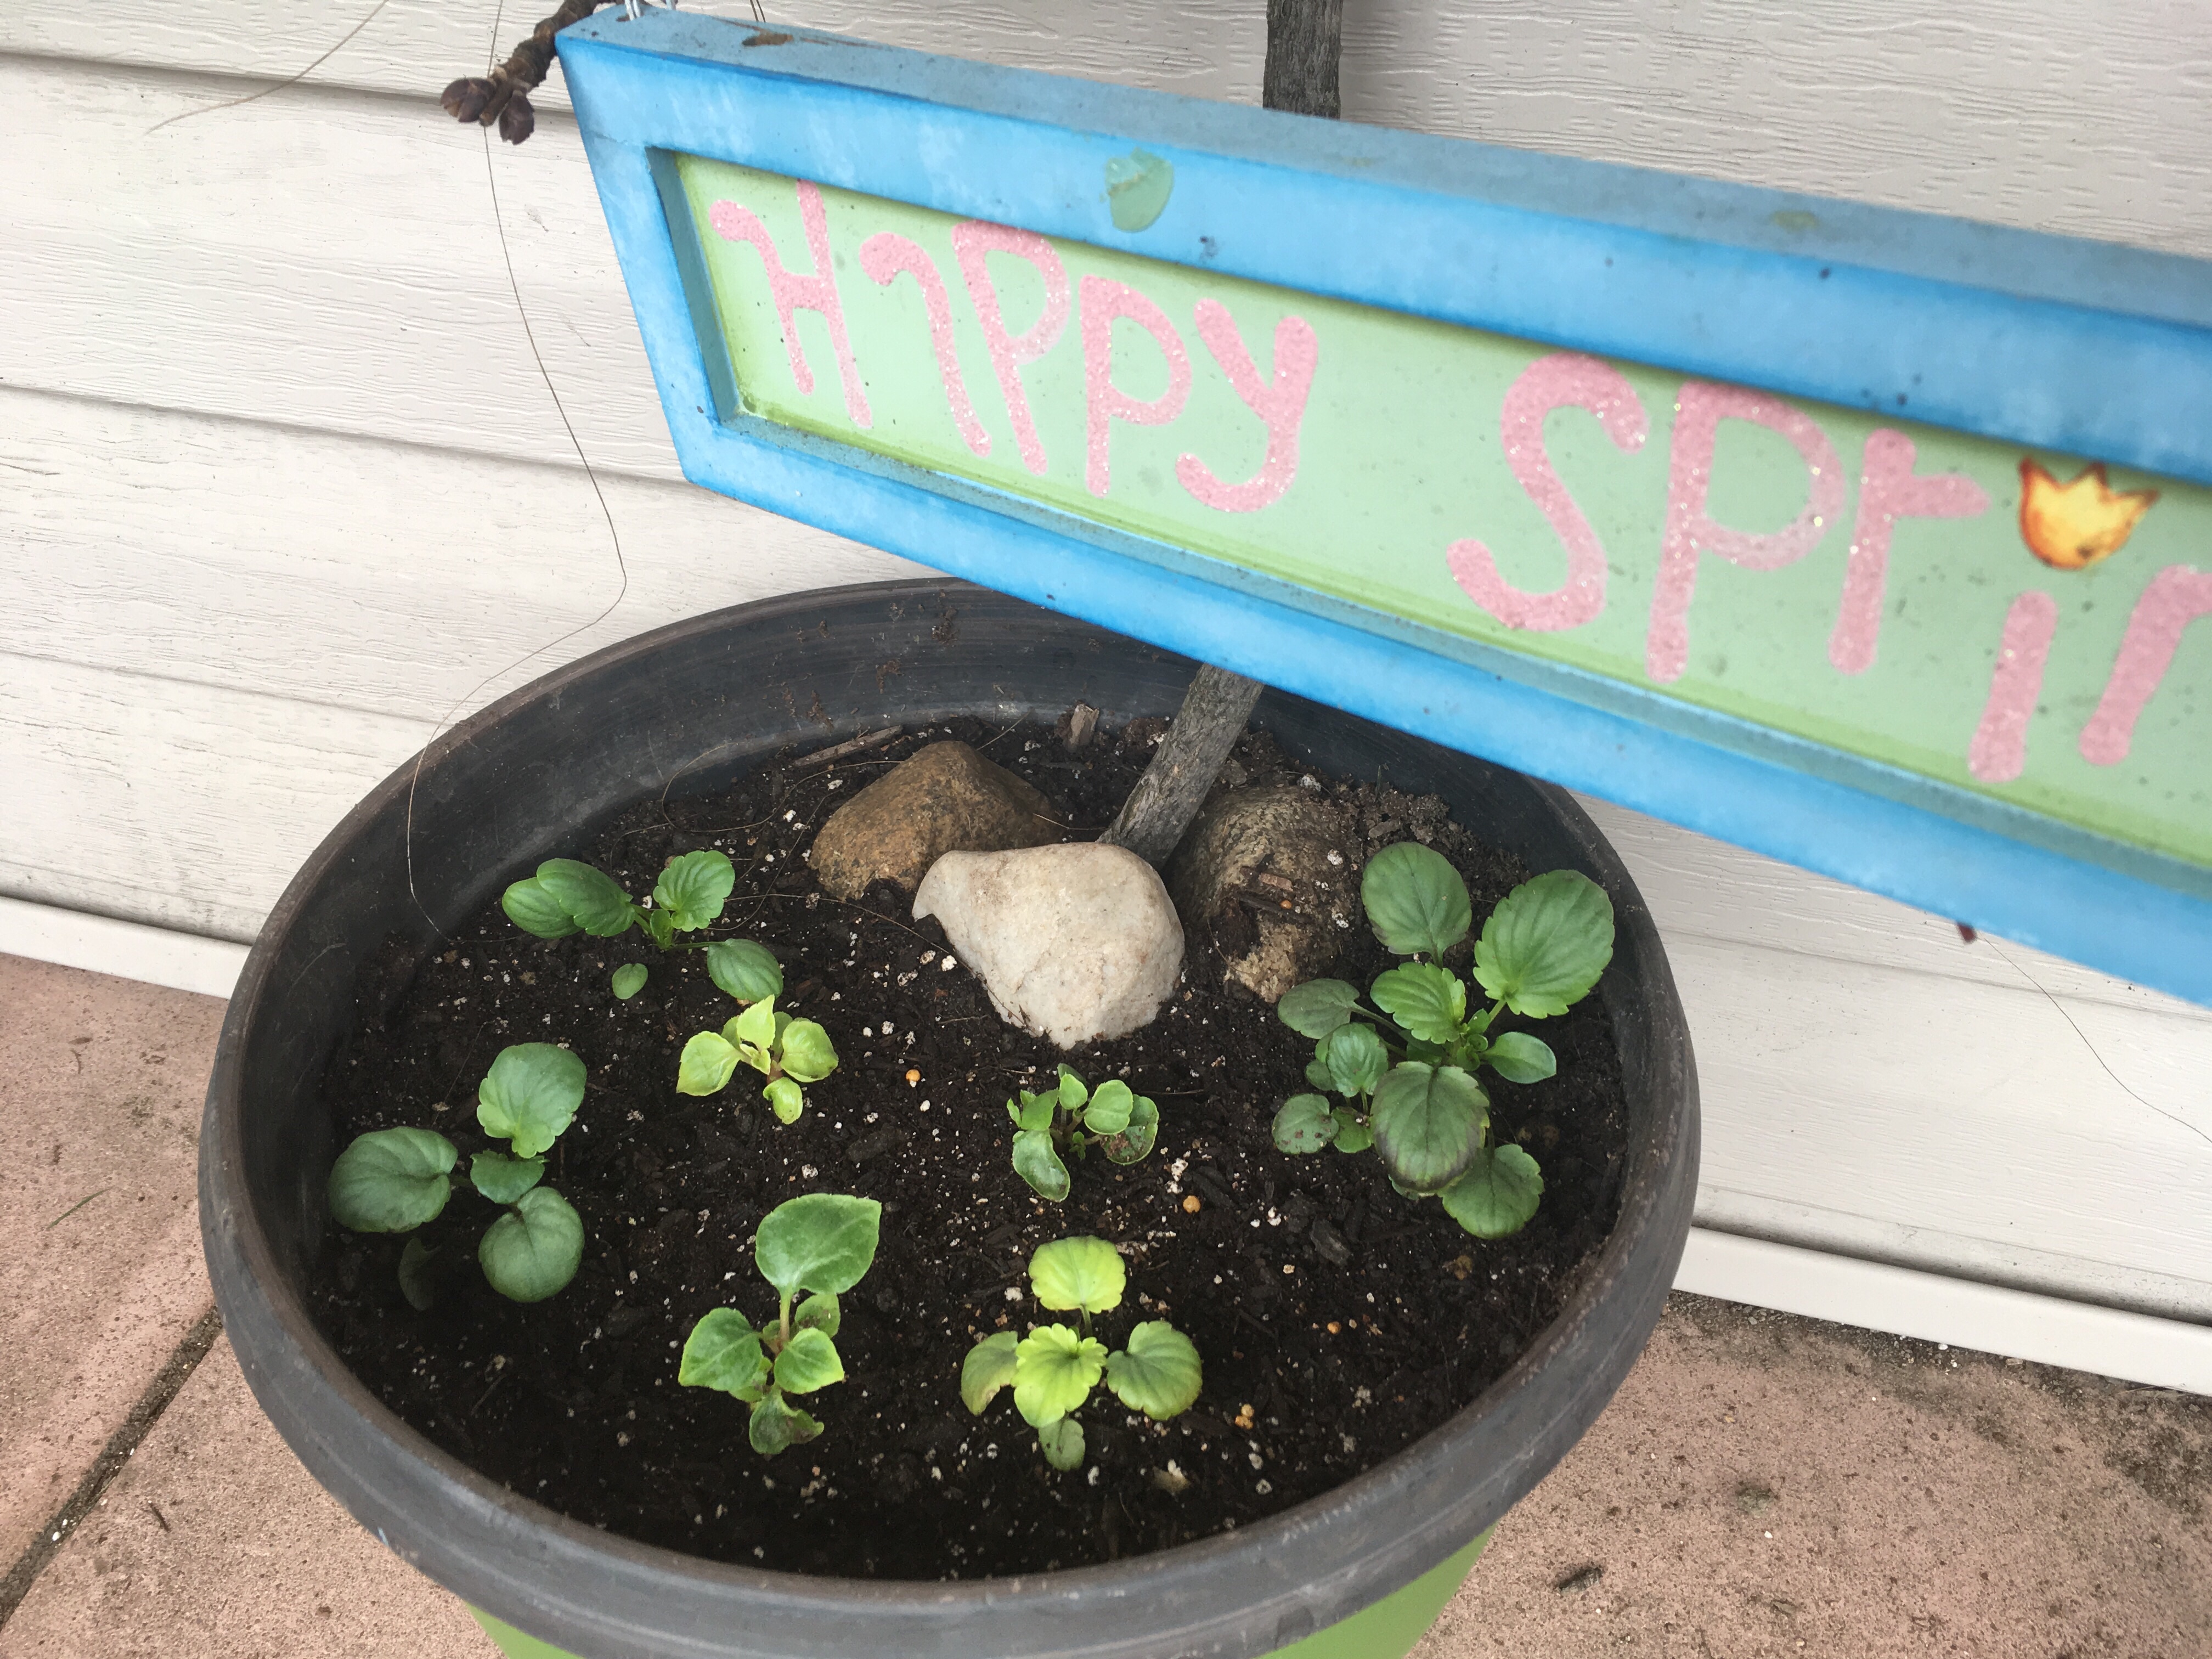
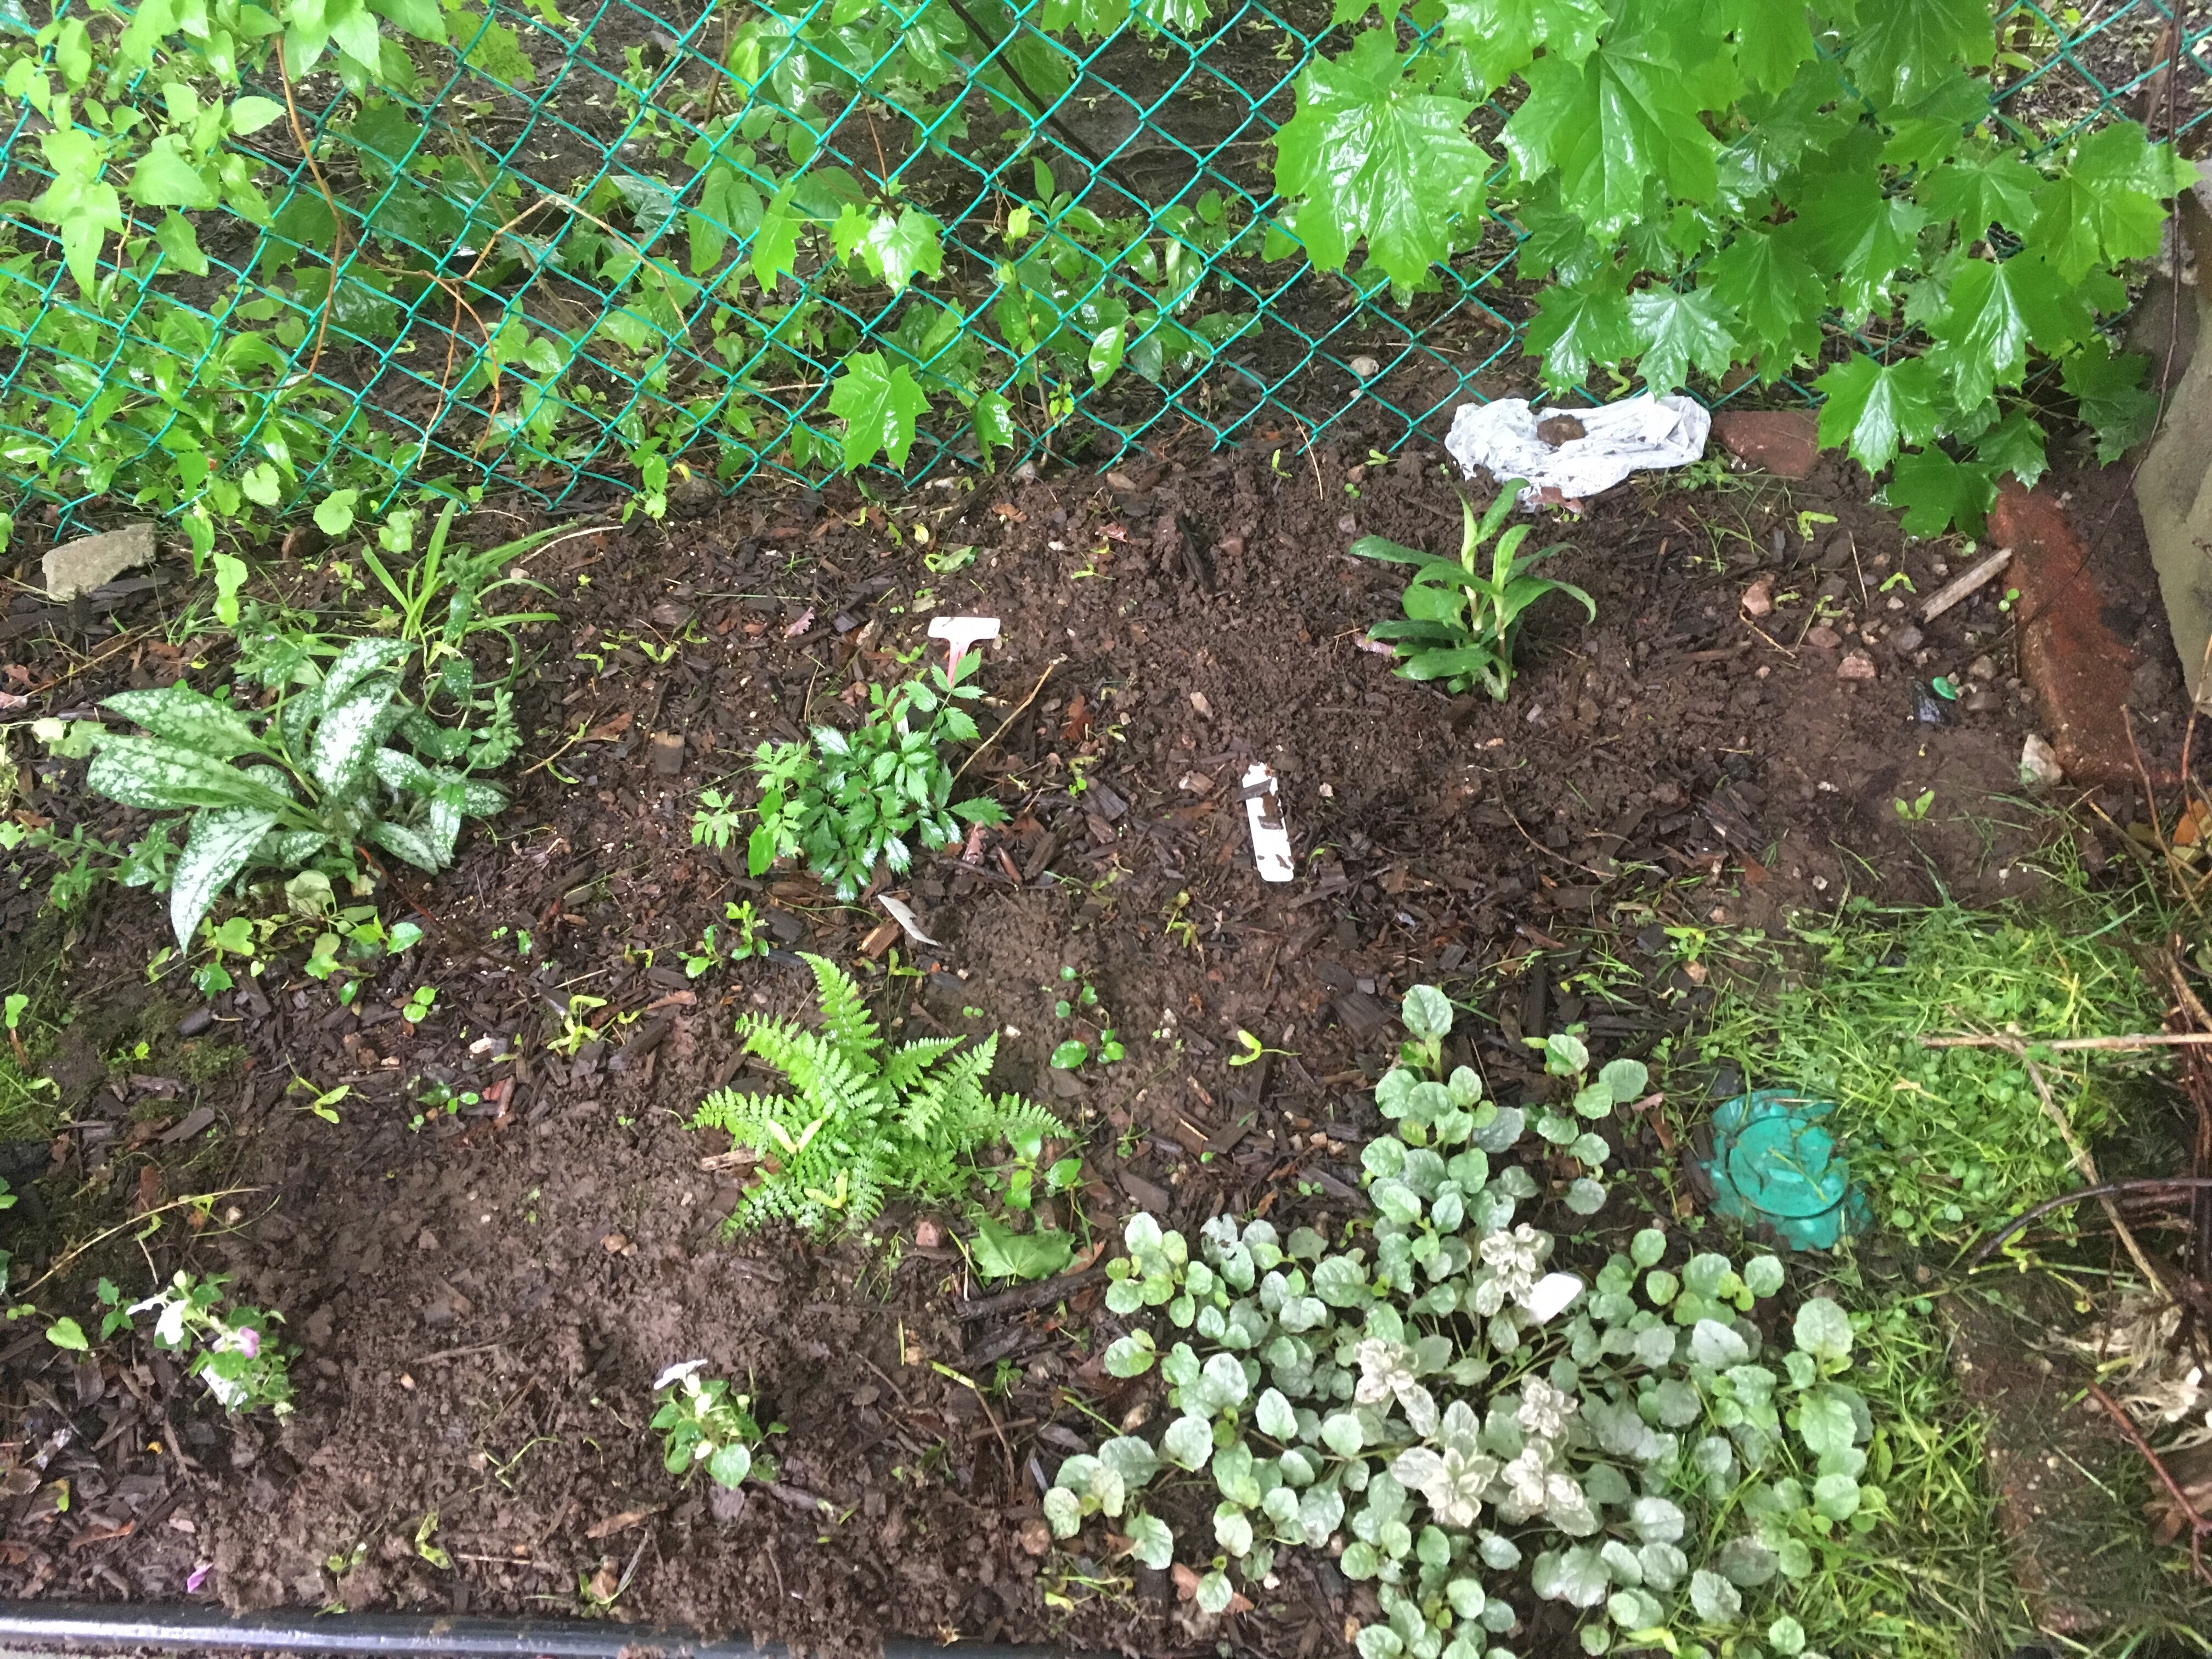
      When to Harvest Wild Violets (Viola orodata and other species)

      If you’d like to make your own violet oil, start watching for violets in February and March if you live in the south. The are one of the first spring bloomers. They bloom in April and May here in the Northeast.

      While these flowers spread from seed, you can harvest the flowers freely because they also grow from an underground rhizome so picking all the flowers will not prevent the plant from coming back year after year.

      But don’t confuse these flowers with African violets which are from a different plant family and are toxic. Be sure you are harvesting Wild Violet (Viola orodata and other species).

      If you want to learn more about what to look for and harvesting these flowers, this post from our sister site, Botany in an Hour, might interest you if you want to learn how to distinguish violets from other purple flowers that bloom early like Vinca minor (periwinkle) which is also toxic.

      DIY Rose Oil ~ Make this oil from your own Rose ๐Ÿฅ€Petals!

      What do you make with your flowers? ๐Ÿฅ€

      This is infused Rose oil is one my favorite things to make. I use it on my face and hands daily. ๐Ÿฅ€

      ๐Ÿฅ€ I harvest my rose petals, air dry them inside a pretty tea towel until crunchy, and store them in a clear glass jar in a dark cabinet where I can check back often to watch for condensation (a sign that they arenโ€™t fully dry).

      When I need to make more Rose oil I simply put some of my dried petals in a jar, cover them with my favorite oil (I use olive, but almond is lovely, or you can use any oil you would cook with that is liquid at room temperature), and then I sit the jar in a sunny window to add some gentle warmth. 

      When I need more Rose ๐Ÿฅ€ oil, I strain the petals and pour some into a 2 ounce spray bottle for easy application. 

      Hint: You wouldnโ€™t think it, but the 2 ounce travel bottles from Walmart work best. Then I can take my oil with me on the go. I have a bottle in my bag right now actually. ๐Ÿ˜Š

      Once strained, I store extra oil in glass jelly jars labeled with masking tape with the name and date. 

      ๐Ÿฅ€ Who would have thought that something so lovely and useable would come out of such a simple flower? 

      When my hands get dry this time of year I just take some out and squirt some into my palm. It sprays out in a nice, neat stream. Because Rose ๐Ÿฅ€ Family plants are all astringent, Rose oil not only moisturizes, but tones my skin. And it smells as good as your Roses ๐Ÿฅ€ do in your garden in the summer. Thereโ€™s nothing like the aroma of Roses to lift your spirits when winter days are dreary.

      Itโ€™s the simple ways you use your plants that make them that much more special. ๐Ÿฅ€

      Subscribe or follow on Facebook to learn how to recognize and use the plants that grow around you. 


      Visit our sister site, http://www.botanyinanhour.com, to learn more about your botany basics, plant recognition, and how to put your knowledge to use so that you can garden better, forage safely, harvest more, preserve easily, heal locally, and teach your kids plant skills for life.

      #botanyinanhour #botany 

      #flowerfamilies #roses #roseoil #rosefamiky #gardenbetter #foragesafely #harvestmore #preserveeasily #heallocally 

      Air Drying Calendula Blossoms

      Air Drying Calendula Blossoms

      Calendula is one of the few plants in the Aster family that we use as my son has a allergy to ragweed which makes him sensitive to many of the plants in that same plant family.

      Iโ€™ve grown Calendula for years and thought Iโ€™d share how I air dry them without a dehydrator. It is often recommended that you dry calendula with a dehydrator since the centers are so thick and resinous that they can be hard to air dry, and if not completely dry, they can mold in storage.

      Why this method of air drying Calendula works. Two reasons:

      1. Good air flow.
      2. Long drying time.

      Because my calendula is grown in containers, I usually have small harvests, meaning Iโ€™m not harvesting basketfuls at a time. I might harvest 2-3 flower heads per day. This is certainly not enough to warrant pulling out the dehydrator in order to dry them.

      So mine sit and wait for me, and as they wait, they dry.

      Hereโ€™s what I doโ€ฆ

      Each flower that I pick goes into a little linen bag. This is in fact a little bag for sprouting micro greens, but since I use a different method for that, Iโ€™ve never used that bag for sprouting so I turned it into my calendula drying bag. Now, letโ€™s stop here. You donโ€™t need a bag for this. Any airy, piece of fabric, linen, muslin, flannel, burlap, or scrap of cheesecloth that is large enough to lay the flowers on and fold over on top of them will do. The purpose of the fabric is to keep your flowers clean and free of dust while drying.

      Tiny harvest. These Calendula blossoms have been drying for a few weeks.

      Next I lay this little bag on top of my hutch where the air is warm. I usually lay it in the bowl of my old fashioned kitchen scale which lives up here, but anywhere high and warm that is open to the air will do. On top of the fridge would work quite nicely. (Do not place anything inside an upper cupboard though. There would not be enough air flow in there.)

      As I pick new flowers, I add them to the bag. Each time I take it down to add more I shuffle them around to ensure they are all getting moved around so that all the parts dry well.

      New flowers added to the bag.

      When I have new blooms to pick, I add the new flowers to the bag and it goes back up on the hutch. Sometime in the fall when they are all good and dry, Iโ€™ll take them down, ensure that they are all dry and can be crushed, and Iโ€™ll store them in a glass jar until I need them to make more infused oil or Calendula salve. They wait quite happily for me, and by the time Iโ€™m ready to use them in winter, they are dry and ready to use. In fact, most years, they just sit there until I remember to take them down sometime in December.

      Growing, harvesting, and drying herbs doesnโ€™t have to be a fussy process. Find a method that works and feels easy to you and go with it. Whatโ€™s stopping you?

      Want to turn your Calendula flowers into an infused oil. Check out my step by step process for making a home as herbal infused oil. These steps are written to make Plantain oil, but the process is the same for making an infused oil with any plant.

      And once you have a homemade infused oil, youโ€™re only one step away from making your own salve. You might want to check out my Healing Salve which is made with Calendula. (See the little dried up Calendula flowers laying there?) ๐Ÿ˜Š

      And if you really want to wrap your head around making all your own infused oils and slaves, let Carolyn with Homesteading Family hold your hand through the process. She recently came out with a Herbal Oils class that is quite nice which covers the basics of making culinary oils, infused medicinal oils, and using essential oils for your own handmade salves, balms, lip balms, and more. You can get access to it as part of their Homestead Kitchen Membership.

      Note: This post contains affiliate links.

      Herb Harvest 2020

      Iโ€™ve always enjoyed picking herbs from my garden. But I typically just pick what I need for mmmmm for culinary use. Iโ€™ve been harvesting more herbs this to dry and save for medicinal and beauty uses this year.

      Scroll on to see whatโ€™s been in my herb basket this year.

      Sage, Calendula, and one big Mullein leaf.
      Basil!
      Mint and Catmint
      Spearmint
      Cilantro
      Roses!
      I lay my rose petals between two paper towels to air dry.
      Pretty little Calendula flowers. I air dry these the same way I do the rose petals.

      Summer Bouquets 2020

      Iโ€™ve always had a hard time cutting flowers from my garden. I just never seem to want to ruin their beauty by taking them from their natural state.

      Iโ€™ve been experimenting this year though, and Iโ€™ve found which flowers last well as a cut flower and which ones donโ€™t. Some, like Zinnias even put on more blooms when you cut them.

      Hereโ€™s a summary of my summer bouquets.

      Black-Eyed Susan, Echinacea, Red Phlox
      Echinacea, Salmon Zinnia, Polar Bear Zinnia, Coreopsis Cherry Blast
      Echinacea Hot Coral, Zinnia Polar Bear, Salmon Zinnia, Coreopsis Zagreb
      Echinacea Baja Burgundy, Coreopsis Zagreb, Coreopsis Cherry Blast, Salvia
      Rose Quietness
      Hydrangeas

      Long-Lasting Cut Flowers: Zinnia, Coreopsis, Salvia, Cosmos. Hydrangeas can be long lasting as well if you wait to cut them when they are beginning to feel papery on the stem.

      Flowers that Fade Quickly: Echinacea, Black-Eyed Susan.

      Fall Flowers – 2019

      A gallery of my fall blooms from this year.

      A volunteer chrysanthemum by my mailbox. Isnโ€™t it beautiful?

      Sedum Autumn Joy

      Purple Dome Aster

      Chrysanthemum Daisy Rose – a very reliable bloomer.

      Aster Bluebird

      Aster Purple Dome again.

      Red Impatiens in the pot, Coreopsis Moonbeam, Coreposis Zagreb, and Purple Dome Aster all still blooming away.

      Another volunteer chrysanthemum

      Chrysanthemum Daisy Rose again.

      Echinacea Cheyenne Spirit sending up some late fall blooms.

      Chrysanthemum Whippoorwill

      Chrysanthemum Grandchild

      Daisy Rose in all her brilliance.

      The volunteer chrysanthemum all opened up and exploding with blooms.

      My Garden – Late Summer 2019

      Some of my best blooms this summer! Hope to do even better next year. I’ve already got my next years garden planned out and order with plants arriving for fall planting.

      My Garden – Late May 2018

      Here’s what has popped up in the last couple of weeks and what I’ve planted in the last few days. We’ve had a rainy week, so I took advantage of it to plant my annuals and the last of my perennials for the year.

      For annuals this year, I chose mixed green begonias, lavender vinca, white alyssum, and mixed impatiens.

      In the perennial category, I added a few chrysanthemums, gaillardia, daylilies, ajuga, more lamium, and my new recent favorite, several varieties of agastache.

      New to bloom since I posted last are perennial geranium, iris, more azaleas, honeysuckle (which I forgot to take a picture of), and the peony is so close to blooming.

      So, let’s get on with the pictures.

      Red azalea – such a bright, beautiful color in the front flower bed. (Also pictured, tulip foliage, iris and chrysathemum daisy rose.)

      Shocking Pink Azalea – my favorite azalea color I think.

      Purple azalea. My grandmother grew azaleas this color in her front yard.

      Light pink azalea.

      A new baby azalea to match the large shocking pink on the other side of the flower bed.

      Flower box outside our front window. Pink begonias and white alyssum.

      Pink begonias, white alyssum, lavender vinca on the bottom.

      Annual lavender vinca.

      Our pansies and orange impatiens grown from seed. They were hard to start so I’m pretty proud that they grew.

      Bushel basket filled with a white begonia, white alyssum, and three mini chyrsanthemums from Trader Joe’s, one which we overwintered.

      Red geraniums and white alyssum.

      Begonias green basil, and purple basil in the large pot. Two lavender vincas in the little one.

      Annuals – red begonias, white alyssum. Perennial – aster coming up in the center of the pot. I transplanted the aster out of the flower bed last fall.

      Red pot includes annual begonia and white alyssum. Perennials pictured from behind the red pot moving clockwise are iris, Echinacea Tomato Soup, Agastache Summer Glow, salvia, fading muscari, lamb’s ears, Daylily Holiday Song, Chrysanthemum Daisy Red. In the center of the bed are Coreopsis Moonbeam, Chrysanthemum Mickey, Agastache Rosie Posie.

      Annuals – begonias and white alyssum.

      Pictured clockwise from the mailbox are iris, red azalea, Echinacea Pow-wow, lantana, fading muscari, lamb’s ears, wooly yarrow, Sedum Pachyclados, white alyssum, lavender vinca, lavender, rudibeckia, Agastache Champange. In the pot are begonias and white alyssum. In the center of the bed are red perennial salvia, begonias, chrysanthemum daisy pink, and annual lavender vinca.

      Iris.

      Perennial geranium.

      The peony is so close to bloom.

      Clockwise from top: Echinacea Mama Mia, Agastache Rosie Posie, Liatris, Gaillidaria Arizona Sun, Chrysanthemum Daisy Red. Pictured on the left side are the edges of the peony leaves.

      The big clump is Black-Eyed Susan, peas and tomatoes along the side, and minature roses in the front.

      Begonias, lavender vinca, white alyssum, and on the far right a sprig of transplanted Chrysanthemum Rose Grenadine.

      Excuse the mess, we’re preparing to build a sandbox for the kids. Along the edges I’ve planted Ajuga Burgundy Glow and Ajuga Bronze Beauty as a ground cover to fill in the dirt under this shade tree.

      Clockwise from top left: Pulmonaria Dark Vader, Astible Plumila, Tricyrtis Tojen, Ajuga Burgundy Glow (bottom right), Impatiens, and Fern (center of bed). Two other ferns and cyclamen are planted in this bed too but haven’t woken up yet.

      From right to left: Daffodil foliage, Helleborous Pink Frost, Lamium White Nancy and Hostas across the front mixed with annual Impatiens. Far right is Lamium Orchid Frost. In the back are Spanish Bluebells and Bleeding Heart.

      Hosta, Lamium and Impatiens.

      Clockwise from bottom left: Phlox Amazing Grace, Rose Quietness, Cosmos and Carnation seedlings, Sweet William Cherry Jolt, Yellow Sedum, Lavender Vinca. Center: Sedum Firecracker, Sedum Autumn Joy.

      Annual basket I received as a gift full of petunias and verbena.

      Purple pansies.

      Our pansy and orange impatiens seedlings with our little spring bird decoration and a sweet little girl for cuteness.