
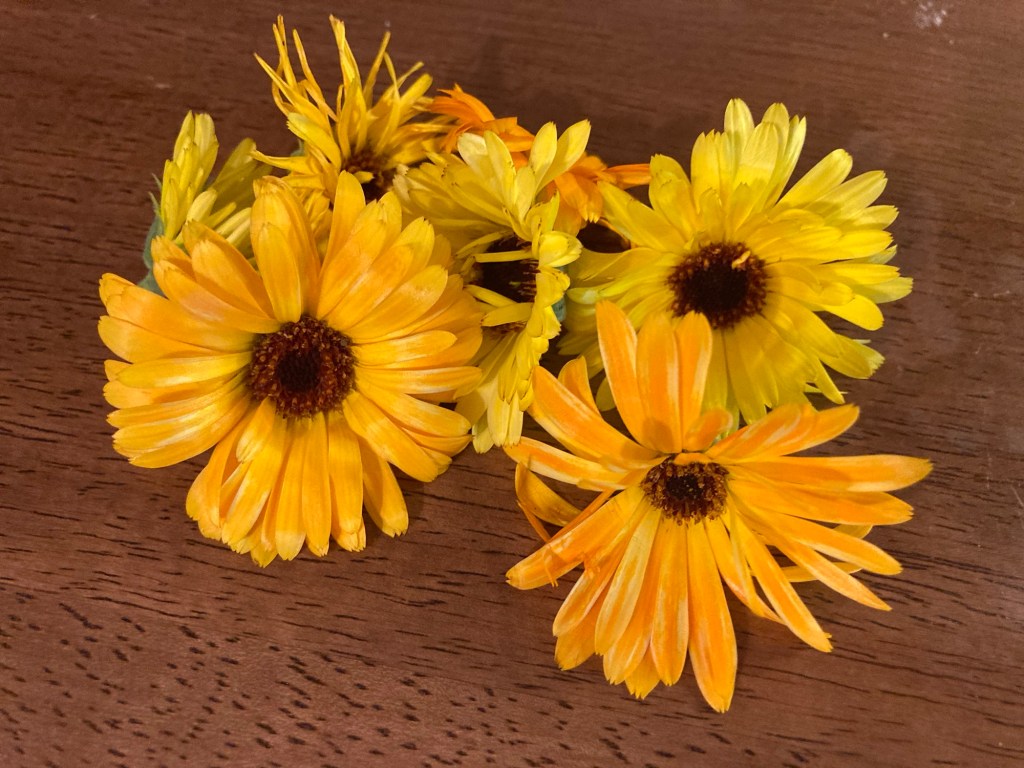
Calendula is one of the few plants in the Aster family that we use as my son has a allergy to ragweed which makes him sensitive to many of the plants in that same plant family.
I’ve grown Calendula for years and thought I’d share how I air dry them without a dehydrator. It is often recommended that you dry calendula with a dehydrator since the centers are so thick and resinous that they can be hard to air dry, and if not completely dry, they can mold in storage.
Why this method of air drying Calendula works. Two reasons:
- Good air flow.
- Long drying time.
Because my calendula is grown in containers, I usually have small harvests, meaning I’m not harvesting basketfuls at a time. I might harvest 2-3 flower heads per day. This is certainly not enough to warrant pulling out the dehydrator in order to dry them.
So mine sit and wait for me, and as they wait, they dry.

Here’s what I do…
Each flower that I pick goes into a little linen bag. This is in fact a little bag for sprouting micro greens, but since I use a different method for that, I’ve never used that bag for sprouting so I turned it into my calendula drying bag. Now, let’s stop here. You don’t need a bag for this. Any airy, piece of fabric, linen, muslin, flannel, burlap, or scrap of cheesecloth that is large enough to lay the flowers on and fold over on top of them will do. The purpose of the fabric is to keep your flowers clean and free of dust while drying.

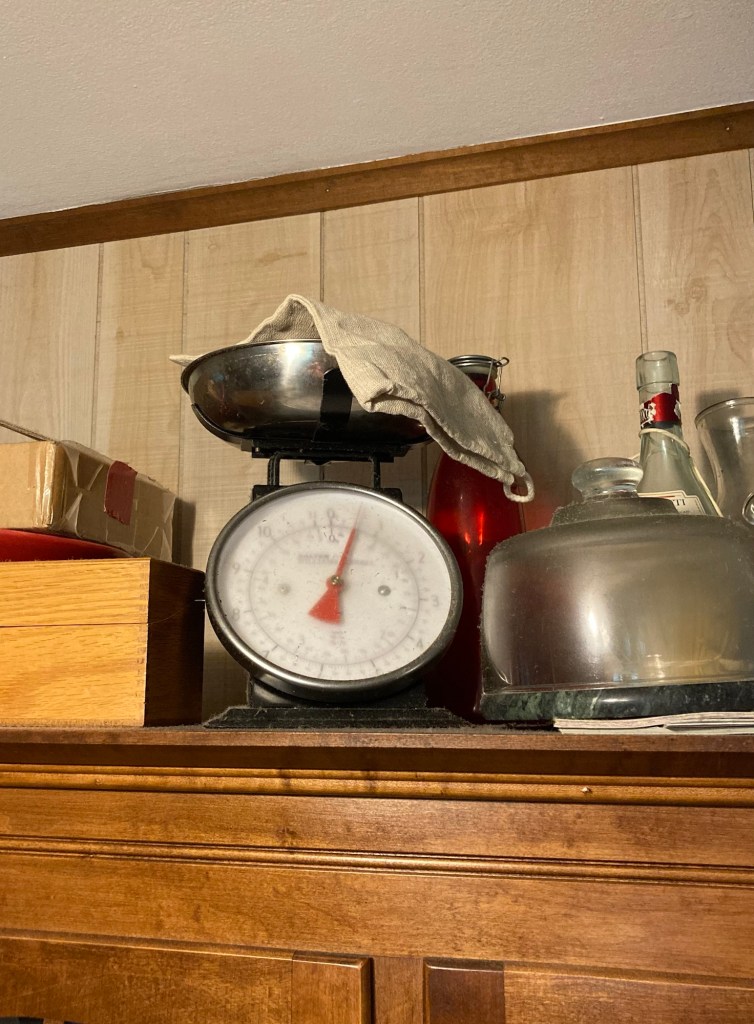
Next I lay this little bag on top of my hutch where the air is warm. I usually lay it in the bowl of my old fashioned kitchen scale which lives up here, but anywhere high and warm that is open to the air will do. On top of the fridge would work quite nicely. (Do not place anything inside an upper cupboard though. There would not be enough air flow in there.)
As I pick new flowers, I add them to the bag. Each time I take it down to add more I shuffle them around to ensure they are all getting moved around so that all the parts dry well.

When I have new blooms to pick, I add the new flowers to the bag and it goes back up on the hutch. Sometime in the fall when they are all good and dry, I’ll take them down, ensure that they are all dry and can be crushed, and I’ll store them in a glass jar until I need them to make more infused oil or Calendula salve. They wait quite happily for me, and by the time I’m ready to use them in winter, they are dry and ready to use. In fact, most years, they just sit there until I remember to take them down sometime in December.
Growing, harvesting, and drying herbs doesn’t have to be a fussy process. Find a method that works and feels easy to you and go with it. What’s stopping you?
Want to turn your Calendula flowers into an infused oil. Check out my step by step process for making a home as herbal infused oil. These steps are written to make Plantain oil, but the process is the same for making an infused oil with any plant.
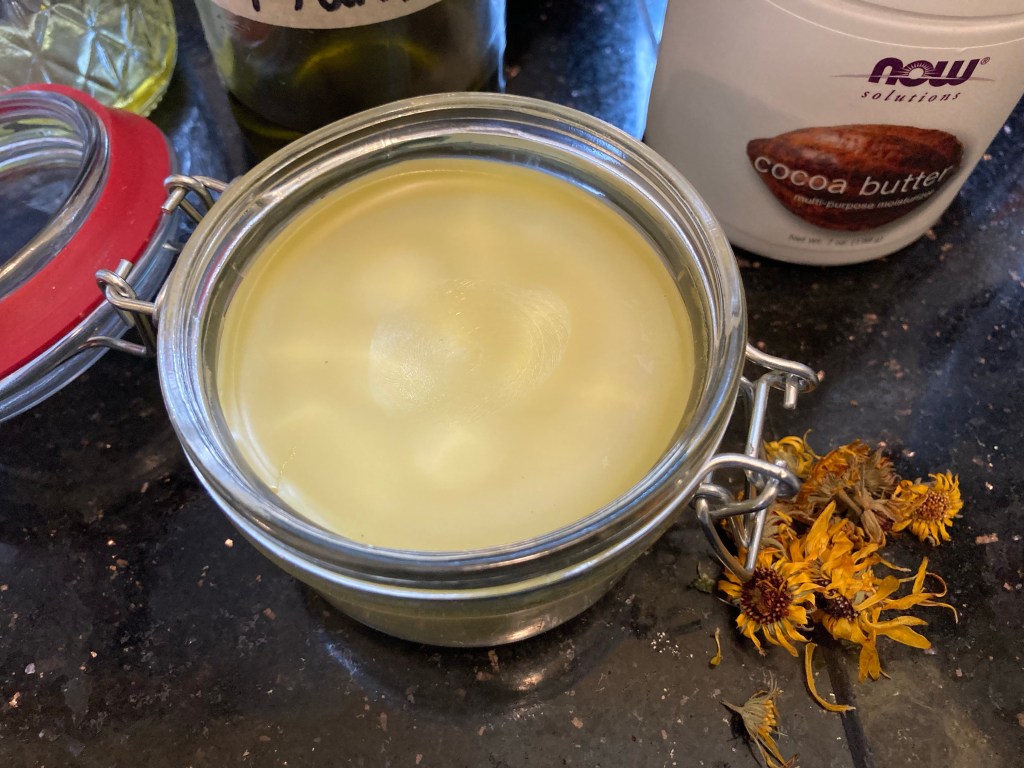
And once you have a homemade infused oil, you’re only one step away from making your own salve. You might want to check out my Healing Salve which is made with Calendula. (See the little dried up Calendula flowers laying there?) 😊
And if you really want to wrap your head around making all your own infused oils and slaves, let Carolyn with Homesteading Family hold your hand through the process. She recently came out with a Herbal Oils class that is quite nice which covers the basics of making culinary oils, infused medicinal oils, and using essential oils for your own handmade salves, balms, lip balms, and more. You can get access to it as part of their Homestead Kitchen Membership.
Note: This post contains affiliate links.
