I’ve been making sourdough bread for several years. My daughter and I made our first gluten-free sourdough starter in 2020 as part of her science experiment. I’ve since made several different gluten-free sourdough starters. What follows is the technique that I’ve found works the best.
(Note: This technique also works equally well with wheat wheat based, whole grain flours like hard white or red wheat, spelt, rye, khorasan, or einkorn.)
How to make your own Gluten-Free Sourdough Starter from Scratch:
1. Choose your flours: Sourdough always performs best when some of the flour the recipe is the same flour that the sourdough starter is made from. Unlike wheat baking, several different flours are needed in gluten-free baking to replicate the starch, protein, mineral, and vitamin content of the wheat berry in order to achieve the light, moist, nutritious baked goods we all enjoy. For gluten-free baking, this means that it is best to use between two to three different flours, rather than a single one, that you tolerate well when making your sourdough starter. This will ensure that your starter performs well because you will use the same flours in your baking that your starter is built from.
What flour combinations can I use to make a gluten-free sourdough starter?
Choose 2-3 of the any of following flours to create your sourdough starter from scratch:
– Millet flour – Quinoa flour
– Brown rice flour – Buckwheat flour
– Sorghum flour – Oat flour
– Teff flour
Notice you don’t see any starches or nut flours in this list. I avoid starch based flours when making a sourdough starter as they just don’t have the same microbial content that whole grain gluten-free flours do. As a result using a starch like potato starch, tapioca flour, or arrowroot powder will not contribute much to the microbial makeup of your starter. I avoid nut flours also because of their high oil content. Flours with high oil contents can go rancid quickly, which would not be ideal for a sourdough that you might need to store in the fridge for a while if you come upon a time when you can’t feed or bake with it frequently.
Notice also that I put quinoa in bold. This is because quinoa is a microbial powerhouse! If you’re used to baking with wheat based sourdough you may know that the way to give your sourdough a microbial boost is to give it a feeding or two or rye flour. Well quinoa is the rye of the gluten-free world.
Using quinoa in your gluten-free sourdough will make it super active! In my experiments my quinoa starters matured more quickly (before any of my others) and were more active than any of my other sourdough starters. Quinoa even matures in cold temperatures when others don’t. It’s really quite an amazing, nutritious grain.
Quinoa should definitely be one of the 2-3 flours that you use to build your sourdough starter. It doesn’t take much. Only a teaspoon or less at each feeding.
2. Gather your Equipment :
The tools needed here are simple. All you need is…
– quart size jar
– plastic lid (not metal)
– a rubber band
– stirring implement
– small measuring cups or spoons
3. Mix your Sourdough:
So you’ve decided on the 2 or 3 flours that you plan to use from the discussion above and you’ve got your equipment ready. Let’s get started.
Steps for Mixing and Feeding Your Sourdough:
Gluten-free flours are much more expensive than wheat. Because of this, we are doing to mix in small amounts. This will keep us from wasting any of our flours and ending up with more sourdough starter than we can use.
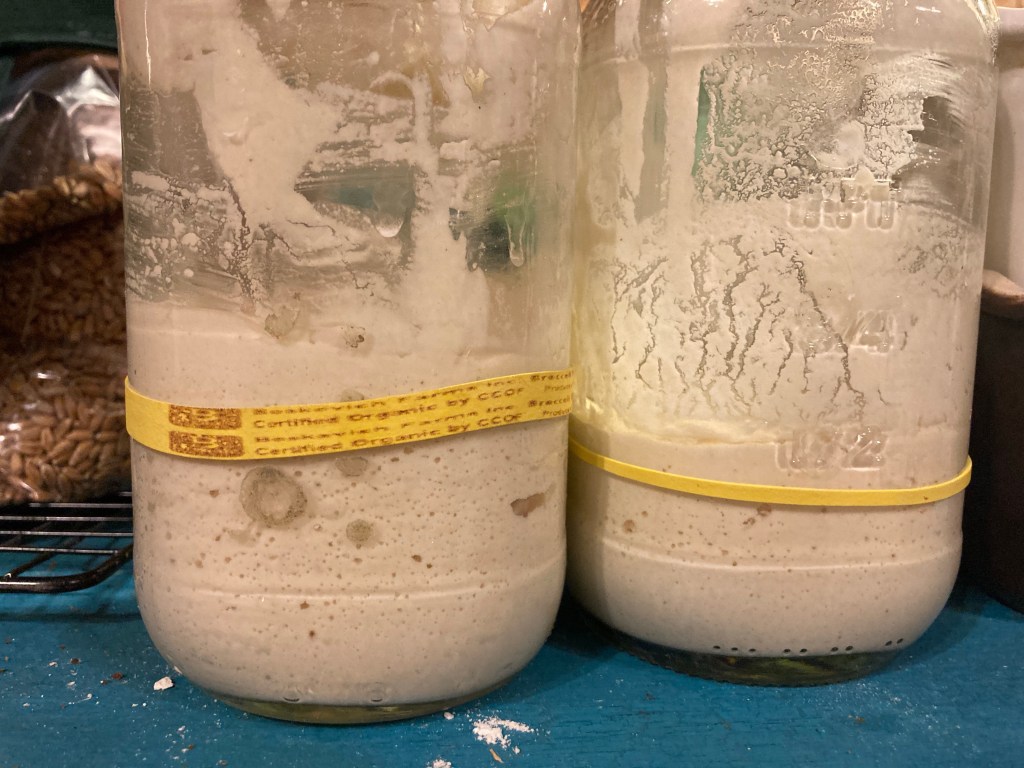
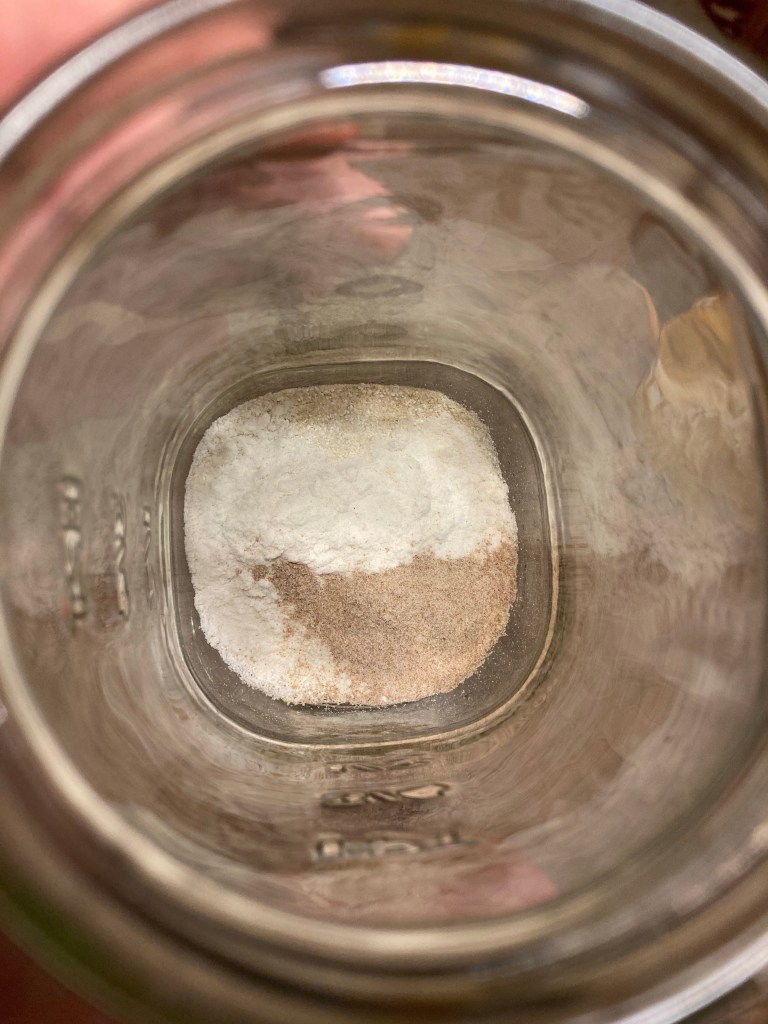
Day 1: Add 1 tablespoon each of your chosen flours to your quart sized jar. If you have planned to use 2 flours in your starter, feed it 2 tbsp total, one of each. If you chose 3 flours, feed it one tbsp of each flour type, and so on. Don’t forget to put quinoa in the mix if you can. Put a rubber band on the outside of the jar so you can keep an eye on the level of the starter. This will help you gauge the activity of the starter as it starts to get active and rise.
Pro Tip: Use a minimum of two gluten-free flours in your sourdough, but no more than five.
Next, into your quart size jar, add 1/2 tablespoon of water for each of the flours that you used. So if you used two flours, add 1 tablespoon of water. 3 flours – 1.5 tbsp water, 4 flours – 2 tbsp water, and so on.
Stir well and let it sit for 24 hours.
In the starter pictured below, I chose three flours – brown rice, quinoa, and teff flours.
Day 2: Repeat your day 1 feeding of 1 tablespoon each of each of the flours you chose and 1/2 tablespoon of water per flour used. Adjust the rubber band to the level of the starter in the jar after the feeding. Let it sit for another 24 hours.

Pro Tip: Different flours may need more or less water to fully hydrate. If you go to feed your starter on day 2 and it has a lot of liquid on top, then give it a little less water next time. On the other hand, if you go to feed your starter and it thick, dry, and crumbly, give it extra water at that feeding. Did you know that you can choose the texture of your sourdough? I like to keep mine like a thick cake batter, but you can use more water if you prefer a thinner, pancake batter like texture.
Here is a photo of my starter with water added after feeding. It’s still just a tiny amount, and that’s okay. It doesn’t have to be a large amount to ferment and flourish.

Day 3: Feed again as you did on day 1 and 2 and adjust the position of the rubber band, but this time, pop it in the fridge for 2 days for a cold ferment period.
Day 5: Your starter should have been happily sitting in the fridge for you for the past two days. Today, you should take it out, sit it on the counter, and let it warm back up for 24 hours.
Day 6: Feed your starter as before, adjust the rubber band to the level of the starter in the jar, and now let it sit at room temperature and wait. Let the starter sit undisturbed until you start to see bubbles and rise. Once it doubles or nearly doubles, your starter is ready. How fast a sourdough starter develops depends largely on the temperature in your kitchen. You may need to let it sit for 36-48 hours before you see rise.
Here is my starter after taking it from the fridge, feeding it, and letting it sit for 12 hours. Look how active and happy it is!

So with a little care and patience, you can have a robust, active, healthy, happy starter within a week.
Pro Tip: This method works with wheat based flours too. You can have a new wheat, spelt, or rye starter in a week’s time if needed.
How to maintain your gluten-free sourdough starter:
Once your starter is ready and has doubled in your jar, now you want to bake with it. You can try your hand at bread, or simply make some sourdough pancakes or muffins. The more you use your starter the more active it will become. Just remember, don’t use it all. Keep at least 1/2 cup – 1 cup in your jar at all times to continue feeding so that you will always have enough sourdough for your baking needs.
To keep the best and strongest starter, keep it on the counter and feed it twice a day, morning and evening for maintenance, baking something with it several times a week. If you find you need a break from feedings, pop it in the fridge and it will wait for you until you need it again, but it’s best to still feed your starter once a week even while you are keeping it in the fridge to keep it happy and active.
What if I don’t see bubbles?
If you have fed it several times, just let it sit at room temperature until you start to see bubbles. It will ferment if given enough time and your room temperature is warm enough. The ideal temp is between 65 and 75 degrees, but colder is fine too as it will ferment at any temperature above freezing. Just know, the cooler it is, the longer the fermentation will take. If it takes more than 36 hours, it’s not a bad idea to stir your starter every 12 hours without adding any more flour or water until you see tiny bubbles. This just helps prevent anything from getting moldy by keeping the parts that are exposed to air moving around. Once you start to see bubbles, stop stirring and let it sit.
What is my starter develops mold?
If this happens, and it does sometime, throw it out and start again. Now, if you have a mature, active starter and it develops mold, sometimes those can be saved. But in the early days of sourdough development, mold can sometimes happen before the starter is strong, active, and acidic enough to prevent it.
What if my starter smells like alcohol, acetone, kerosene, or vomit?
As unappealing as this is in the beginning, these smells are all a completely normal part of the development of sourdough. Don’t worry, as the starter continues to mature the smell will lessen and gradually progress into just smelling sour as it should. As long as your starter does not smell putrid or spoiled, it is fine to just keep on going.
Share Your Starter Stories:
I’d love to see pictures of your starters. Please share photos or ask questions here in the comments. 😊
The Art of Gluten-Free Homemade Bread :
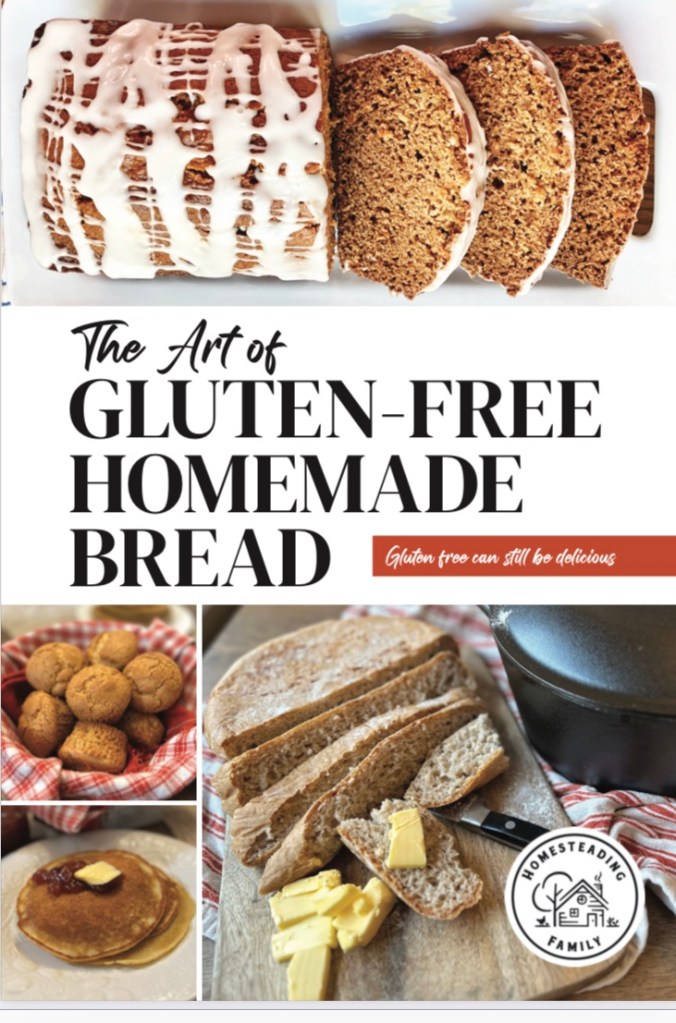
All my recipes are available in this comprehensive book that I wrote for Homesteading Family. Get your copy here.
For Further Study:
• If you would like a video based sourdough course I recommend Homesteading Family’s The Art of Homemade Bread Course. Carolyn covers yeast and sourdough breads in step-by-step video lessons. It’s how I learned to make bread and now I’ve advanced to developing my own systems. So, if you are a visual learner, she gives you a daily video of what to do.
• If you are on the fence about the complete bread course, give Carolyn’s FREE bread training a try. She gives away a lot of good, free info that will get you baking good bread right away.
• Already have a sourdough starter? Homesteading Family’s Homestead Kitchen Community has a Sourdough Challenge doing on right now! It’s a great way to jump in to sourdough baking or advance your skills. And if you join you’ll get a sneak peek at the new Art of Gluten-Free Homemade Bread book that will be released this winter.
• If you are fascinated by microbes and all things sourdough take a deep dive into my friend Diana’s book: Olwes Miaken’s Creatures. She is truly a sourdough wizard and can make bring any flour or grain to life! Her book is fascinating and fun! She names all her creations. Check it out to see all that she has made.
• And if you have success with sourdough and want to make it beautiful, check out my book on scoring sourdough. You can buy a copy of the e-book here on my blog, or you can visit Amazon for a physical copy of Scoring Sourdough Bread.